Breast Milk Resin Cast Statue

There’s a trend going around now of breast milk jewelry and my wife wanted to buy some. It’s pretty expensive for what it is - a resin cast blob, mixed with powdered breast milk, hung from a necklace or earring. You can also send your own breast milk to be made into jewelry, so I guess the personal touch is worth the money for some people.
I thought it should be pretty simple to make on my own, so I decided to figure out how it’s done and make some for my wife.
Research
It was obvious to me from how they look, that it’s resin mixed with powder. The same way a pigment powder dyes clear resin. The questions are how do they turn breast milk into powder? and how do they make it safe and last?
There are some natural ways to dehydrate the milk to turn it into powder. Some freeze dry it, some heat dry it, but there’s still a risk of it not fully drying and going bad. I don’t trust myself to get it right and I don’t want to run this experiment on the only thing I’m probably going to make this way.
The safer way, and the way most commercial products of this kind are made, is to mix the milk with a preservative. I found that most products use Methyl Paraben or Phenoxyethanol, which are commonly used in cosmetics. They are two different chemicals that protect against slightly different things and are often mixed together to give better protection while reducing the potency of each in the final product. They are both considered irritants and are highly regulated, but in small enough concentrations they are fine to use even in cosmetics and soaps, that come it contact with the skin.
In my case, I’m making a small statue that sits on the table under a glass dome, so it’s not coming into contact with anyone’s skin. Moreover, it’s going to be mixed into resin in very little quantity and then coated in more resin, so there will be no contact with skin even when handled.
This guide was very helpful in understanding the problems in trying to preserve breast milk at home and give some insight into different methods. They used a liquid preservative that also needs to be heated and evaporated, and I didn’t like that.
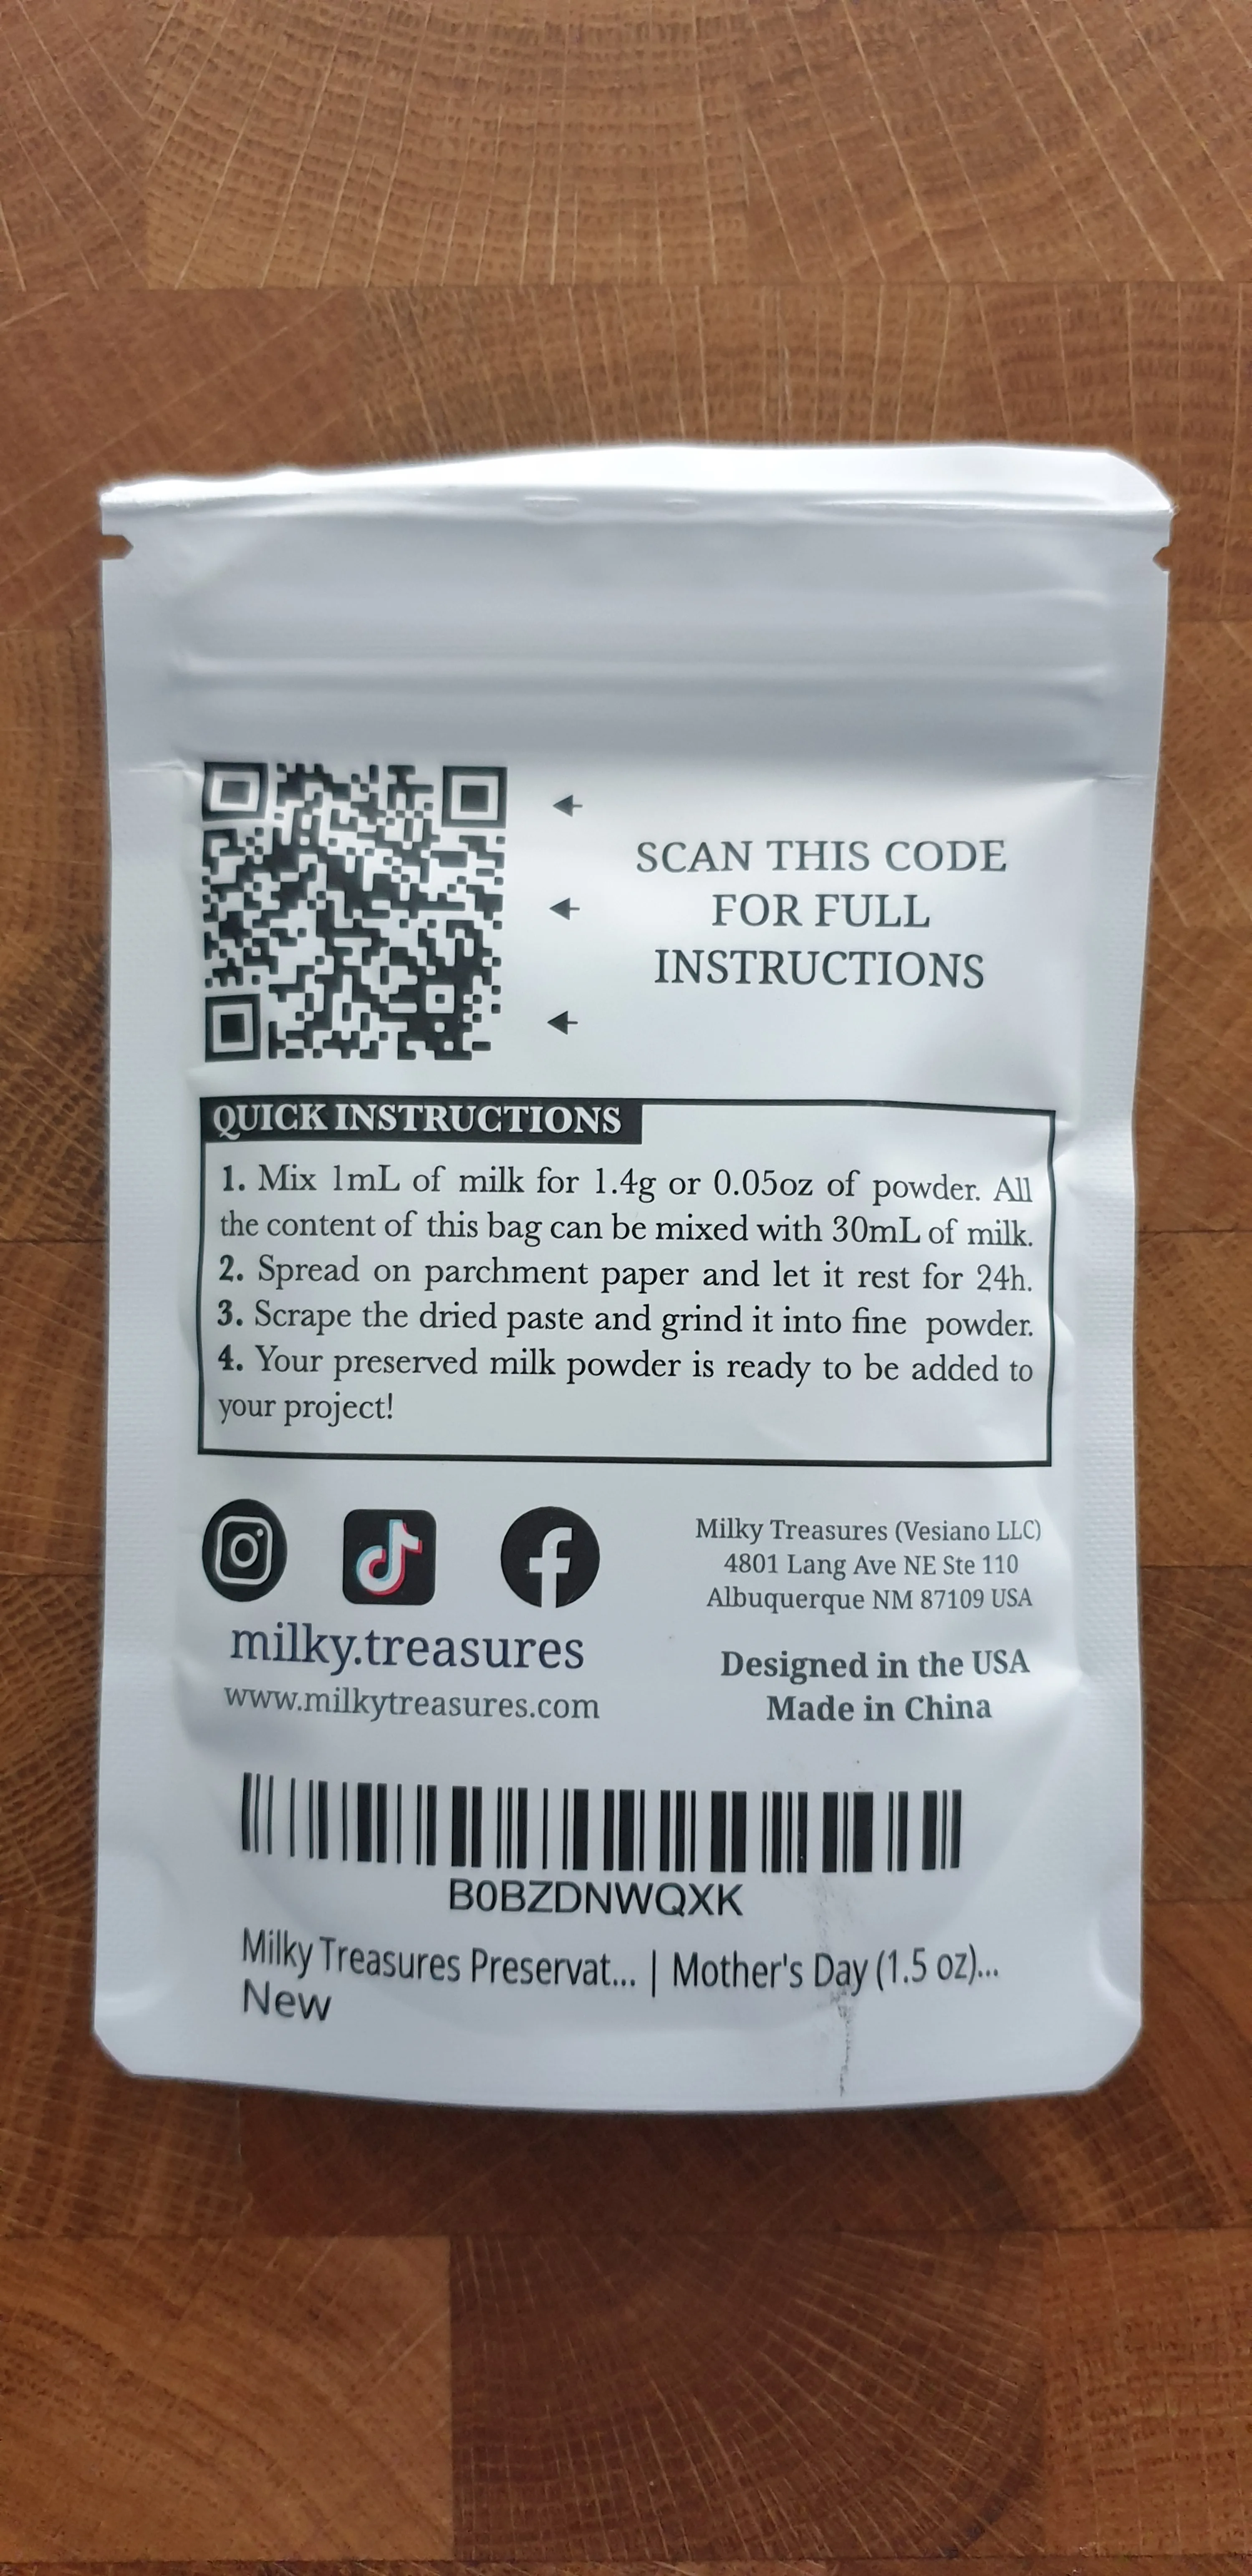
In the end, I chose to use a powdered preservative since it’s easier to work with and simpler to dehydrate. You can buy large bags of the specific chemical without a problem, but I didn’t need a lot. Finding a small package that is not marketed for a niche hobby and priced that way is pretty much impossible, and the marketed “specialized” products also don’t say what exactly is in them and which chemicals they use, which is even more annoying.
I went with the one in the photos. It’s marketed for jewelry and the reviews for it look good. I can’t say with 100% confidence that it’s just Methyl Paraben, but I suspect that’s the case.
Preparing the Milk for Mixing
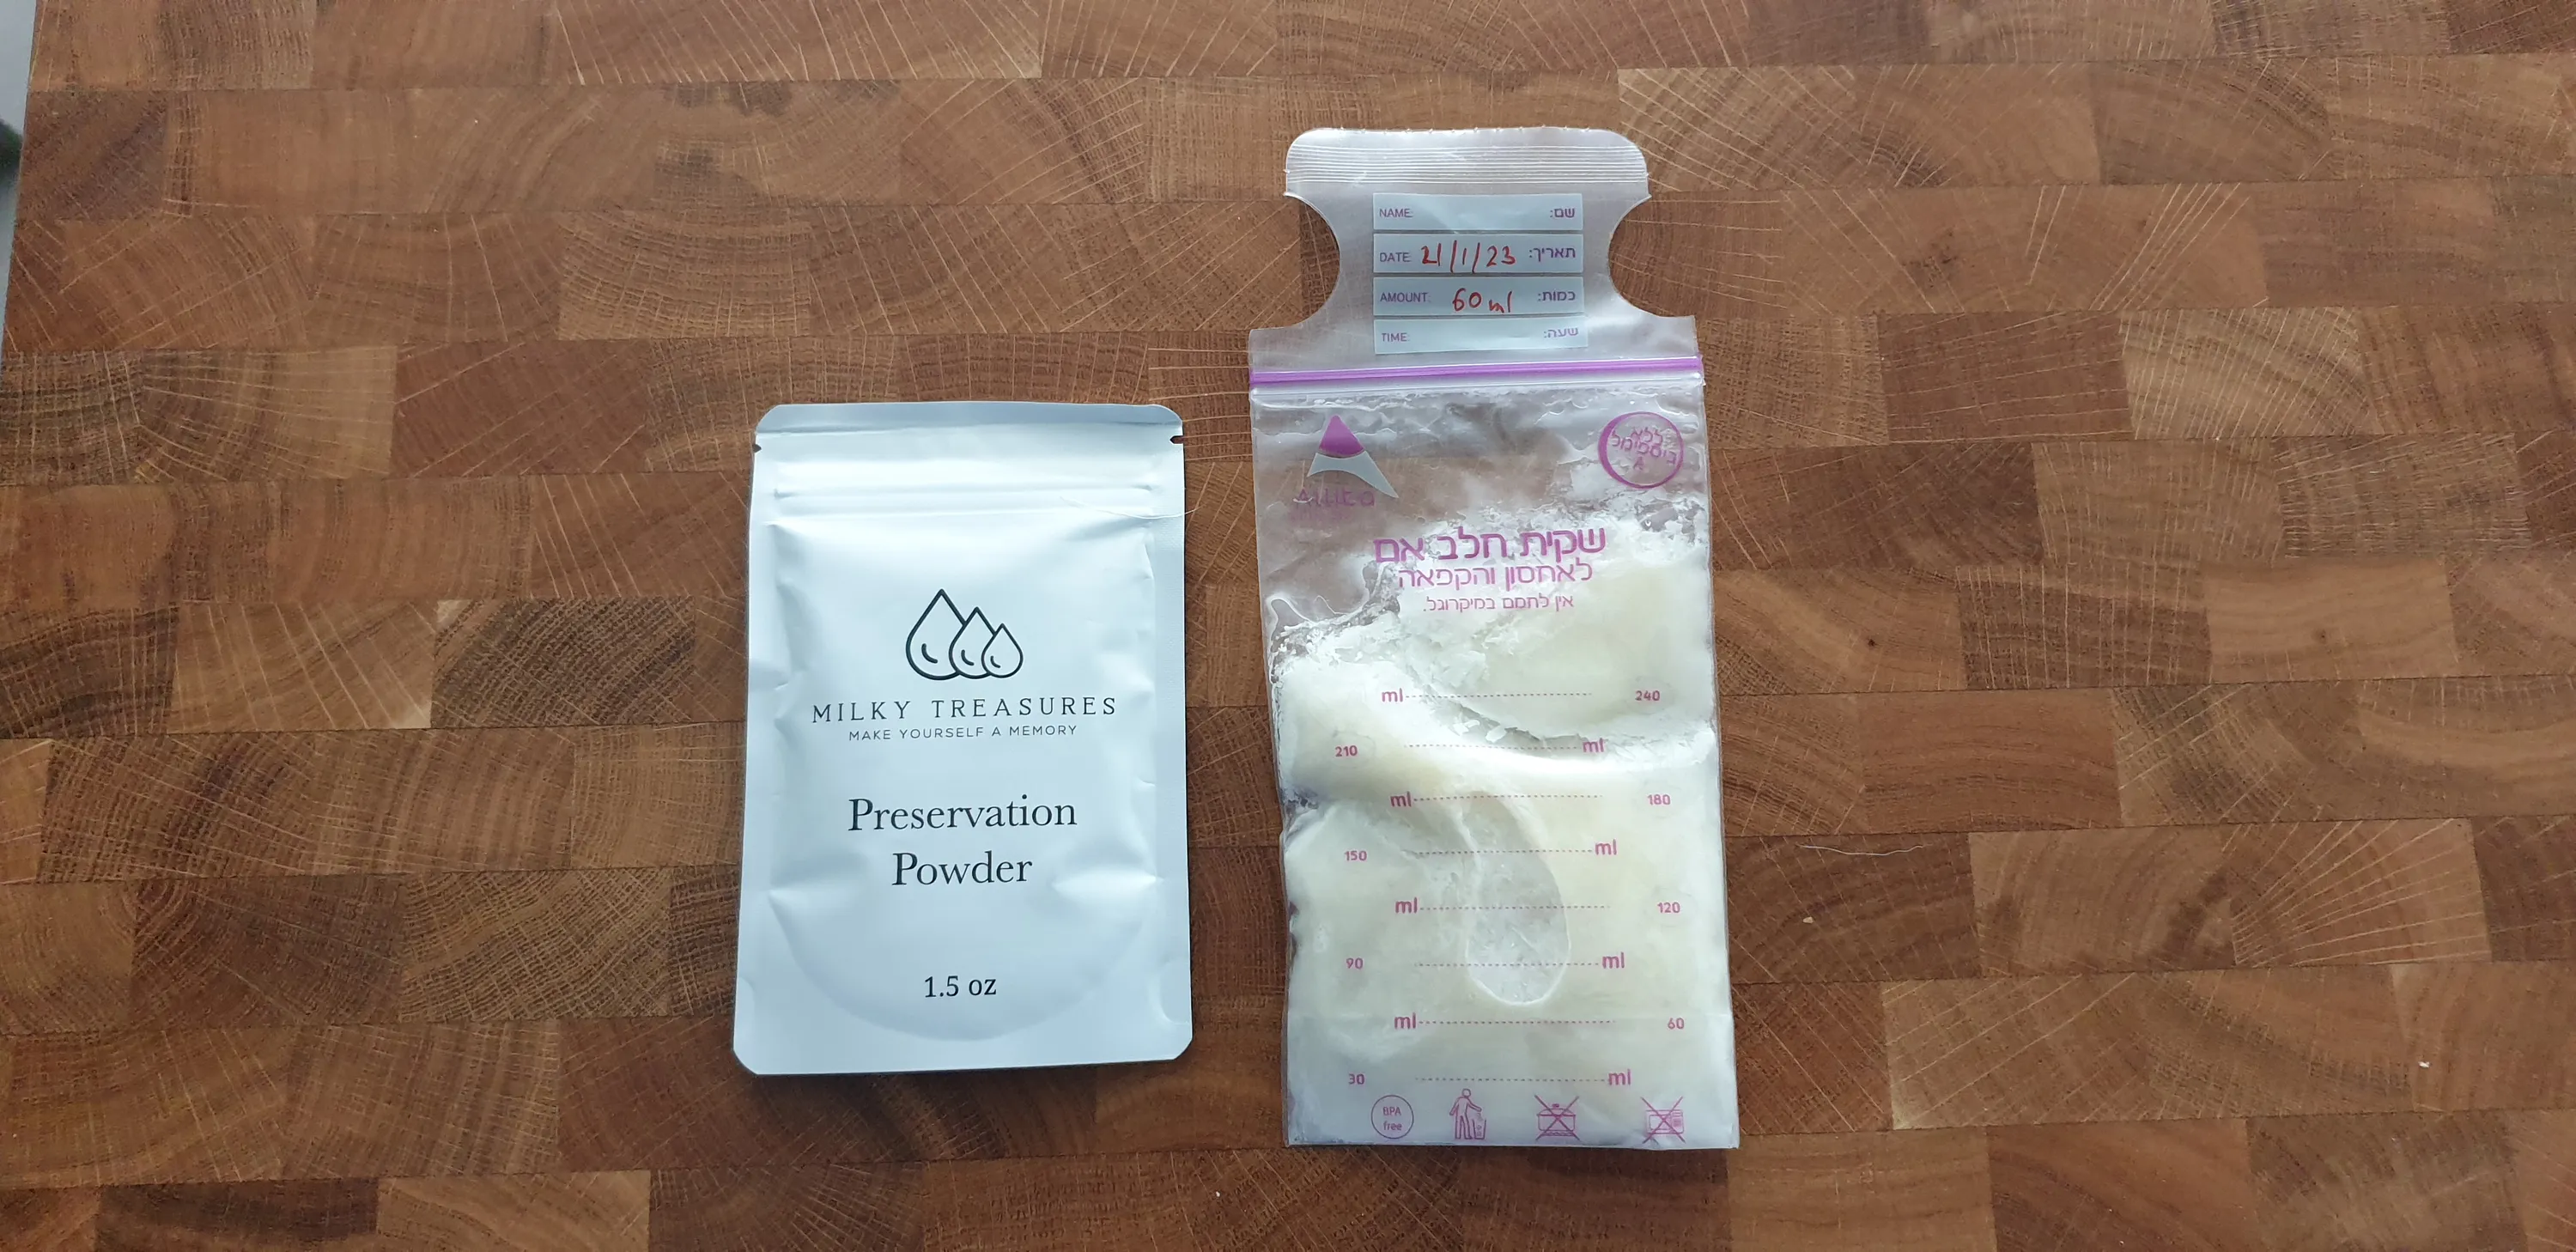
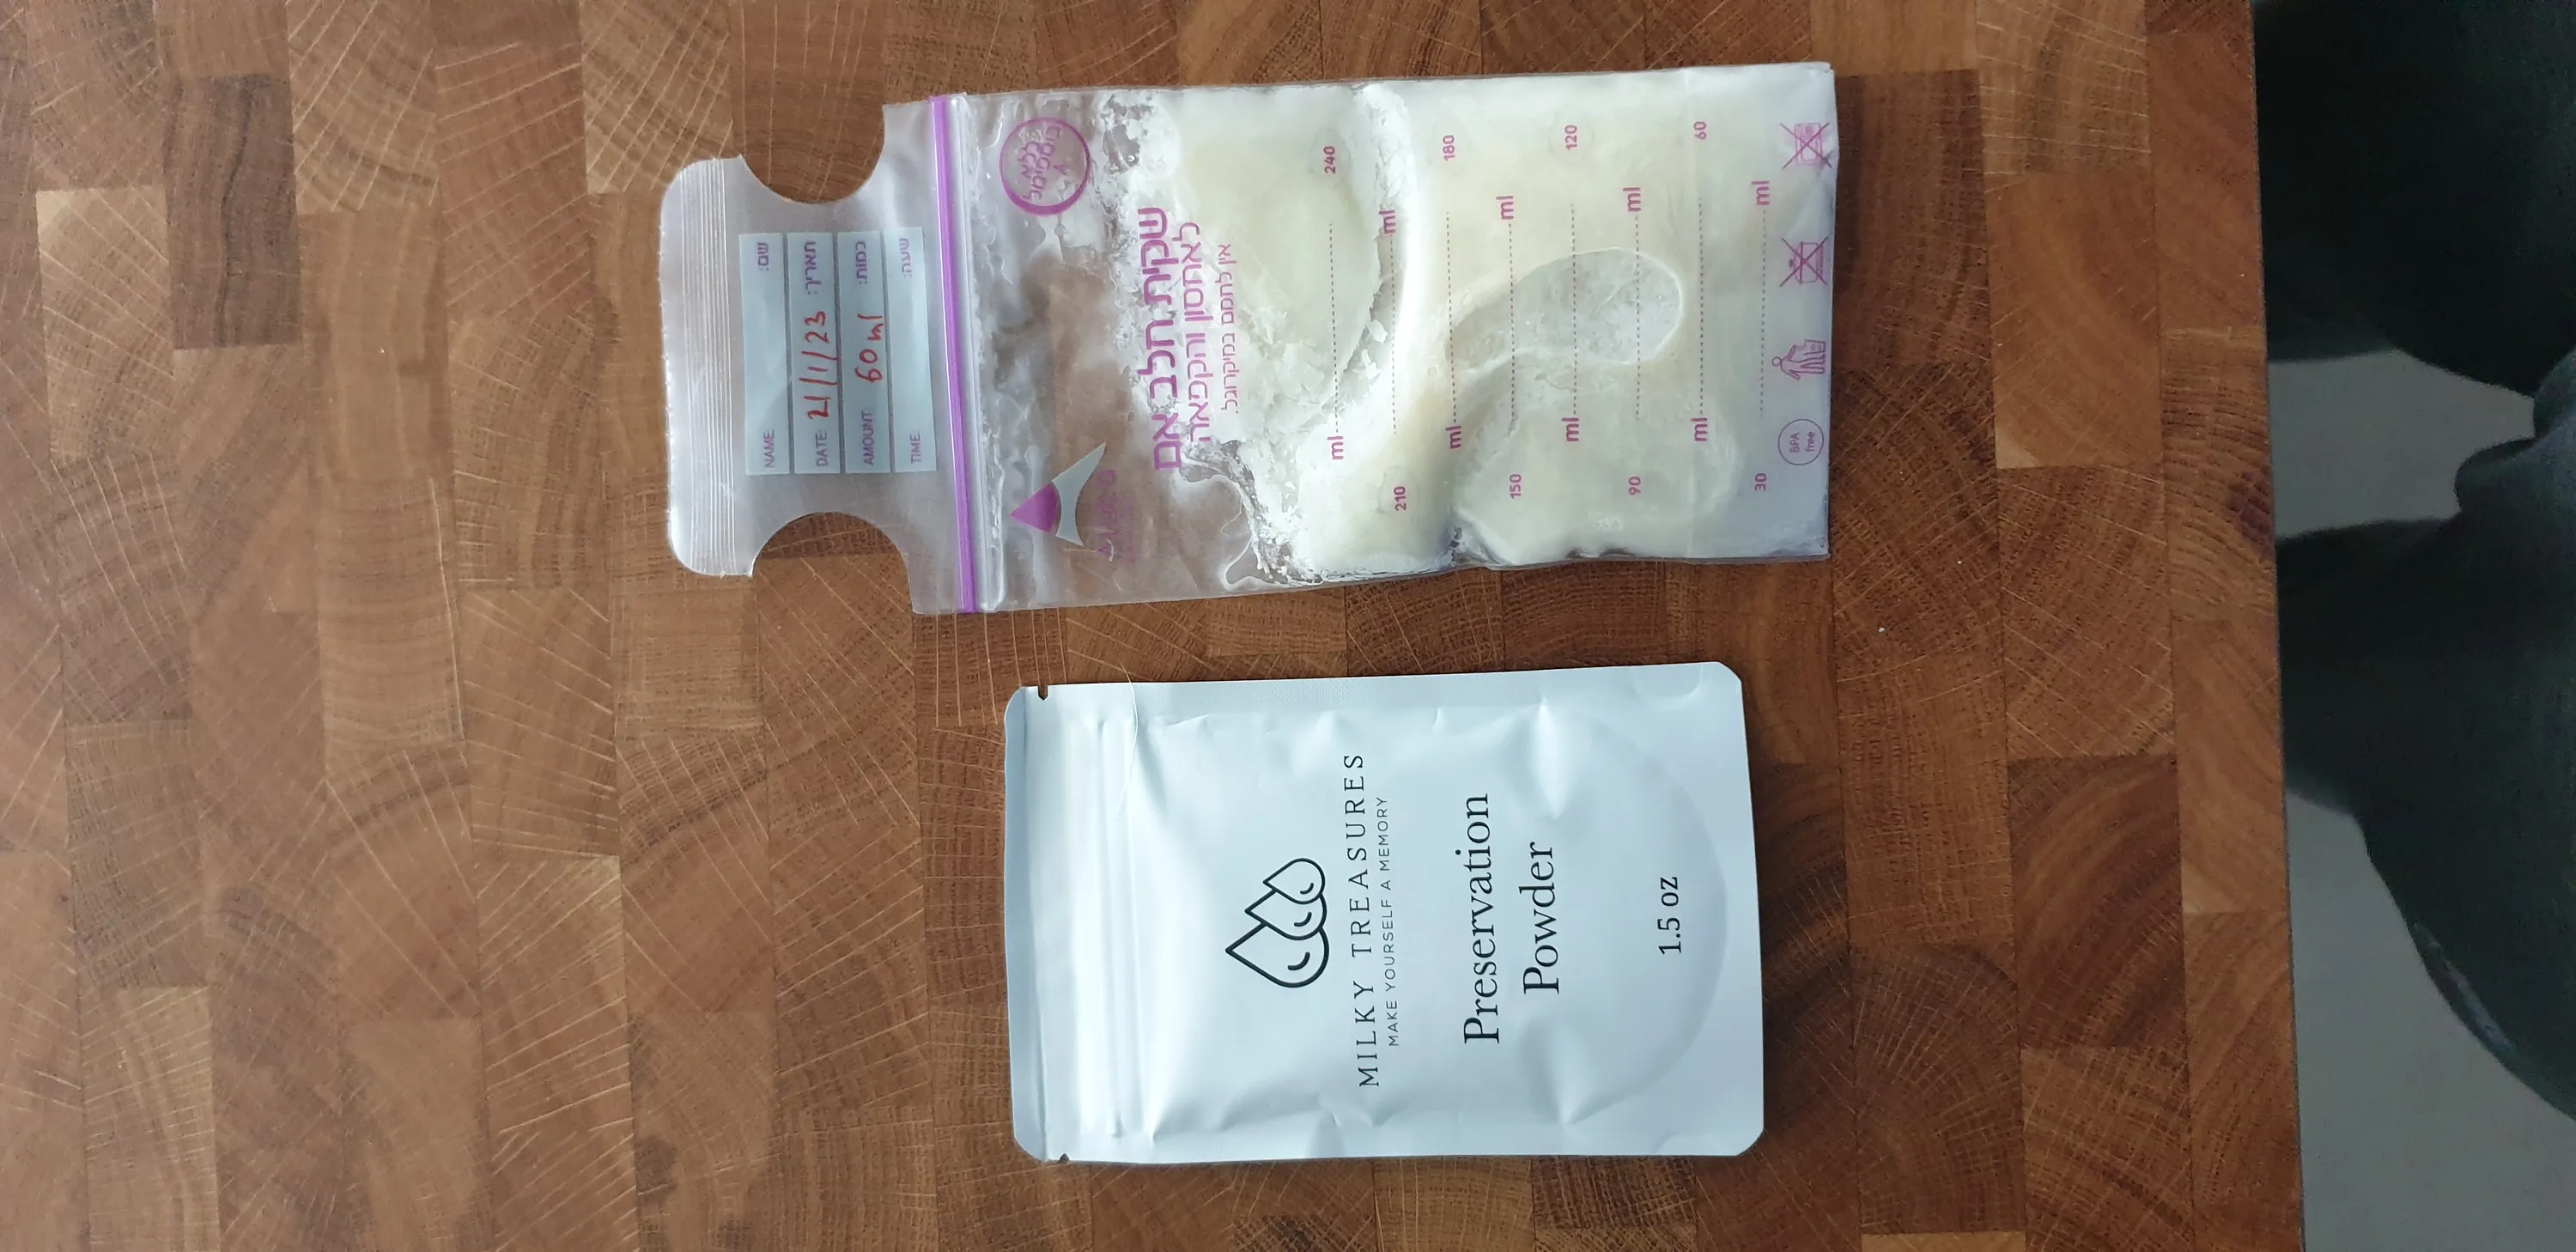
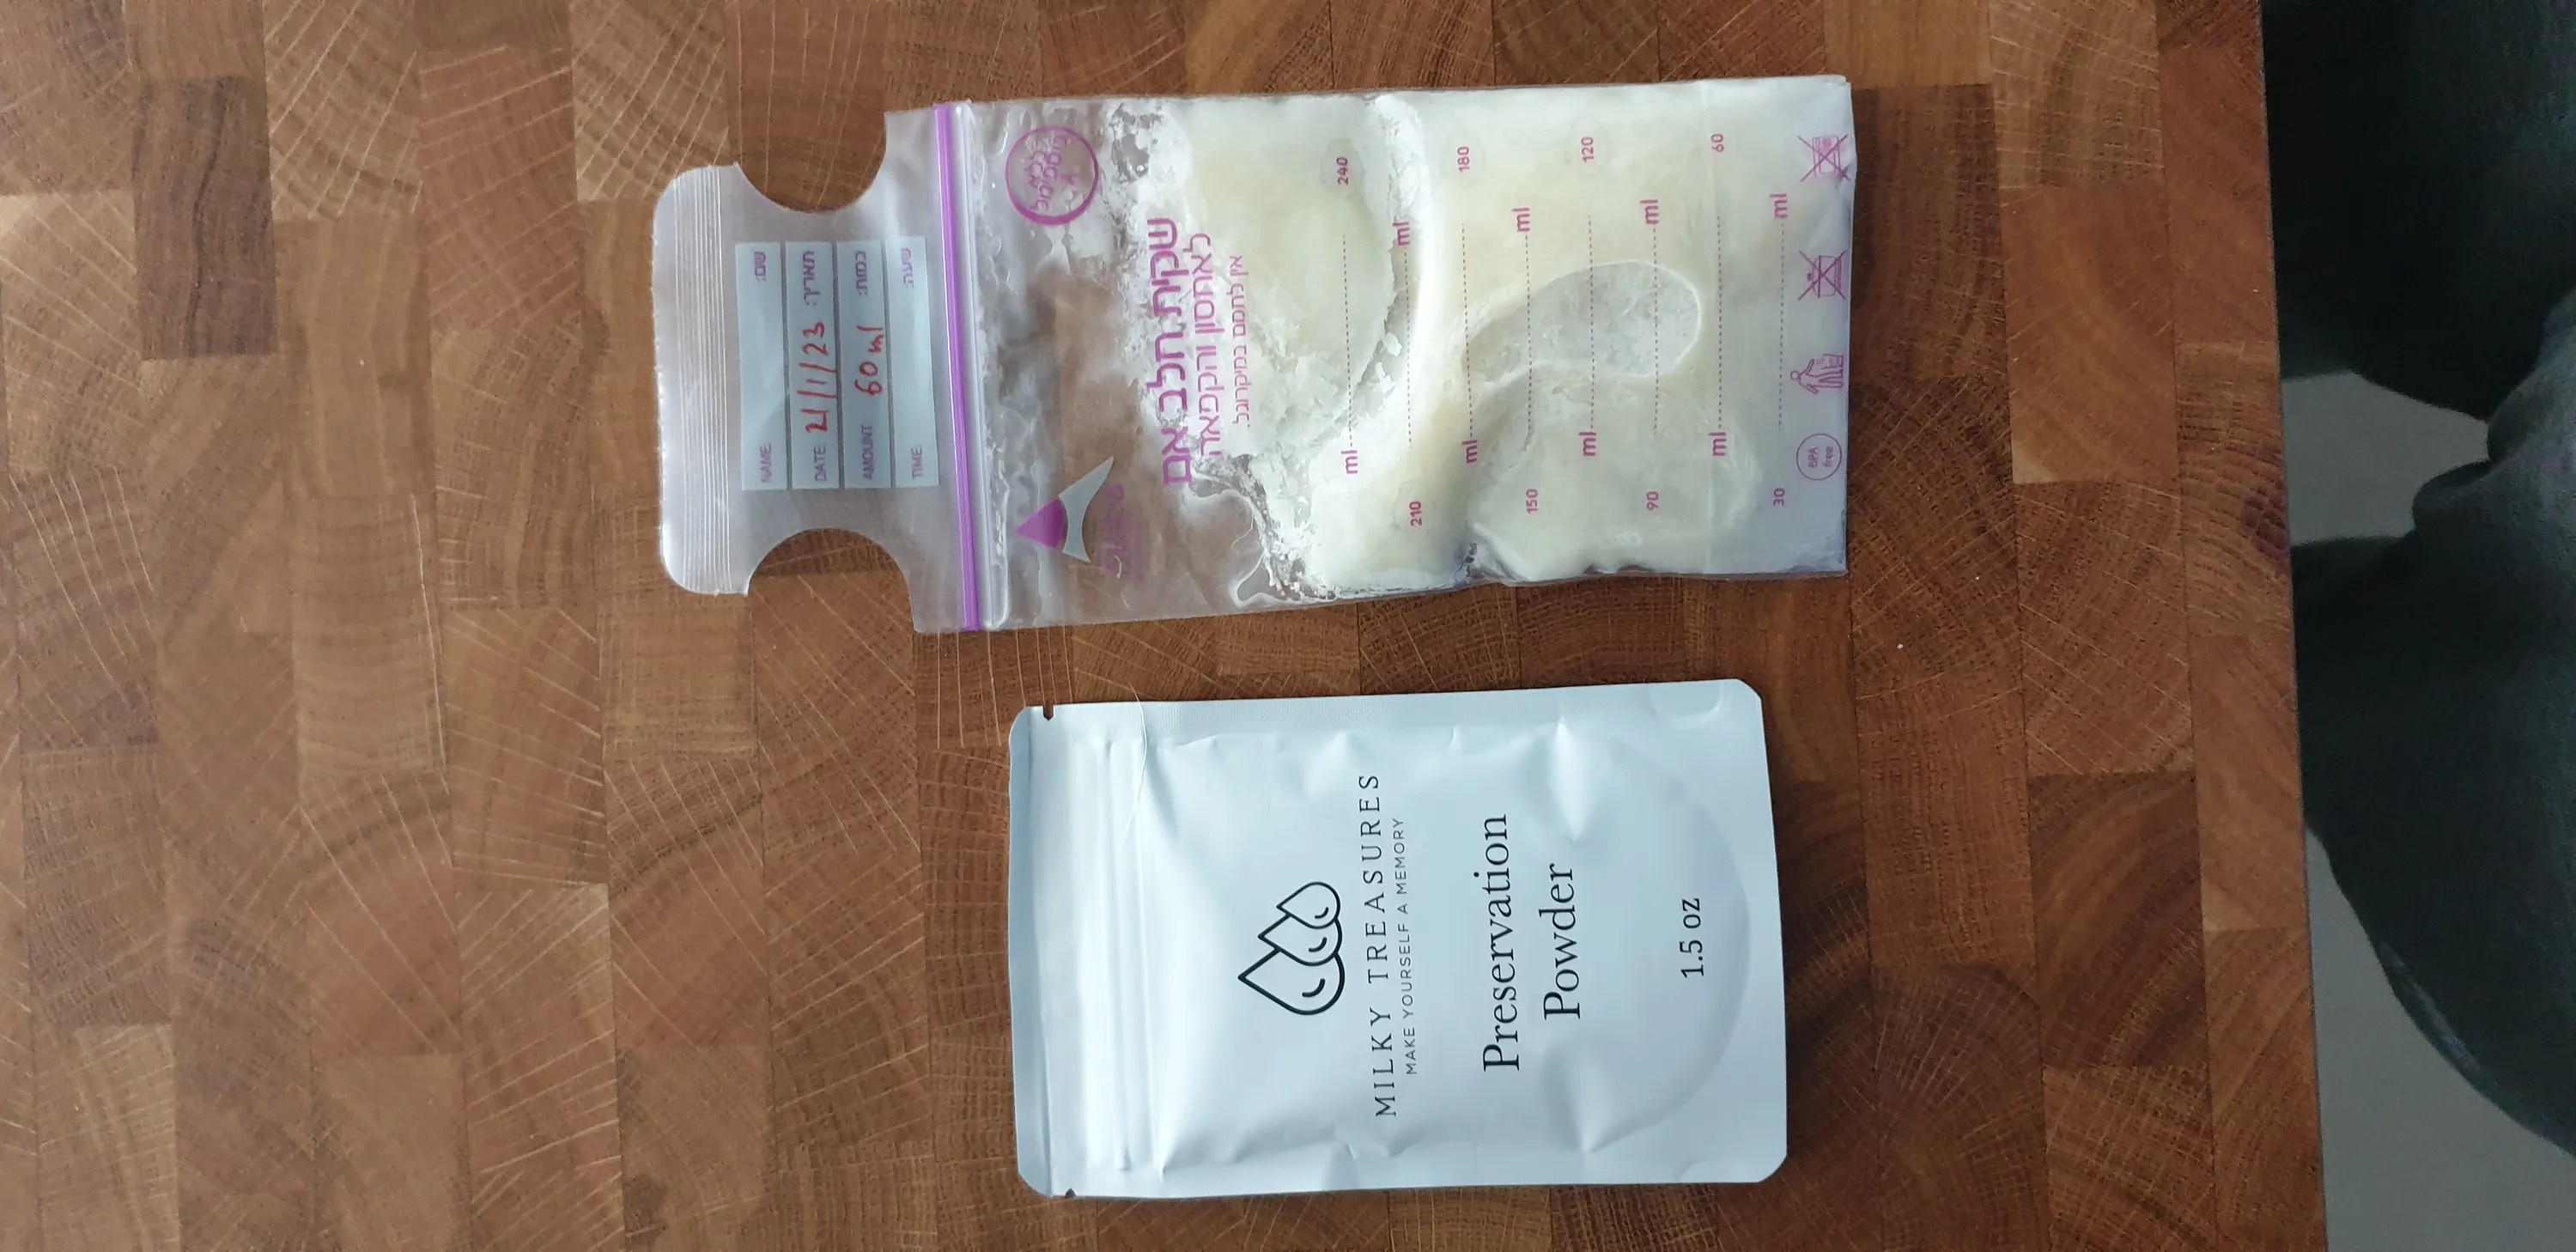
The method I chose is very simple. It only includes mixing the powder with the appropriate amount of milk until I get an even and uniform paste, spreading the paste on parchment paper and waiting for it to dry out on it’s own.
I was surprised to find out how little actual milk is used in the mixture. It’s mostly the preservative, which makes me think that the hype over breast milk jewelry is even less justified and that it’s even more overpriced than I first thought.
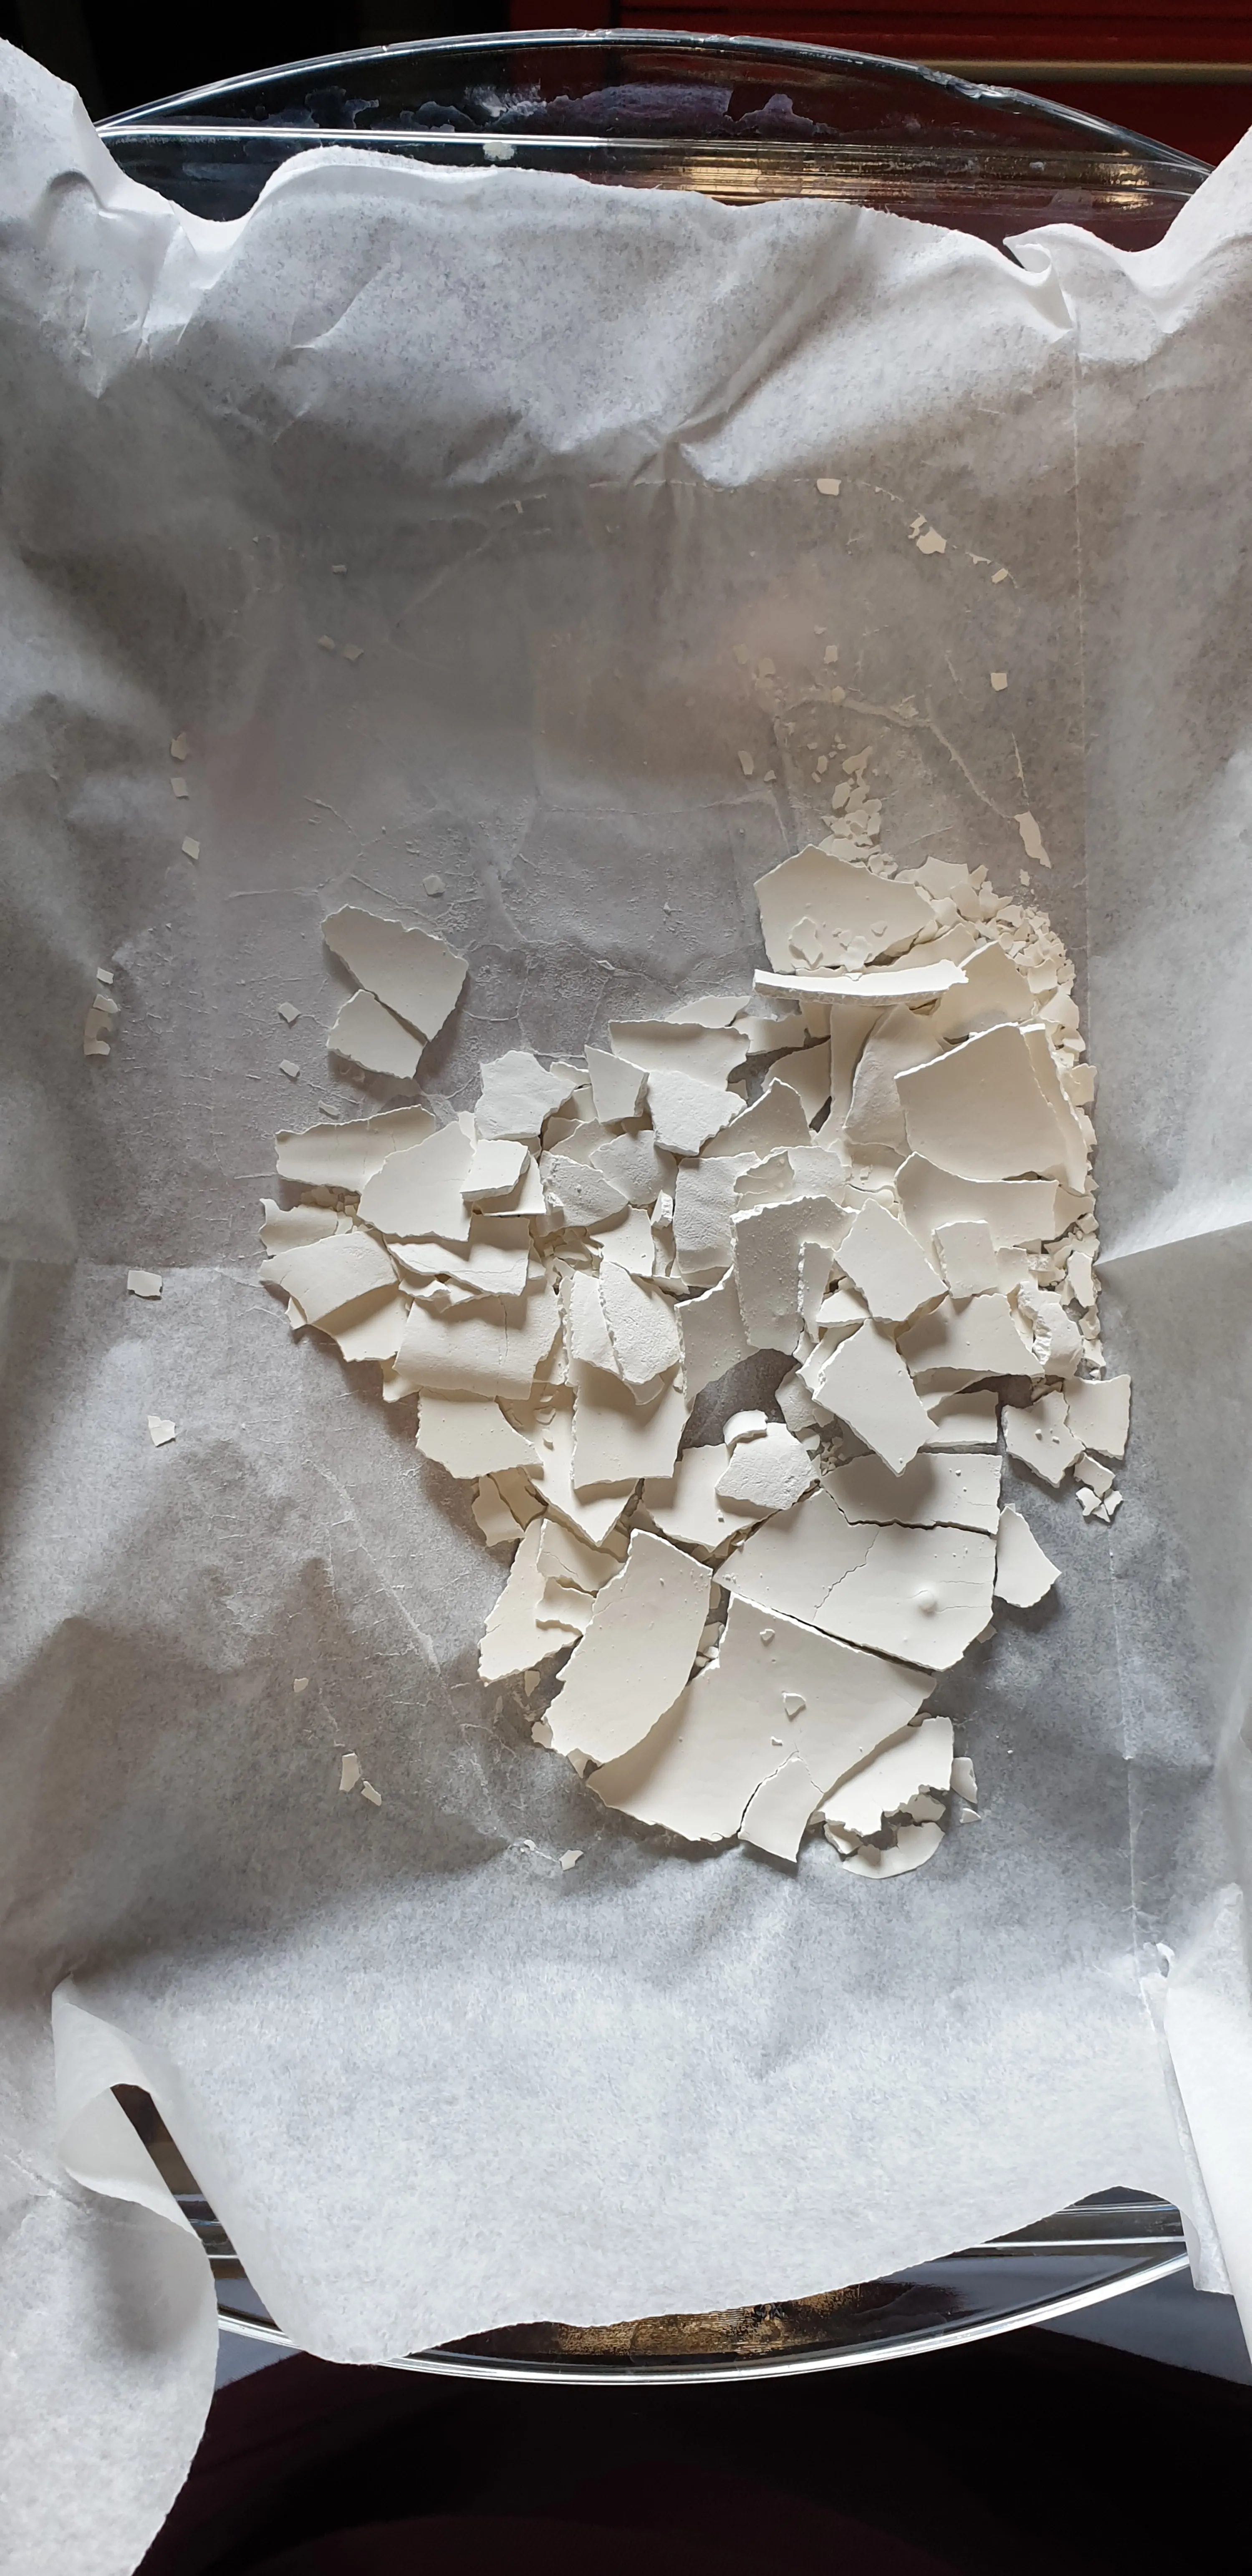
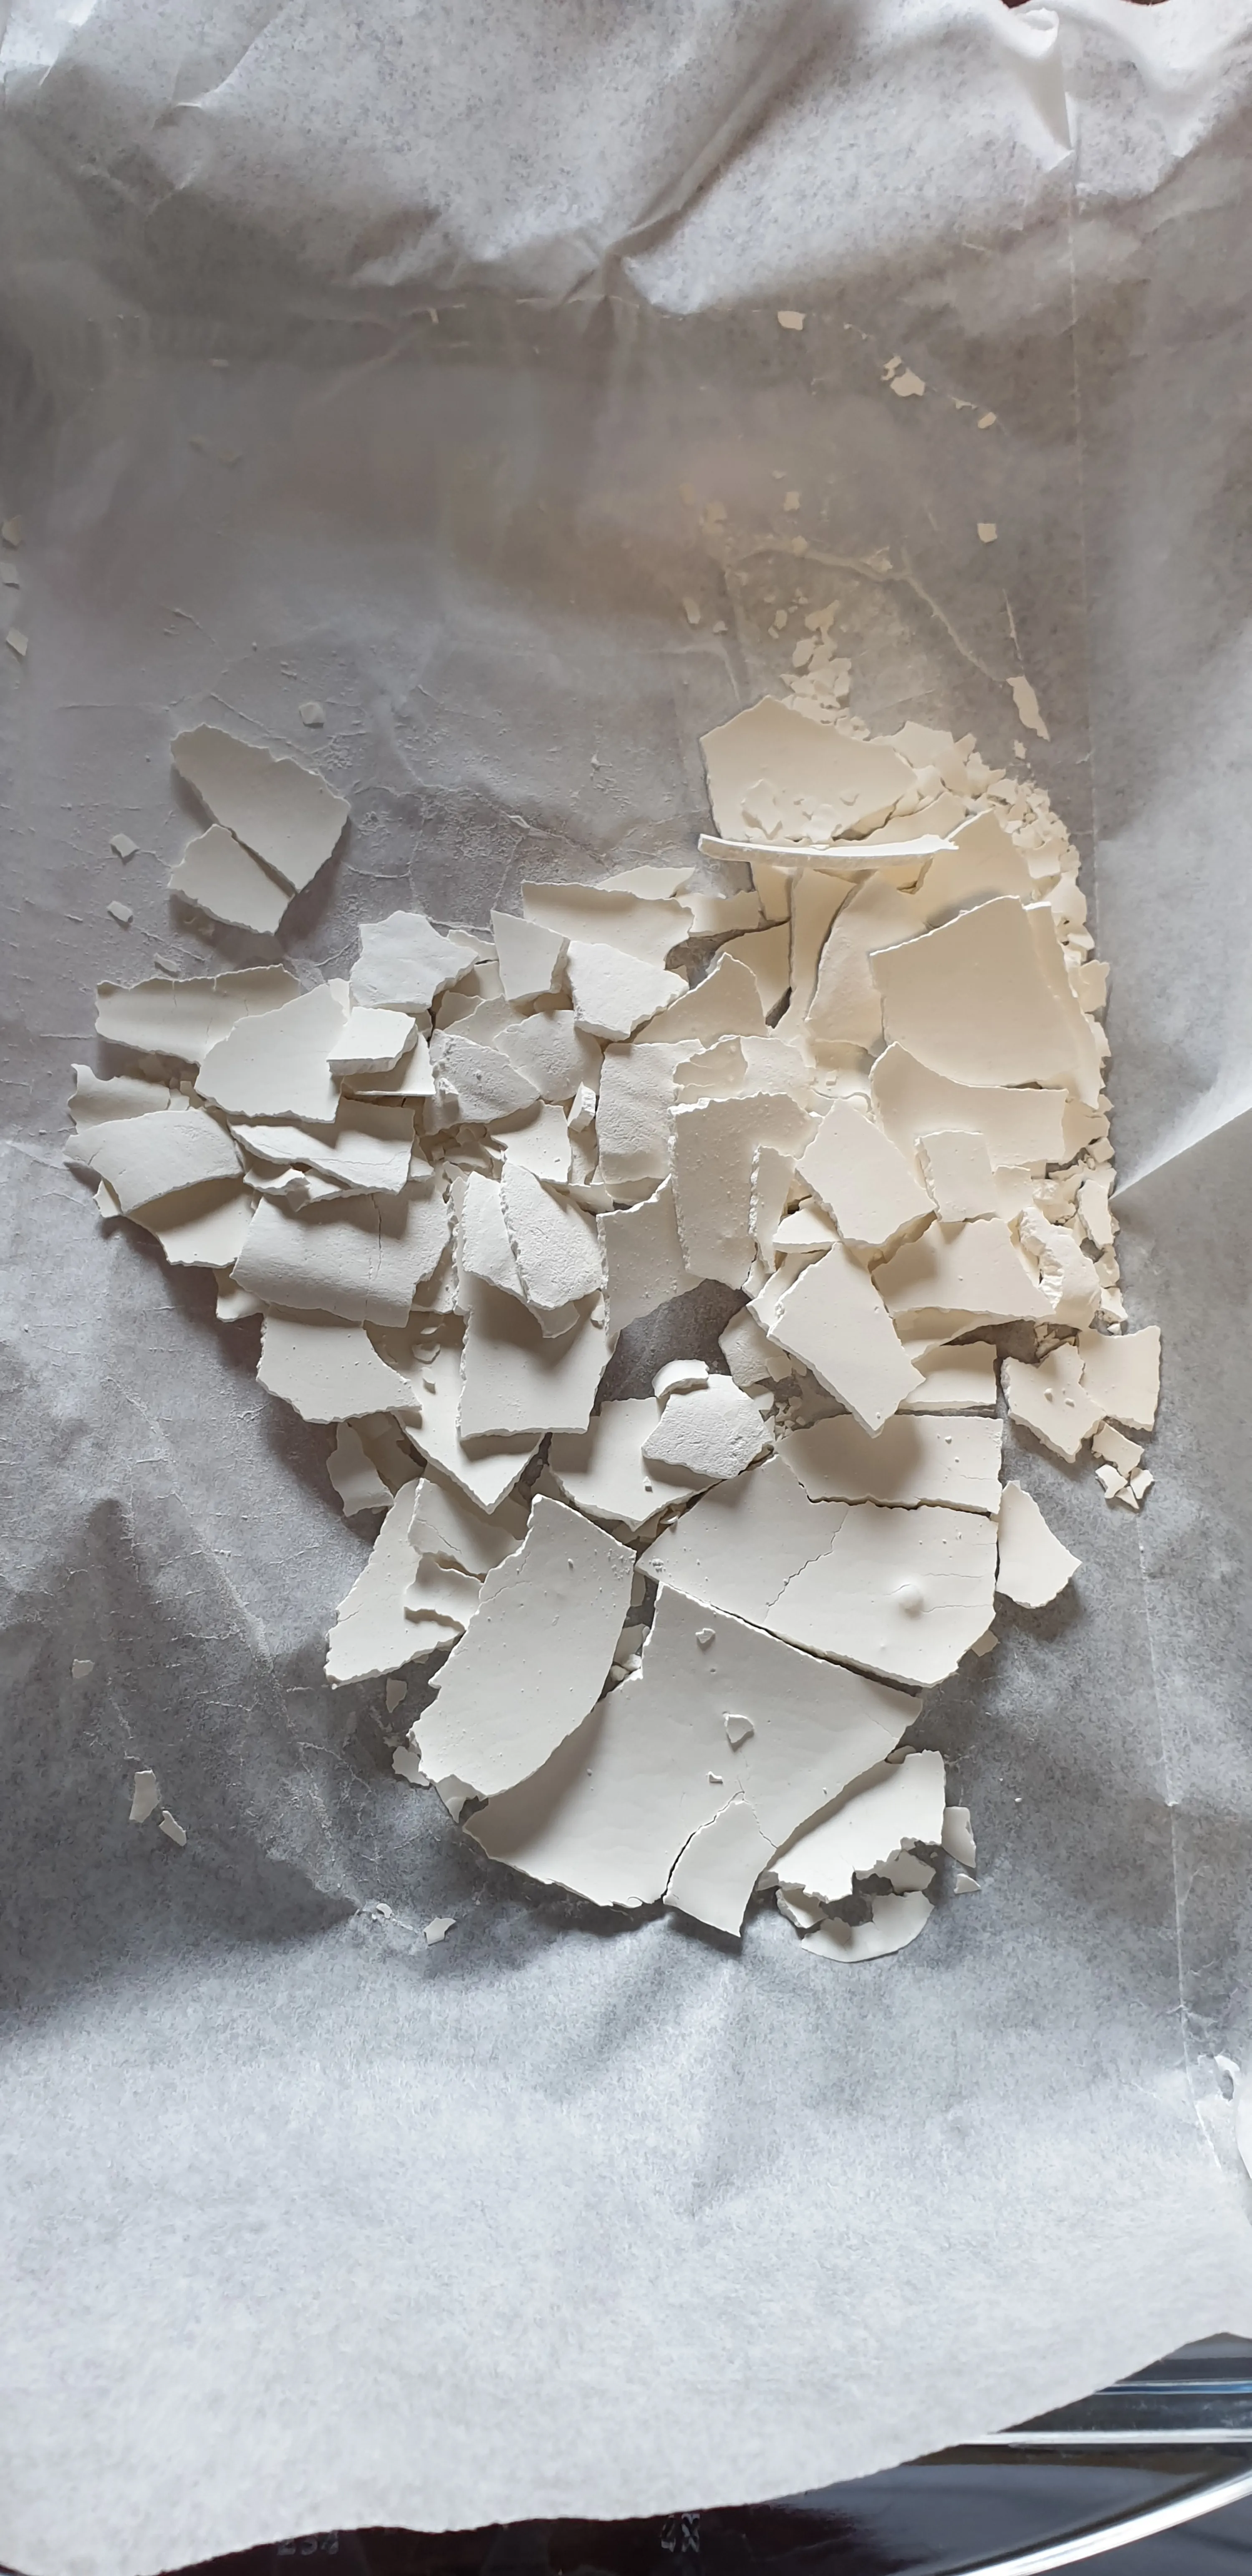
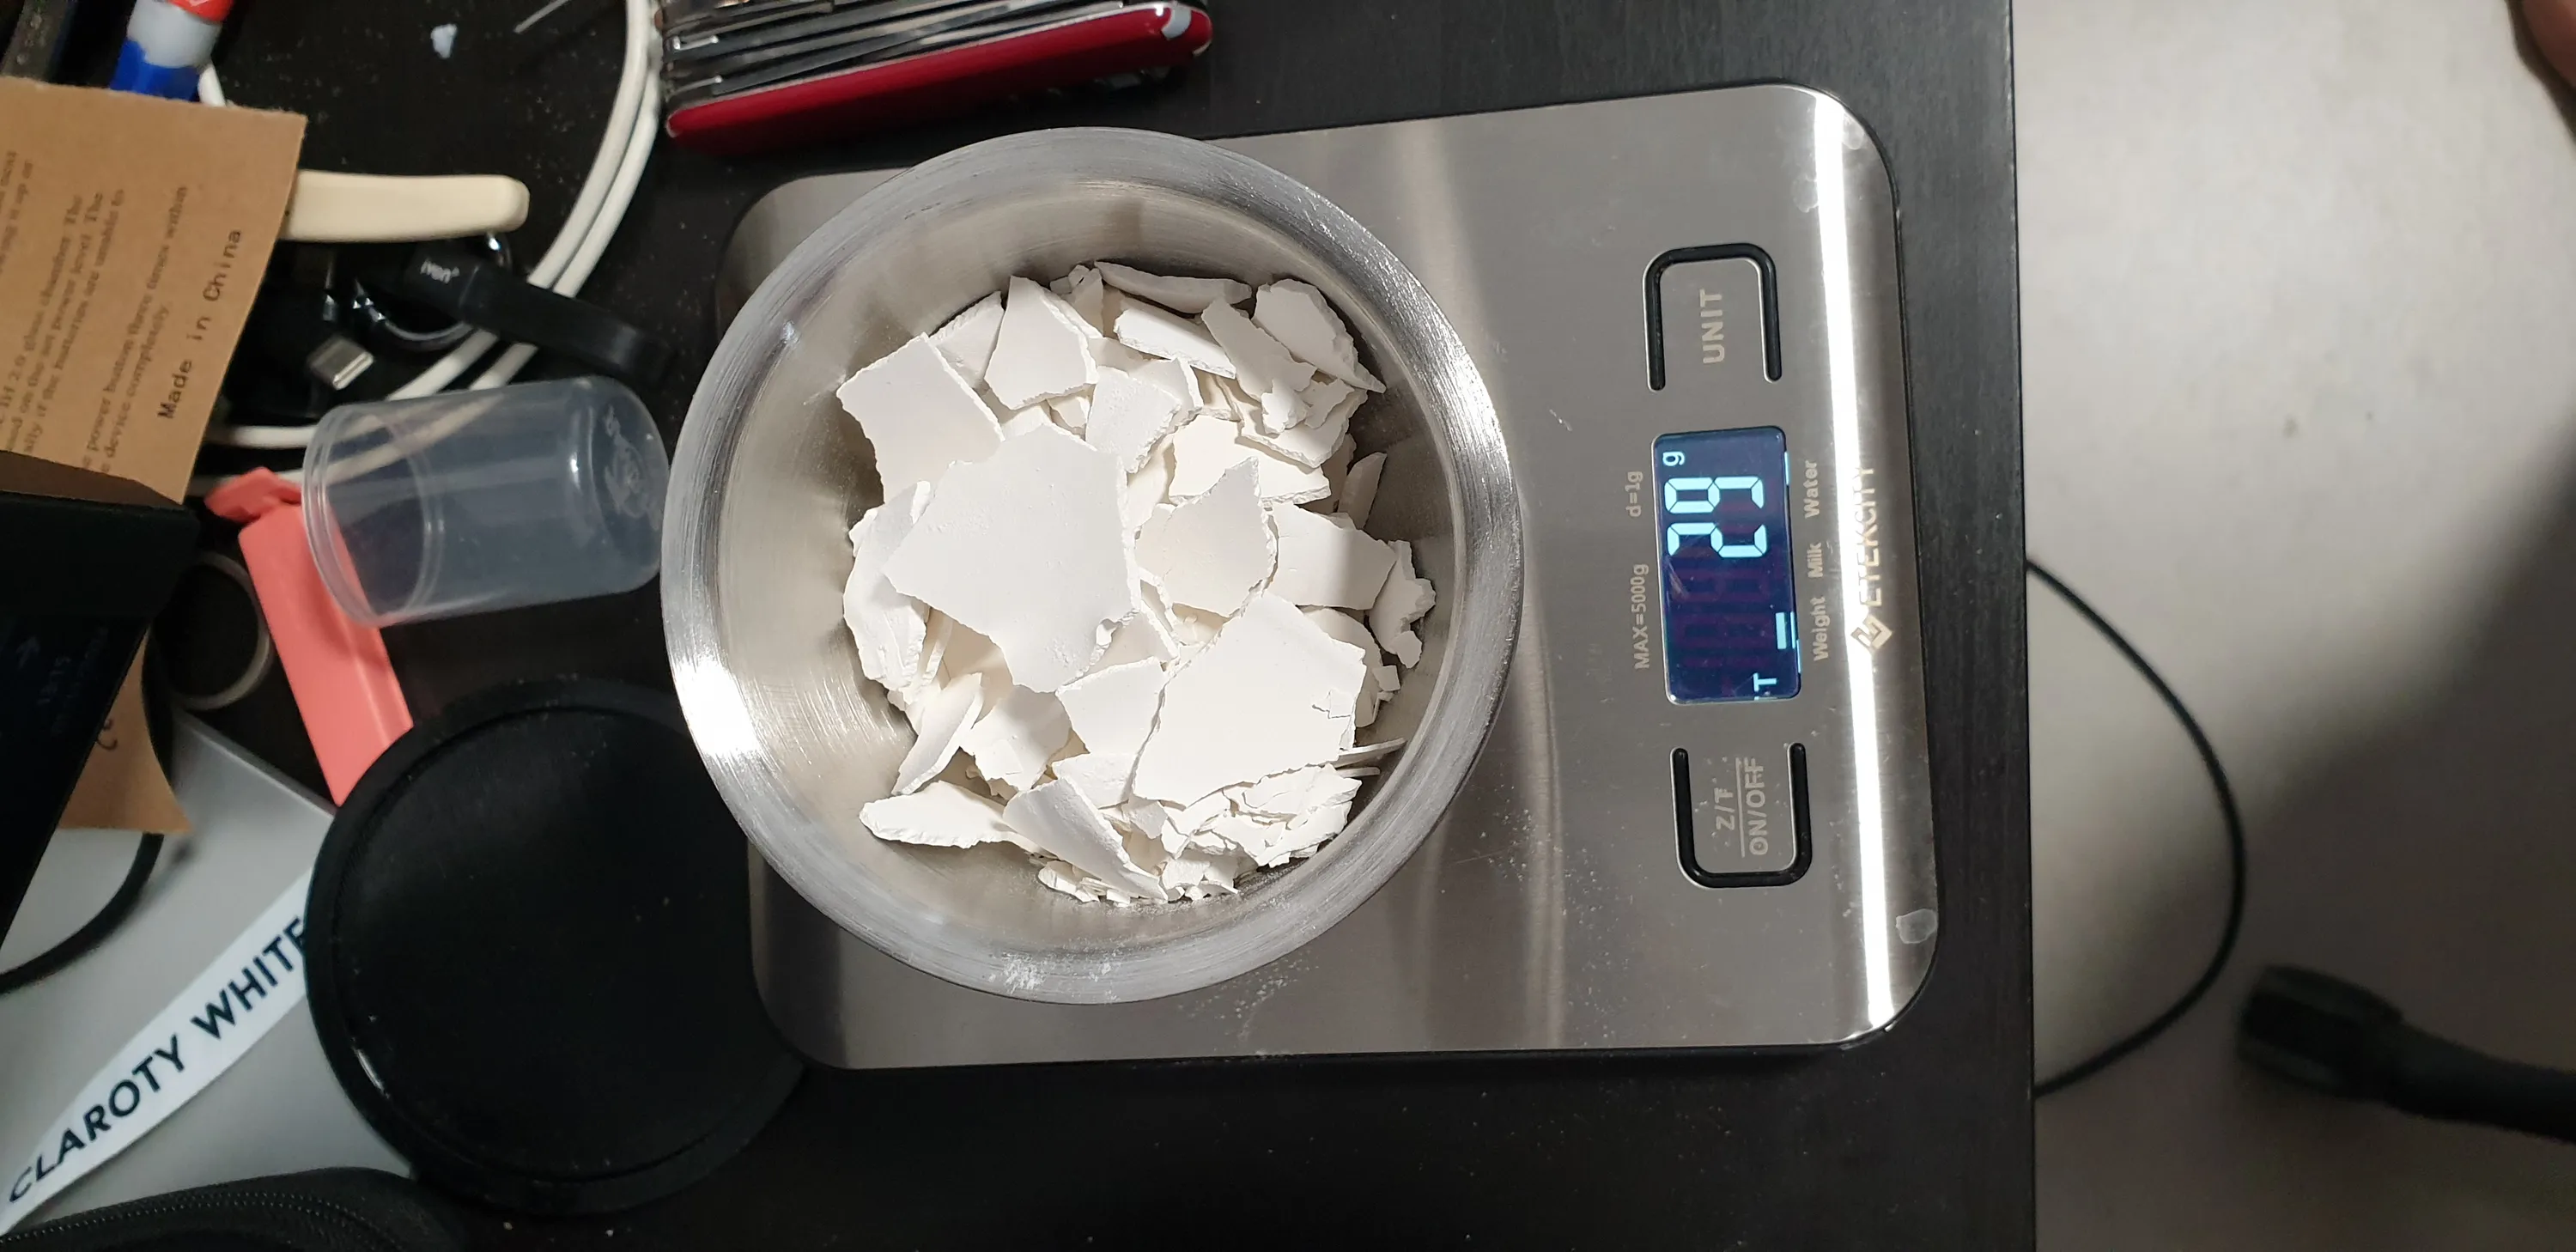
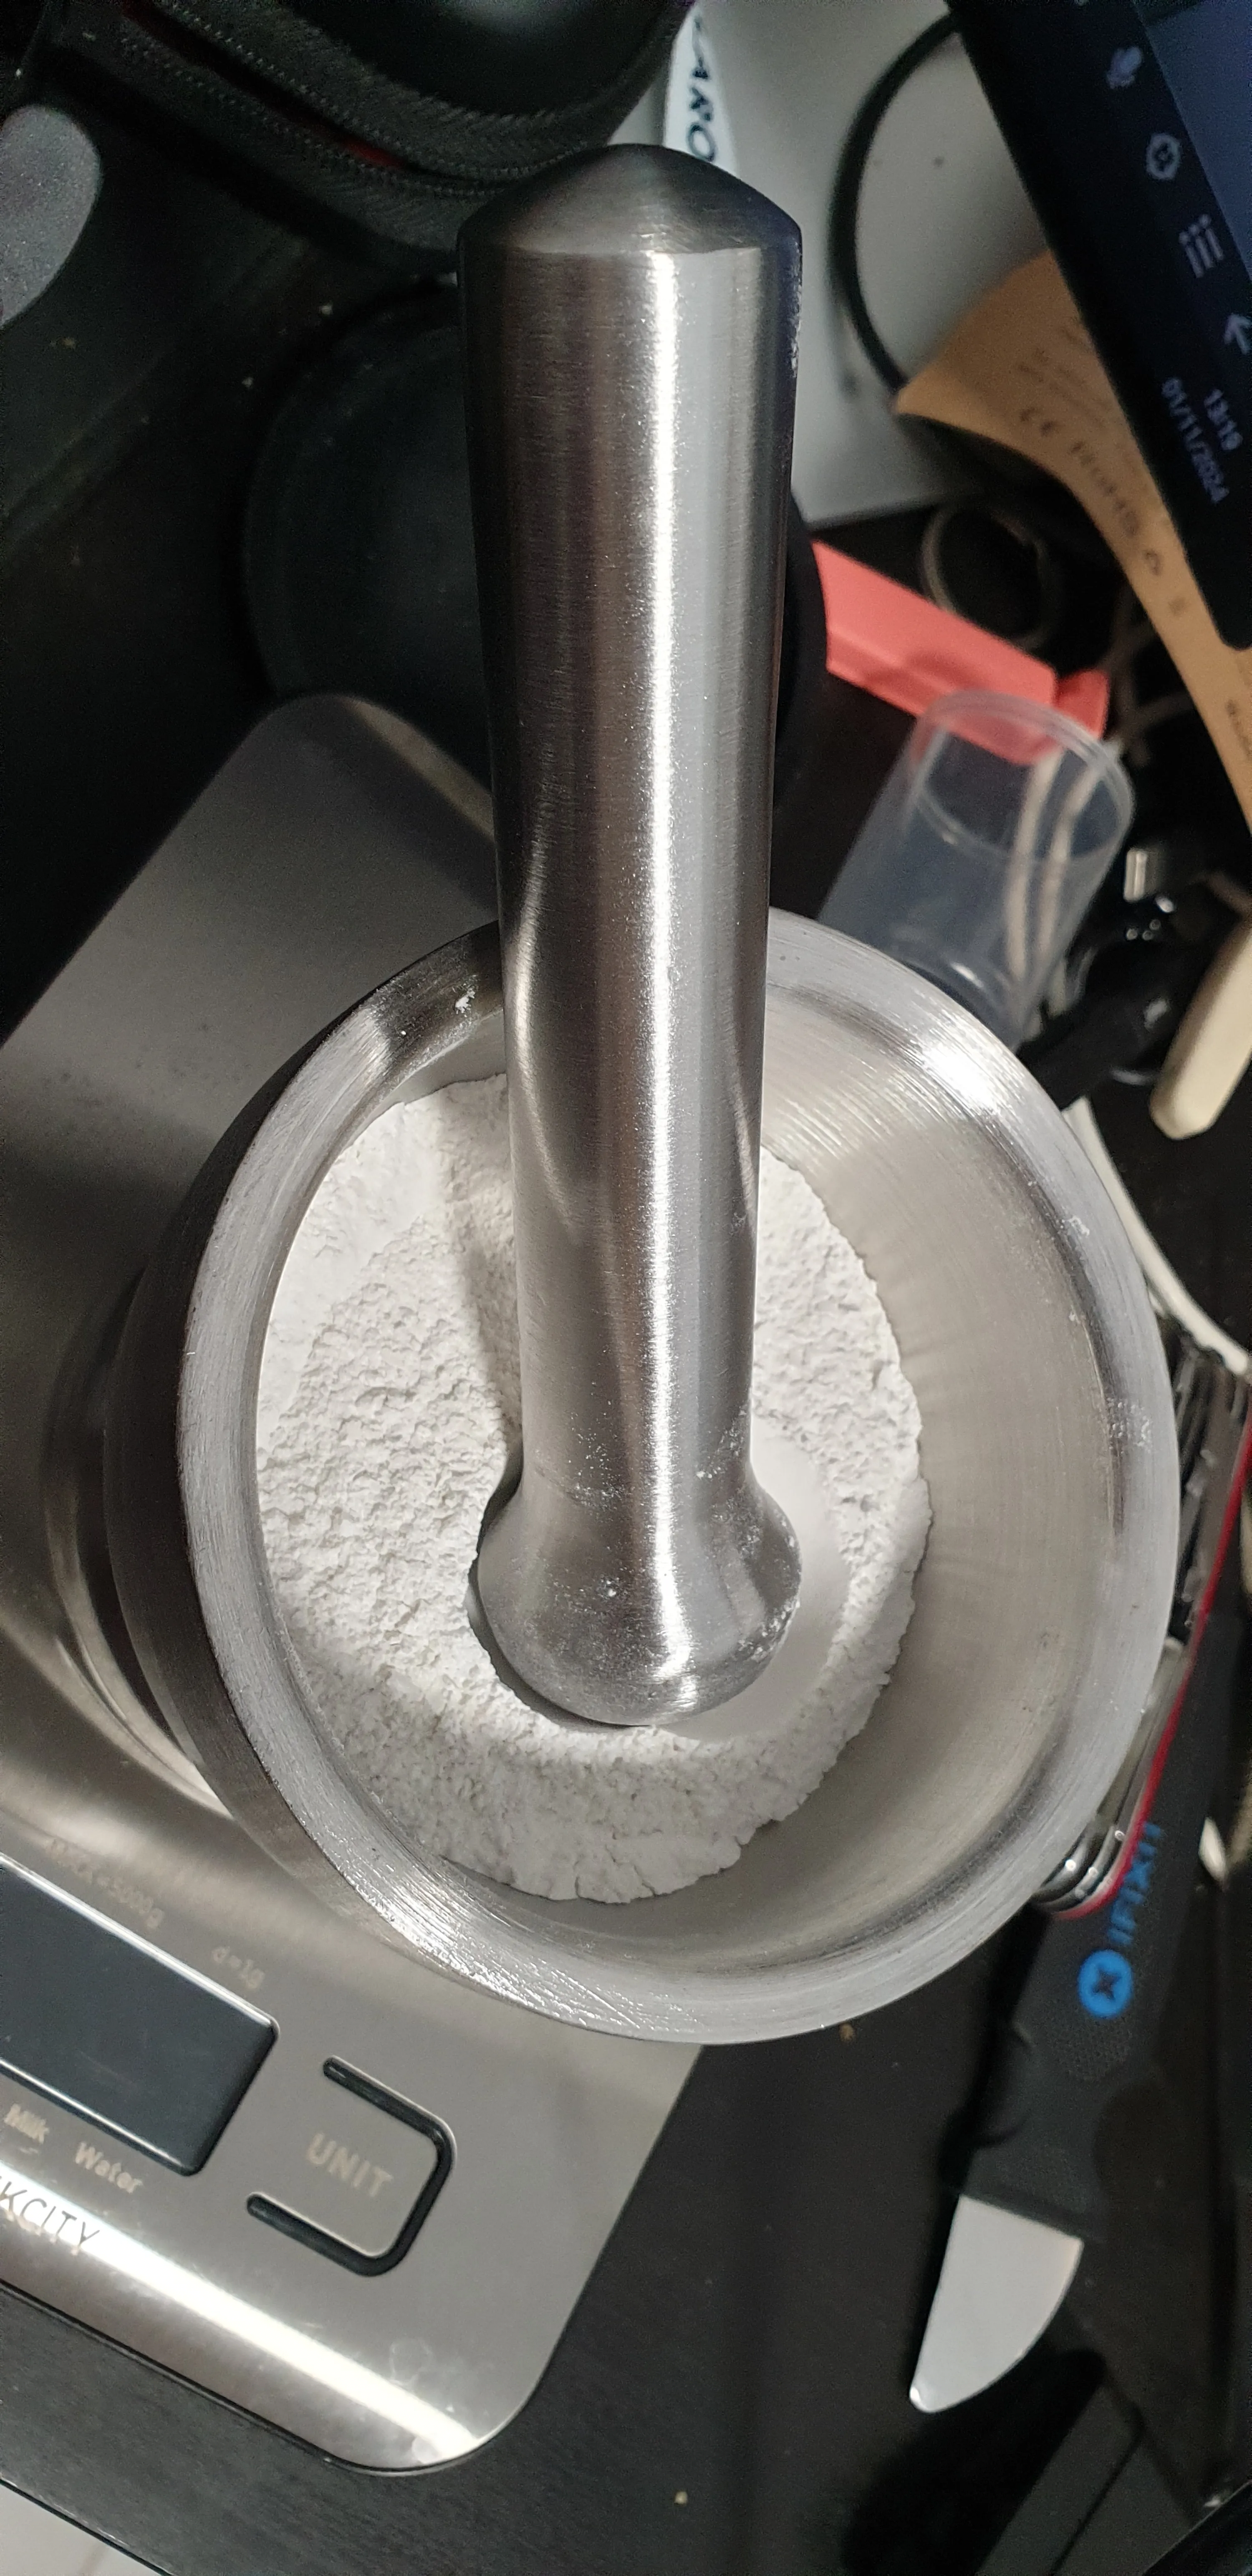
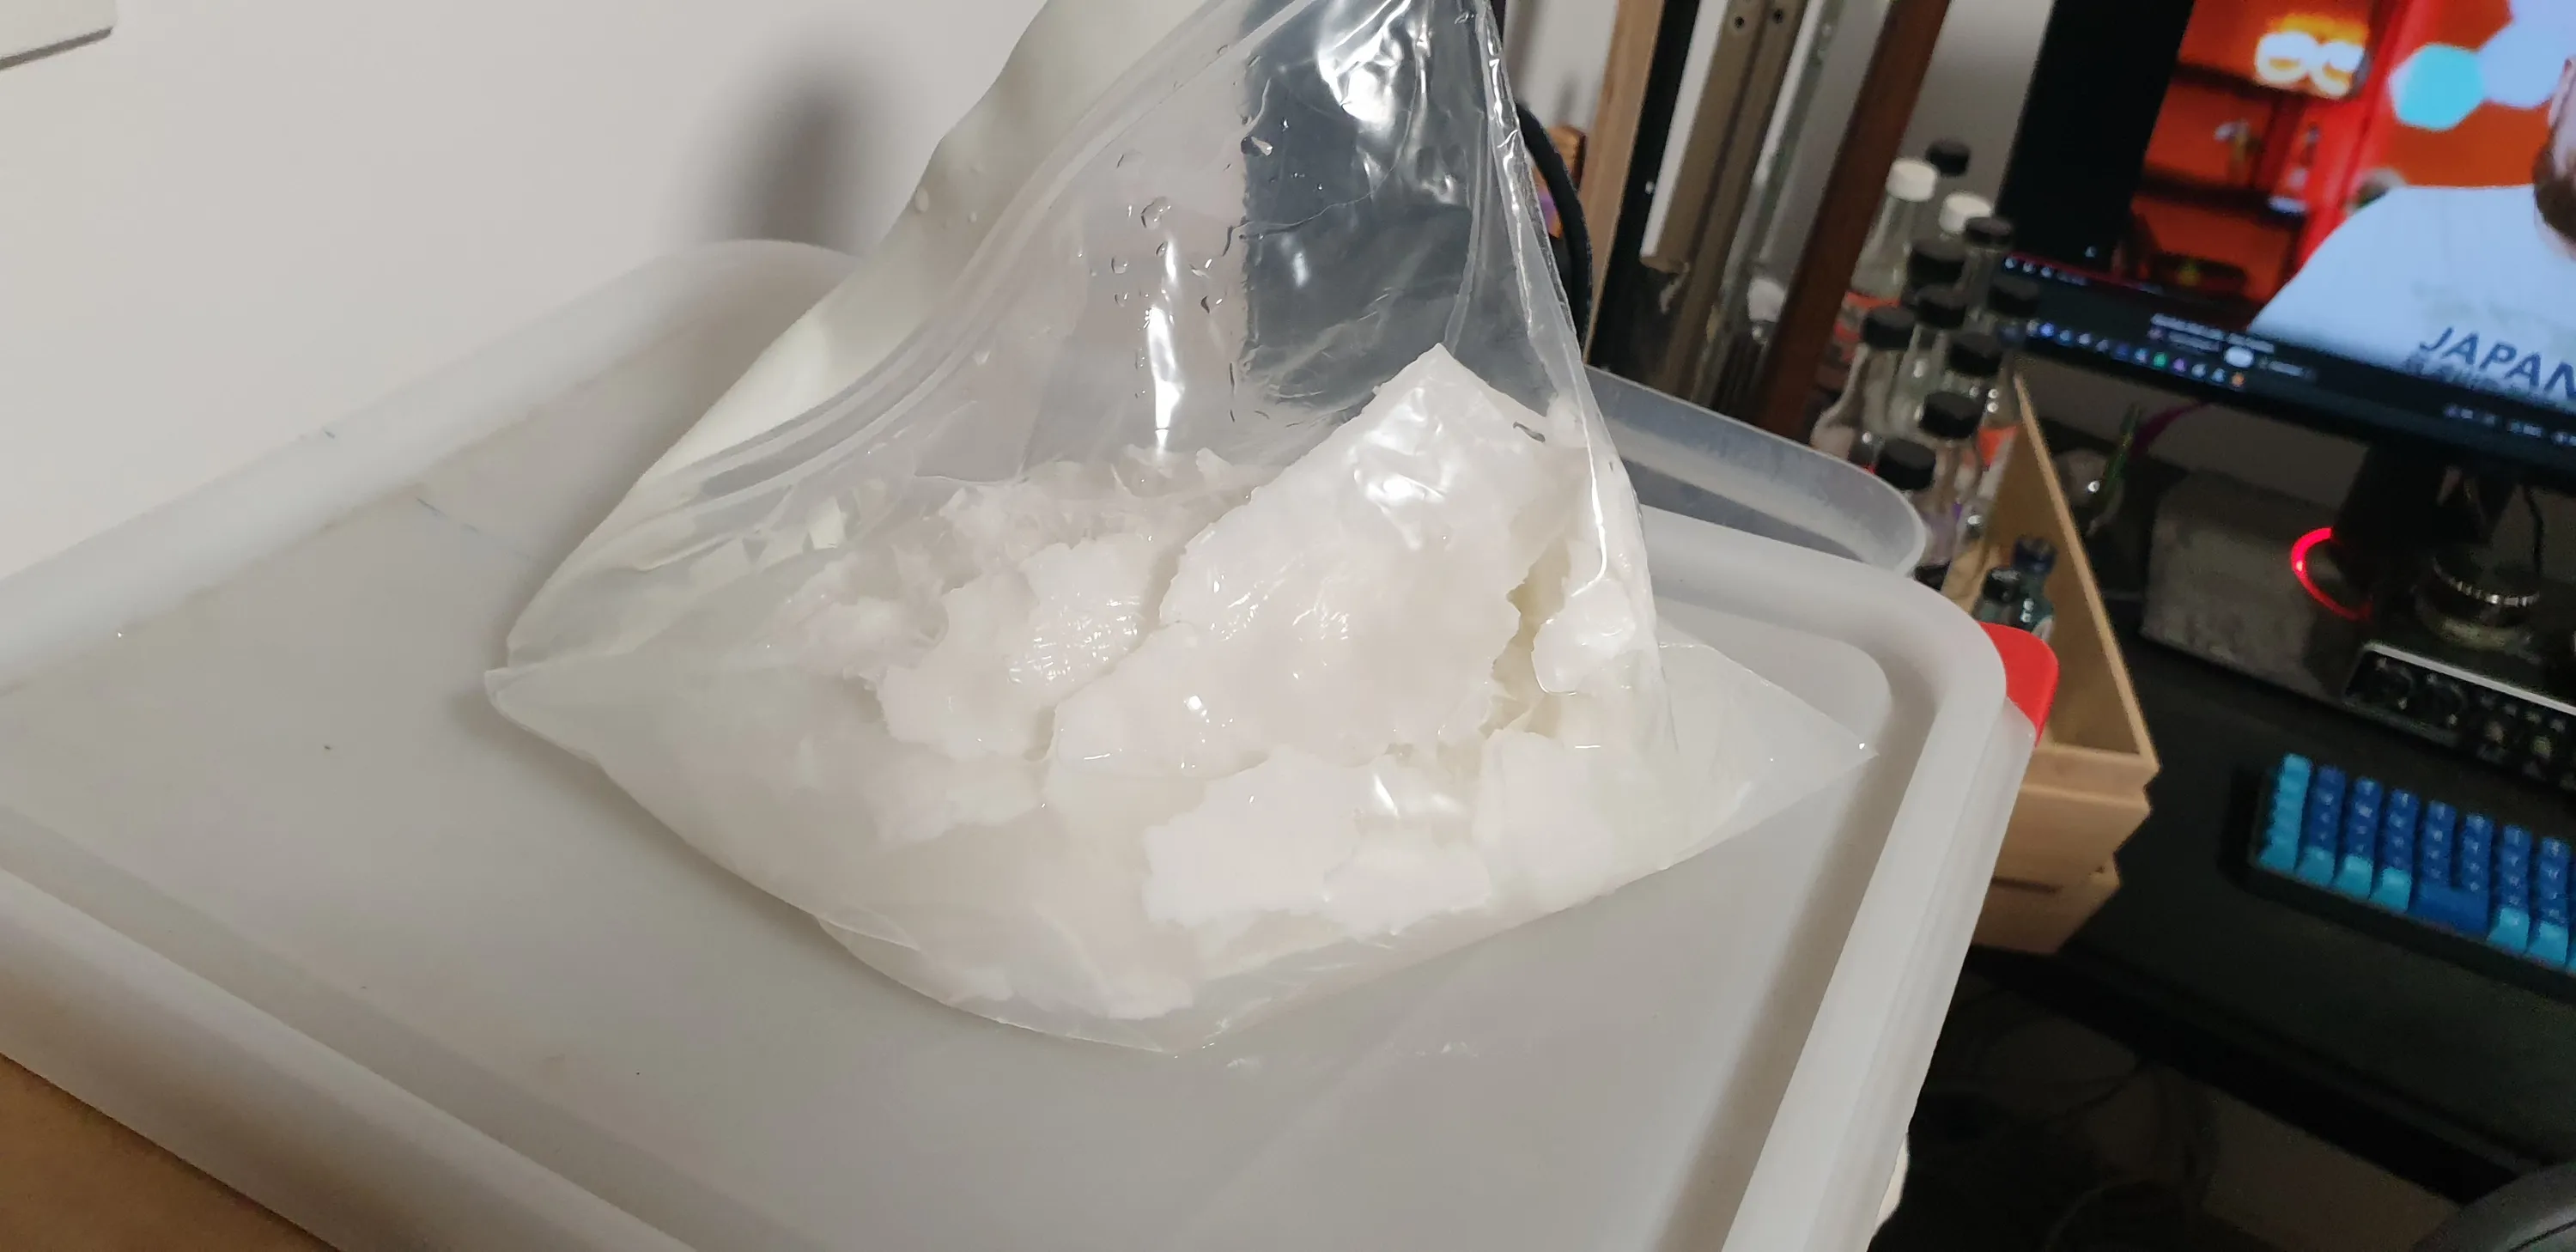
After that, the hard and dry material needs to be crushed into a powder with a mortar and pestle.
I found that this stage is the hardest and most time consuming, while also having a massive effect on the final product’s appearance. Take your time and do a good job here. The powder needs to be very fine and uniform. It’s best to use a sieve to filter out the fine powder and continue to crush the bigger parts until it’s all uniform and fine enough. Another option is to discard of the bigger parts if you only need a little bit of powder, like I do. I’ll never use all the powder that I made, so there’s no real benefit in trying to get all the powder as fine as possible. Just pulverize and filter as much as you need and discard the rest. It’ll make your life much easier.
After the powder is ready, it’s just a matter of mixing it well with the casting resin and letting it solidify in the mold.
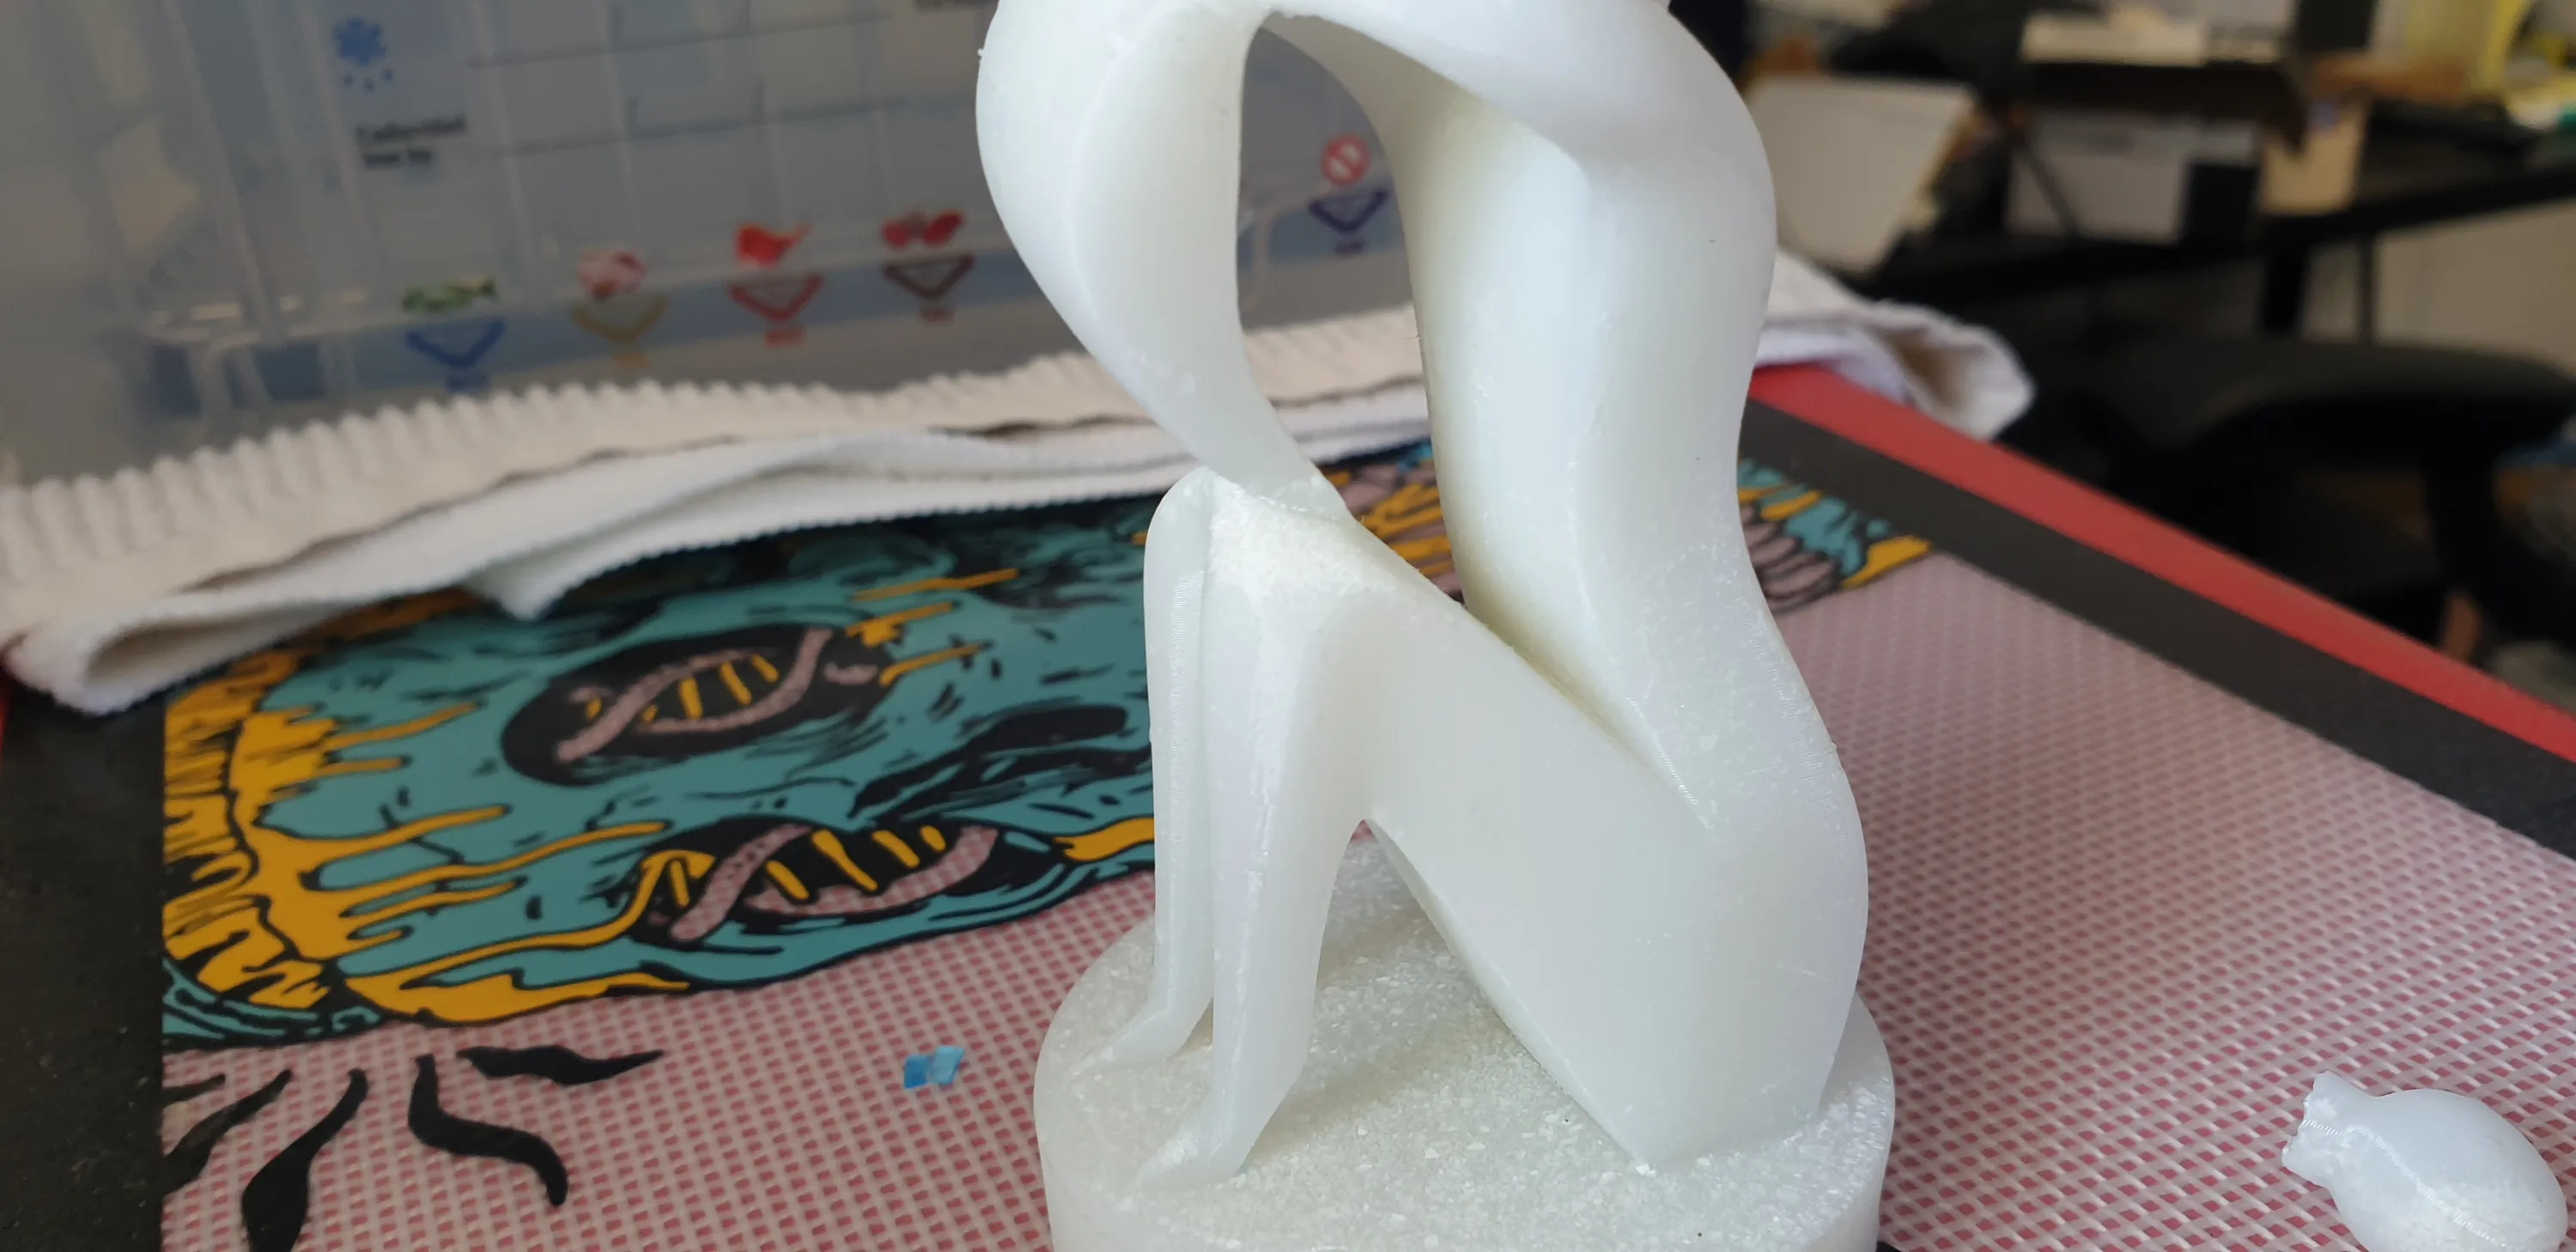
Mold Design Challenges
The specific model I chose was very challenging to cast. It has a loop where the hands of the mother and child meet. This means that it can’t just be pulled from the mold and even a two part mold that breaks away from the model is impossible. A tree or more parts mold might be possible, but it’s a tricky design, making it isn’t easy and it will mean more post processing will be needed on the final model. I chose to explore other methods first.
Trial 1: Lost PLA
There’s a technique in metal jewelry casting called lost wax. It involves making the model out of wax, making a mold around it (usually out of sand or plaster) and burning, melting or evaporating the wax through channels premade in the mold or added to the model, leaving a cavity in the shape of the model.
I’ll try to do the same with PLA.
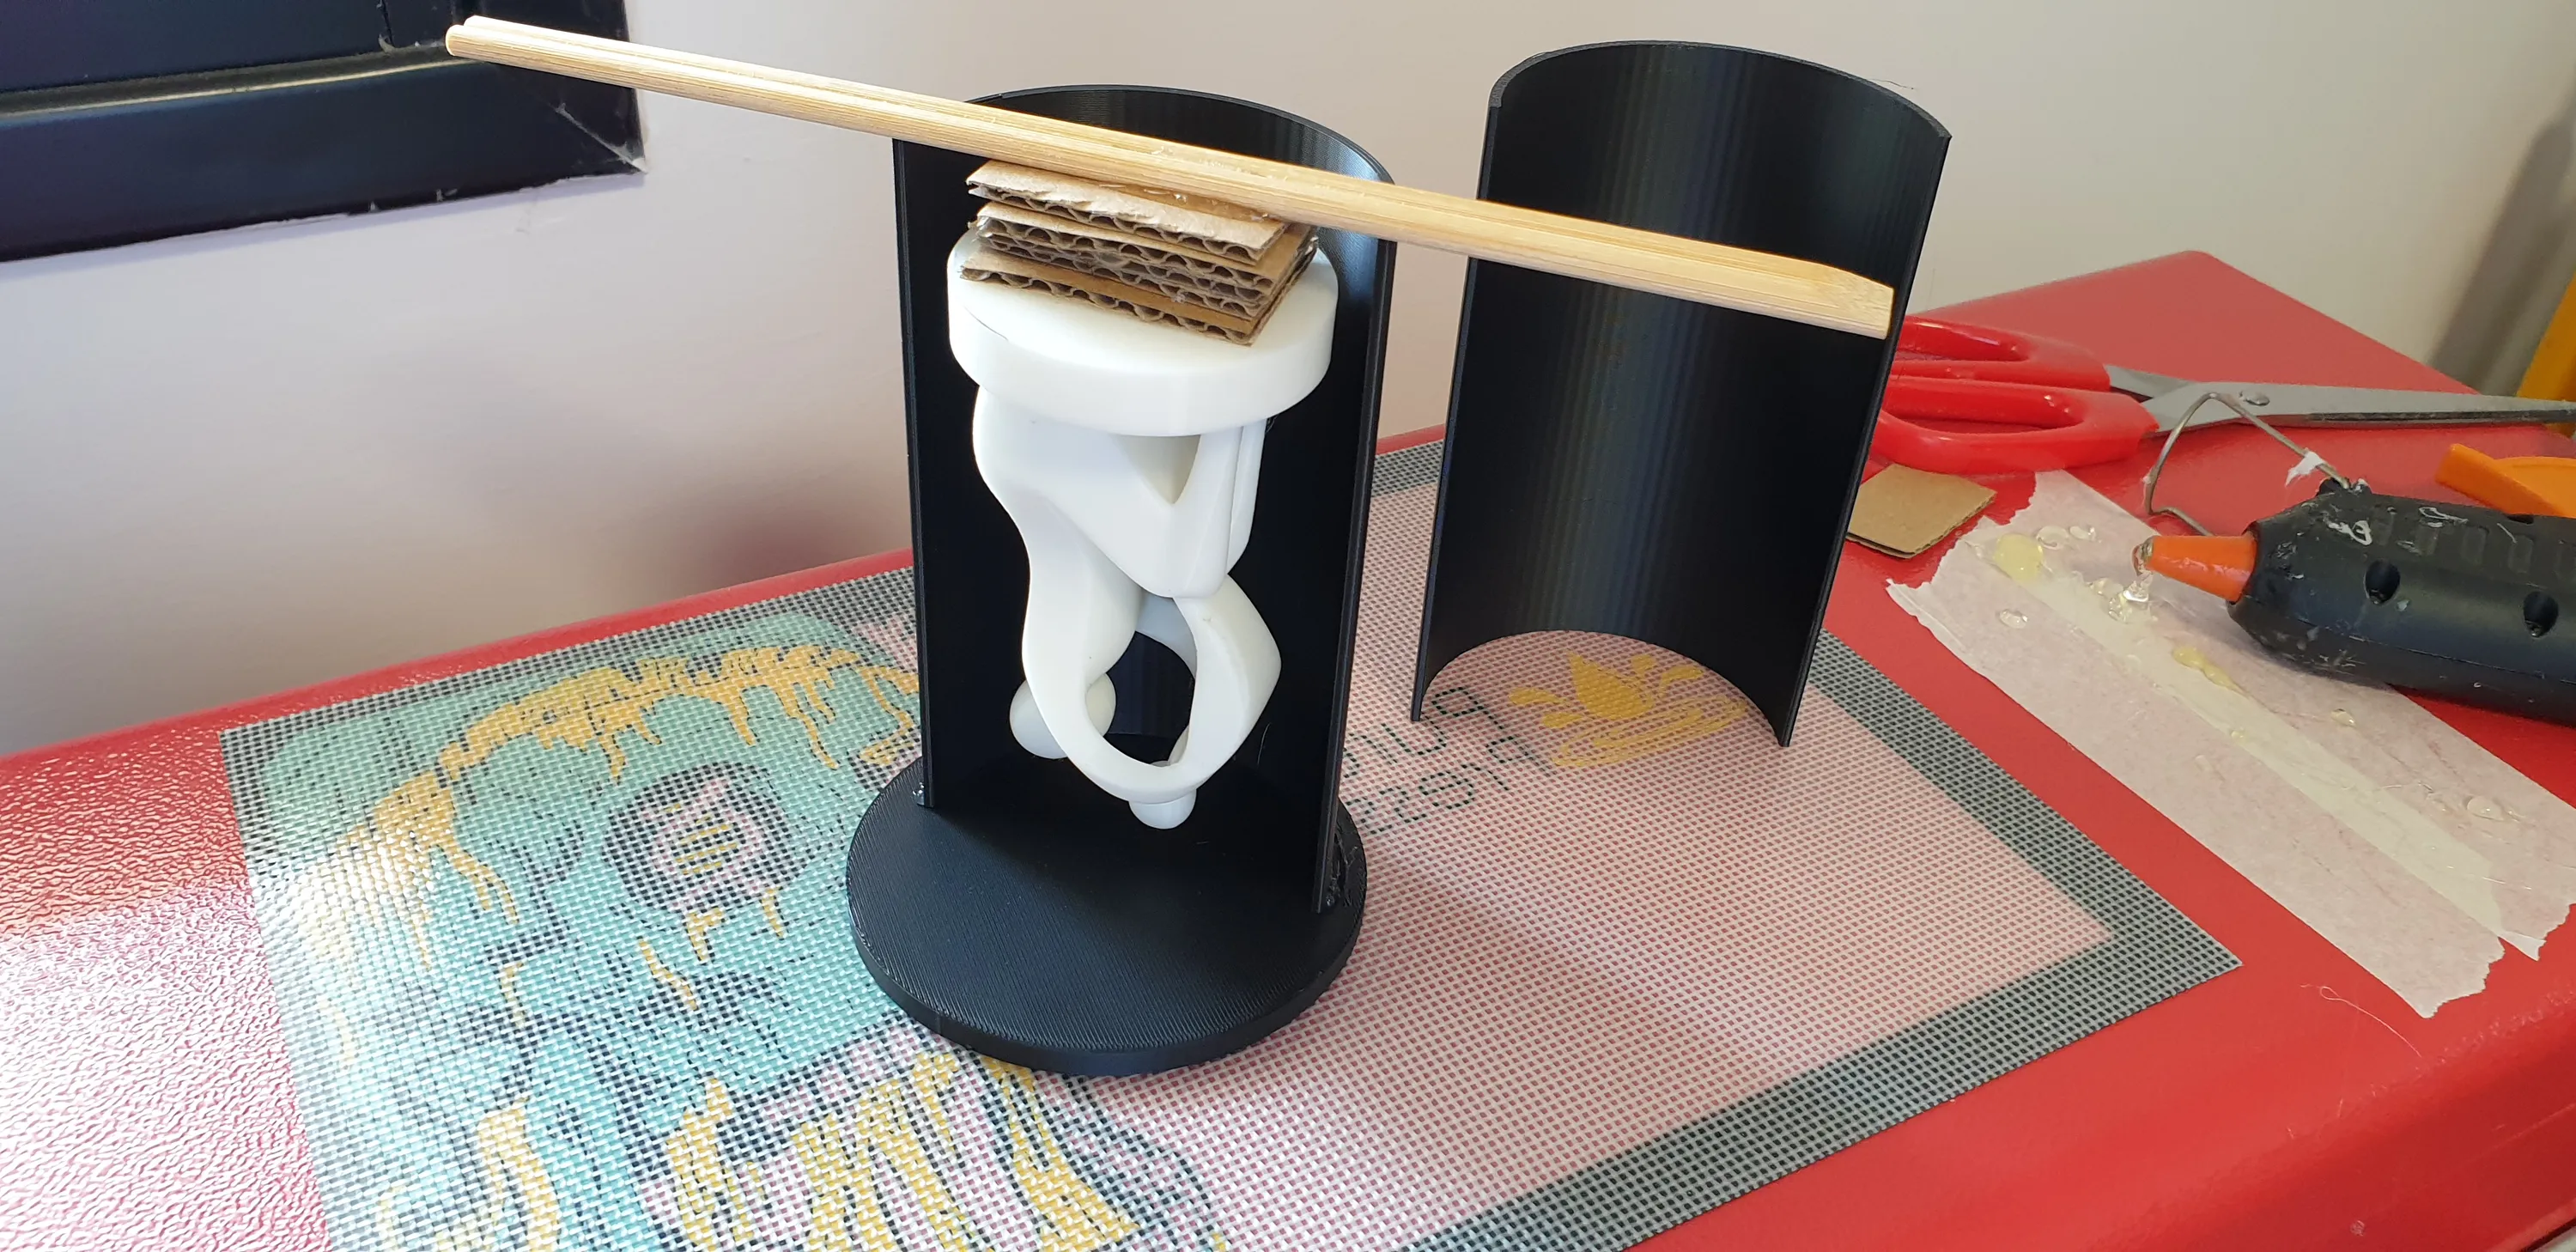
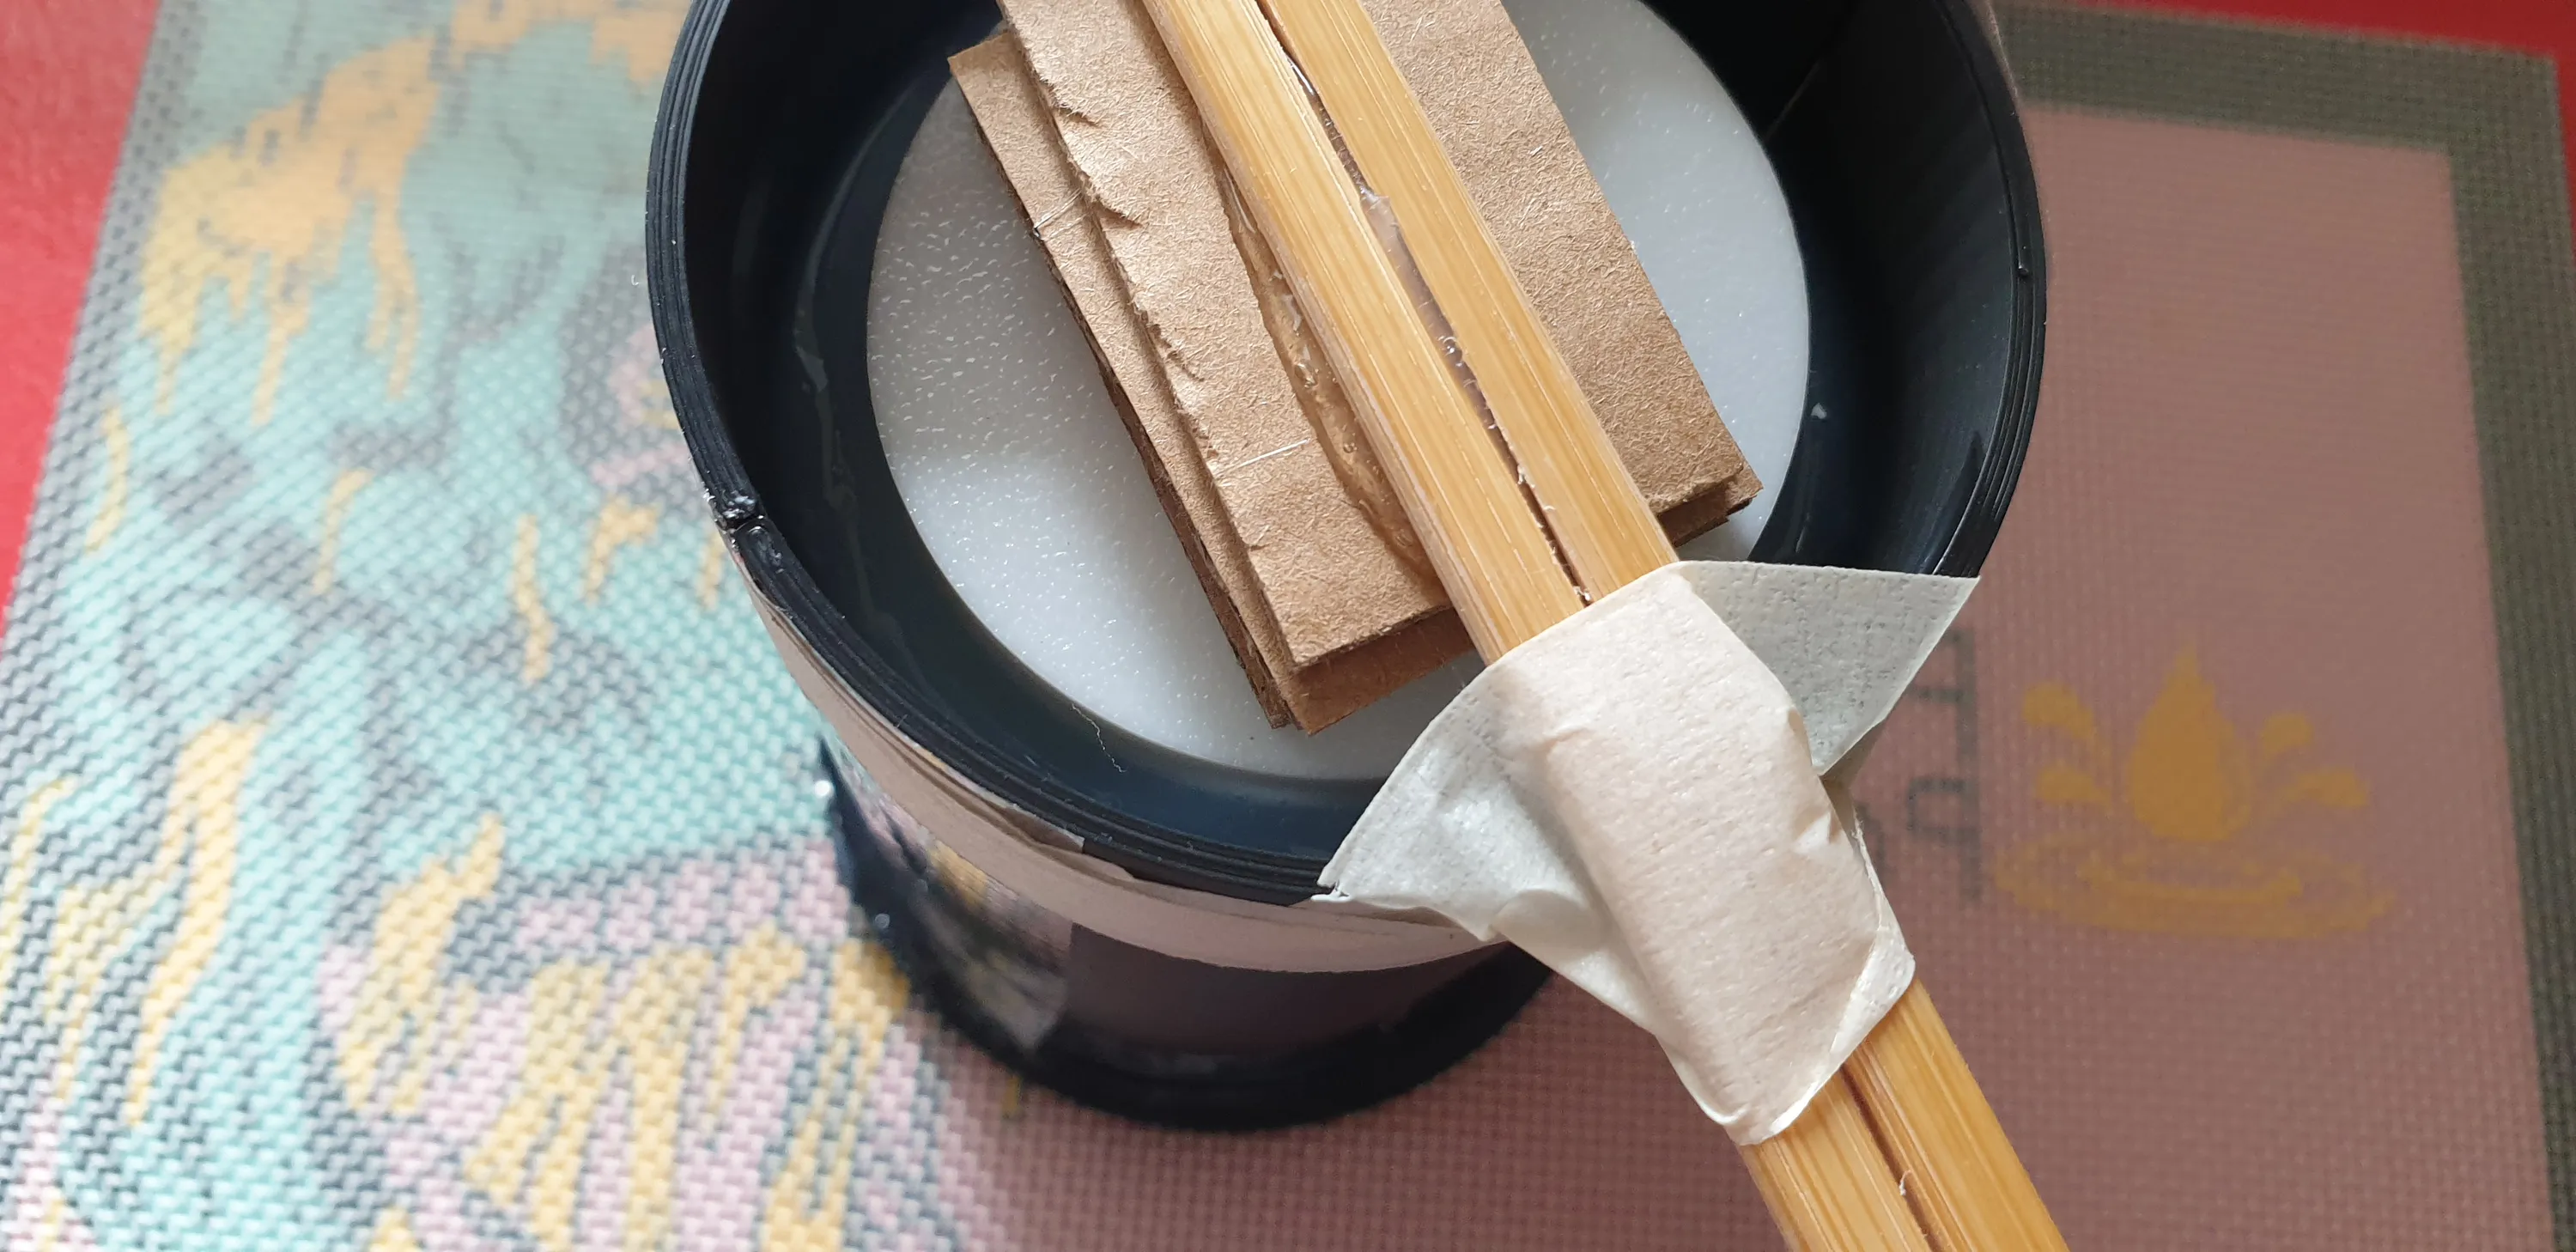
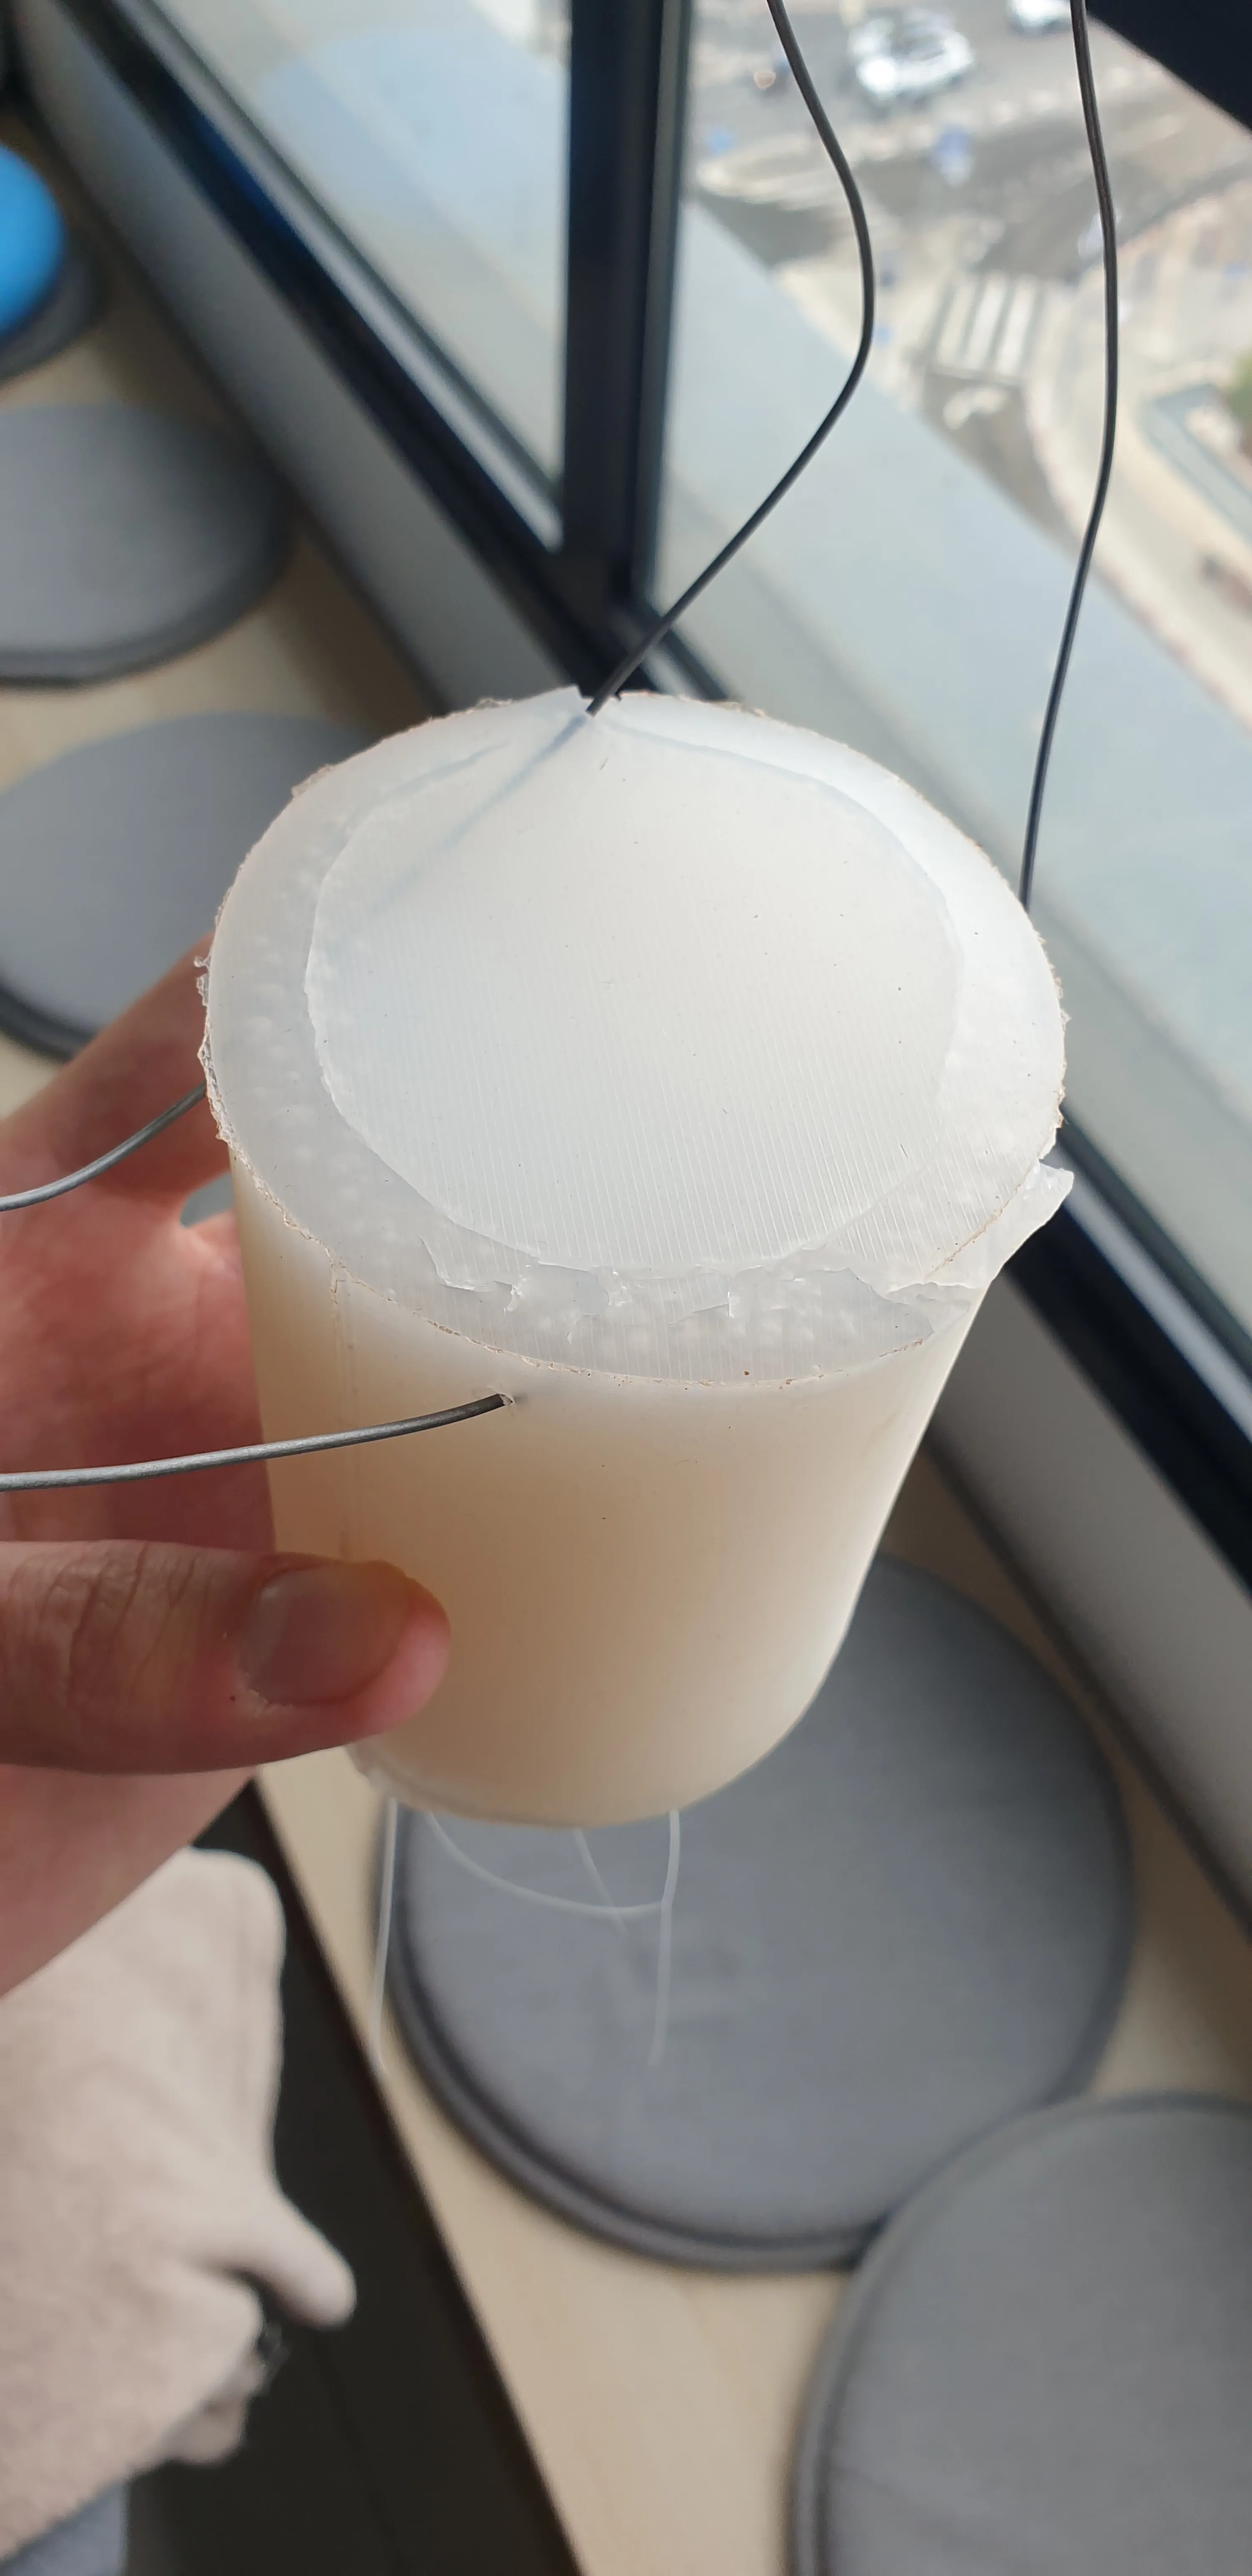
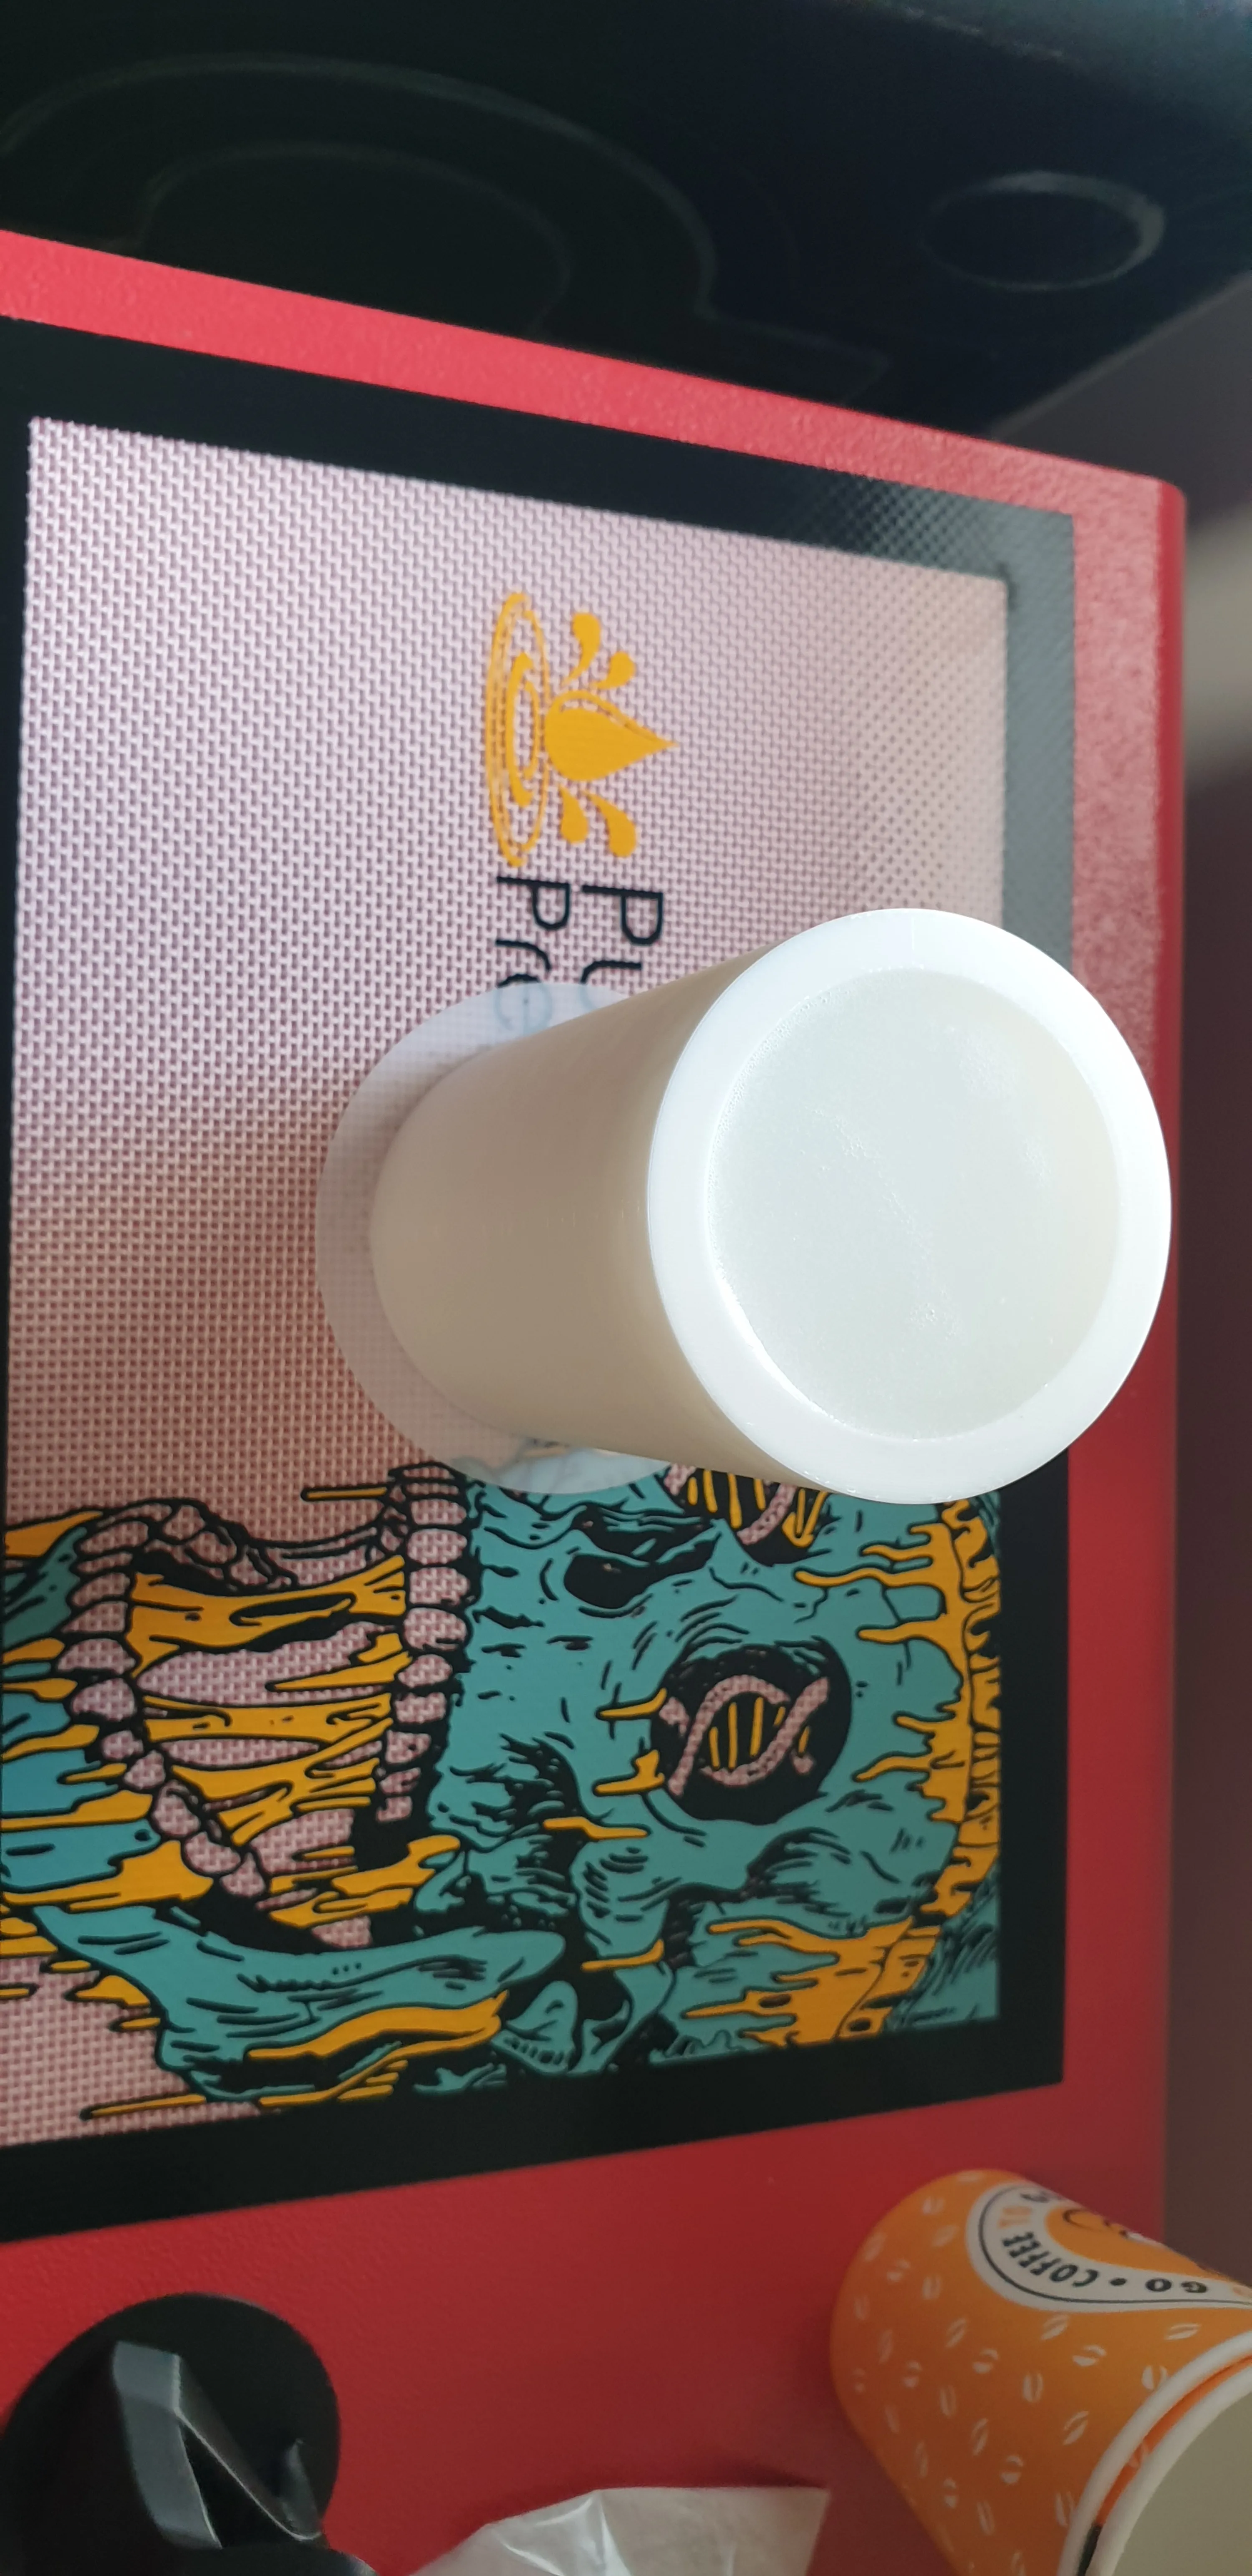
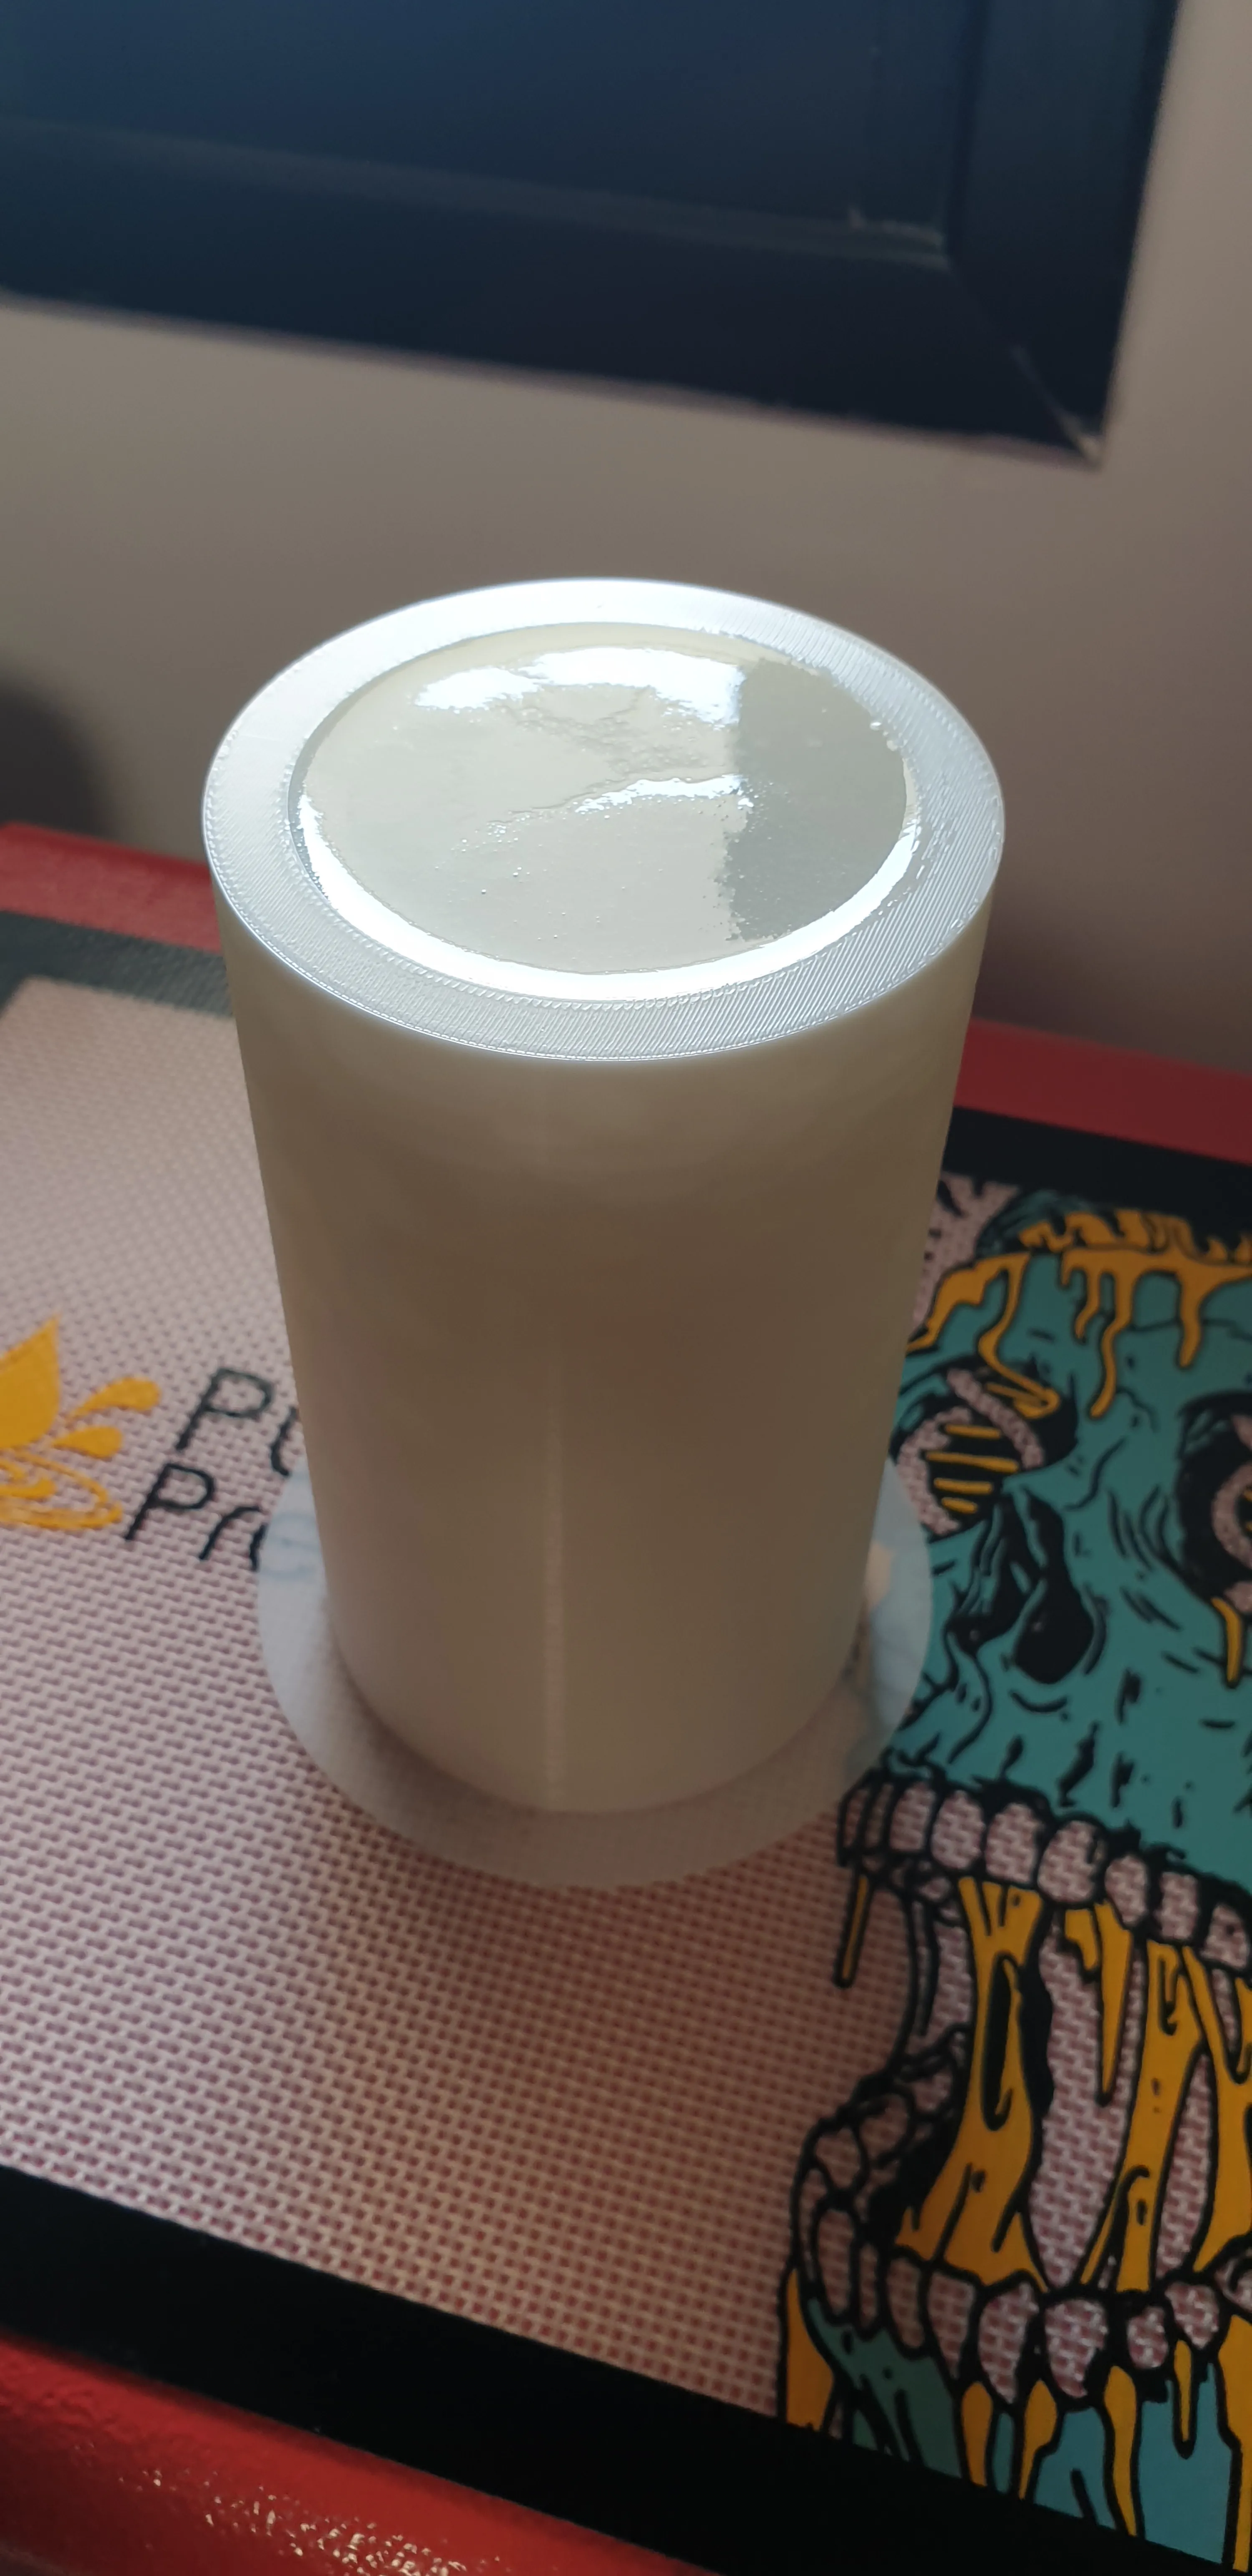
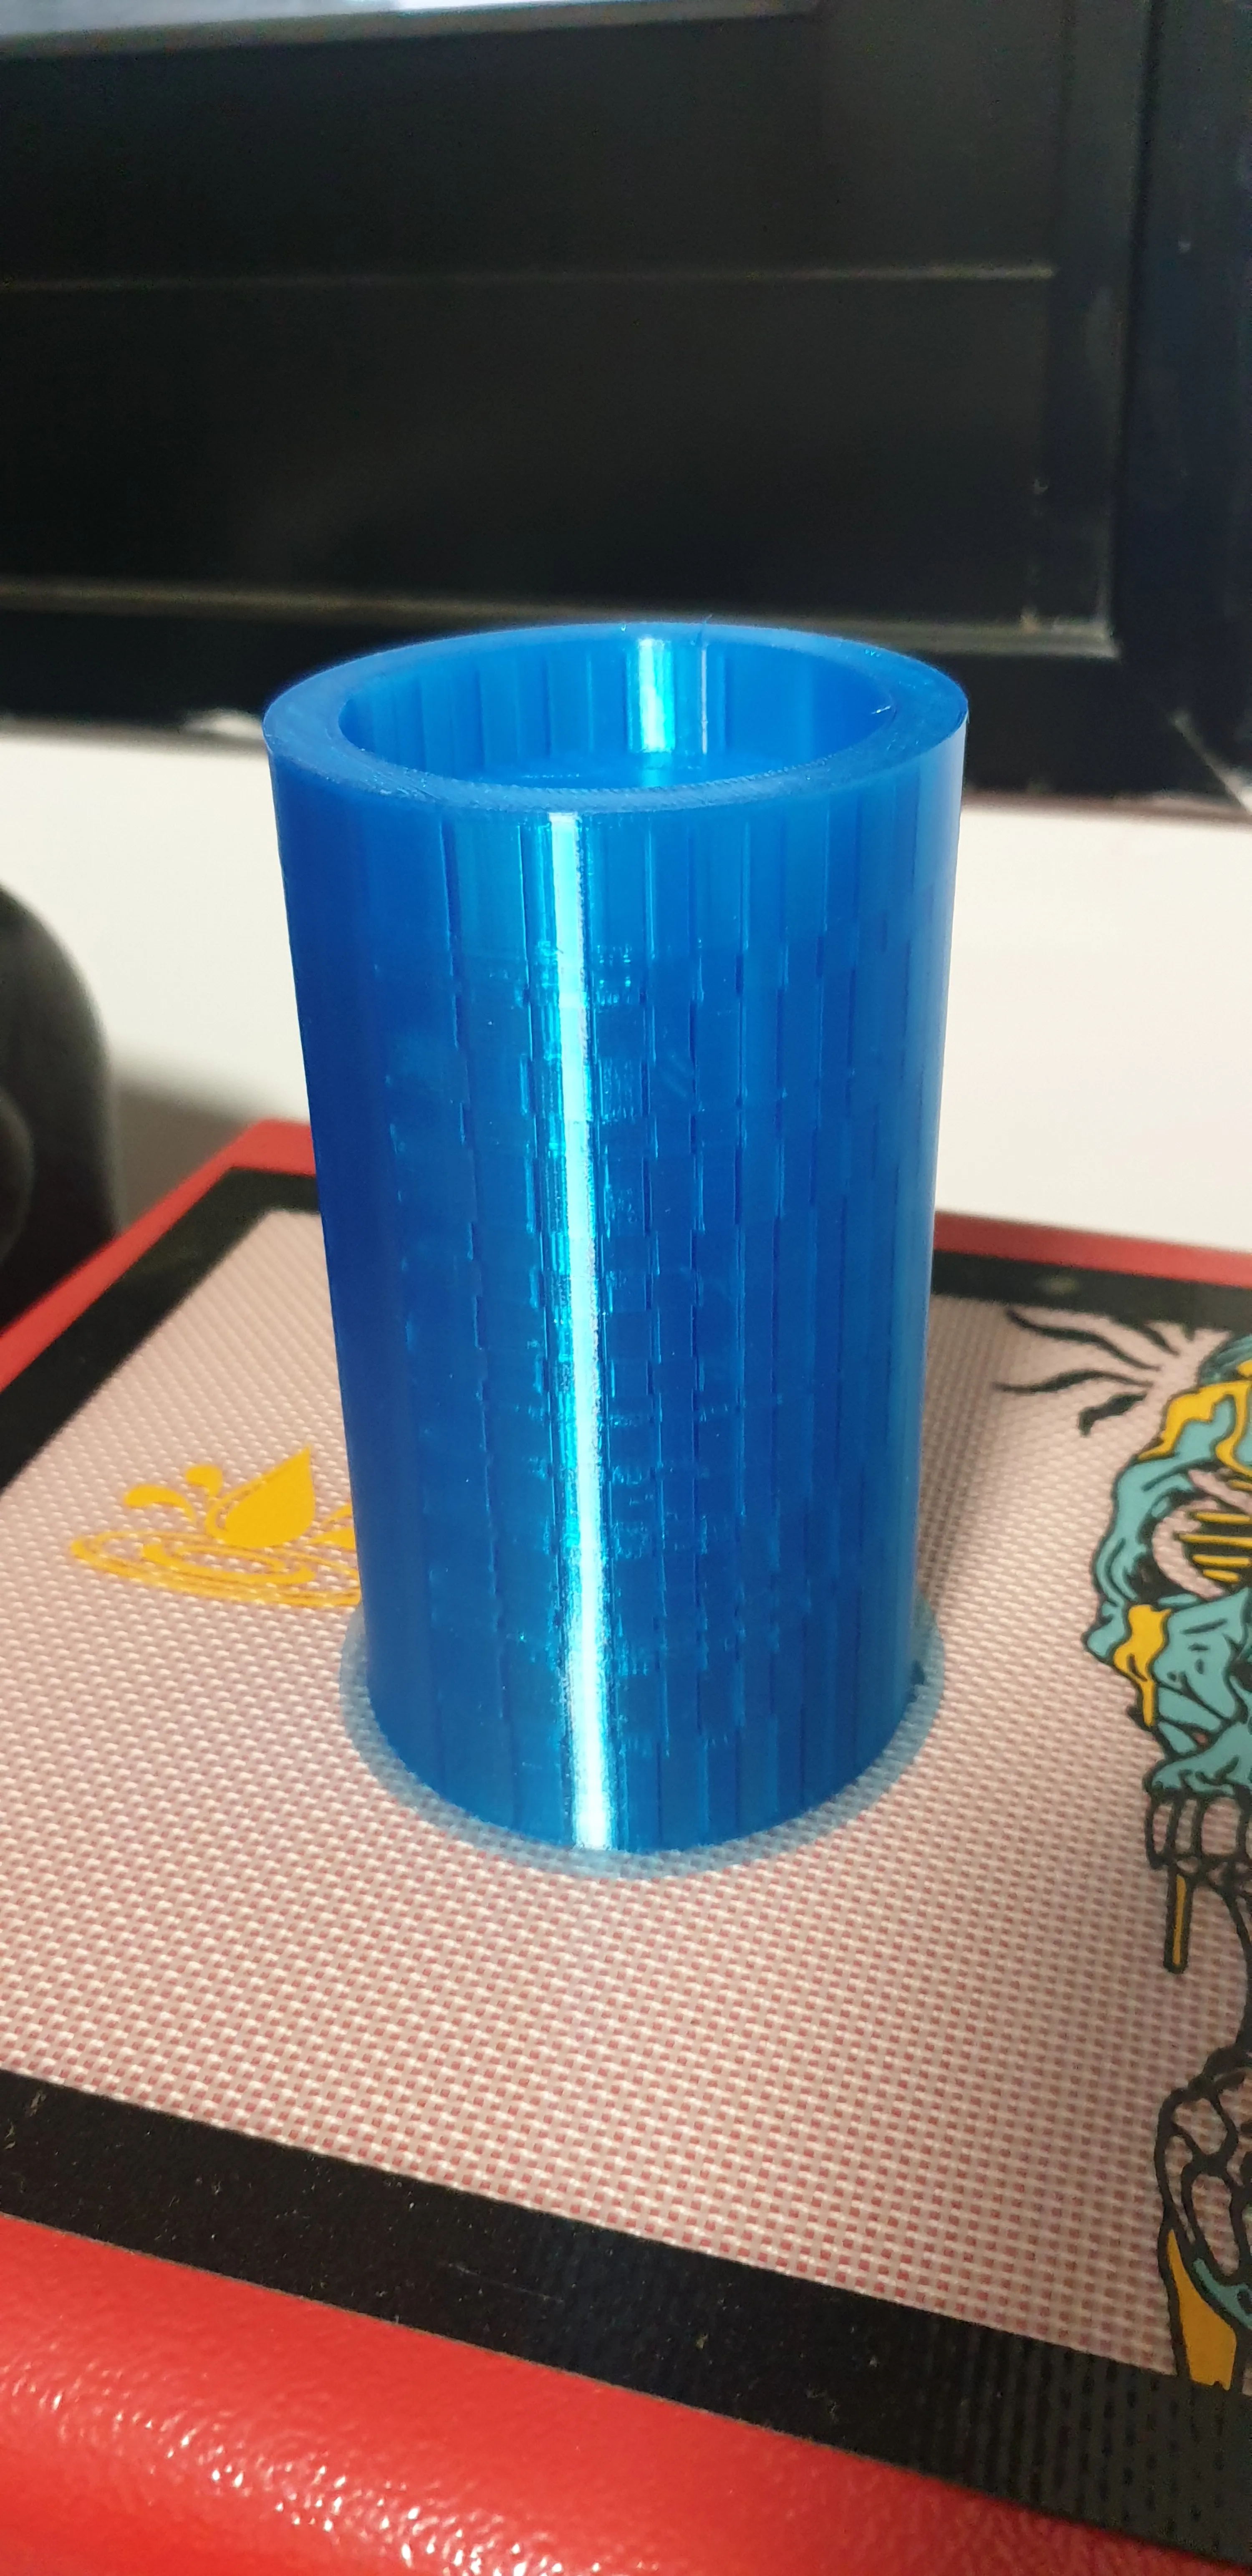
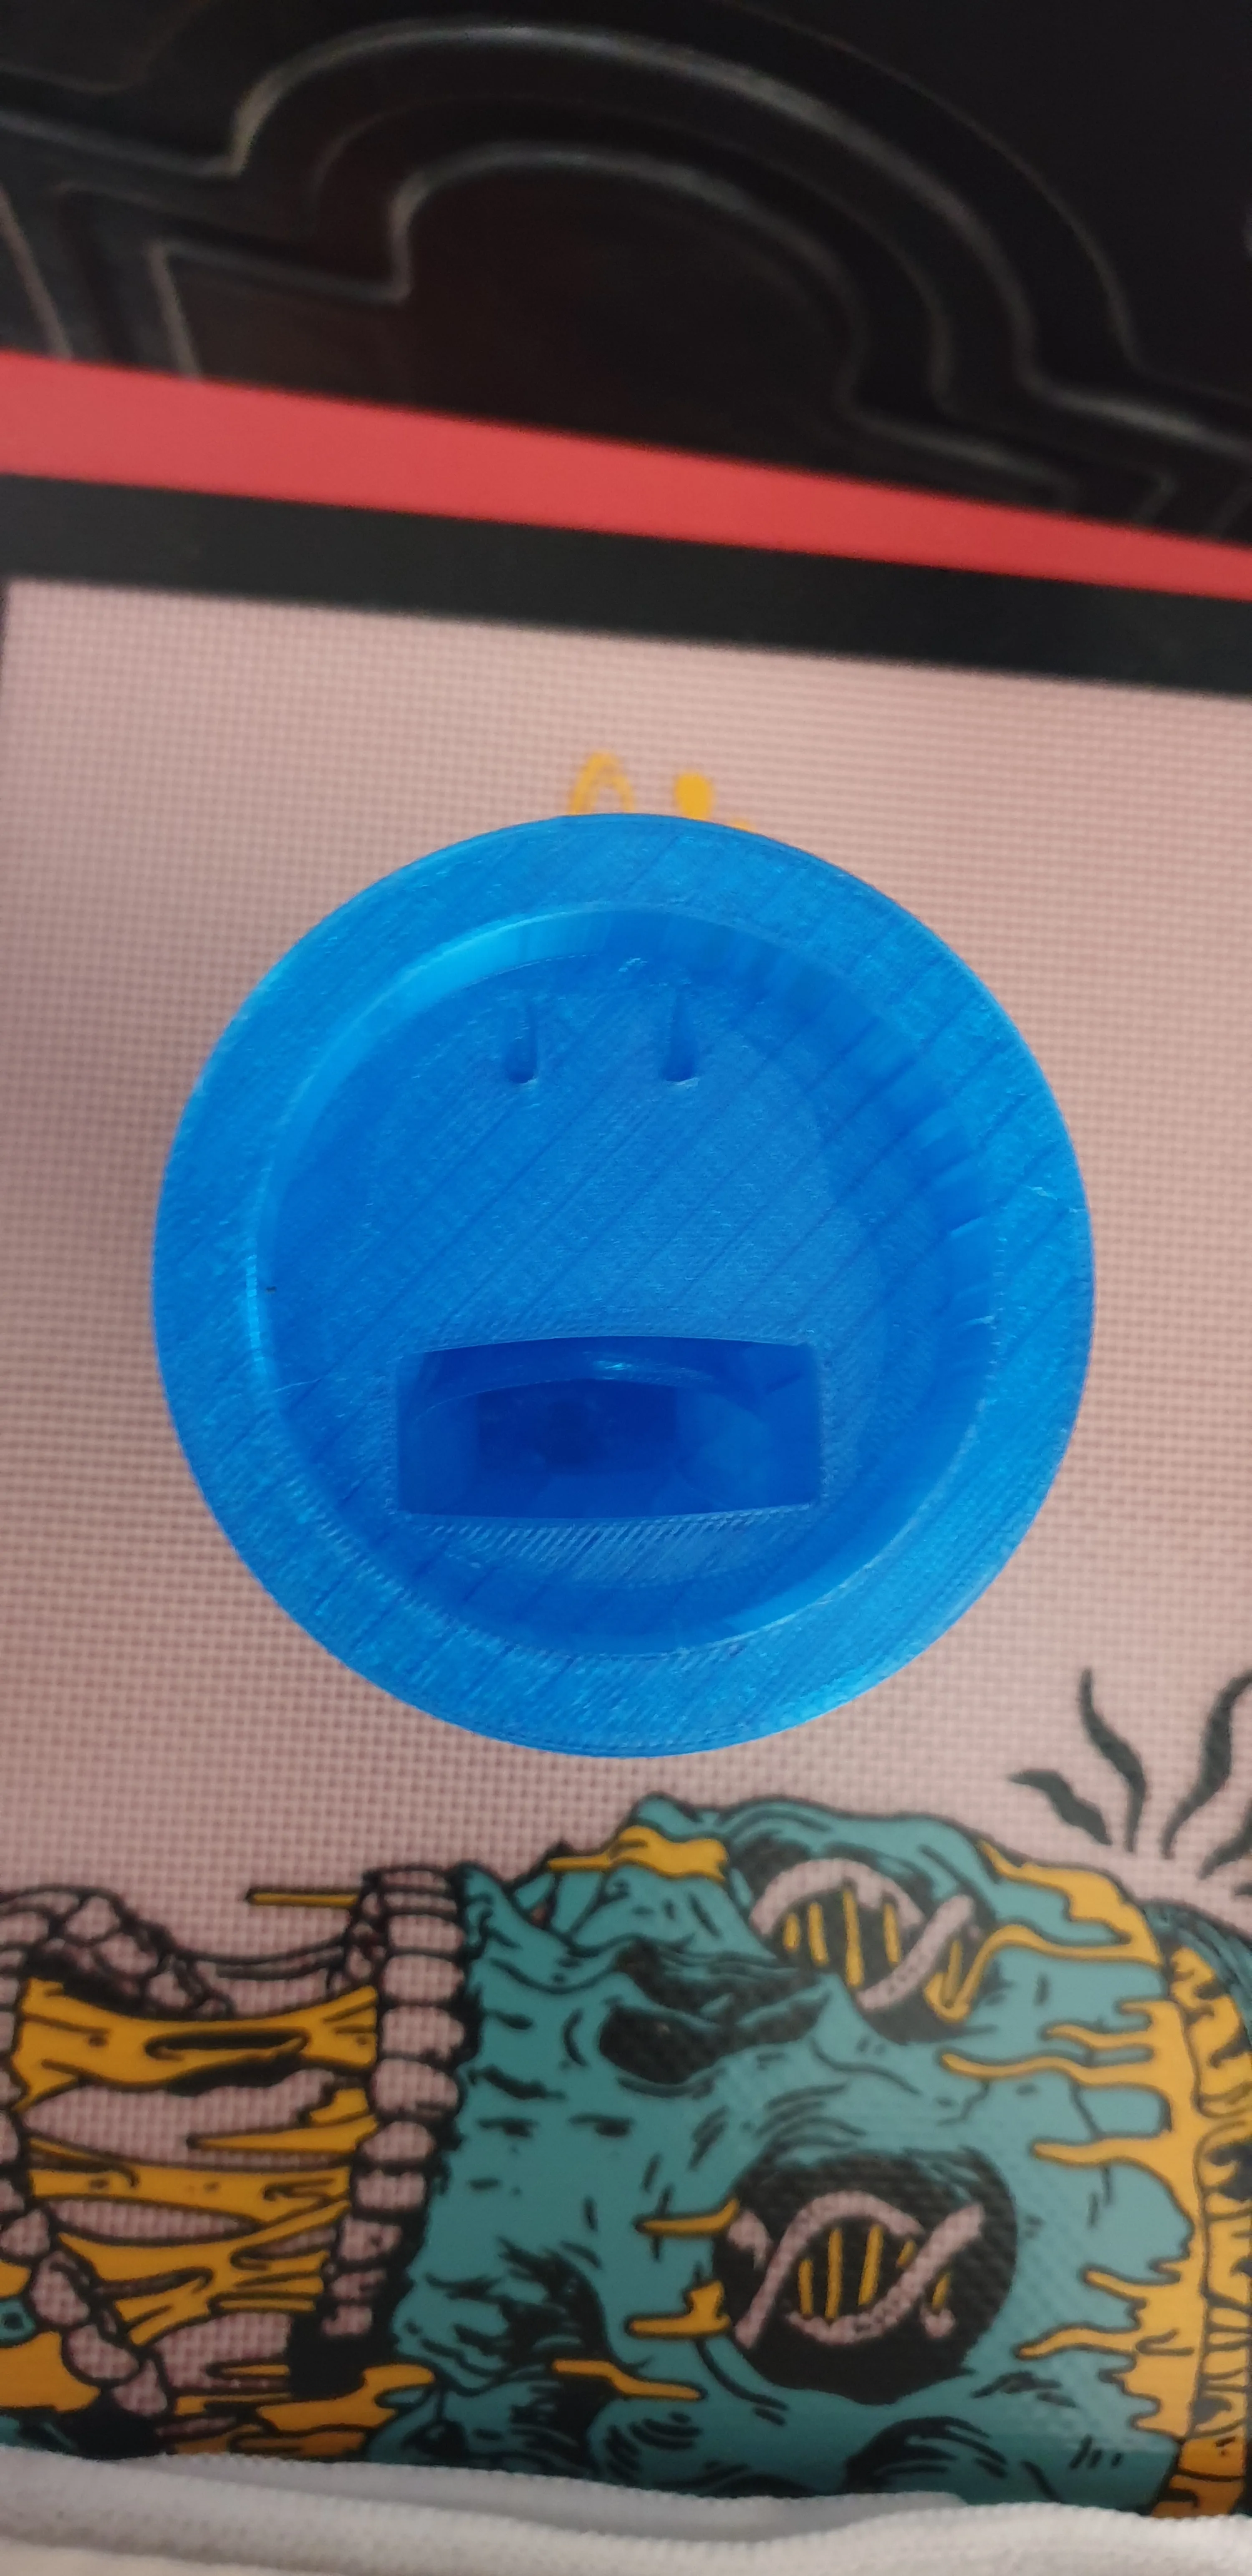
I printed the model itself and parts to make a cylinder for casting the mold around it, that can be broken apart.
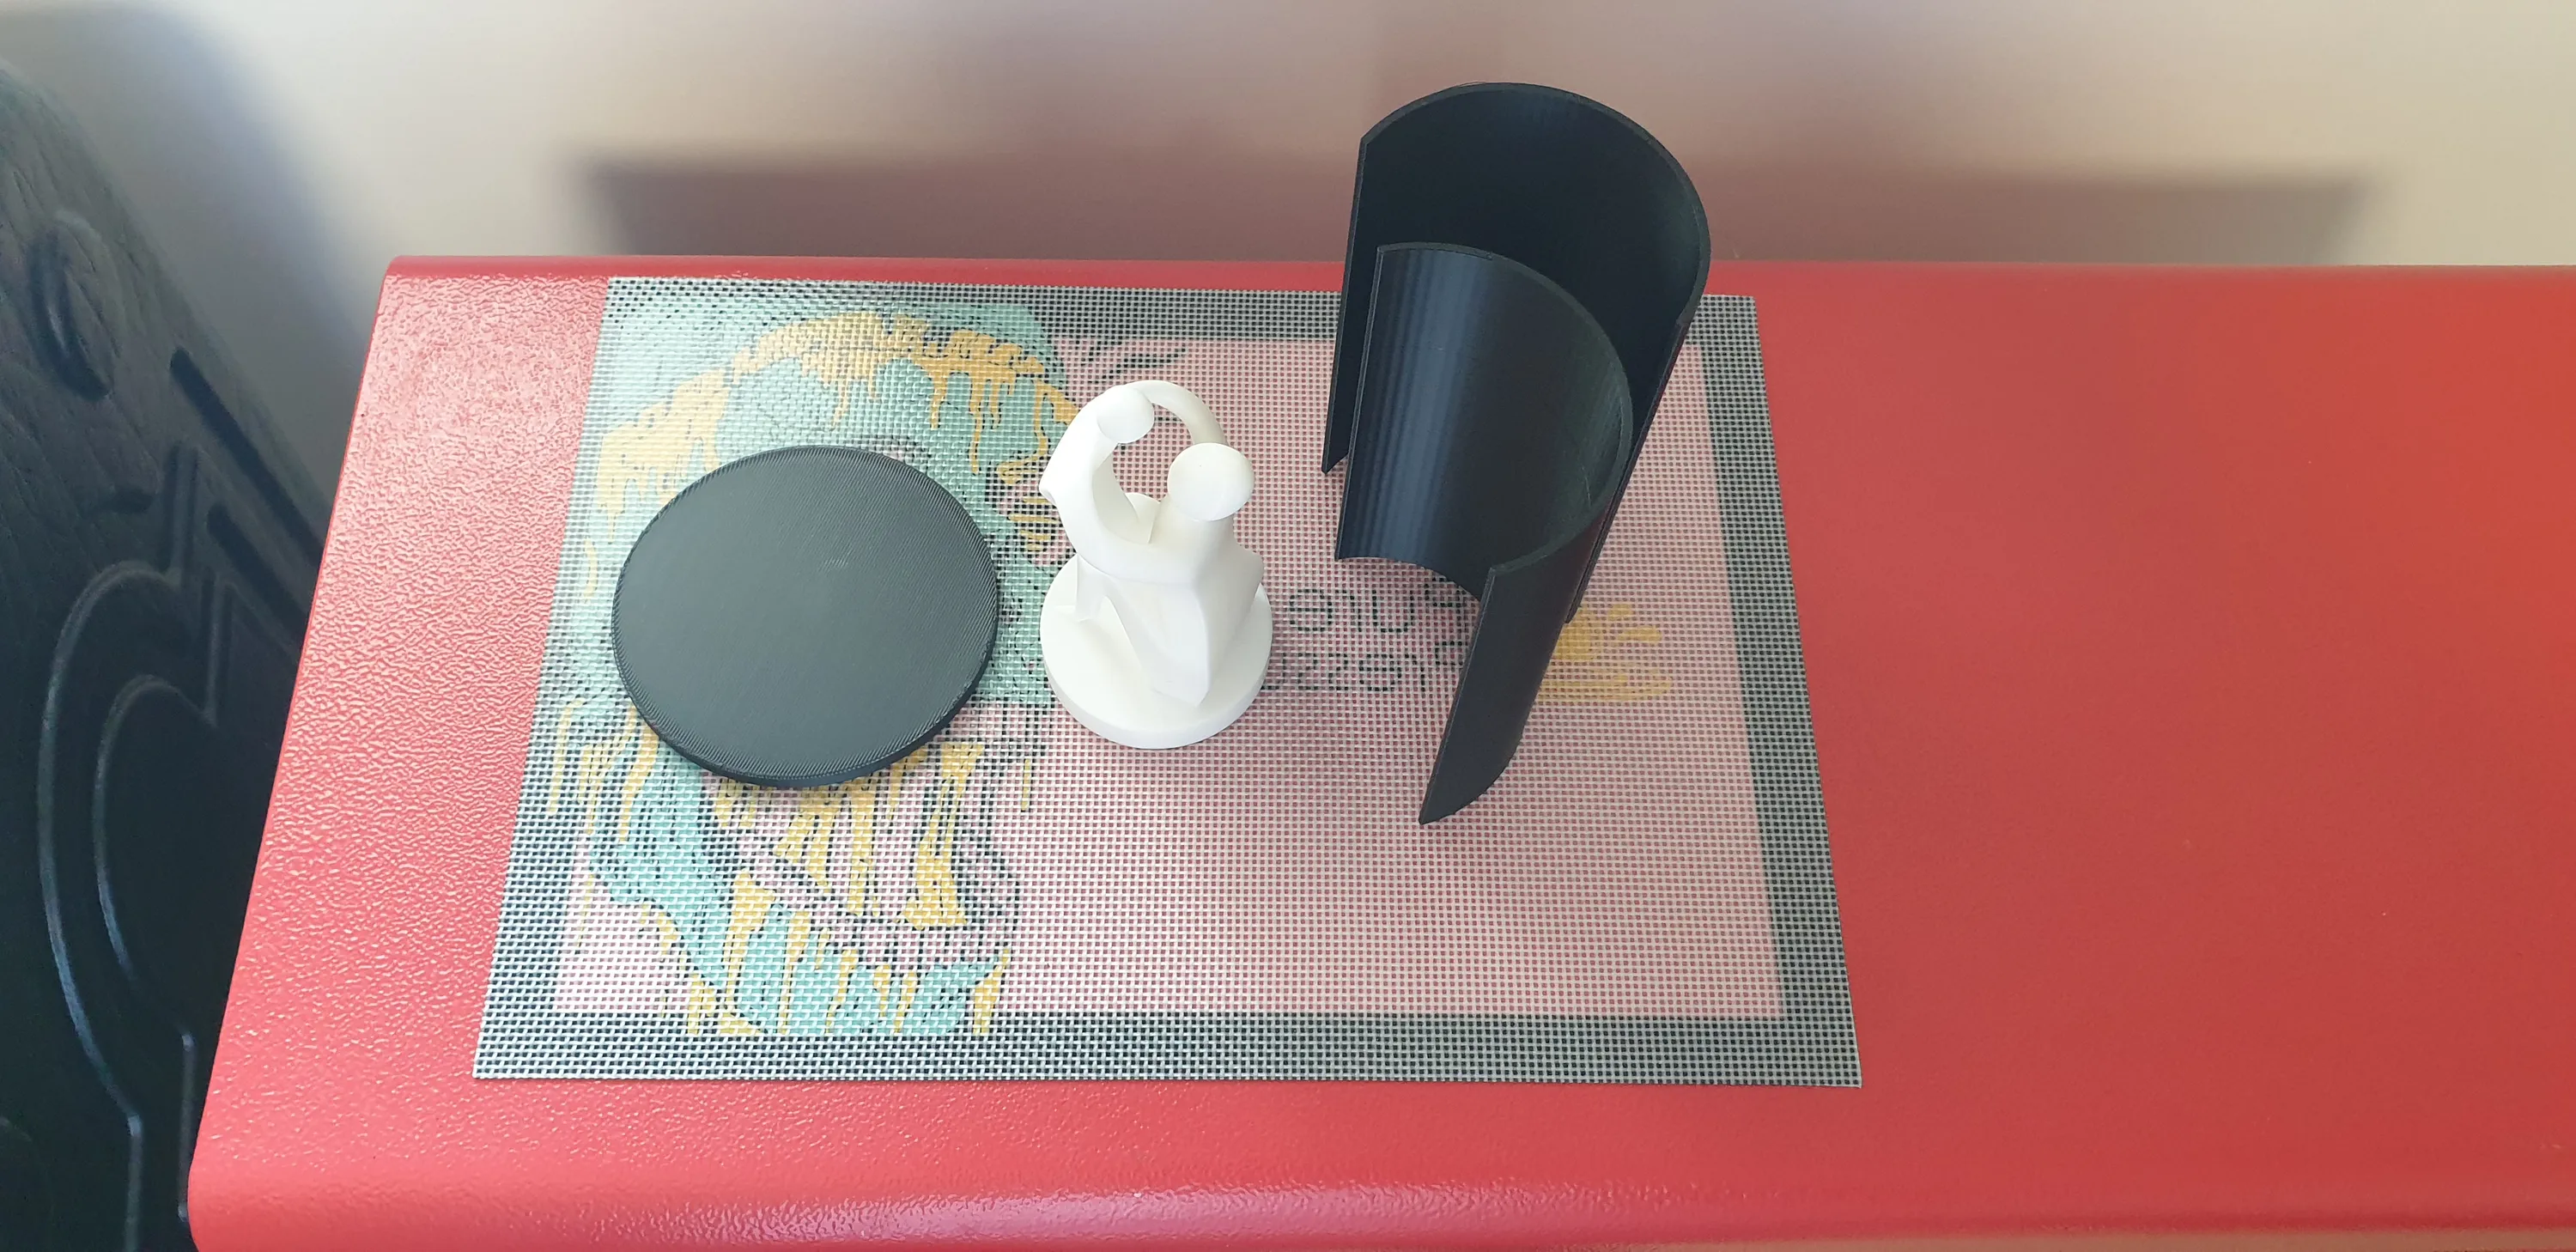
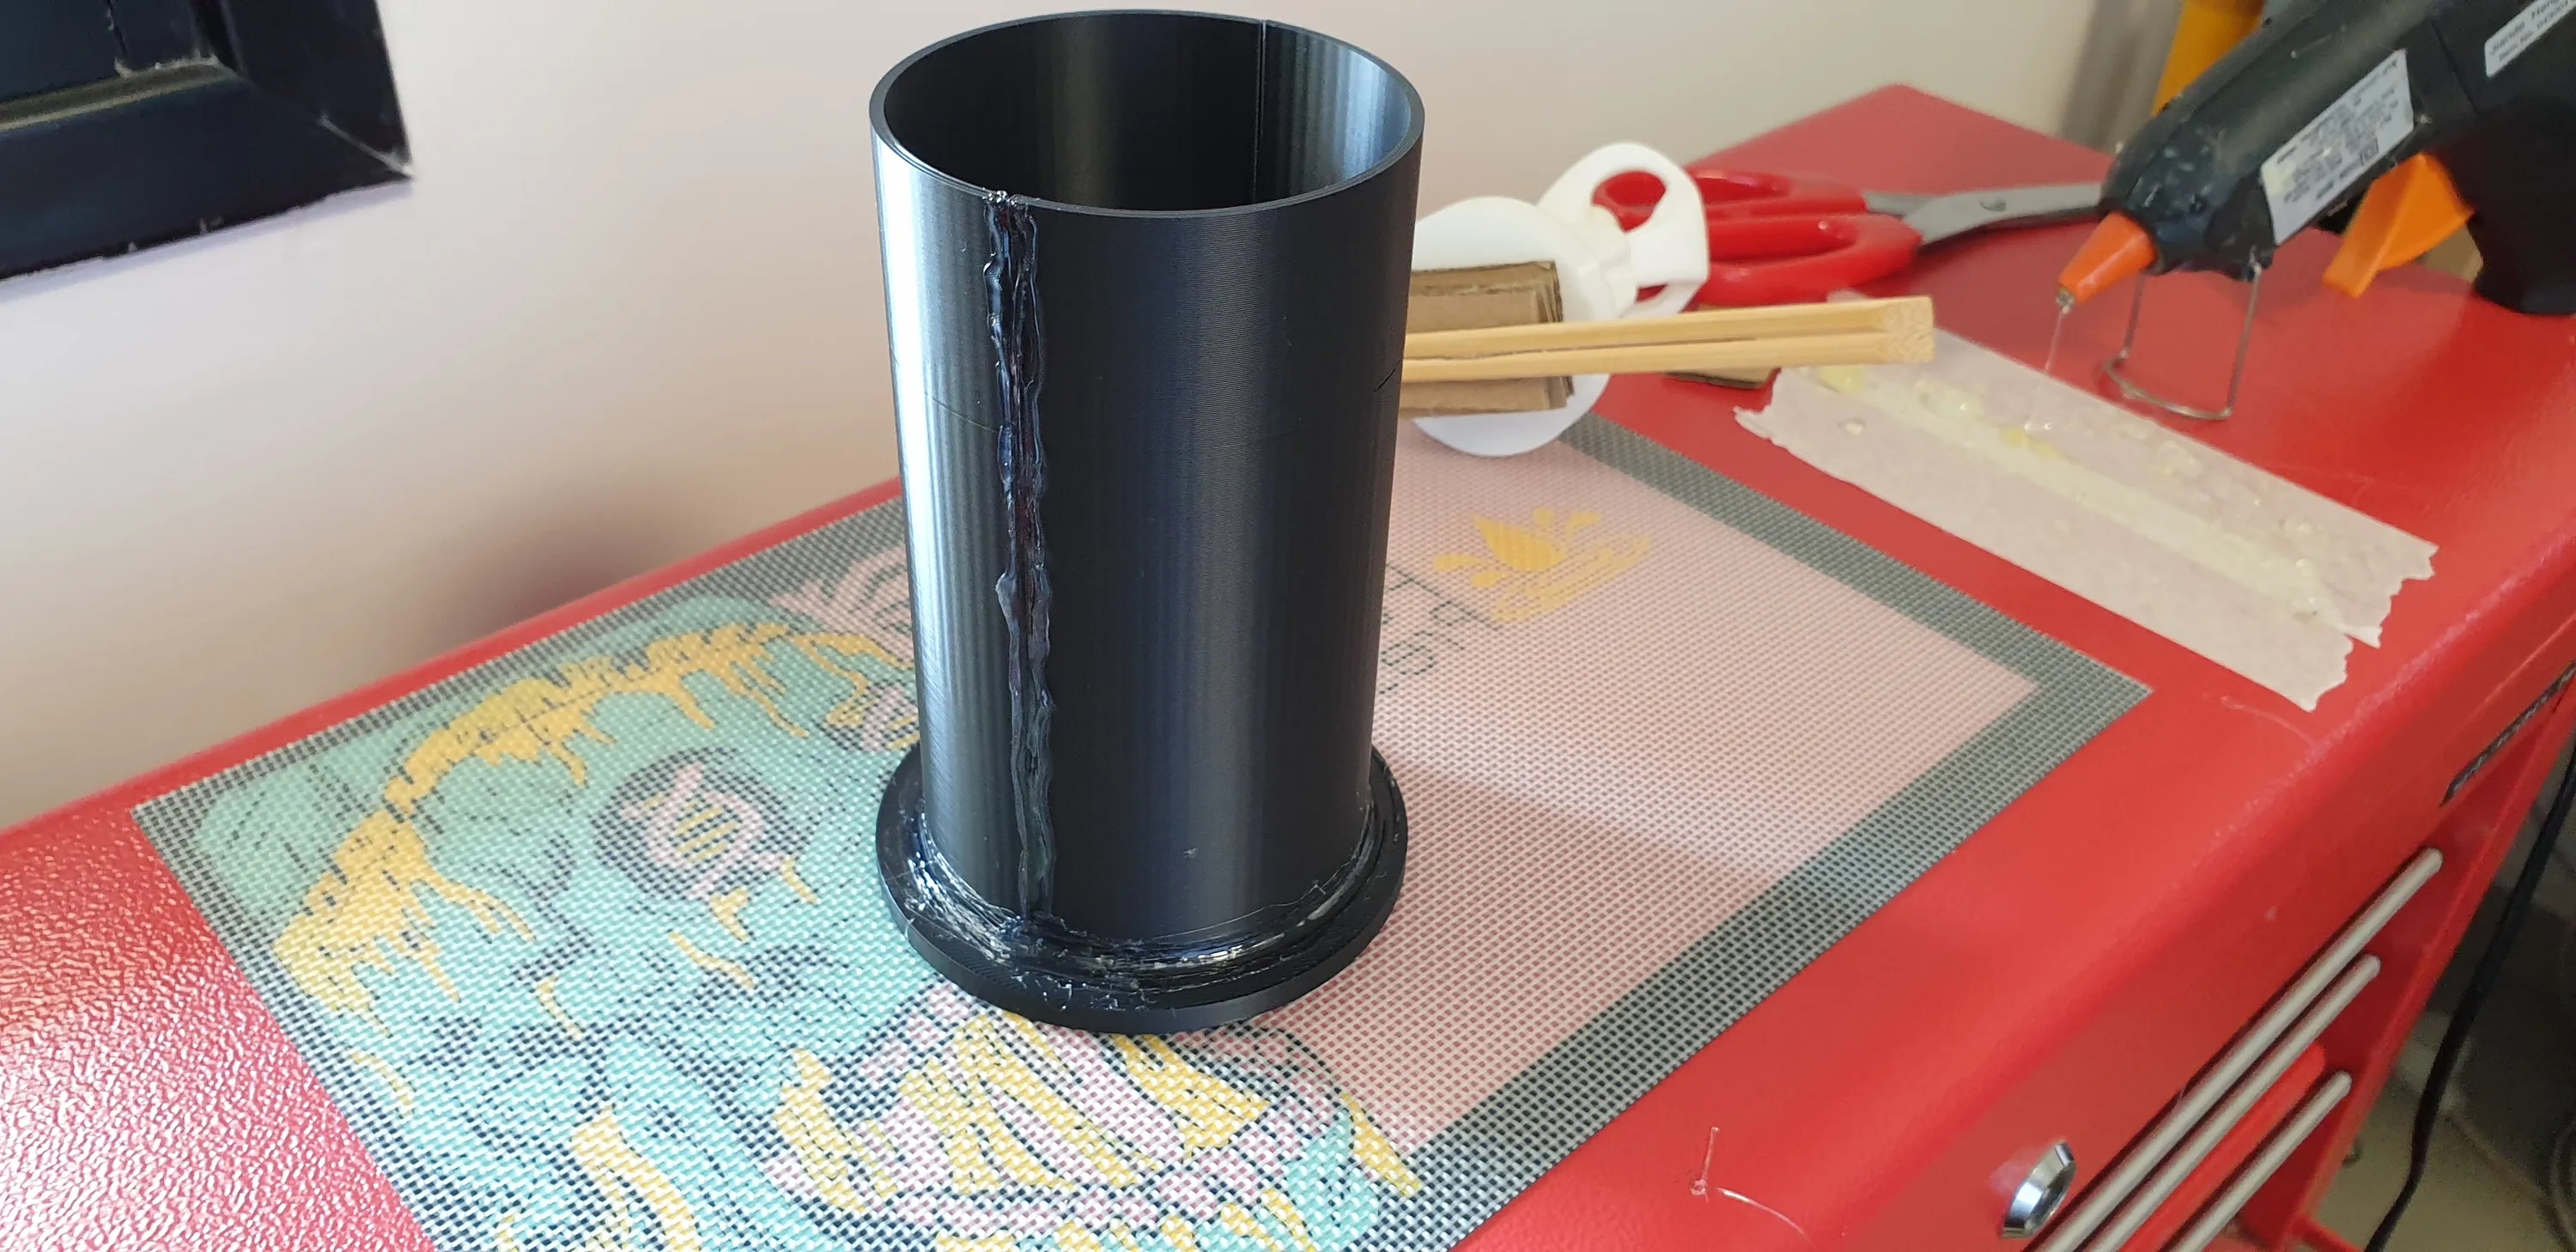
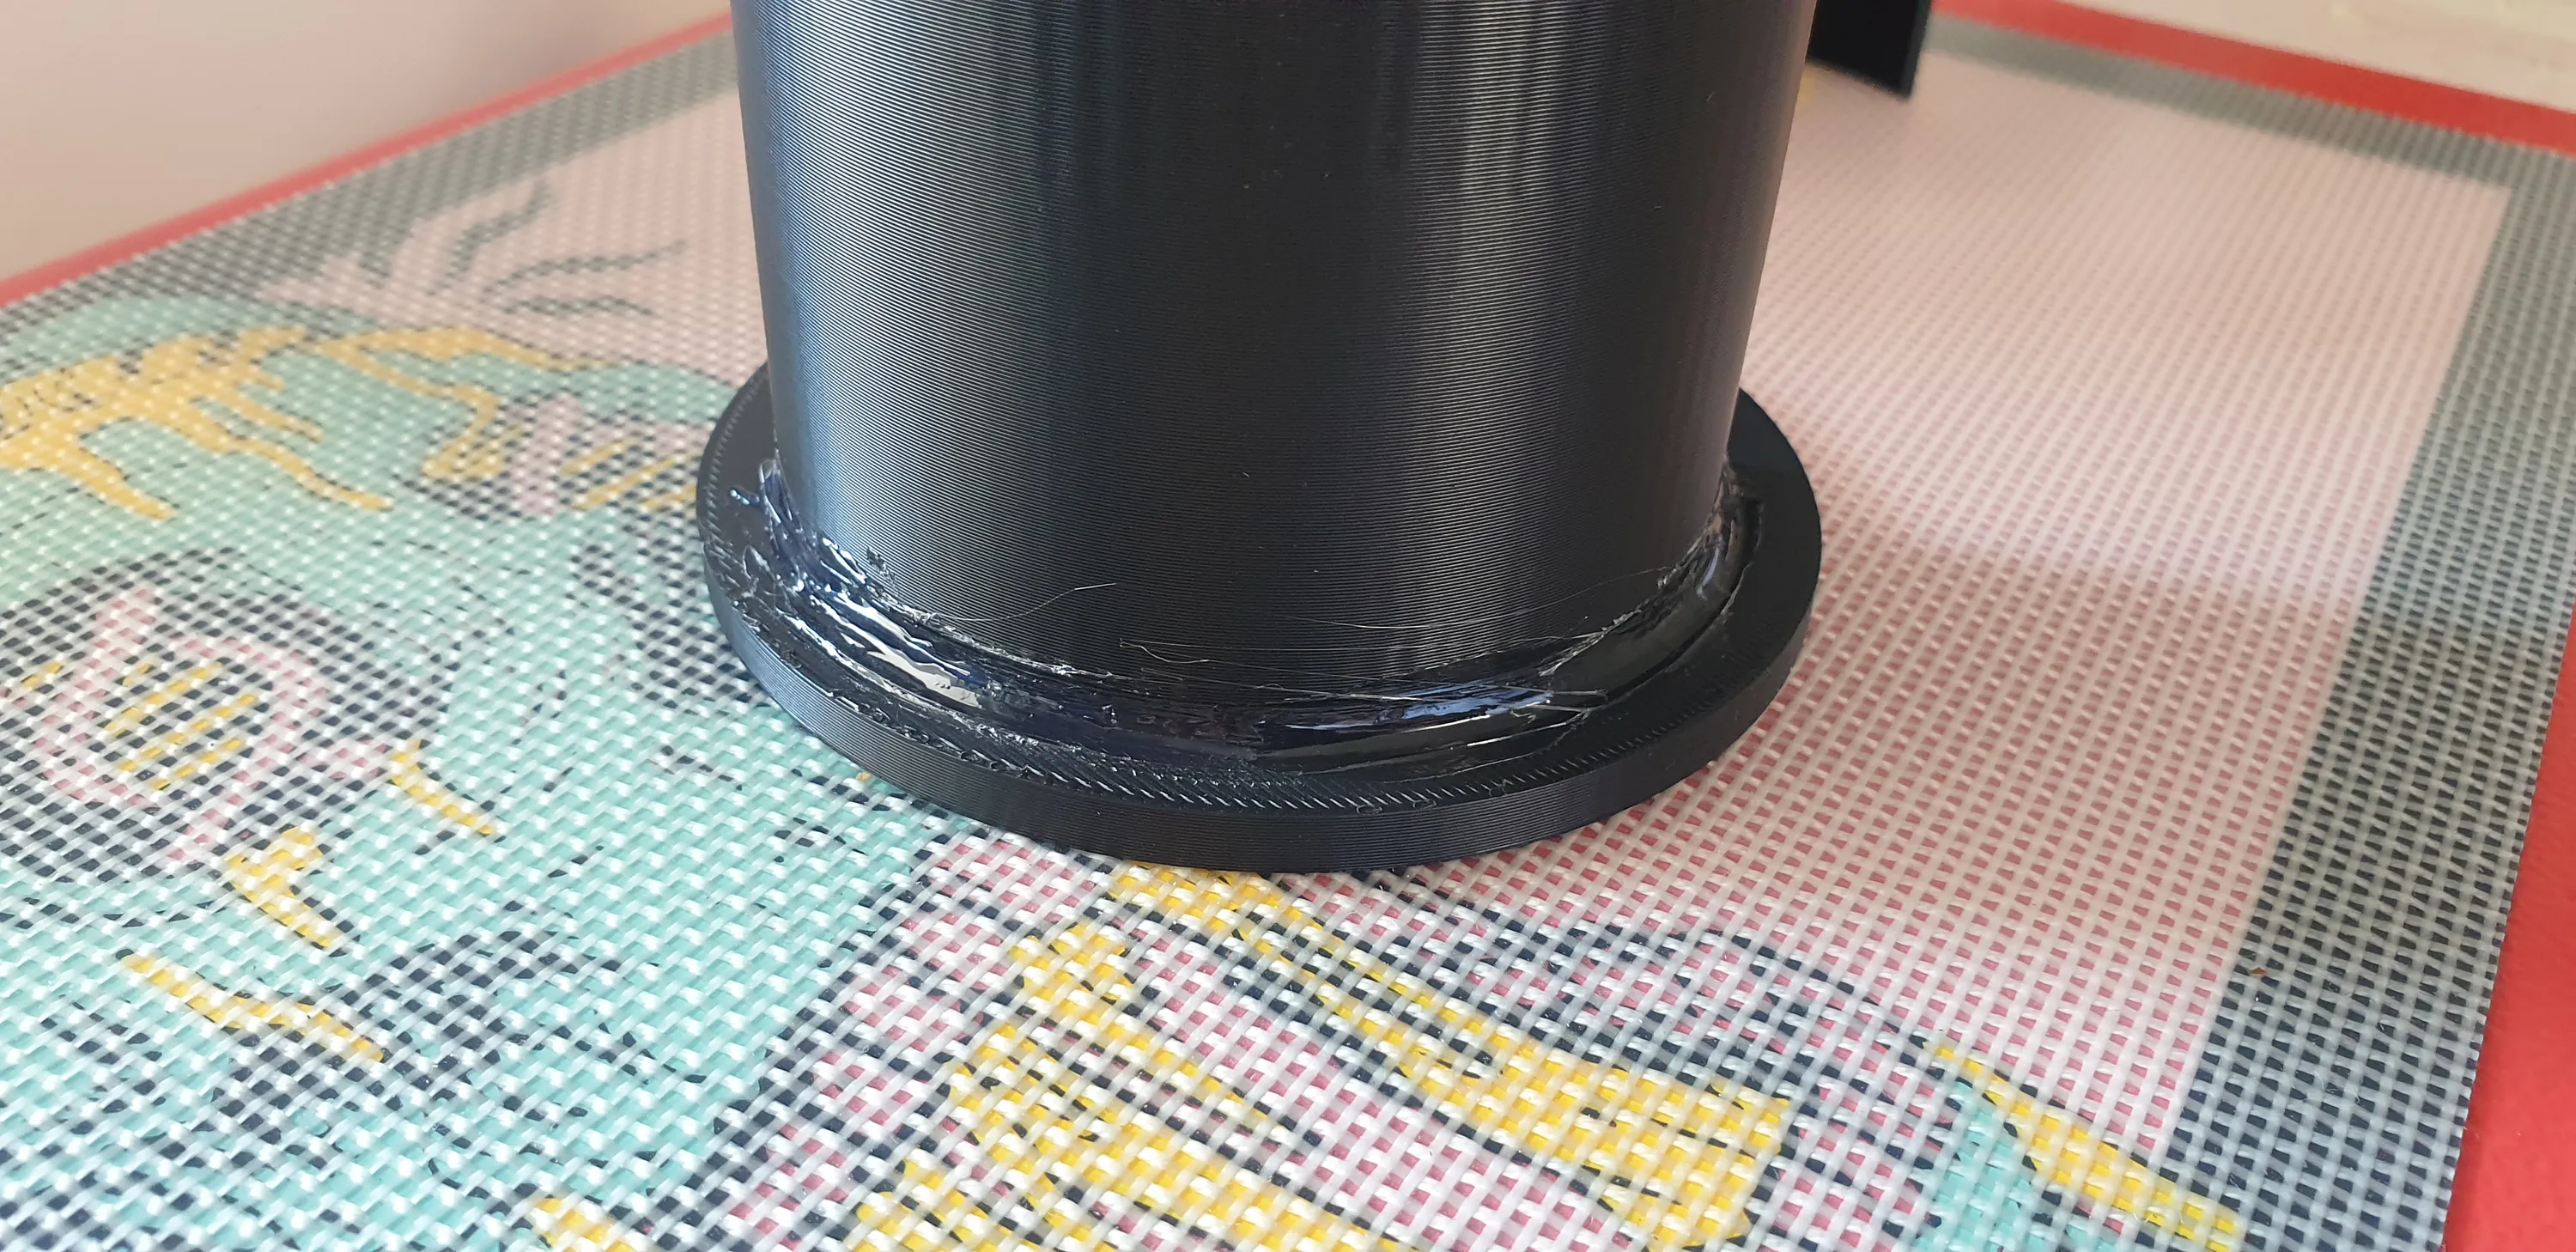
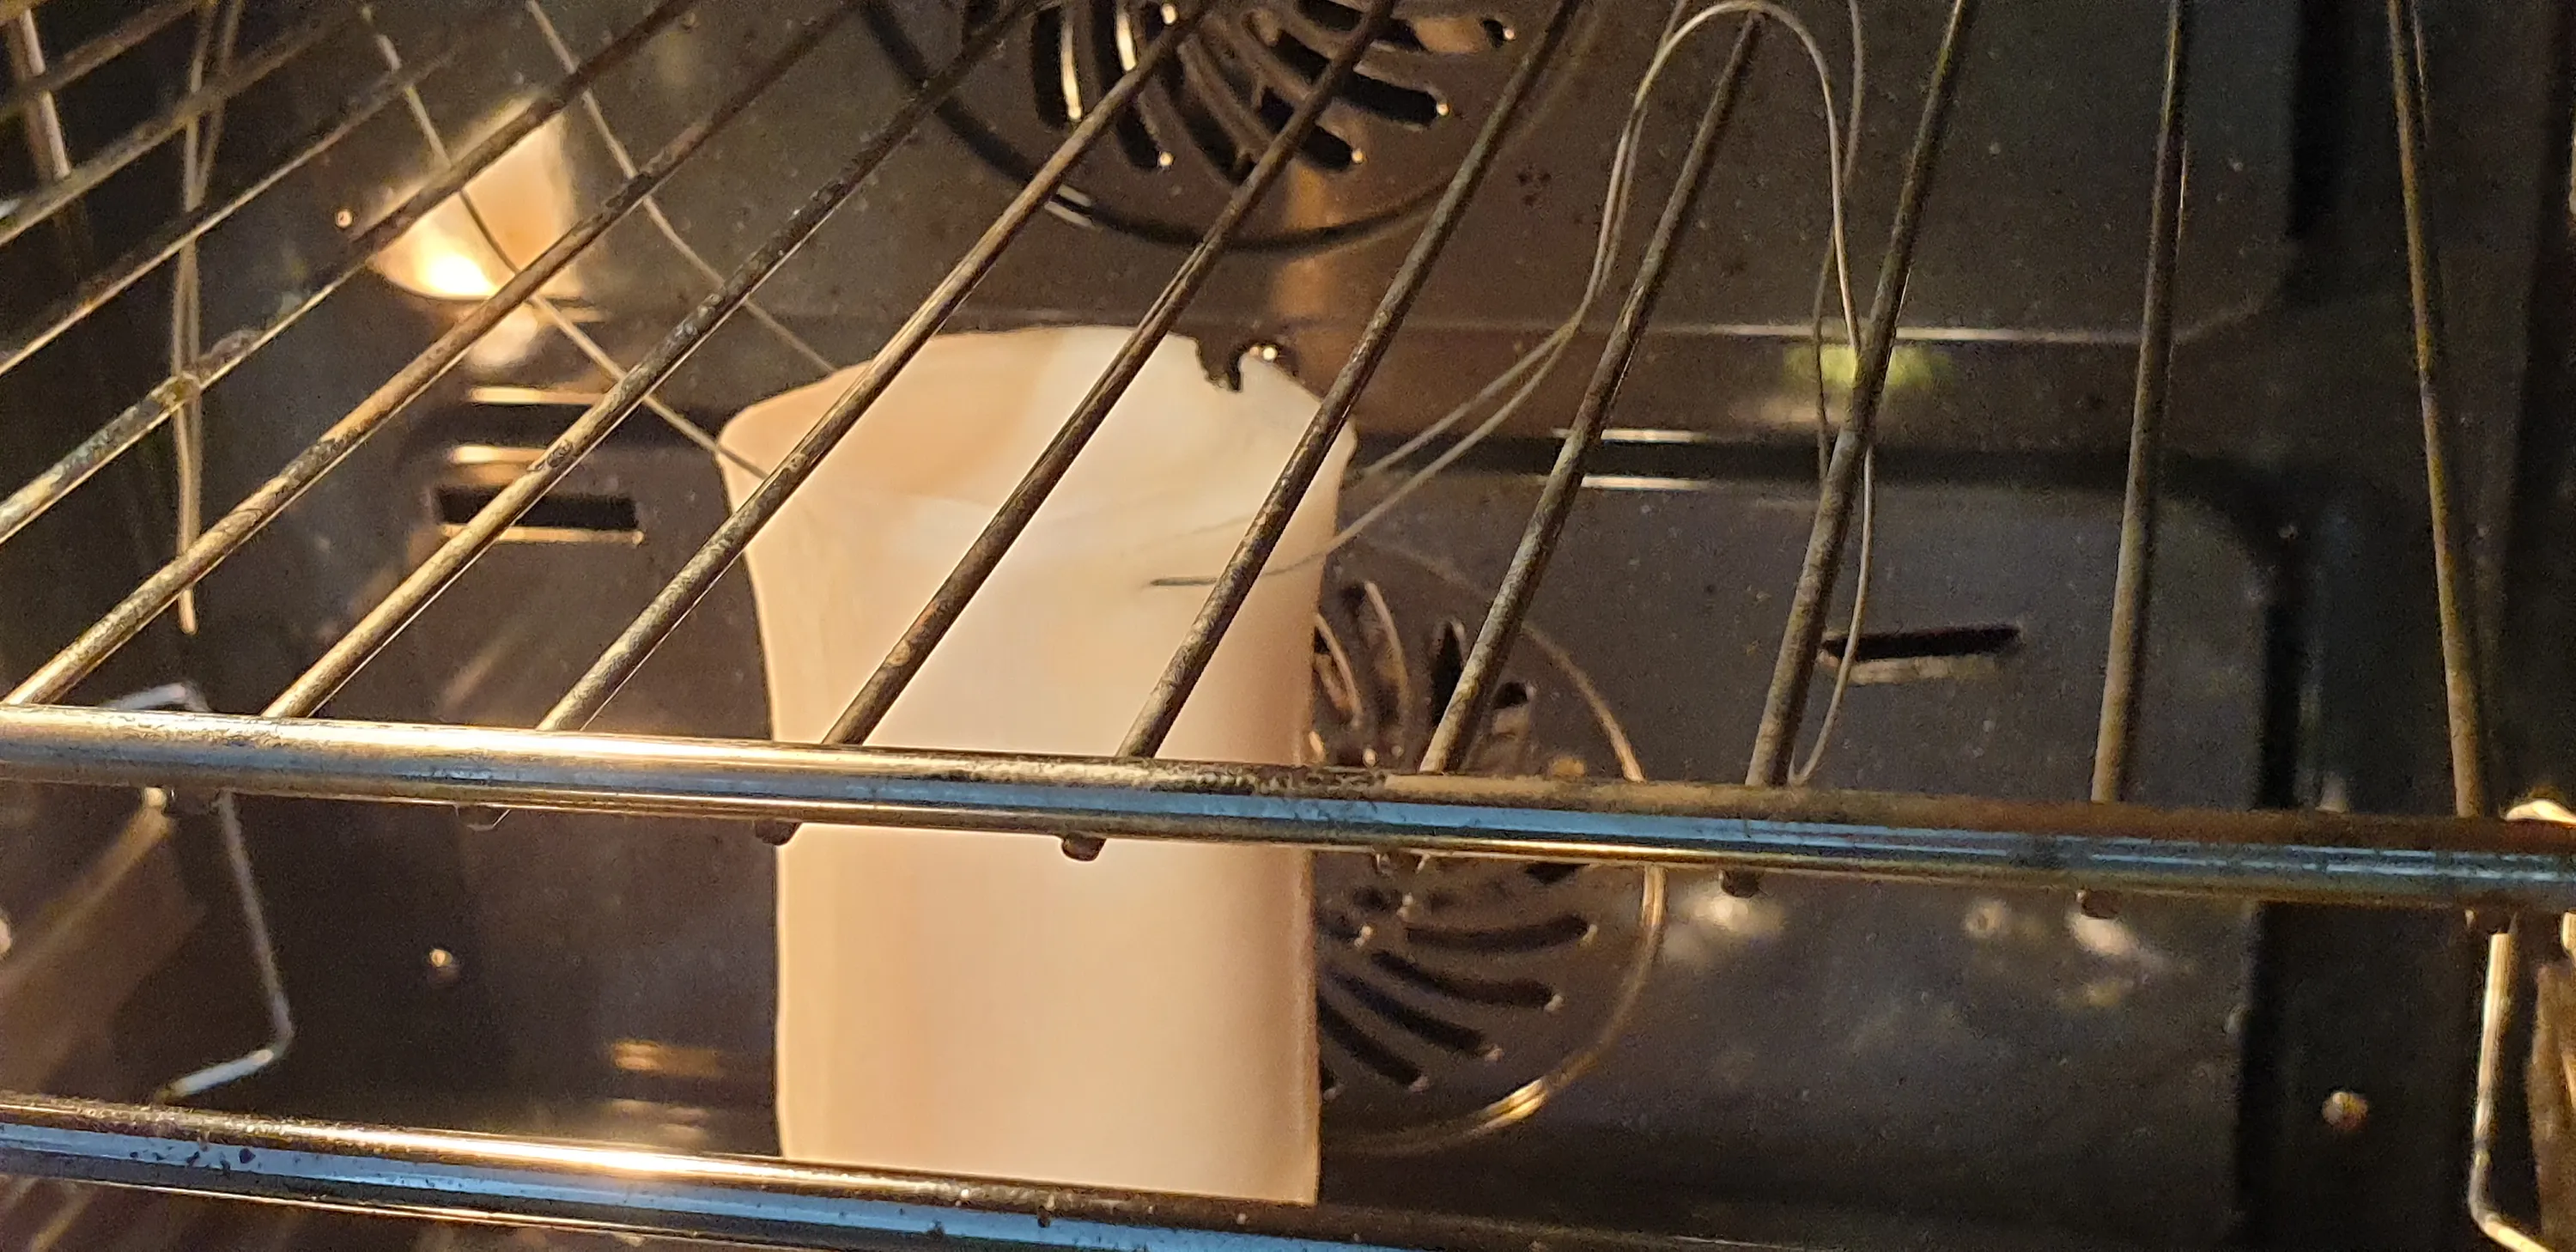
I then suspended the model in the cylinder, leaving enough head room (pun intended) at the bottom, while still sinking the model as deep as possible to use less silicone for the mold.

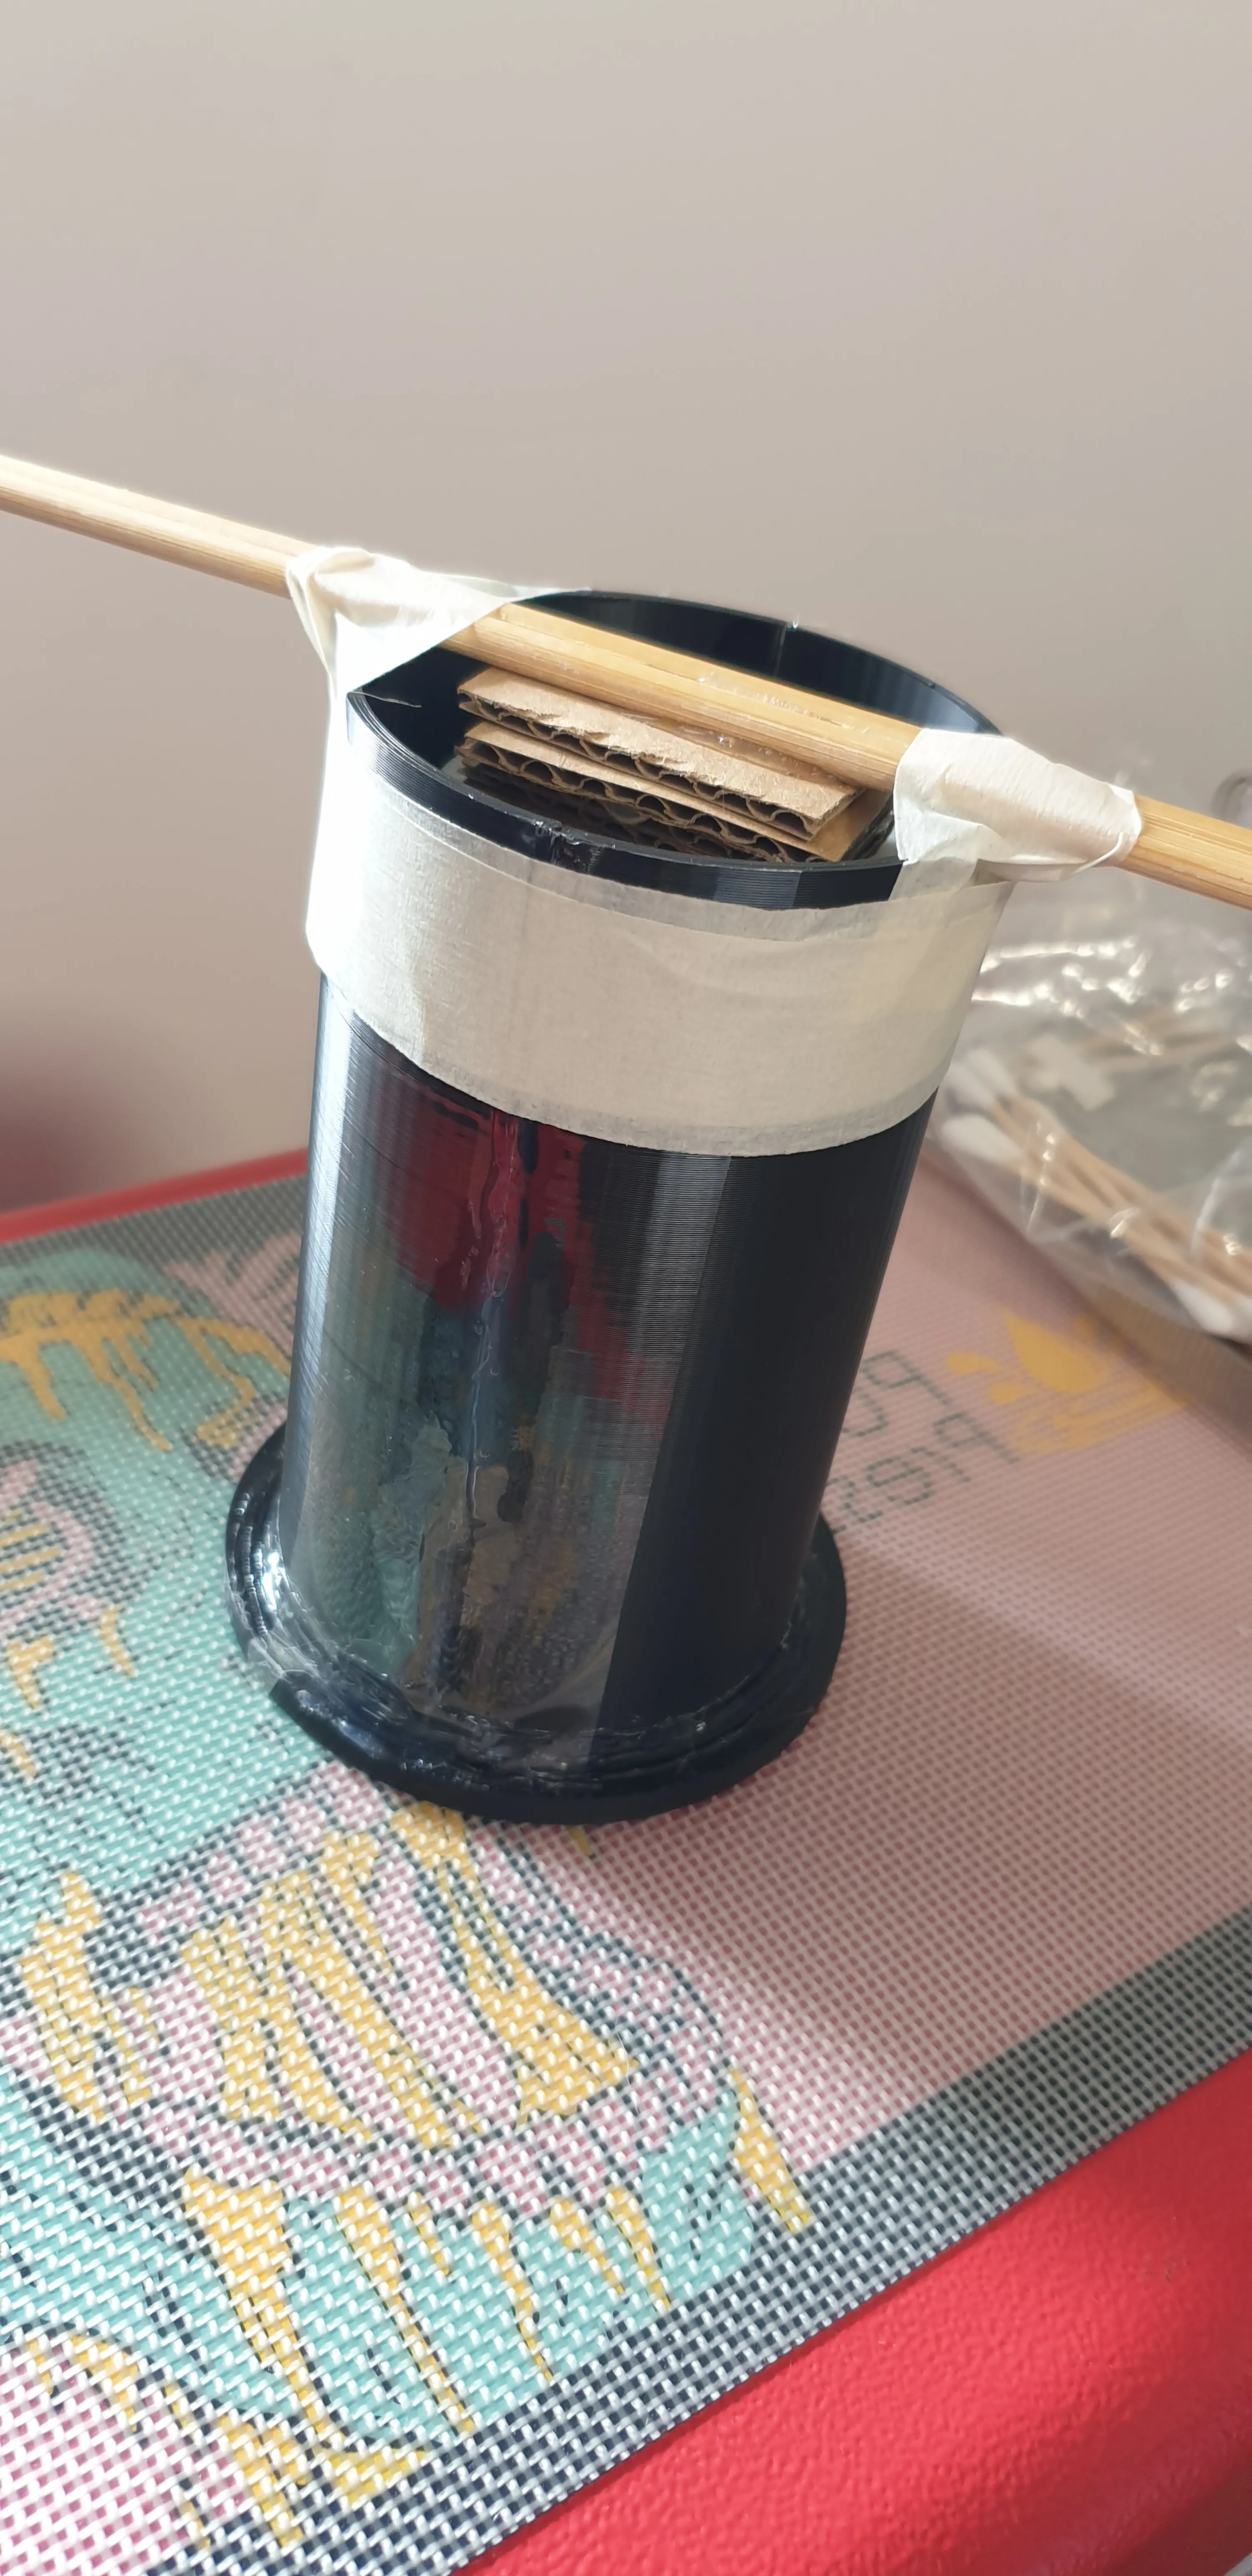
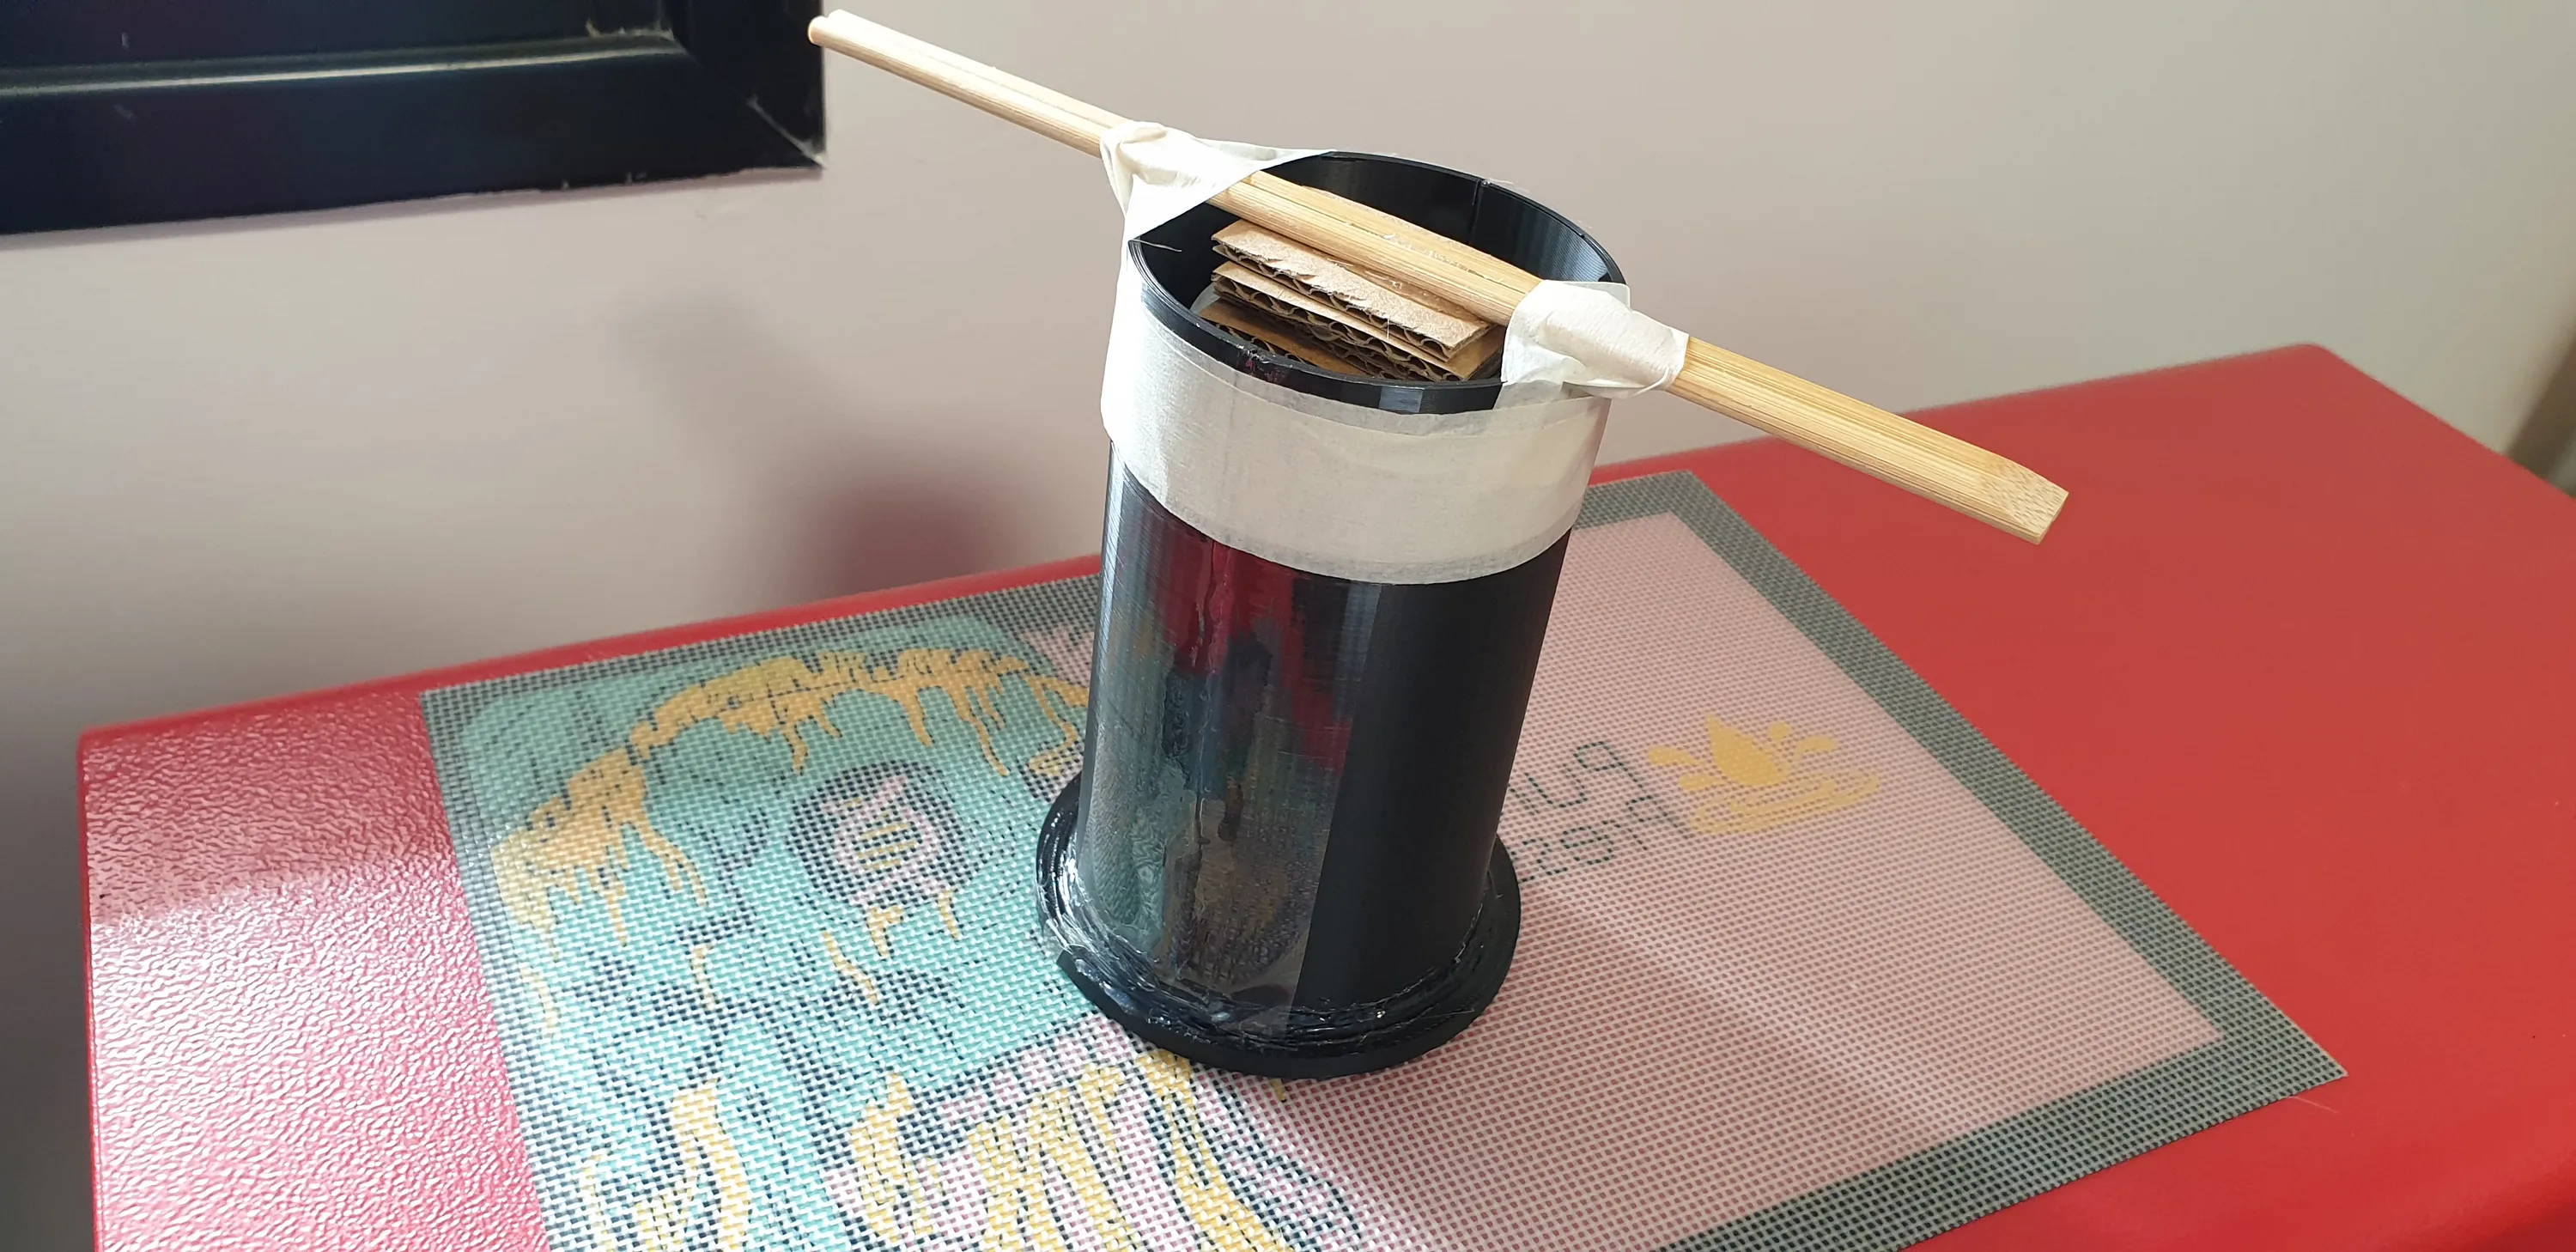
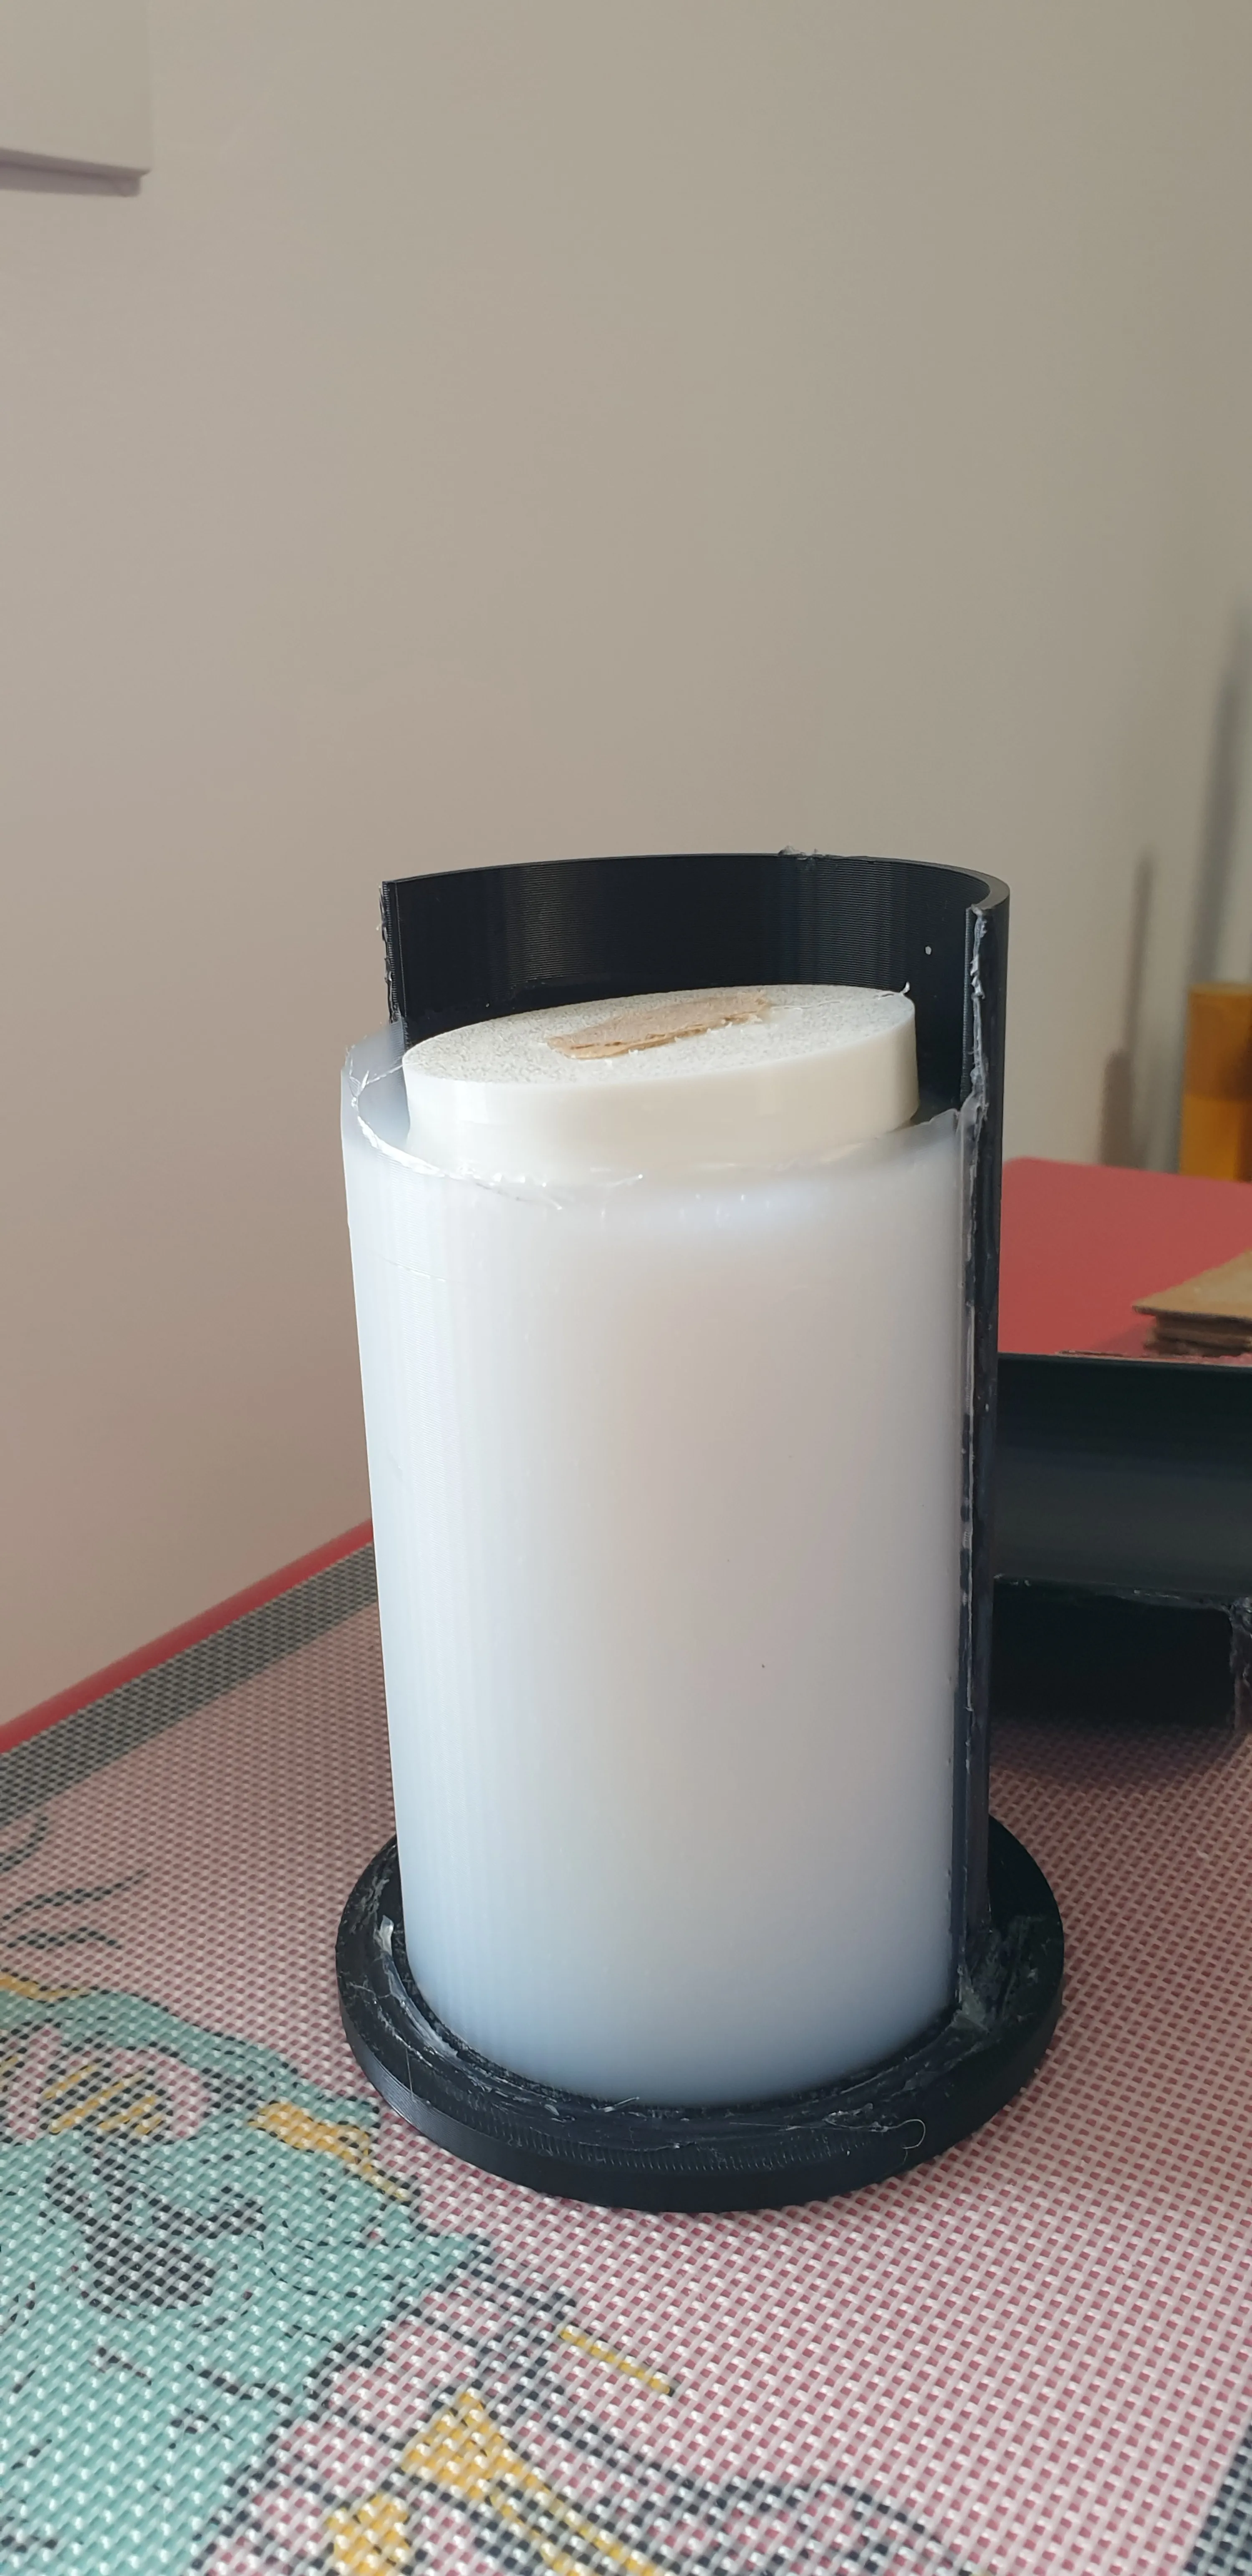
After pouring the silicone and letting it cure, I was left with the mold and the model stuck inside it.
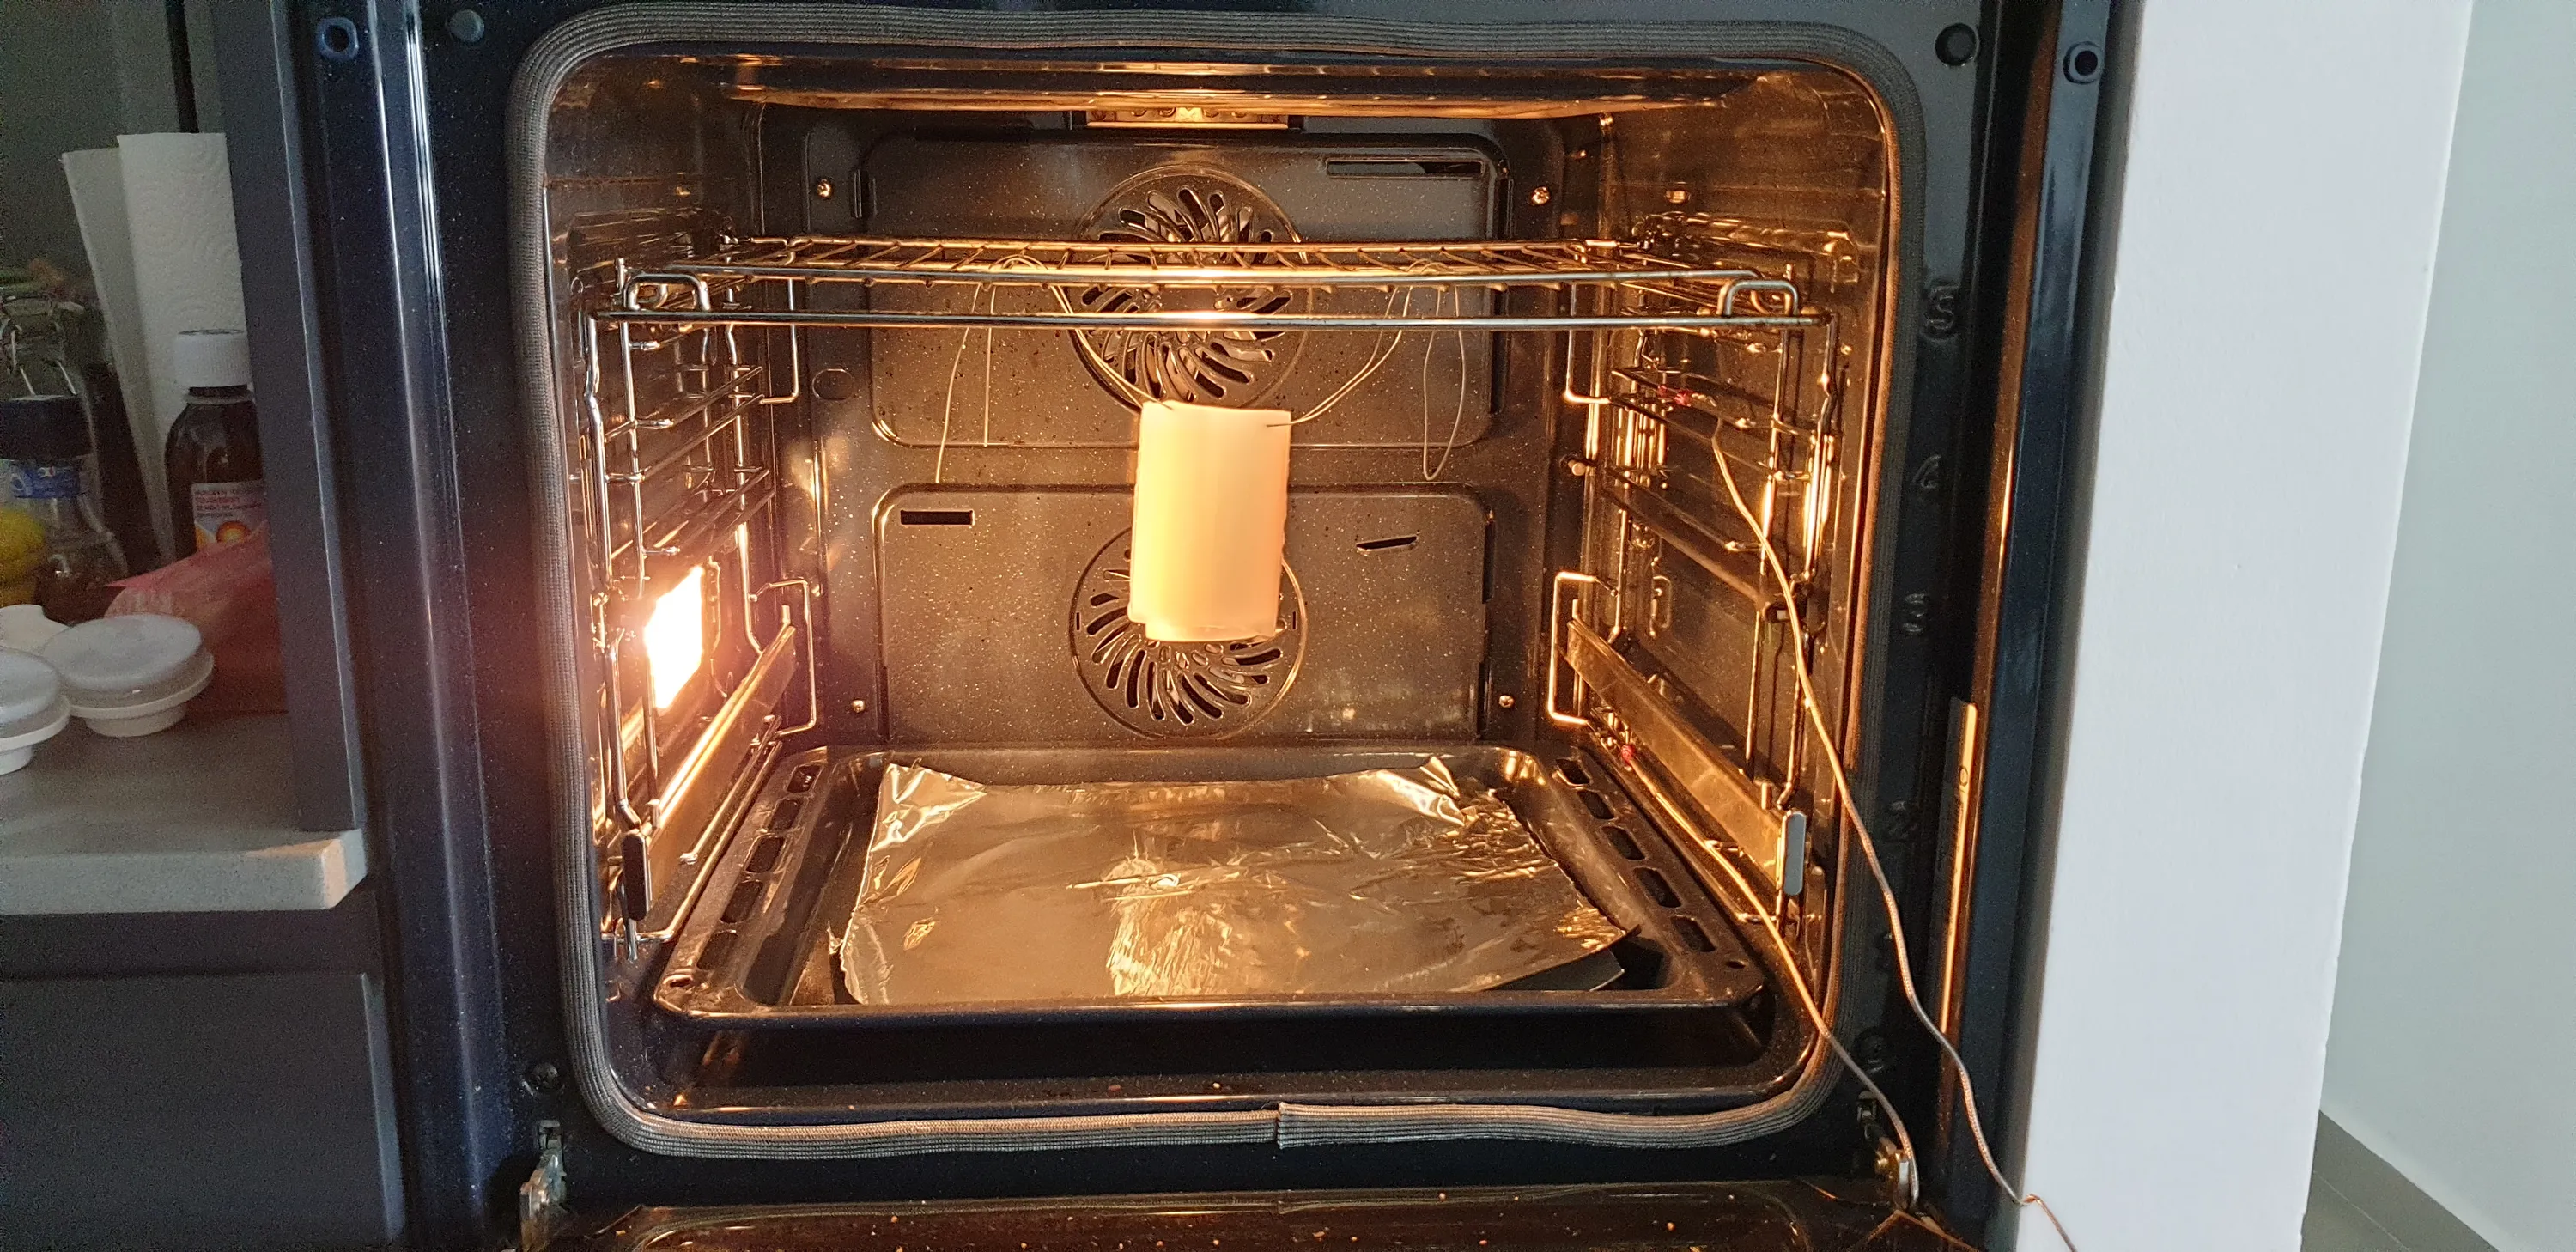
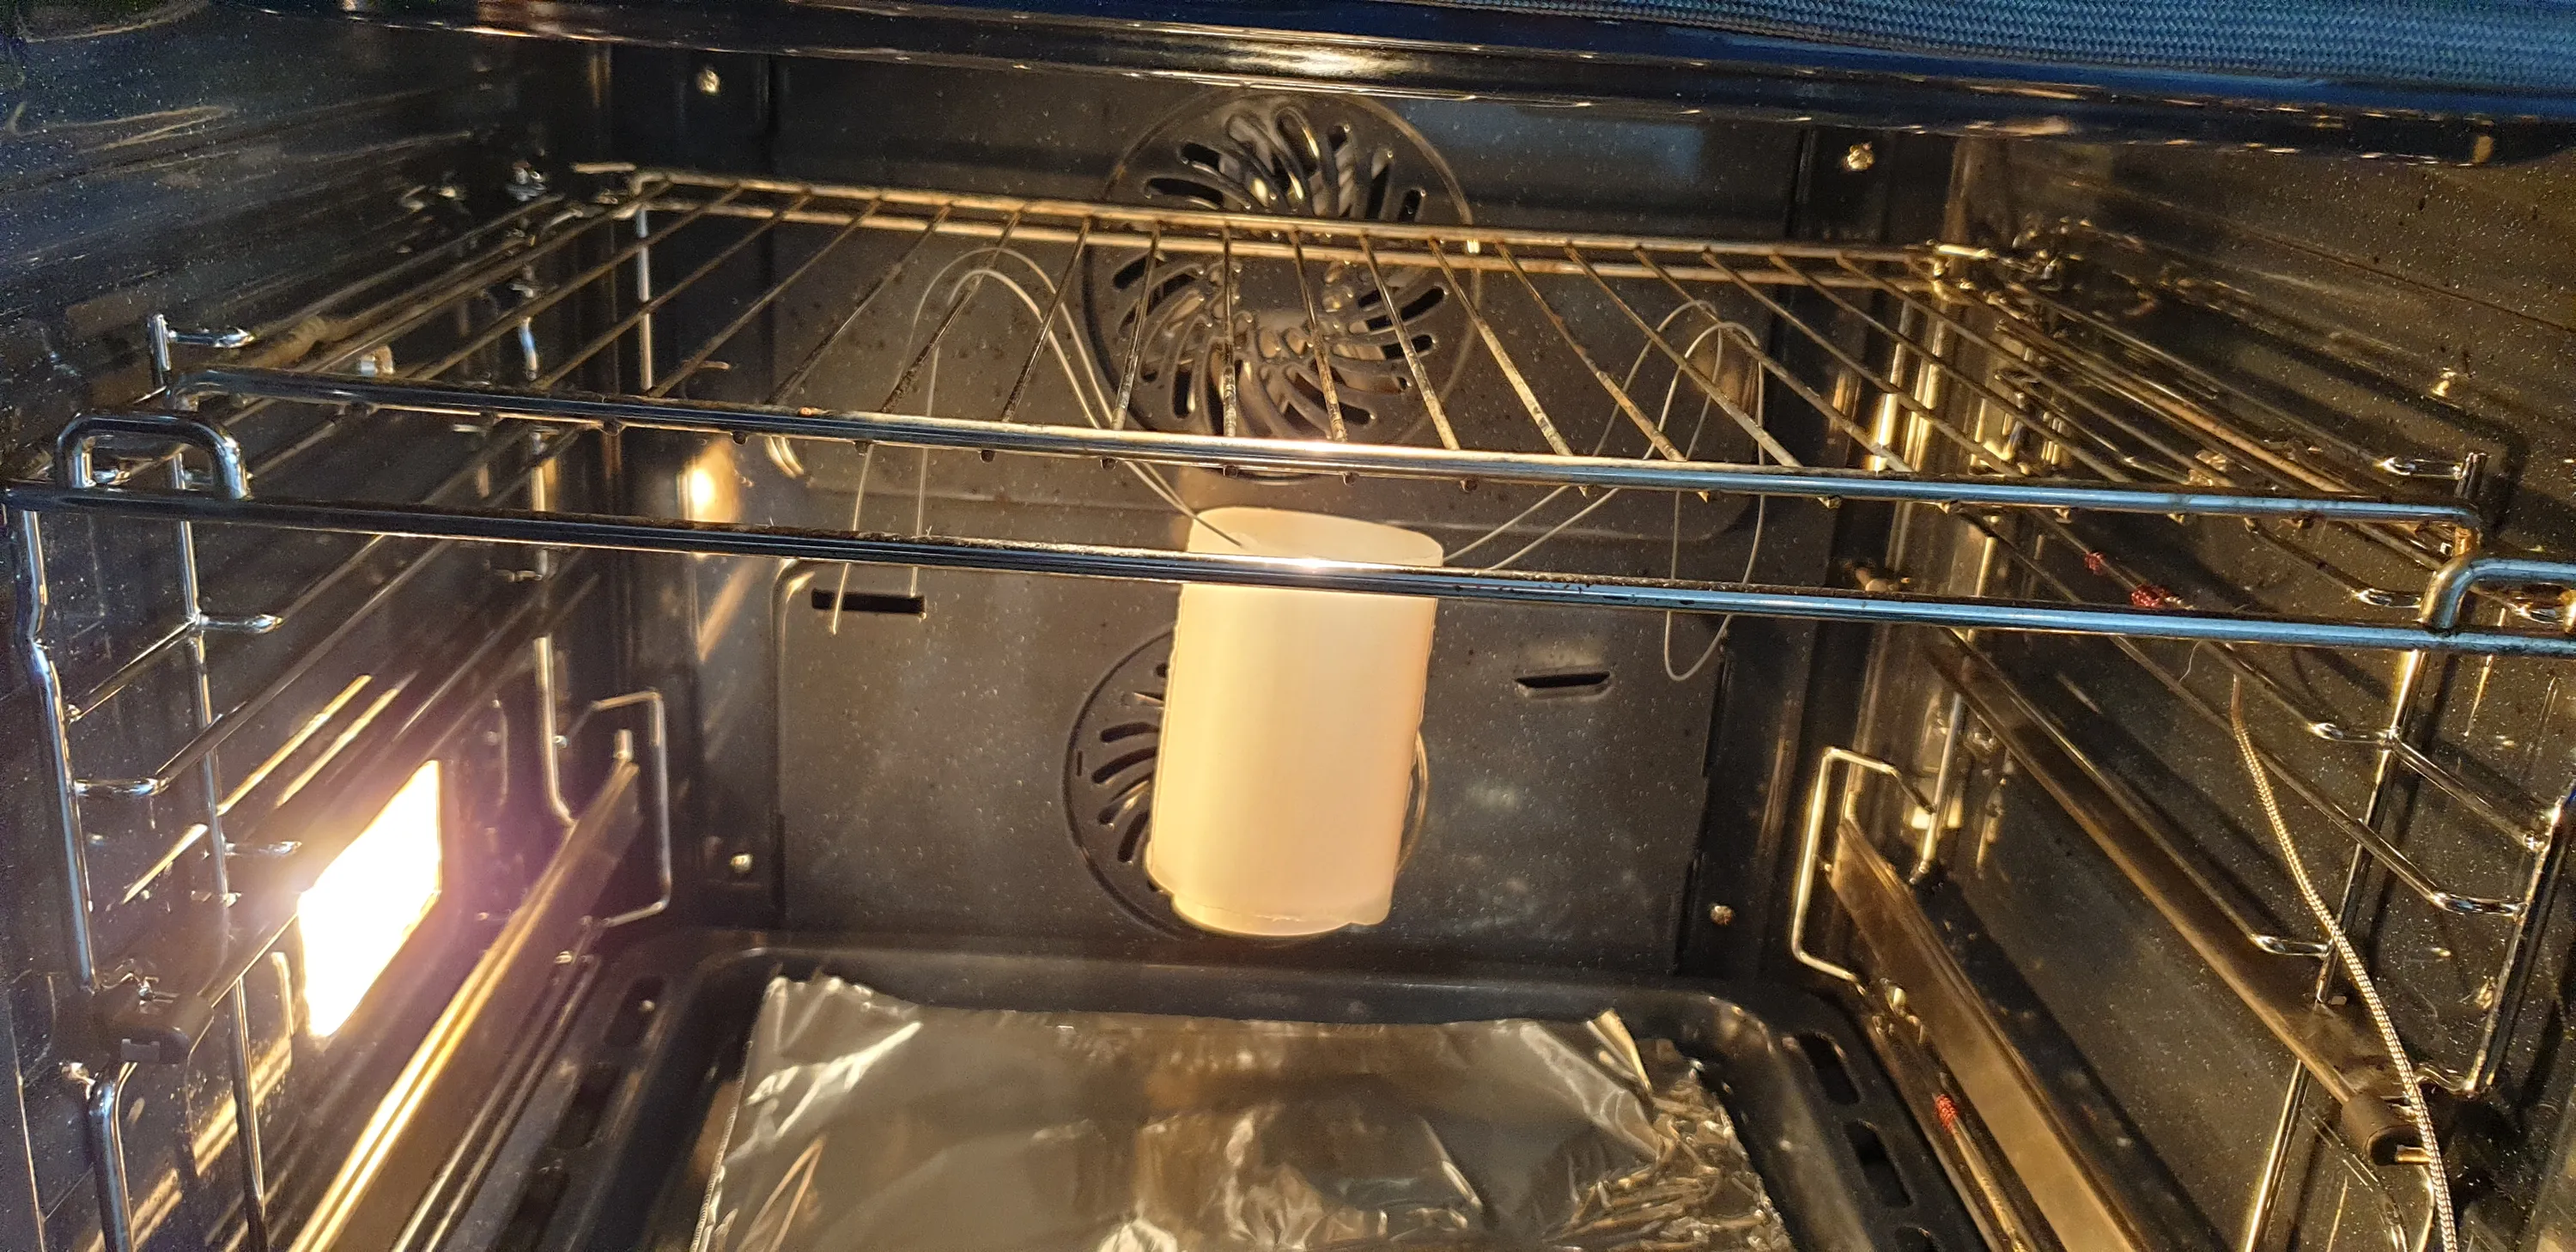
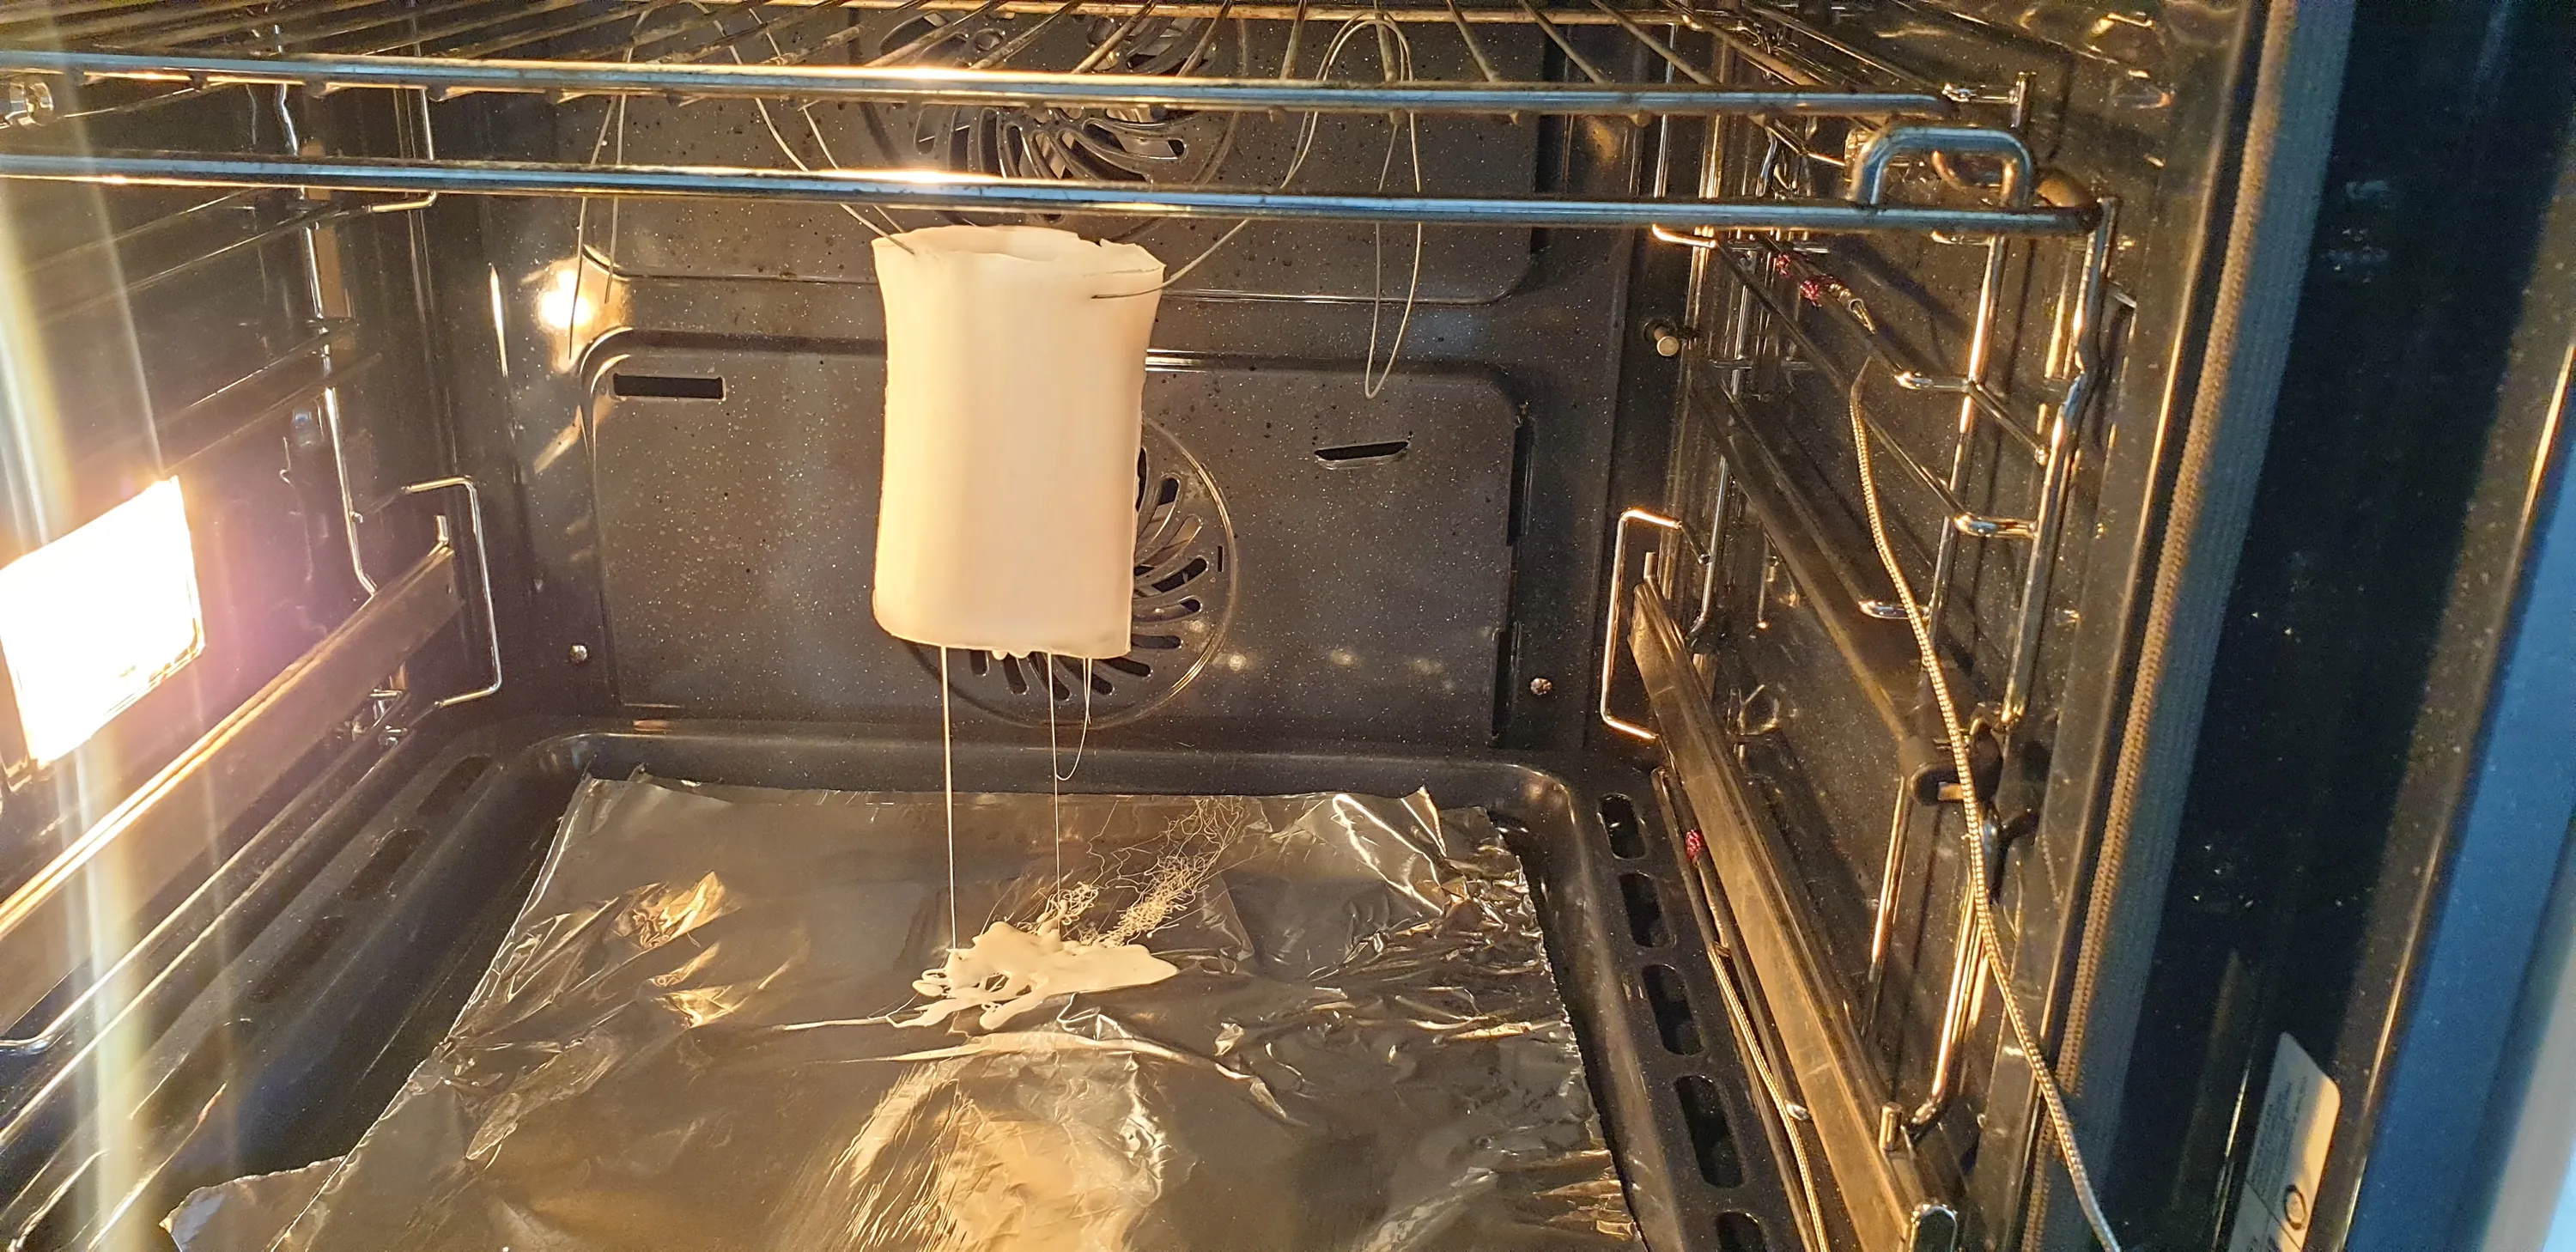
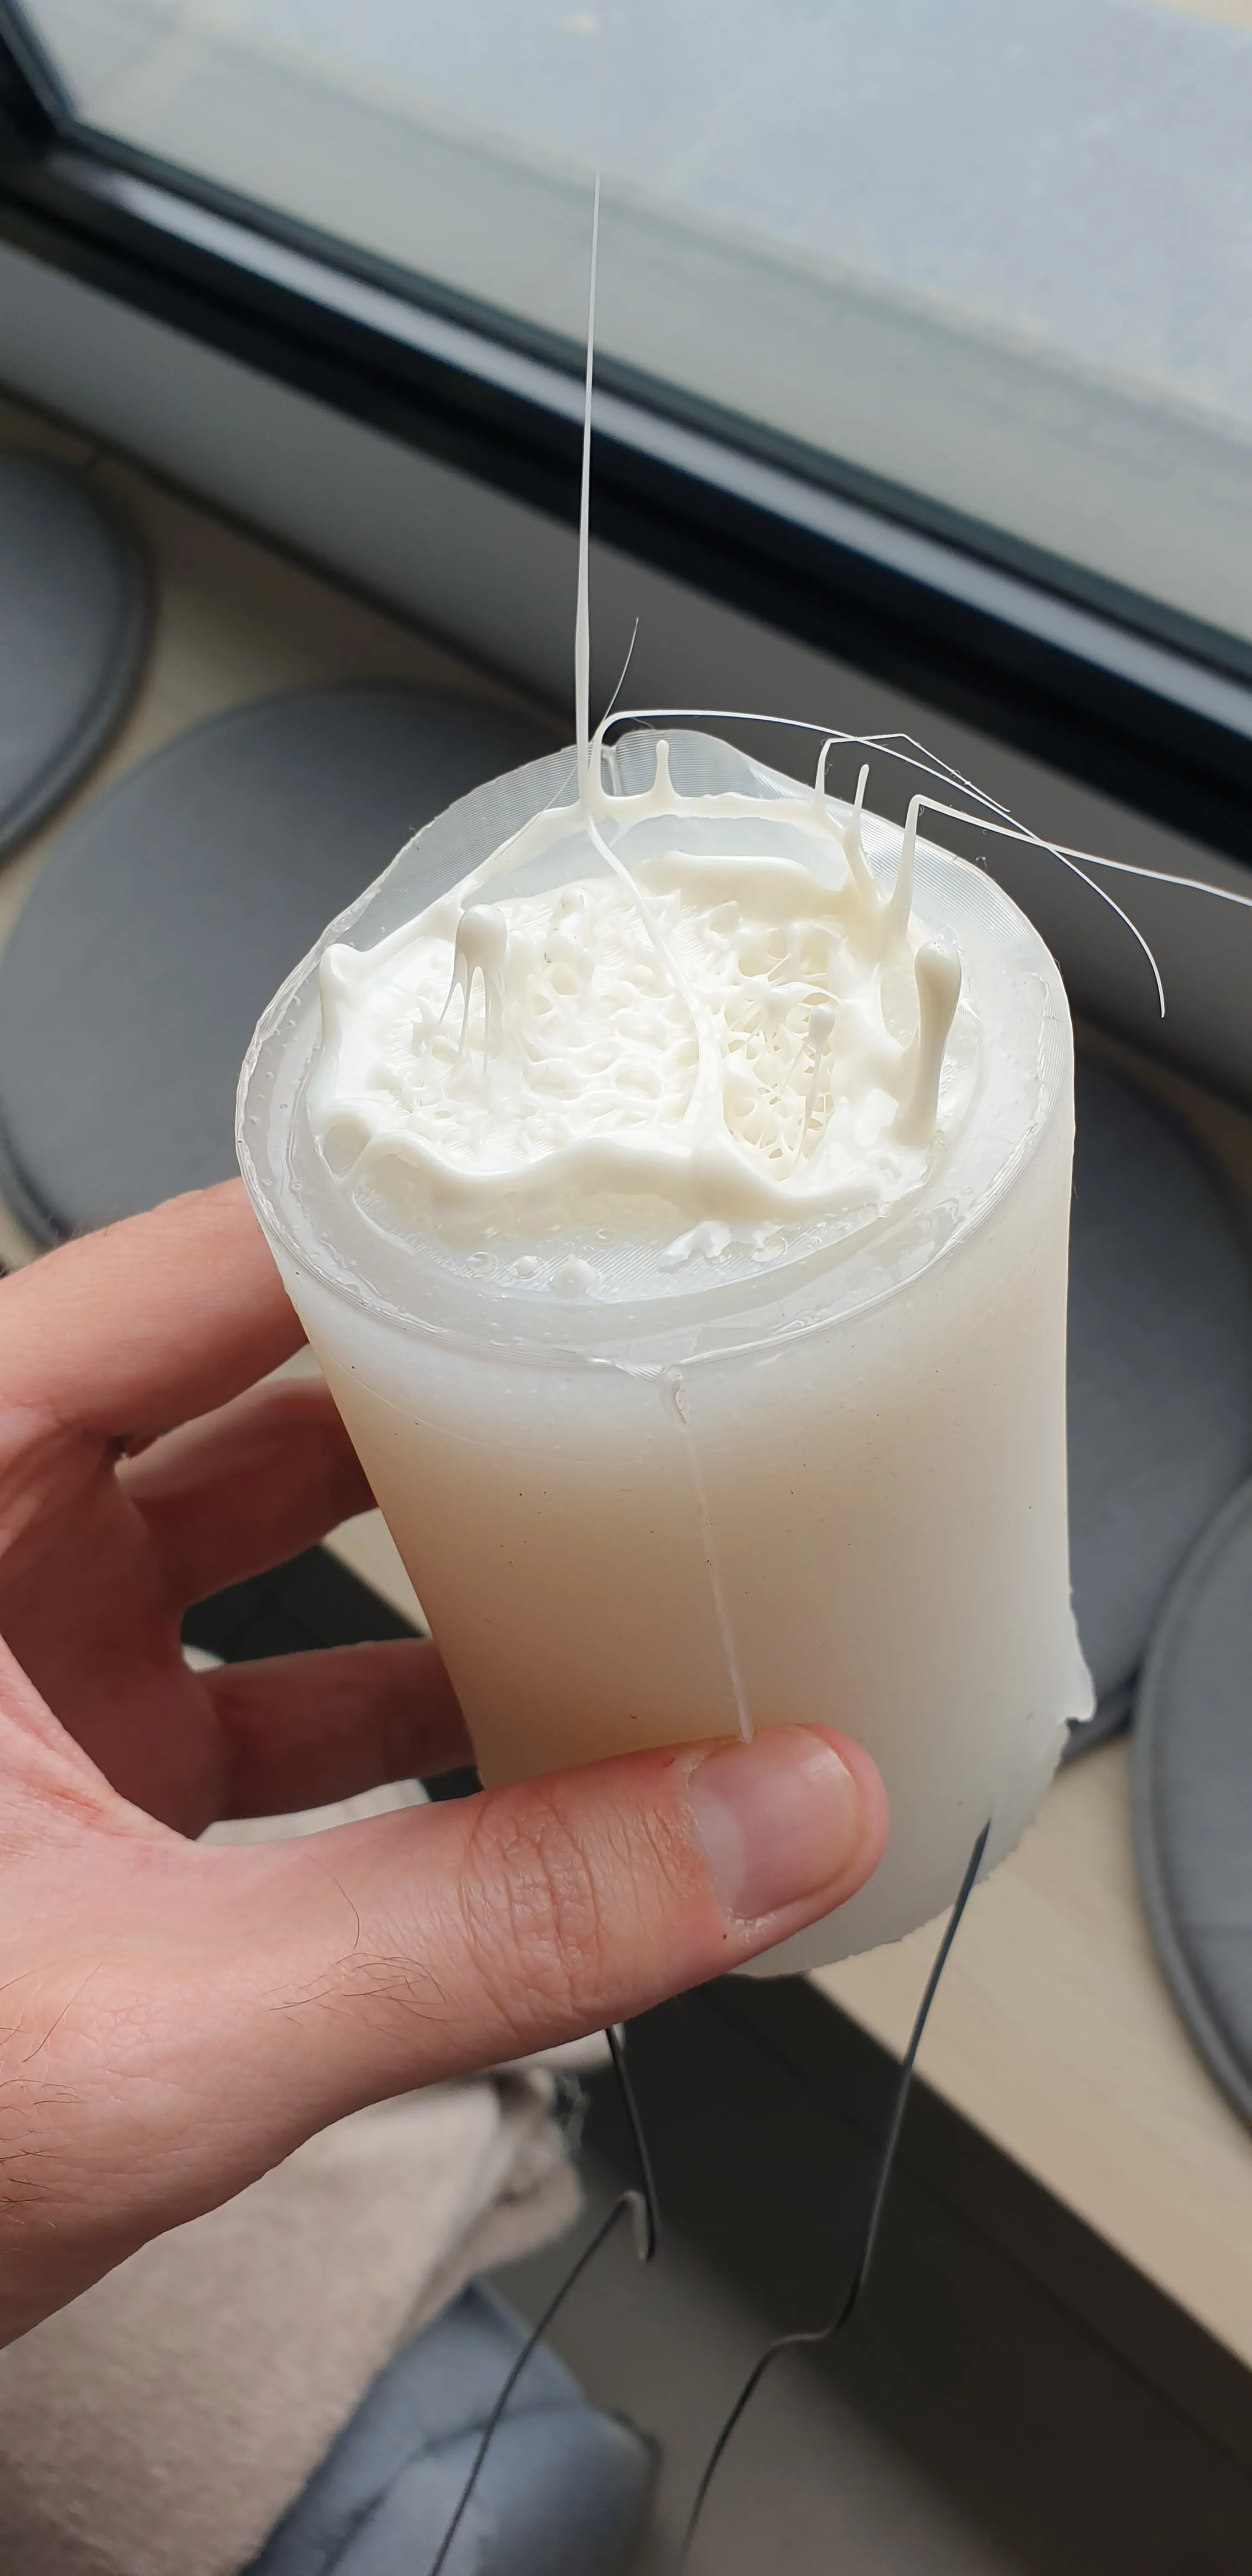
Now for the real test. I stuck some metal wire through the silicone and suspended it over aluminum foil in a hot oven. The oven was set to 220C at first, which is above the melting point of PLA. The plan was for the PLA to melt and flow out of the mold, but it didn’t quite work as I expected. I tried to increase the temperature and leave it for a long time, but the PLA just dripped slowly and didn’t really flow out. The worst part is that the silicone mold itself was ruined. I guess the mold should be cured in a vacuum chamber, because there were tiny air bubbles expanding throughout the silicone when It was heated, breaking it and making it useless even if the PLA would have melted as I planned.
Trial 2: Lost HIPS
HIPS is used as dissolvable support material for 3D printers. The idea is to be able to just dump the print in a solvent called d-Limonene, let the support be dissolved instead of mechanically removing it, risking damage to the print itself. The advantage is to be able to use support structures in ways that would be impossible to remove by hand, like inside cavities or under very thin and fragile parts.
My idea here was to use the same technique as lost wax again, but removing the model from the mold chemically without heat damaging the mold.
After buying the expensive filament and sourcing the solvent, I realized that d-limonene dissolves silicone too, so it would ruing the mold as well. Good thing I realized this before committing to try it, because printing HIPS was proving to be a challenge as well, mostly because of the model itself, having very little contact with the built plate under the mom’s thin legs, losing adhesion from warping and ruining the print.
Trial 3: Dissolving The Mold
In this experiment I’ll try another way to dissolve filament, but the other way around - Instead of dissolving the model and being left with an empty mold in which to later cast the resin, why not just print the mold itself, cast the resin inside and dissolve the mold around the hardened resin model?
This time I also tried to dissolve PLA and not HIPS. it’s much easier to print and it’s much cheaper. It turns out that PLA can be dissolved in a solvent called Ethyl Acetate.
I made a little experiment first to see how it worked before trying it on the full model, wasting a lot of expensive solvent. I put some PLA filament bits in a small container, filled it with Ethyl Acetate and waited. After a couple of days, nothing happened. Only after I tried heating it up a little, the PLA started to dissolve.
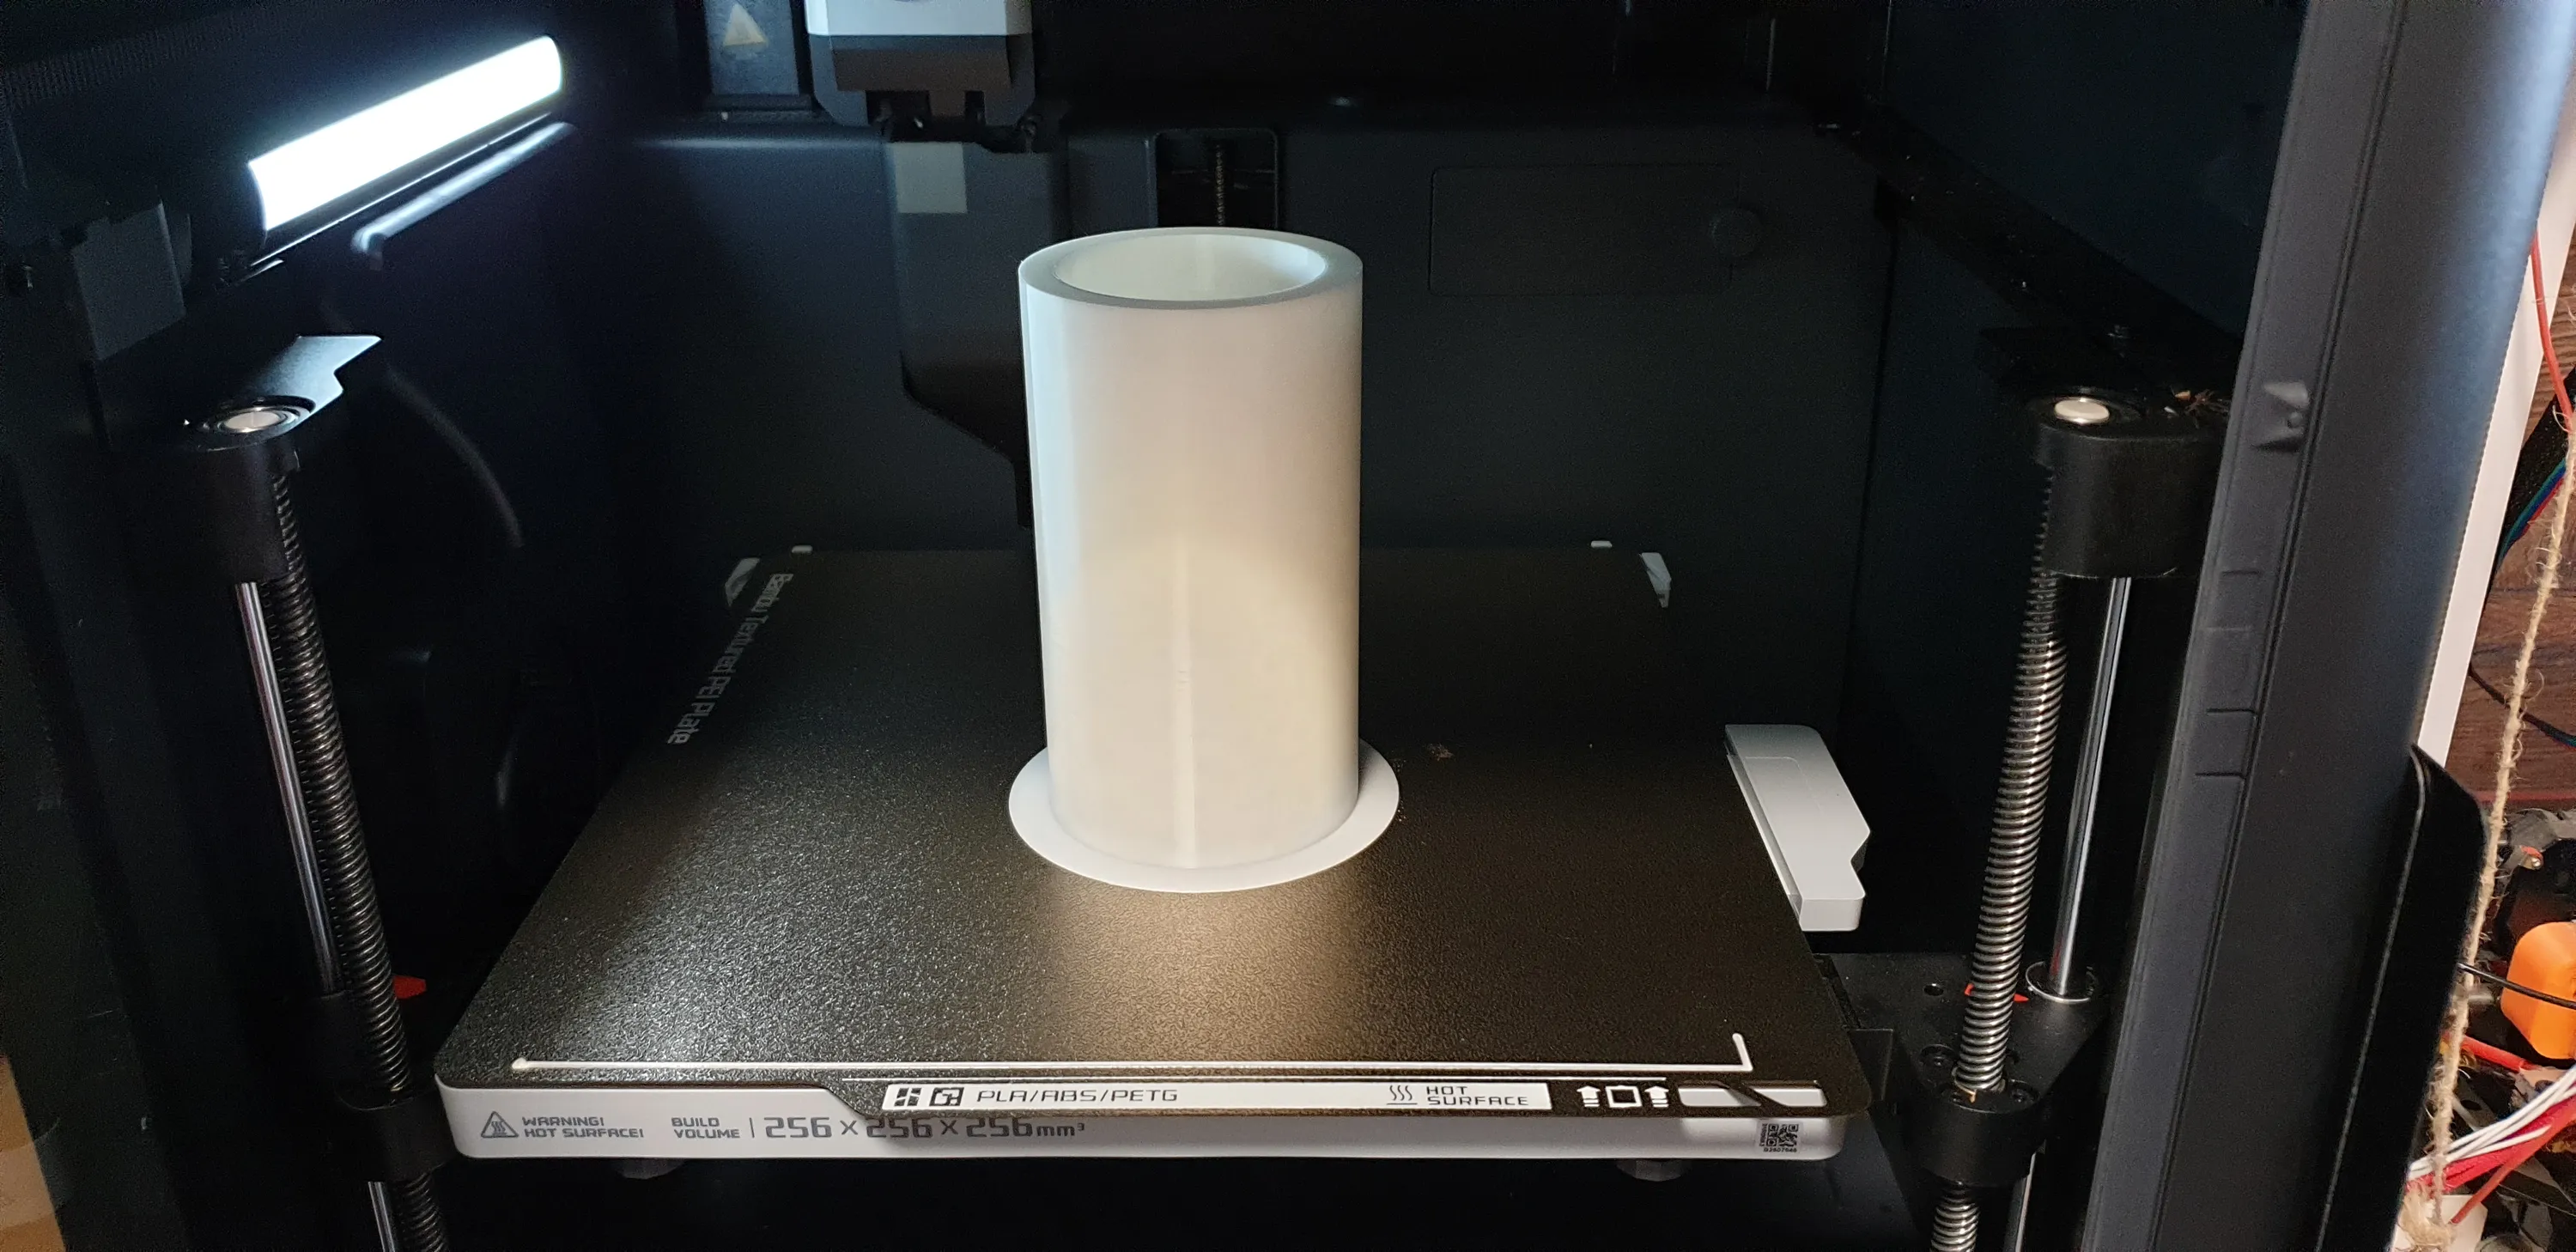
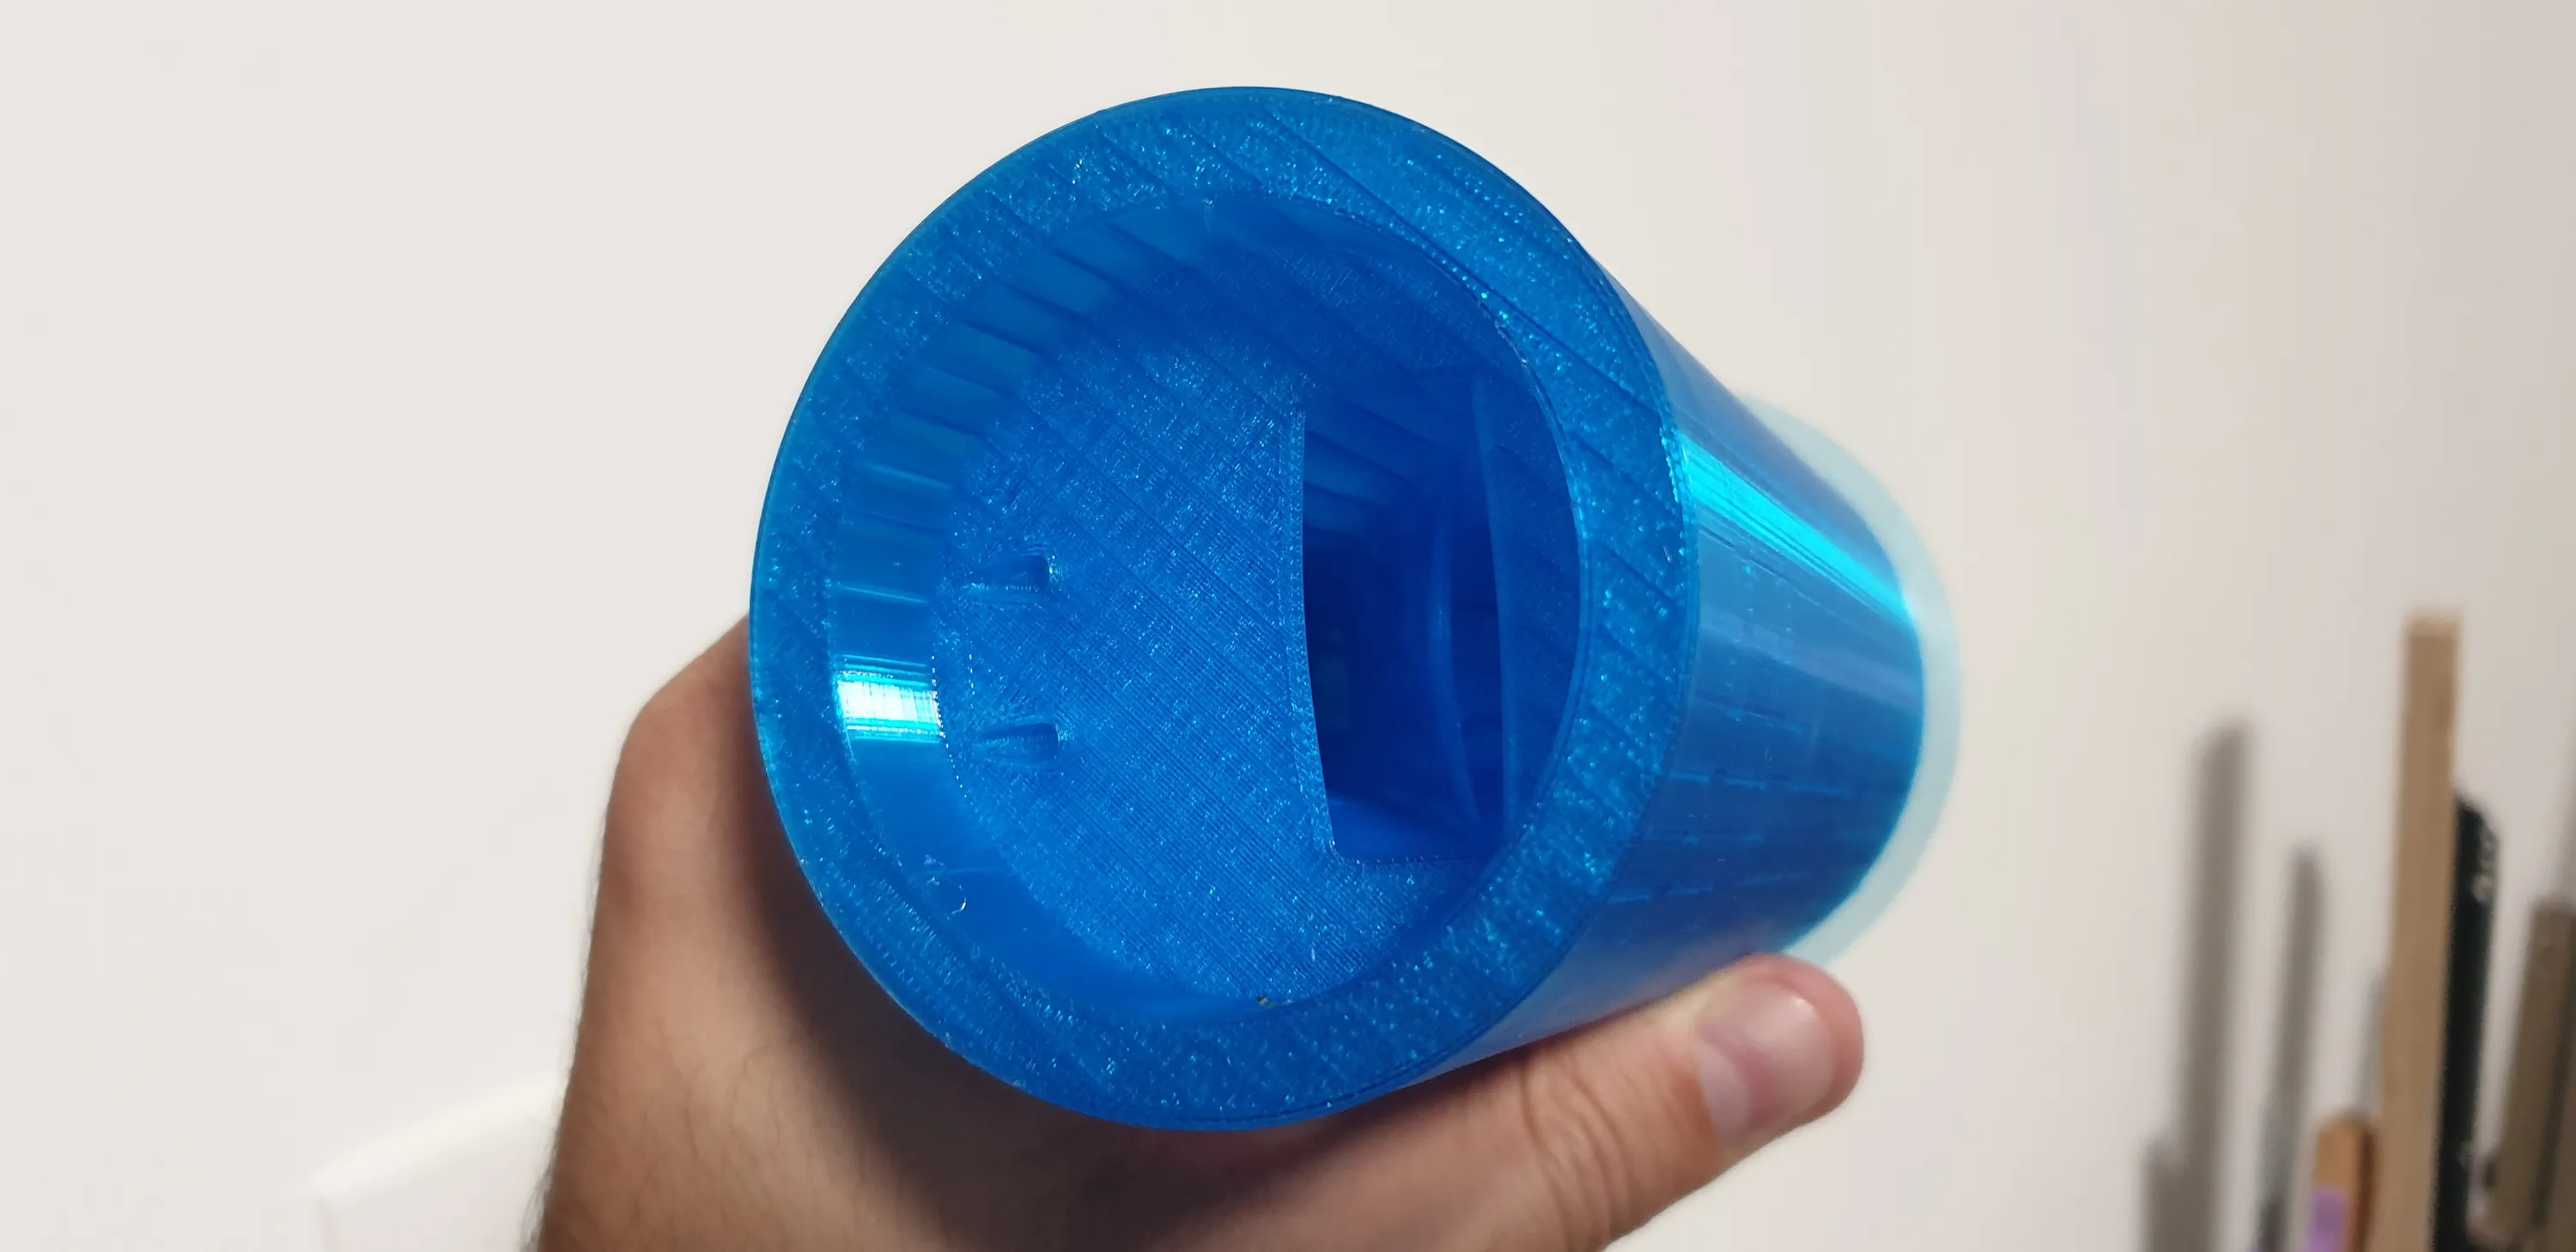
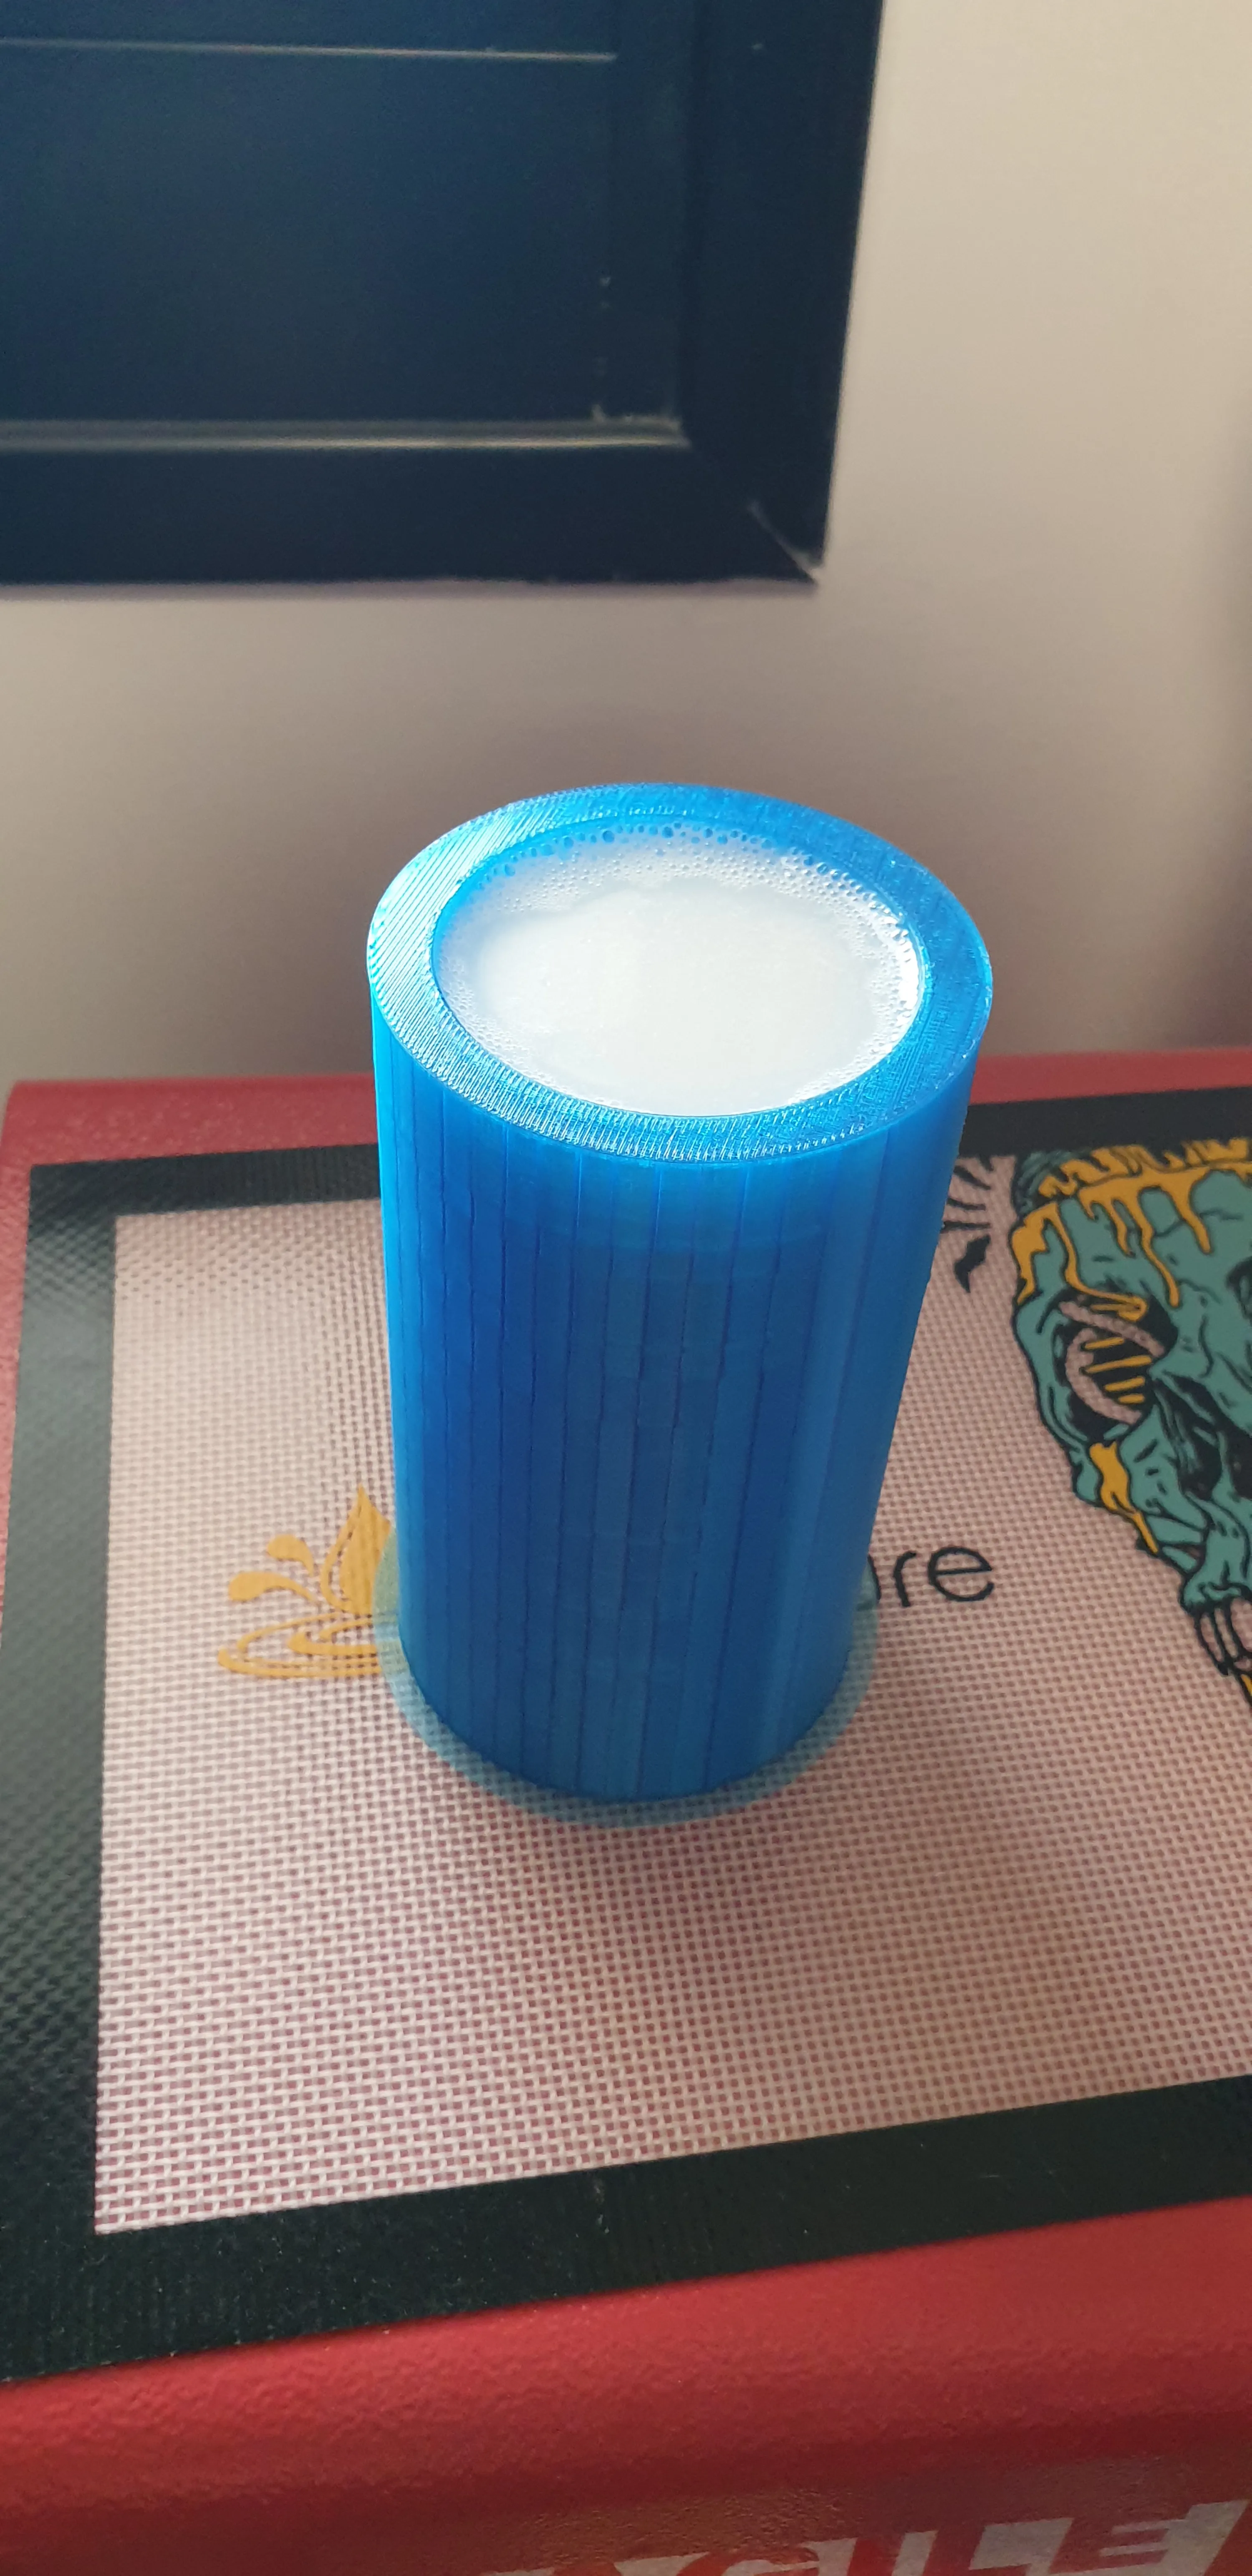
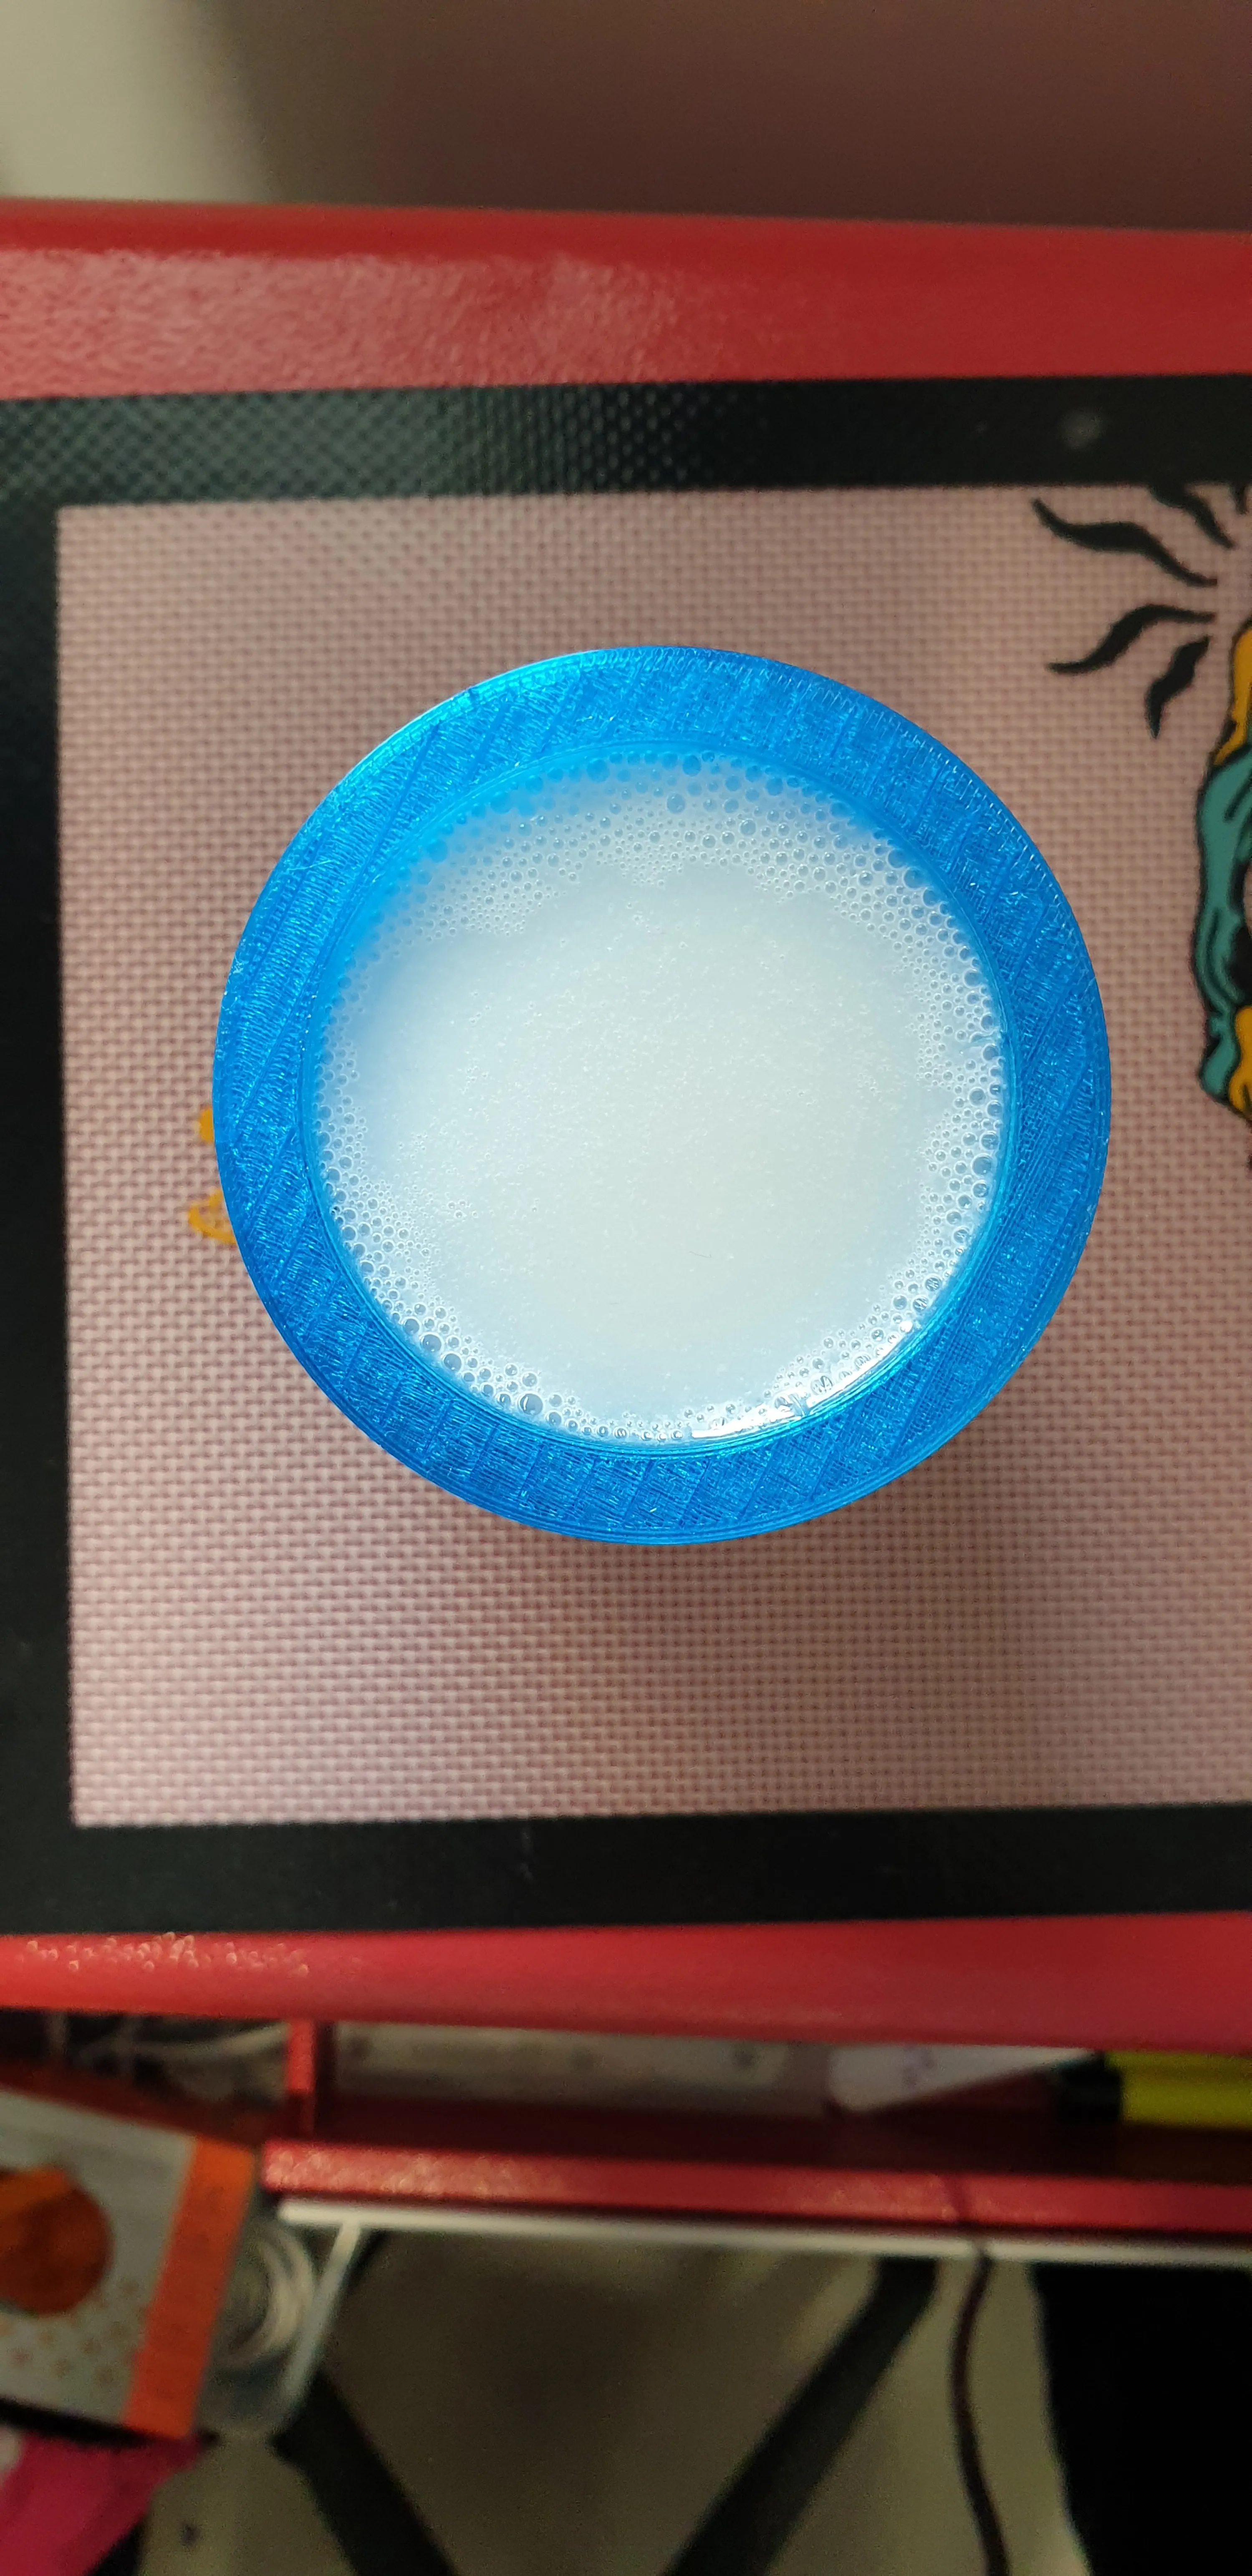
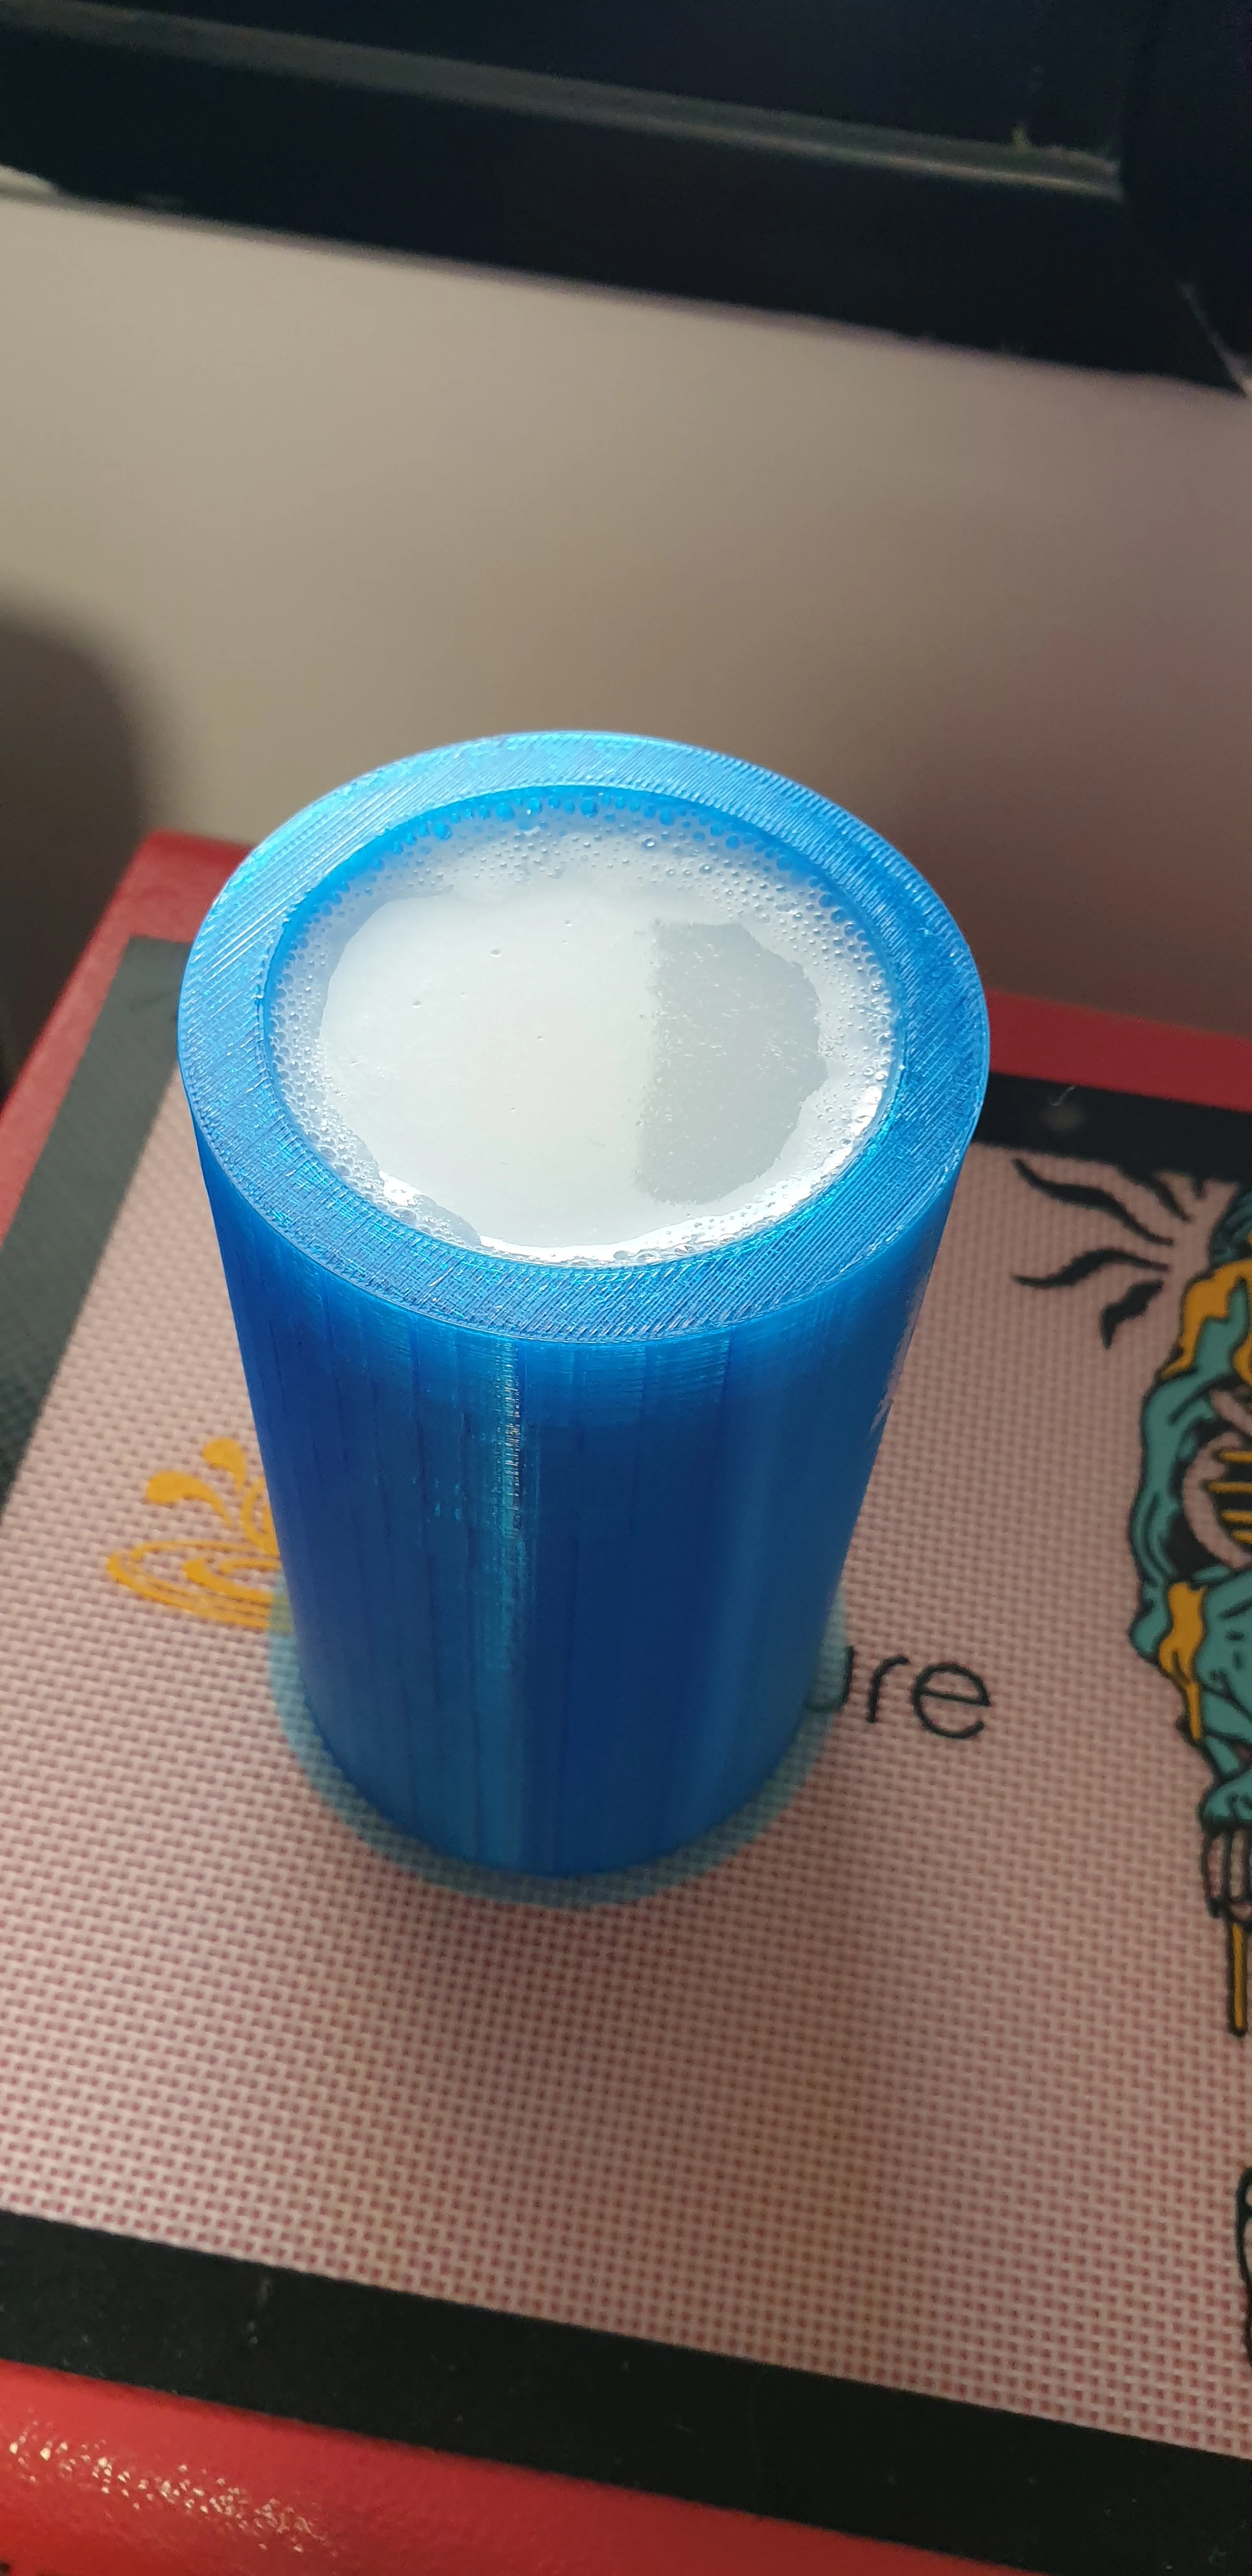
Now that I know how this works, I devised a plan. Dissolving the mold from the outside would take a long time. The print is mostly hollow, so I can use that to my advantage. I printed the mold without solid bottom layers, leaving the infill exposed and I used the Gyroid infill pattern because it doesn’t divide the internal space into separate chambers, like normal square pillars would. The liquid solvent can flow through the infill and reach every spot. The idea is to dissolve it from the inside, having much more surface area come in contact with the solvent, speeding the process.

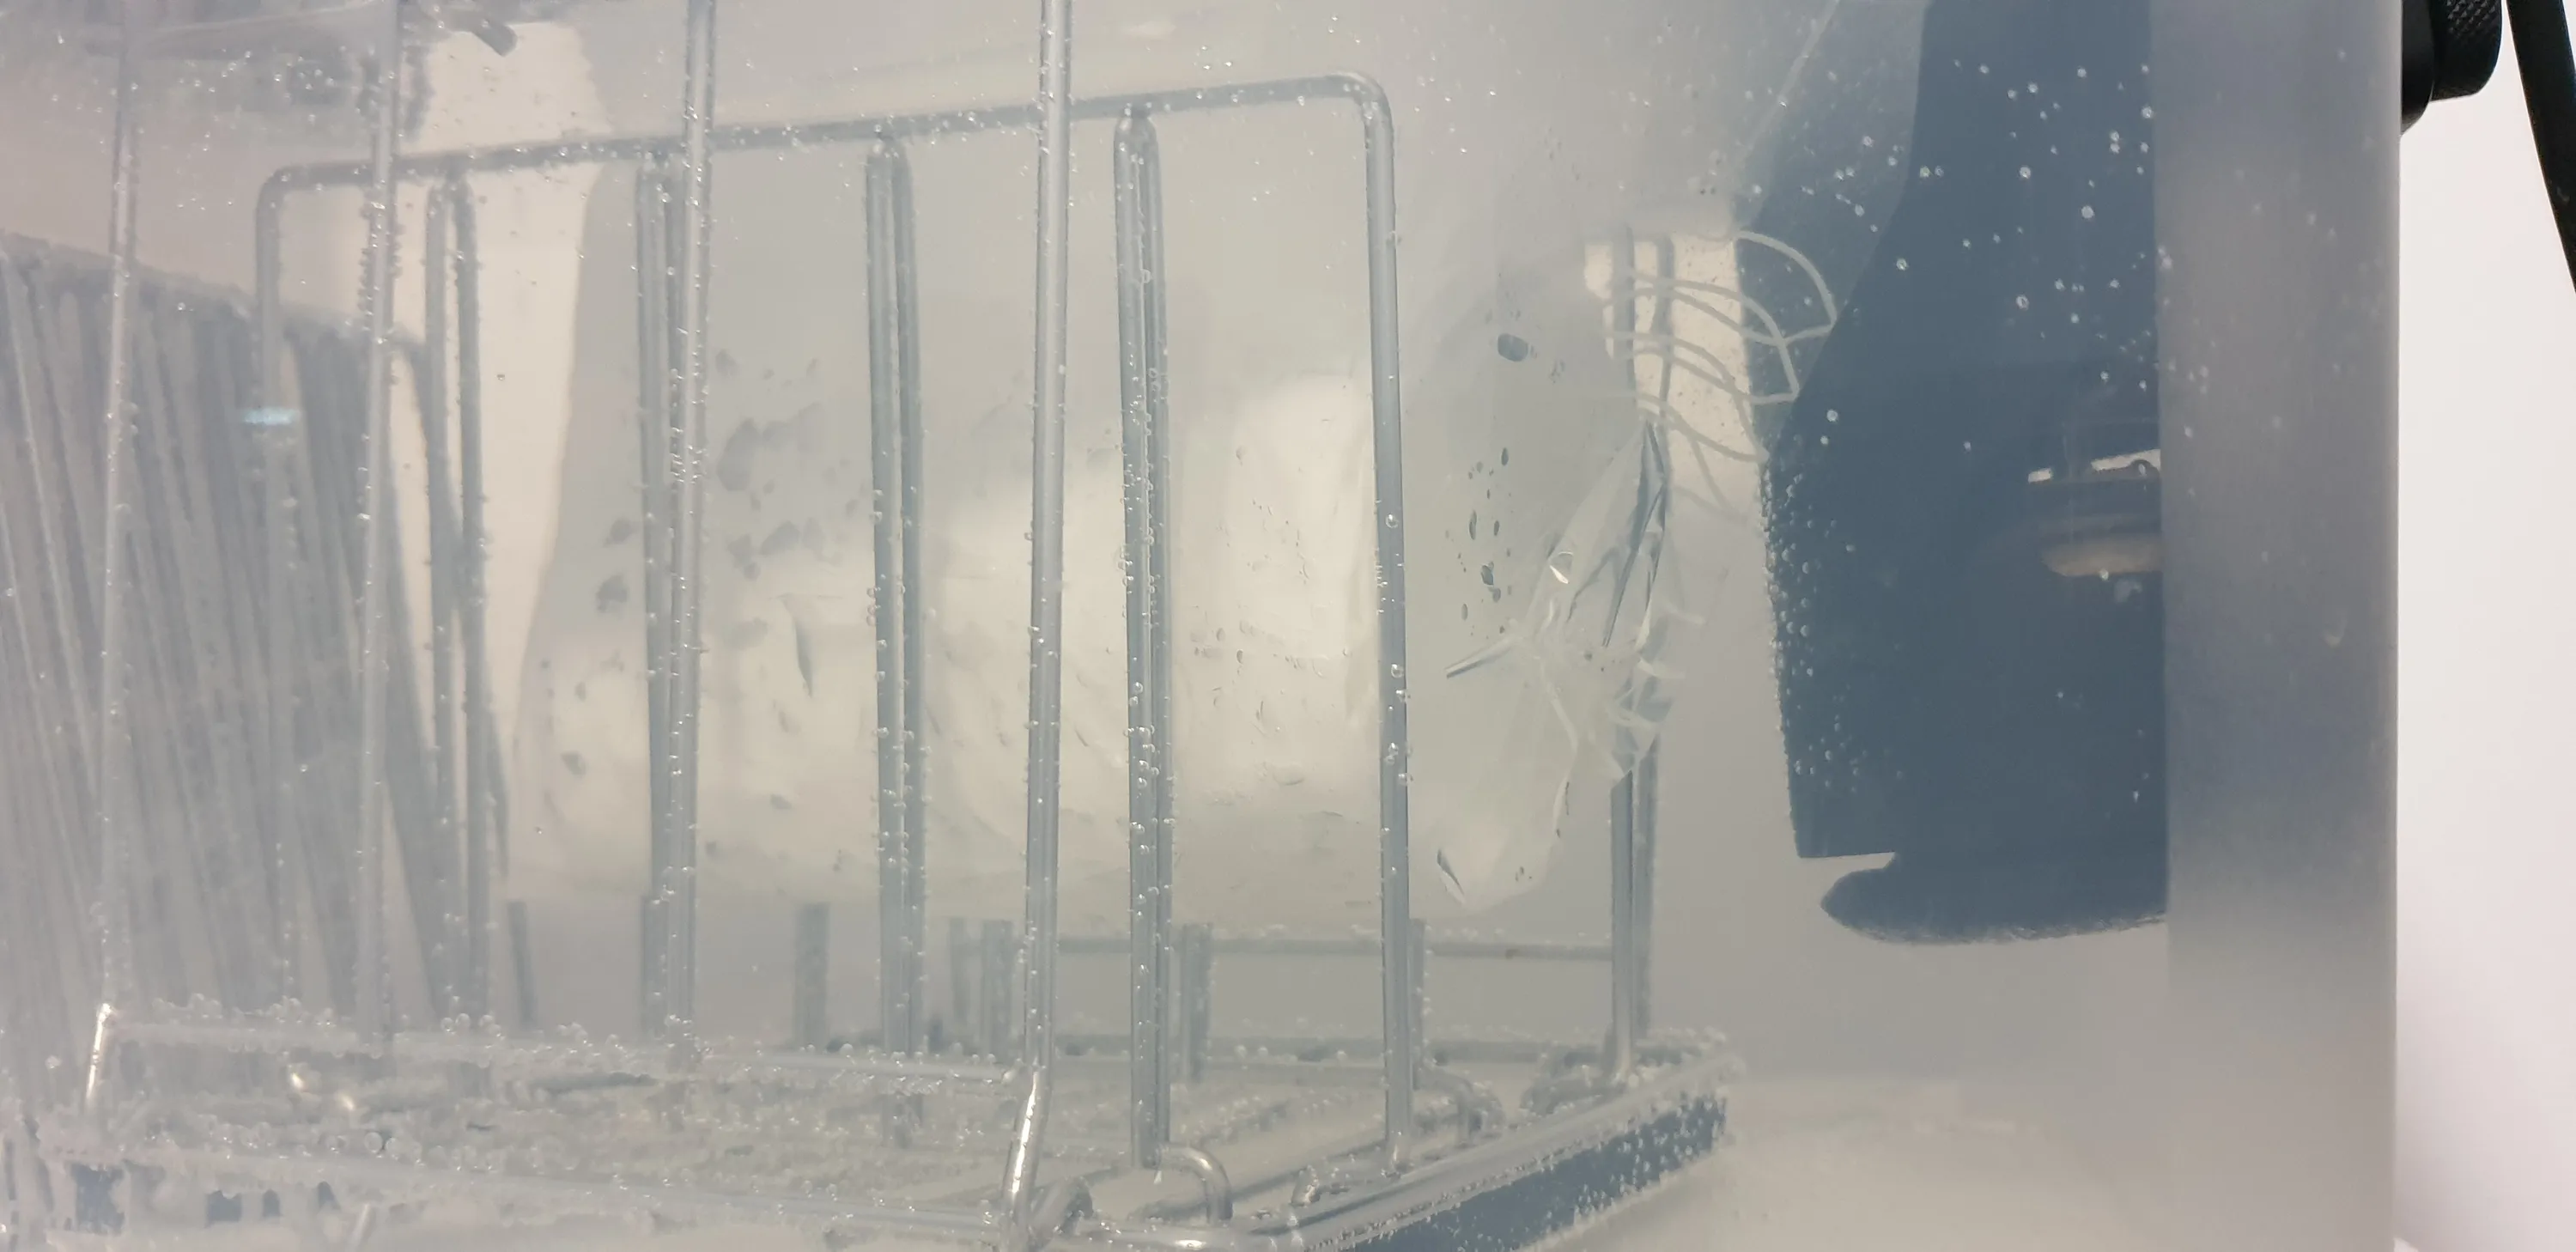
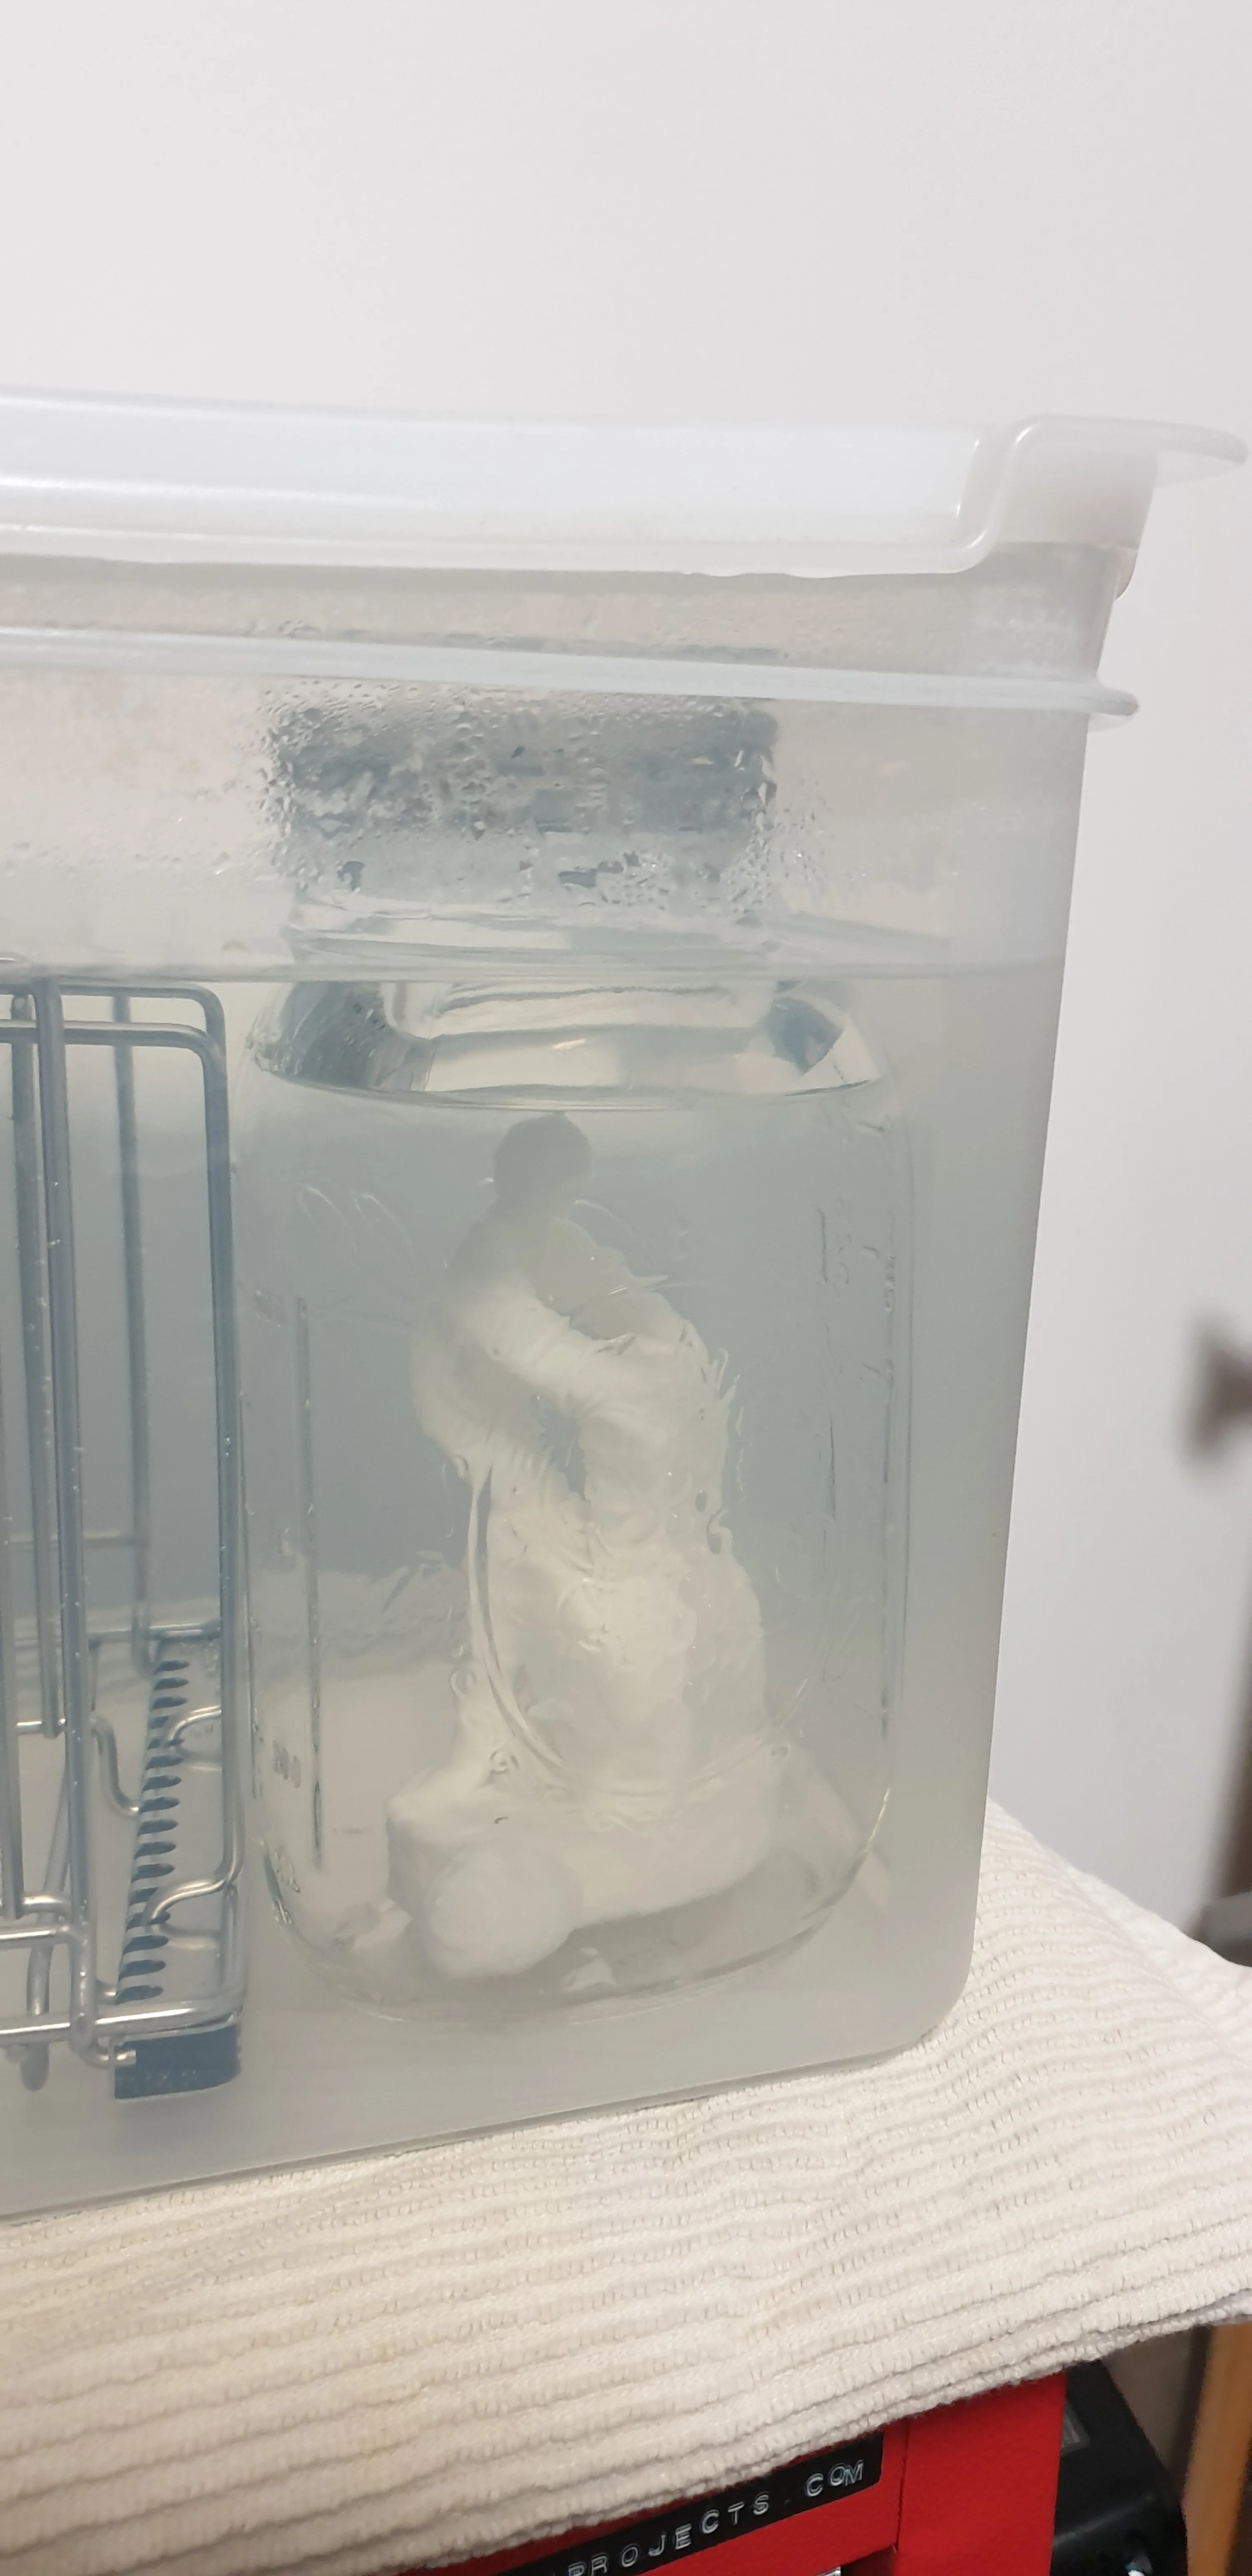
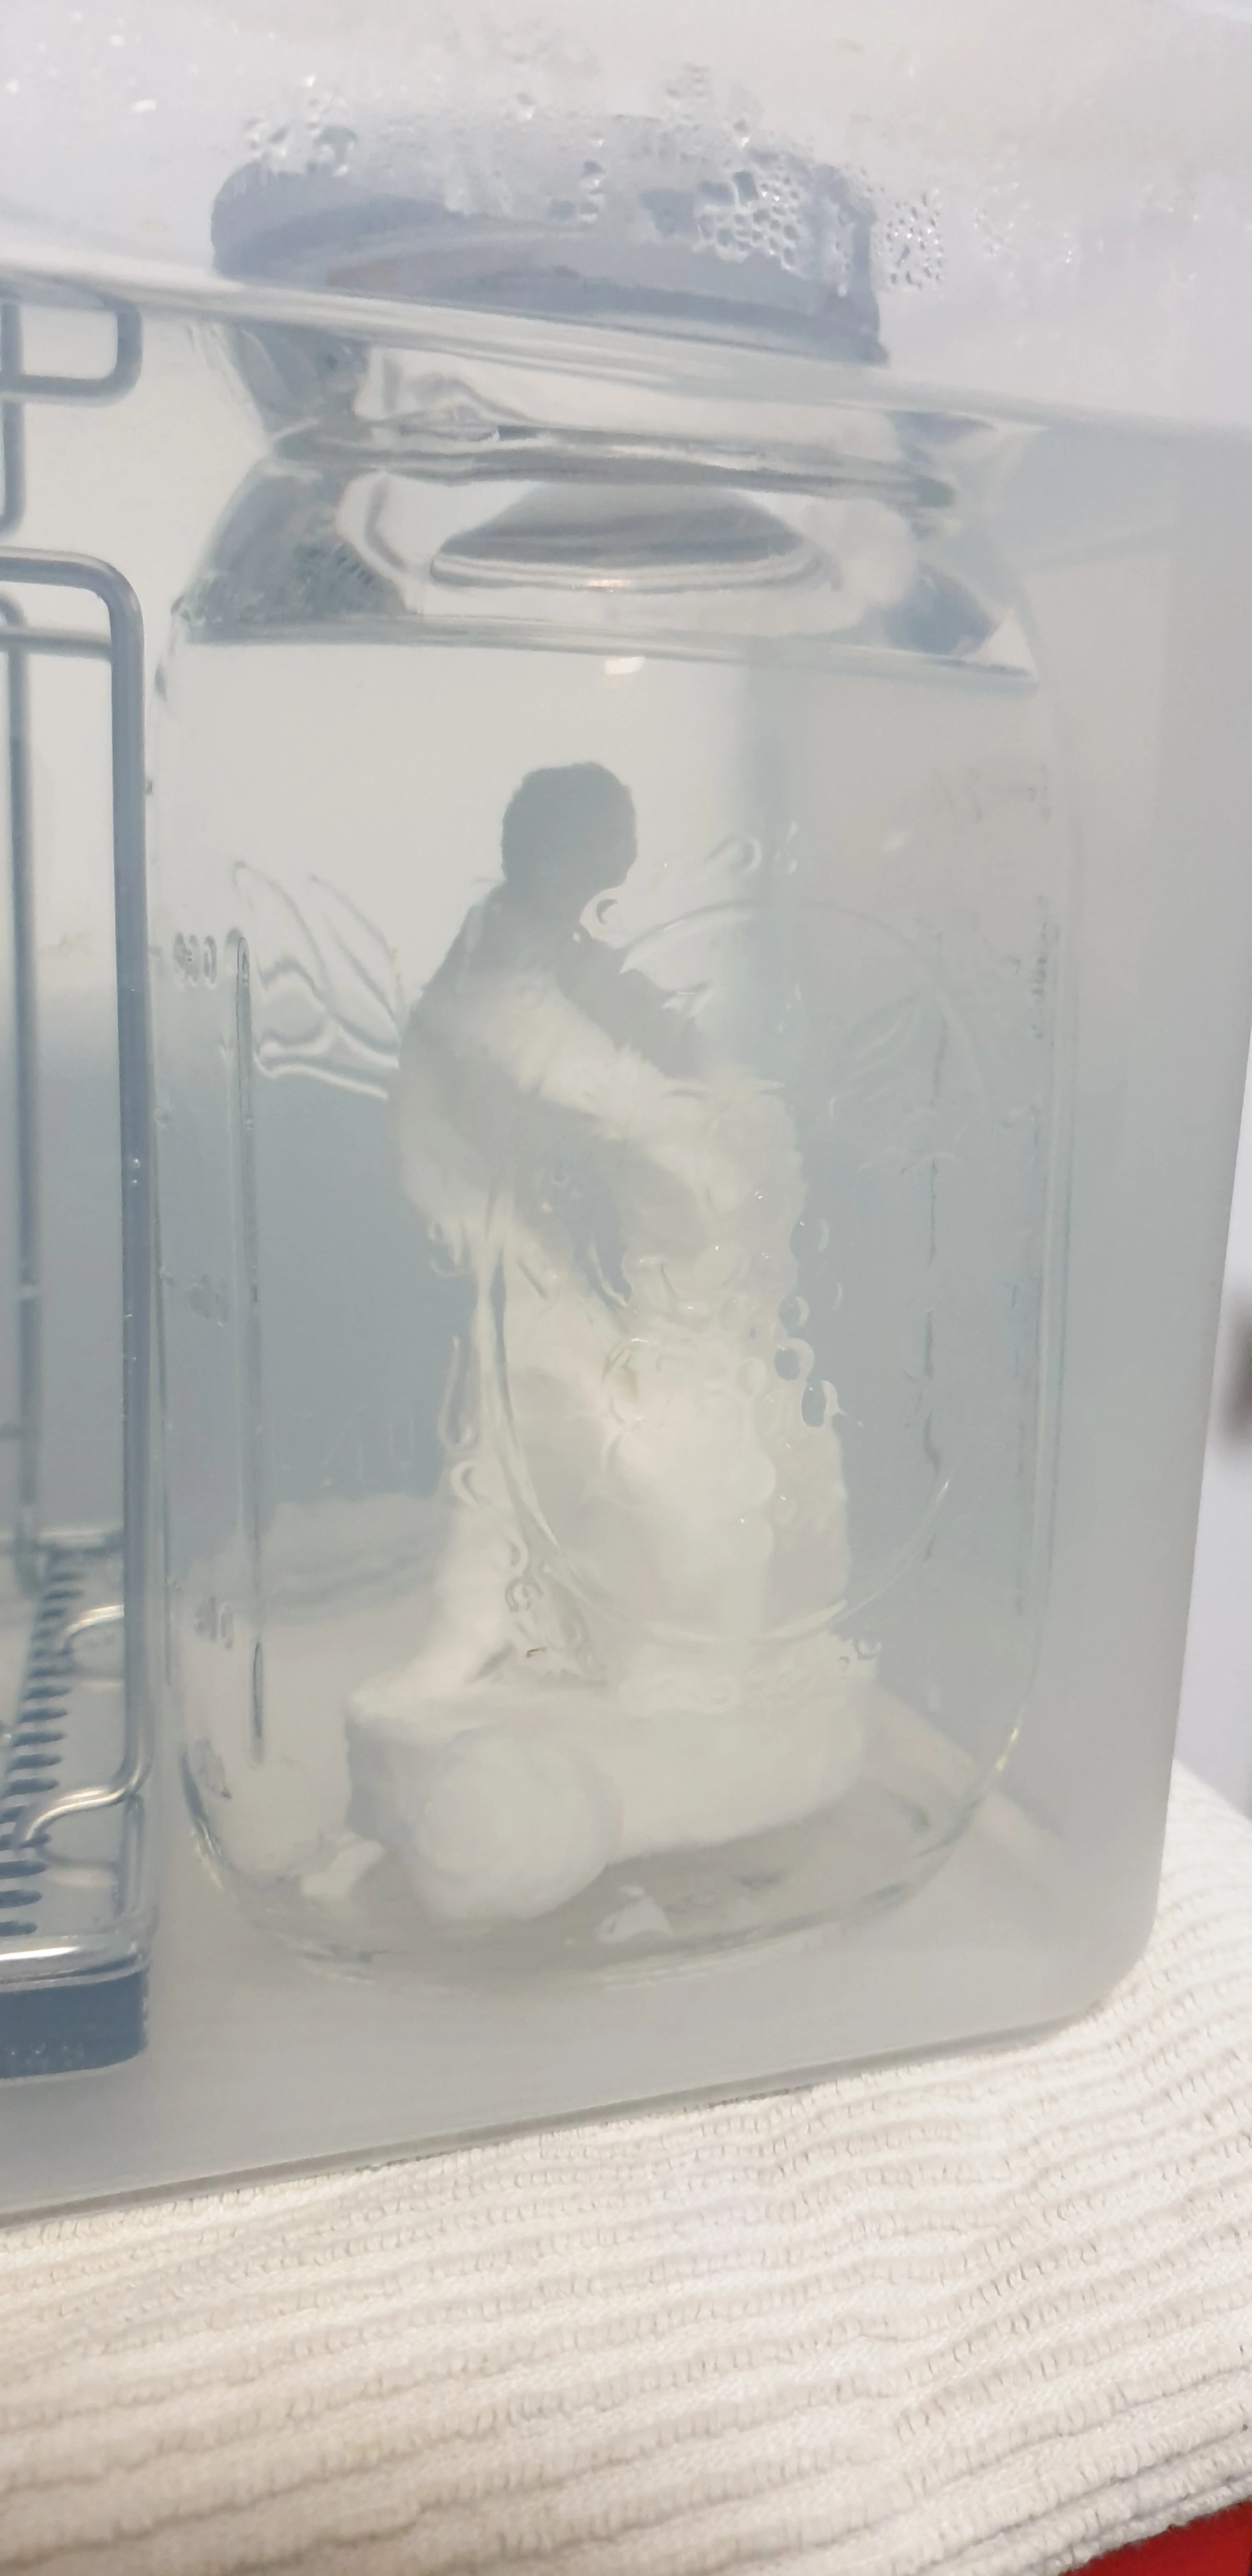
I used my sous vide circulator and a container made from plastic that shouldn’t be dissolved by the solvent. I didn’t want the solvent to reach the circulator and I also didn’t want to fill the container with the solvent directly since it would take a lot and just waste it, so I put the mold and the solvent in a sealed plastic bag and filled the container with water.
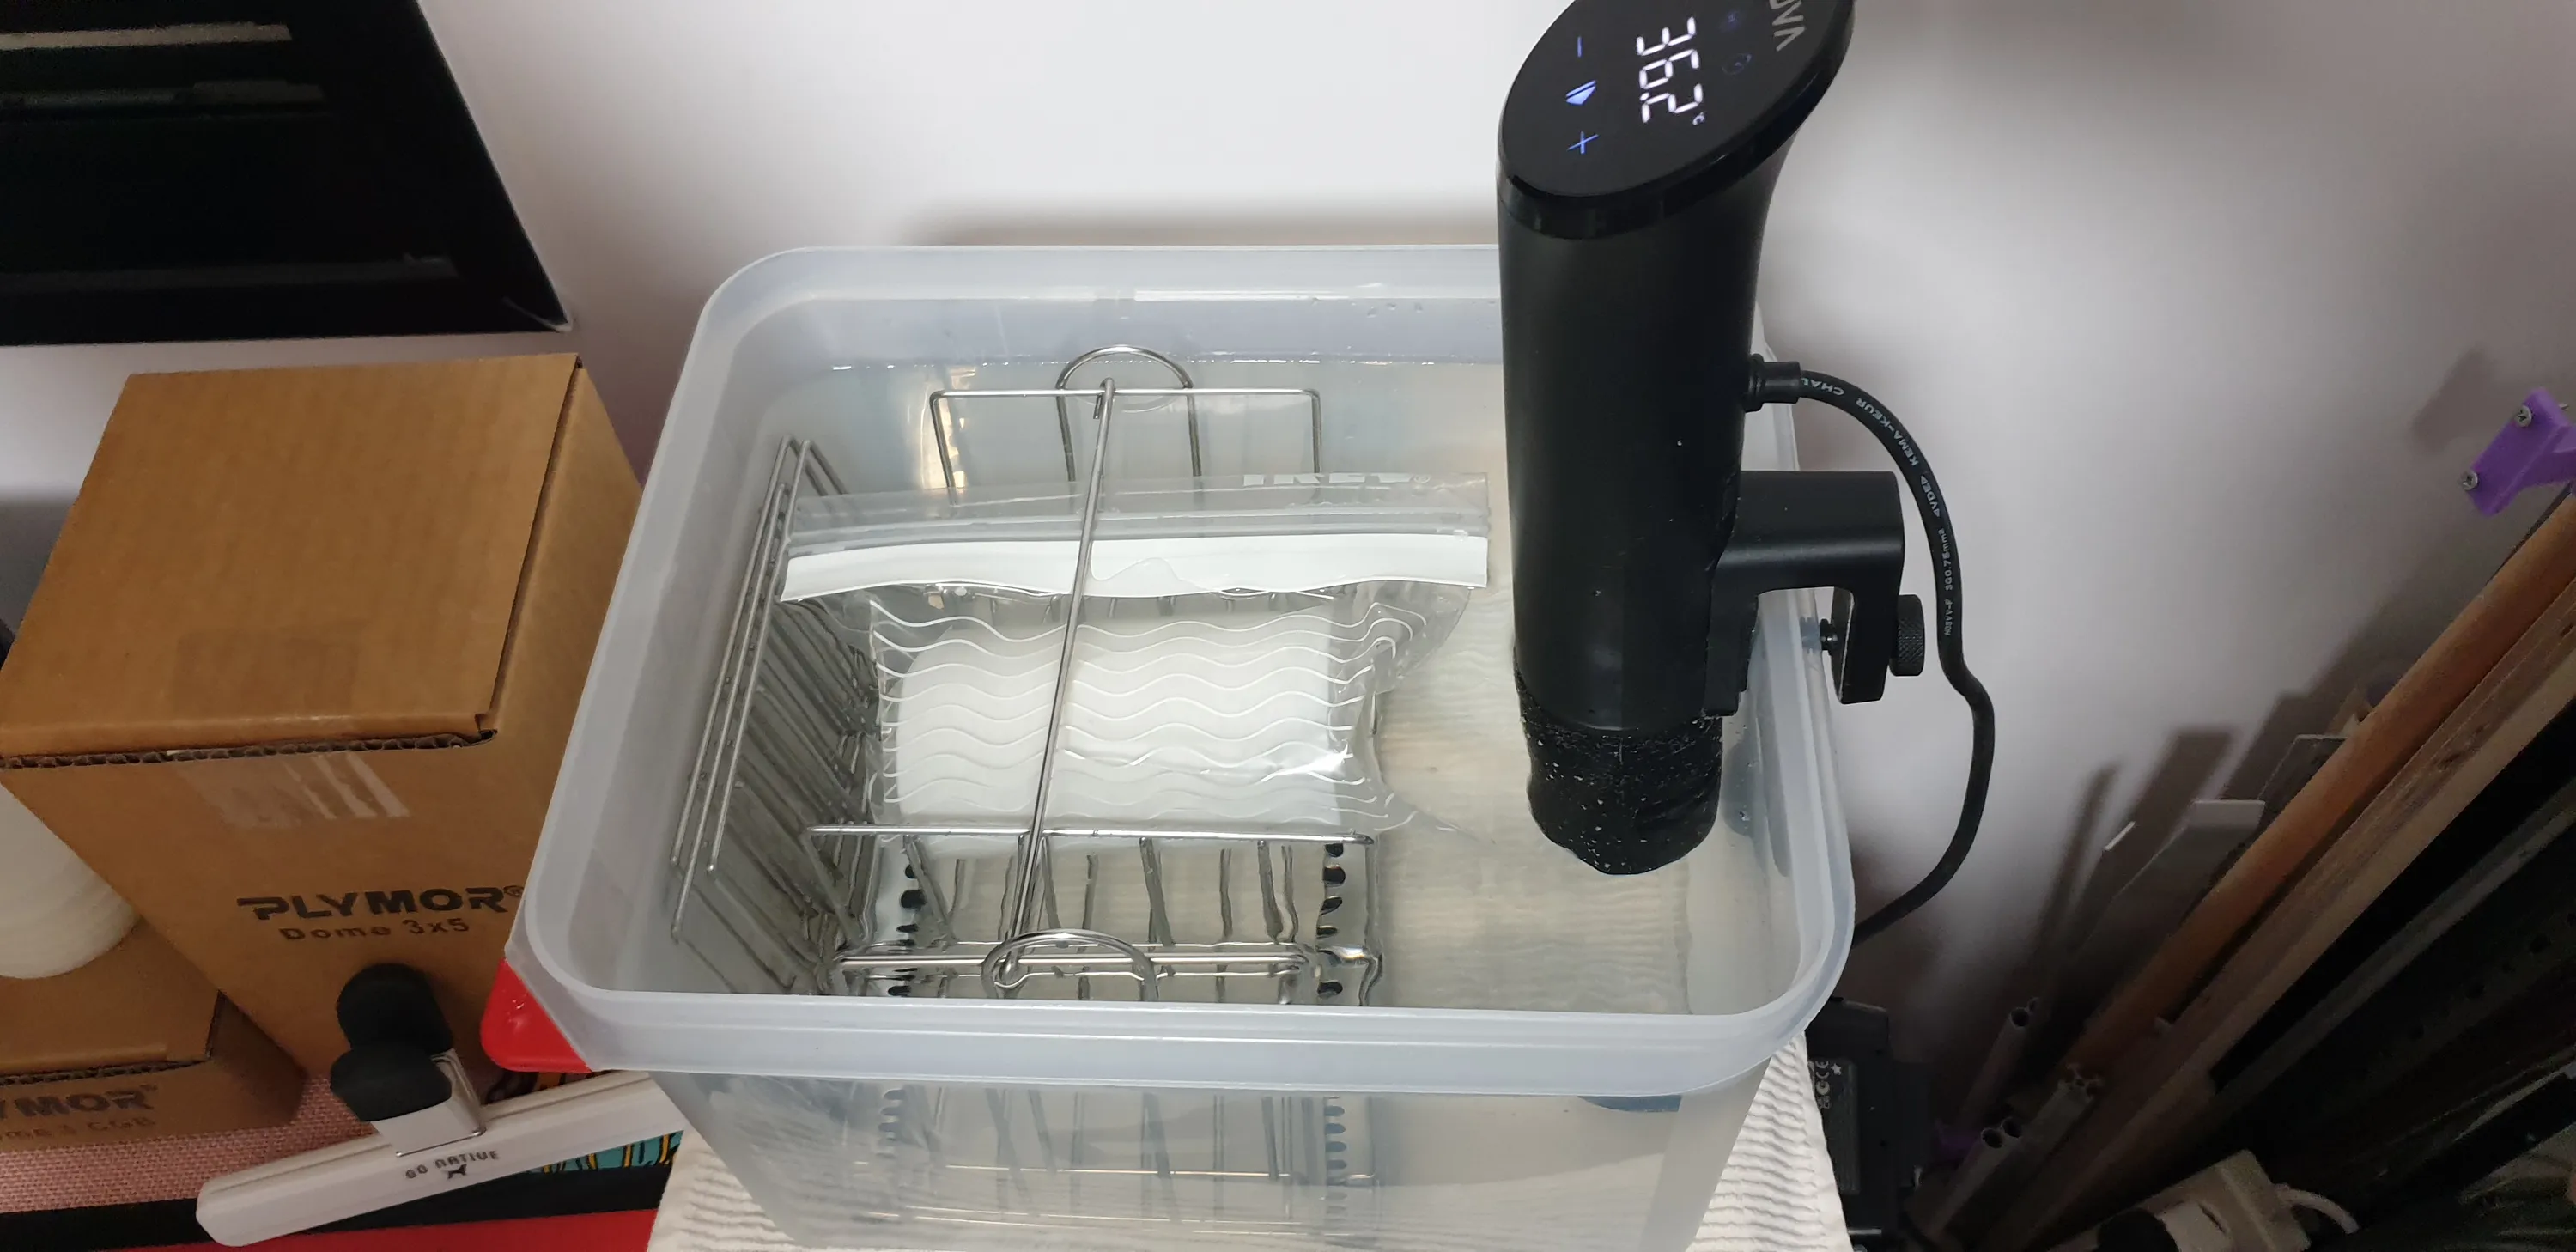
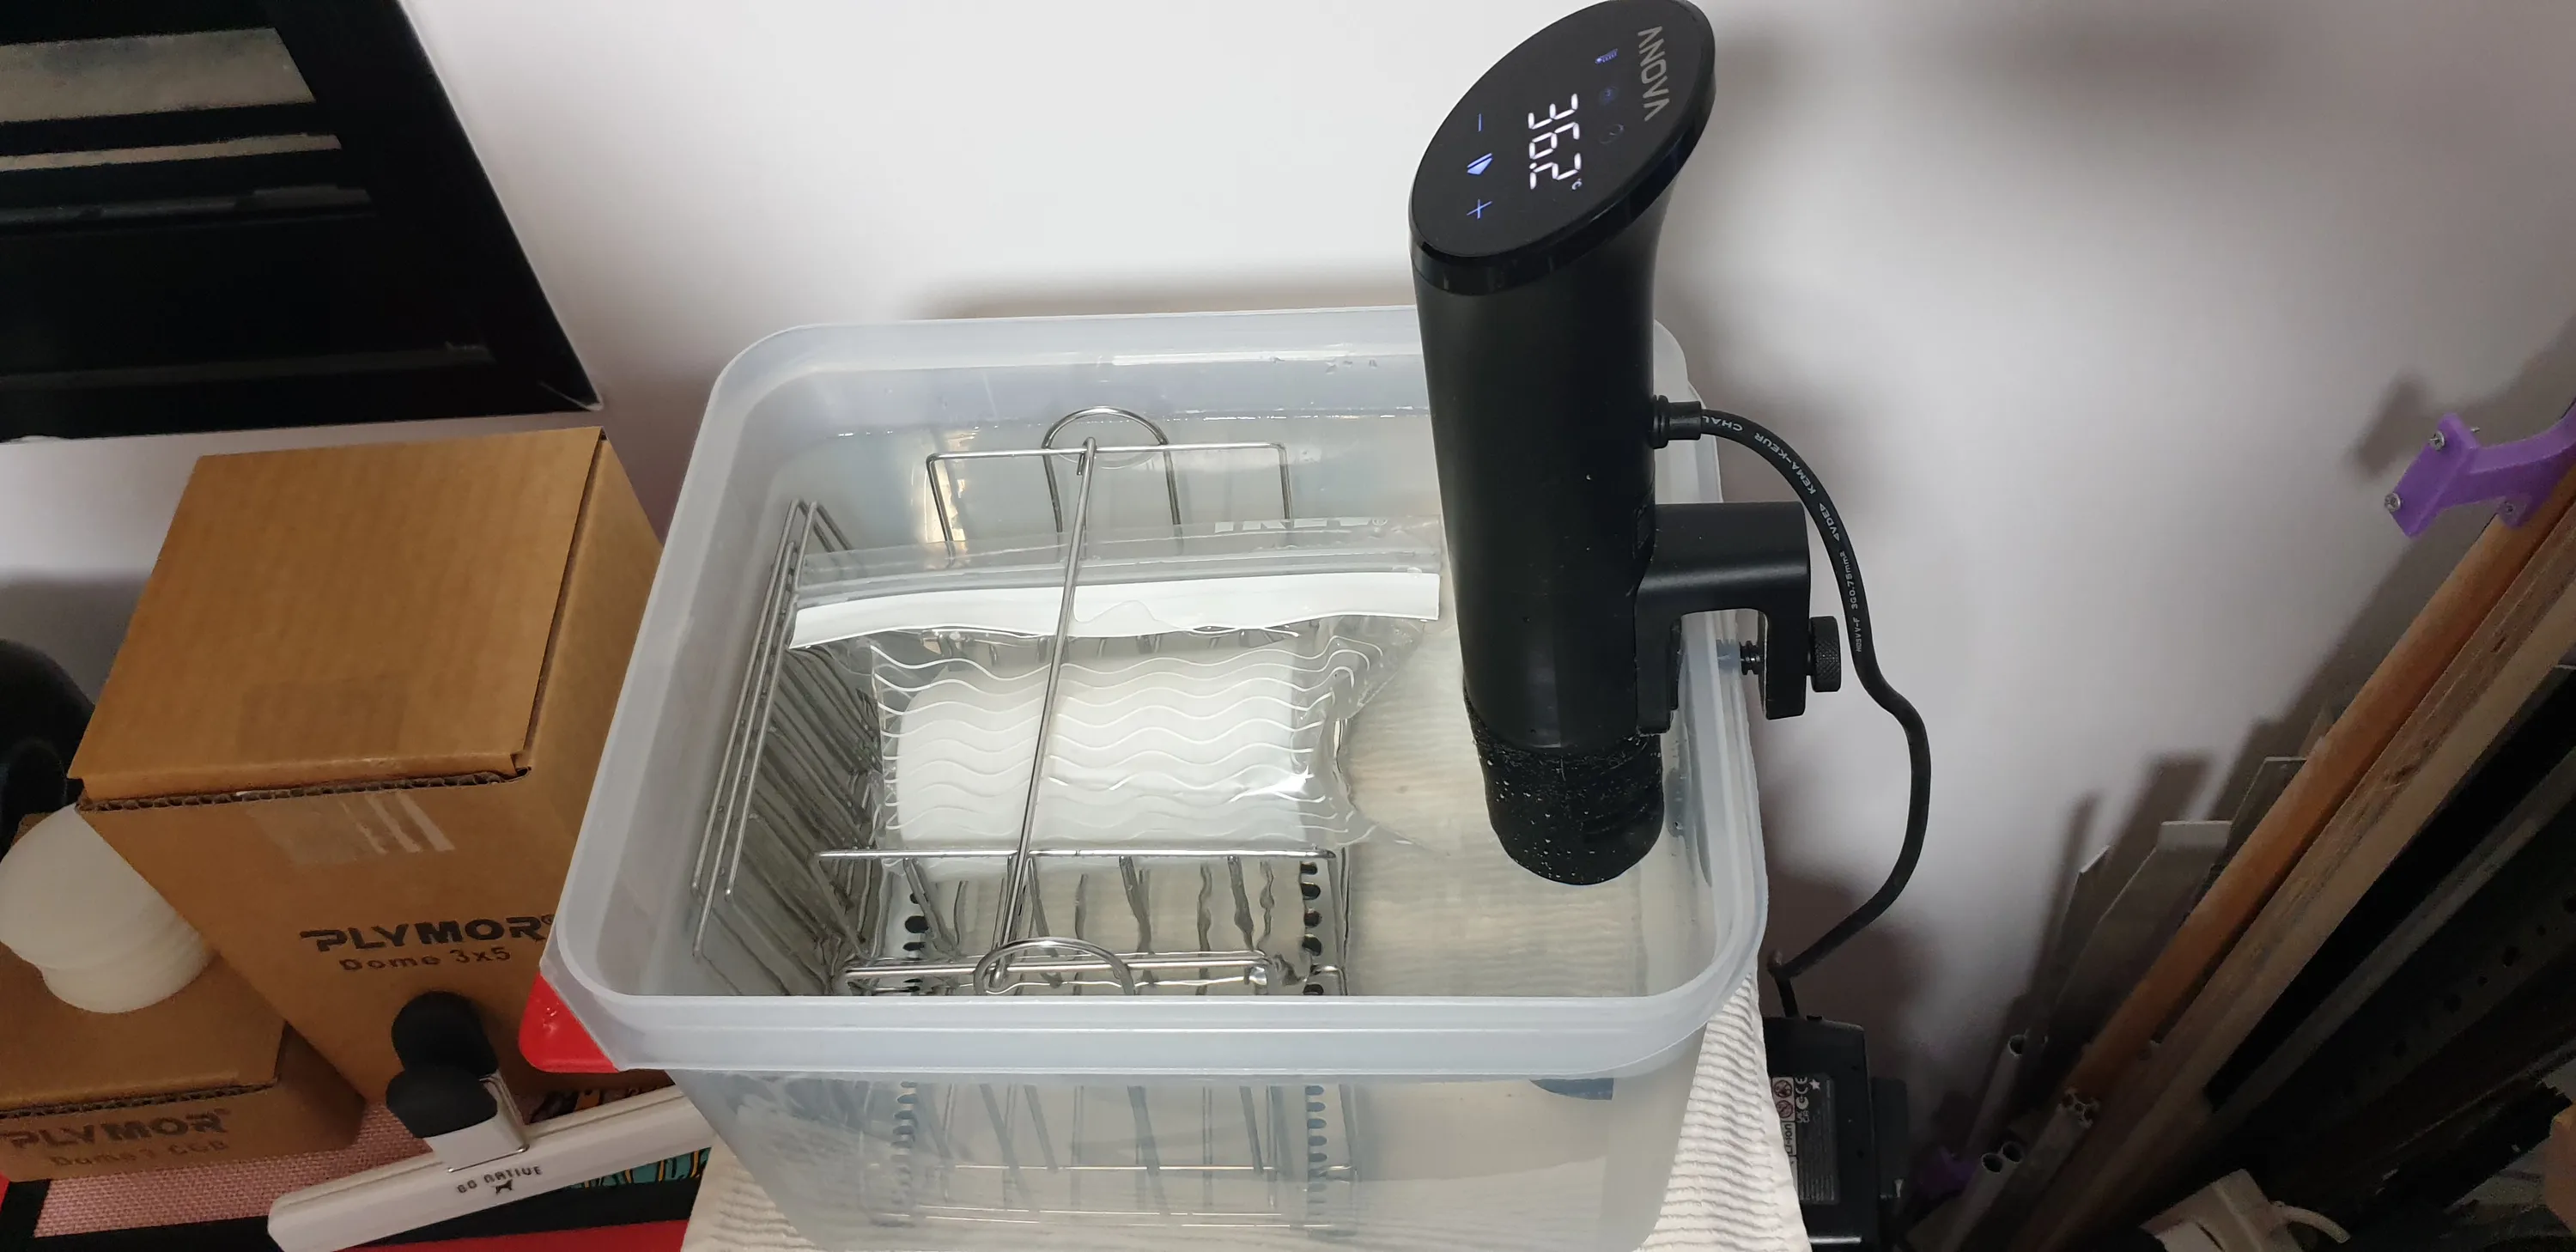
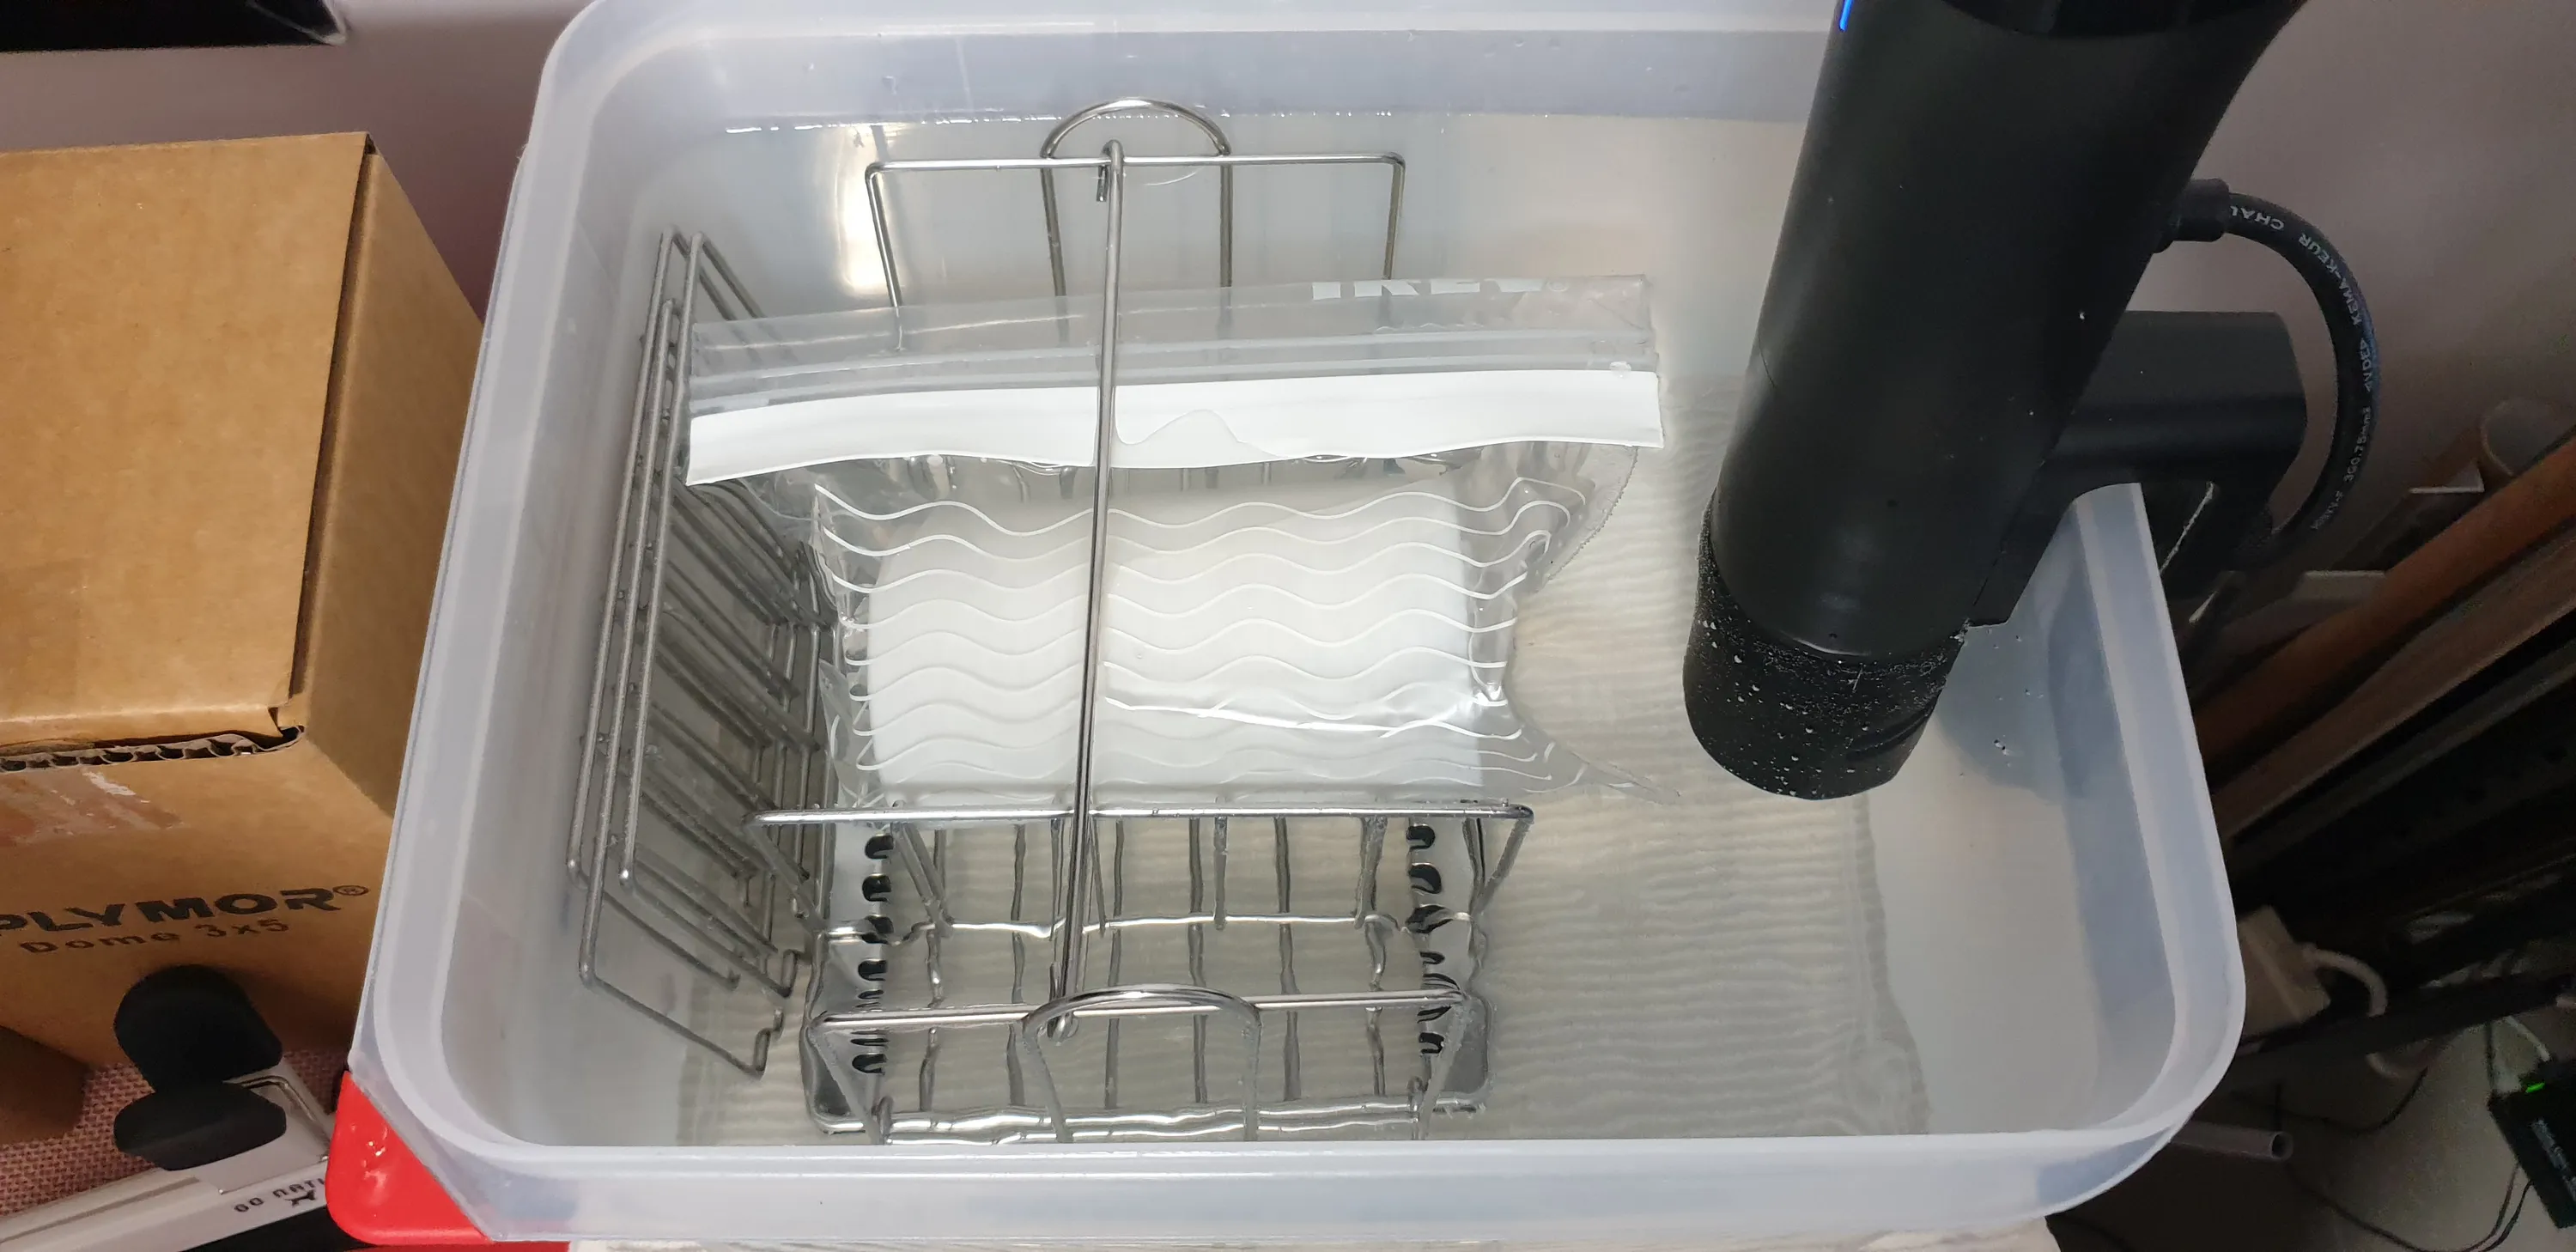
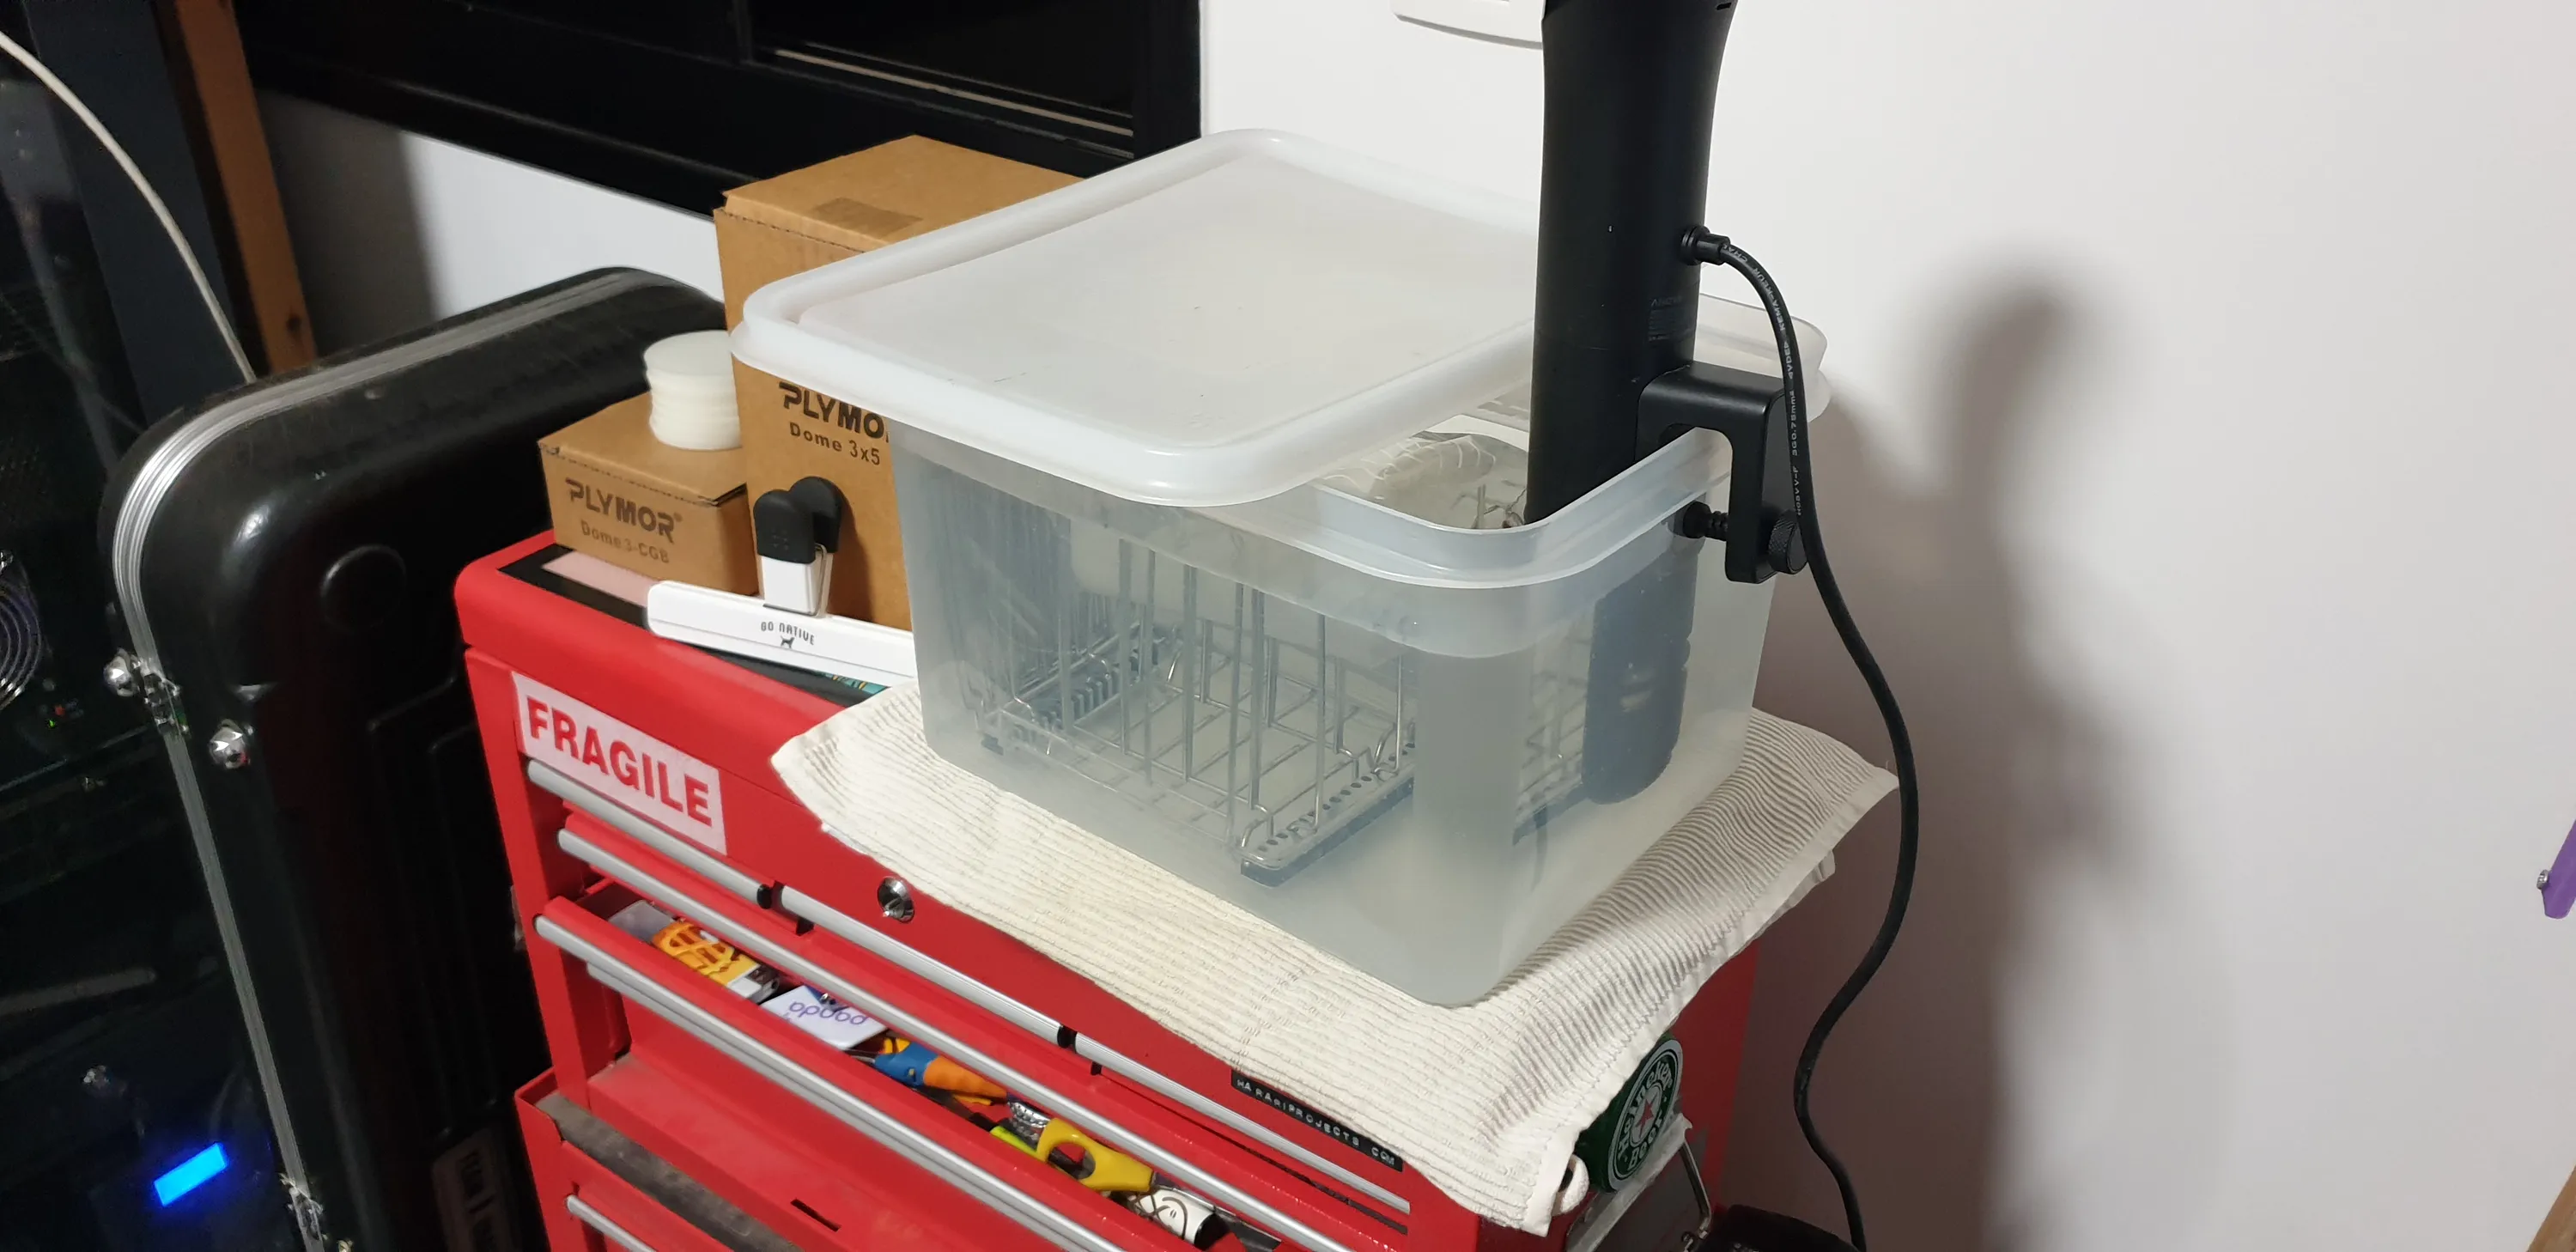
partial fail
The plastic bag seemed to be dissolved a little bit and the solvent leaked out. annoying and messy, but not a bit deal. I seems that enough of the infill was dissolved such that it separated from the inner walls of the print. This meant that I could separate all the outer parts and concentrate my efforts on the inner wall that was attached to the resin.
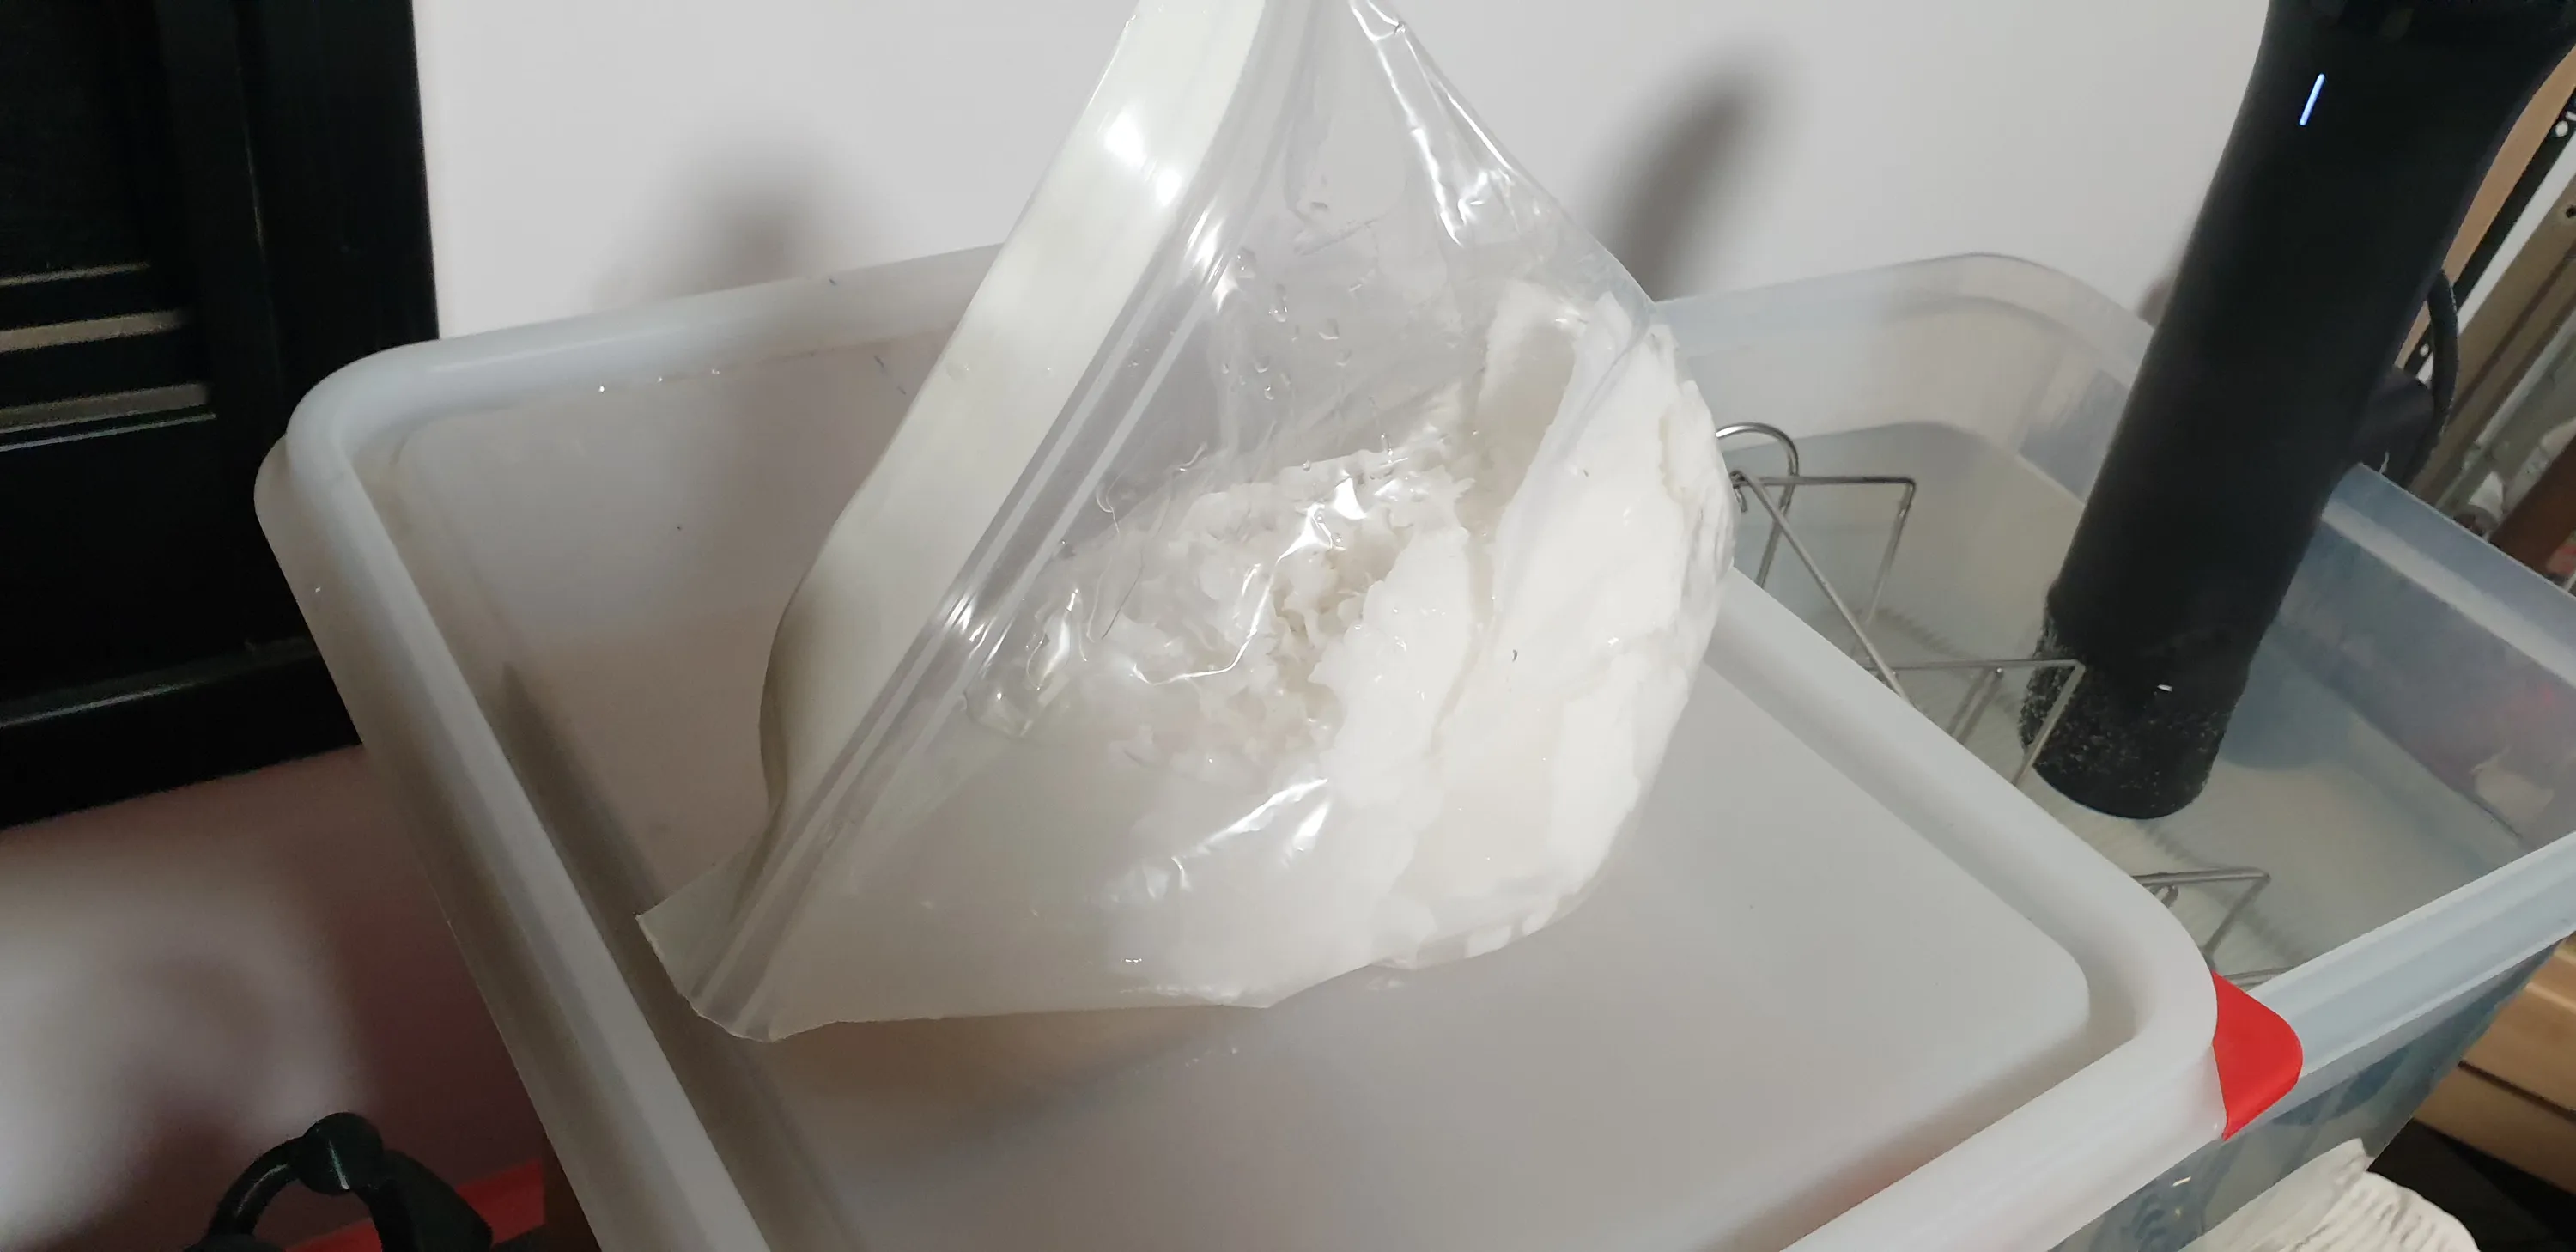
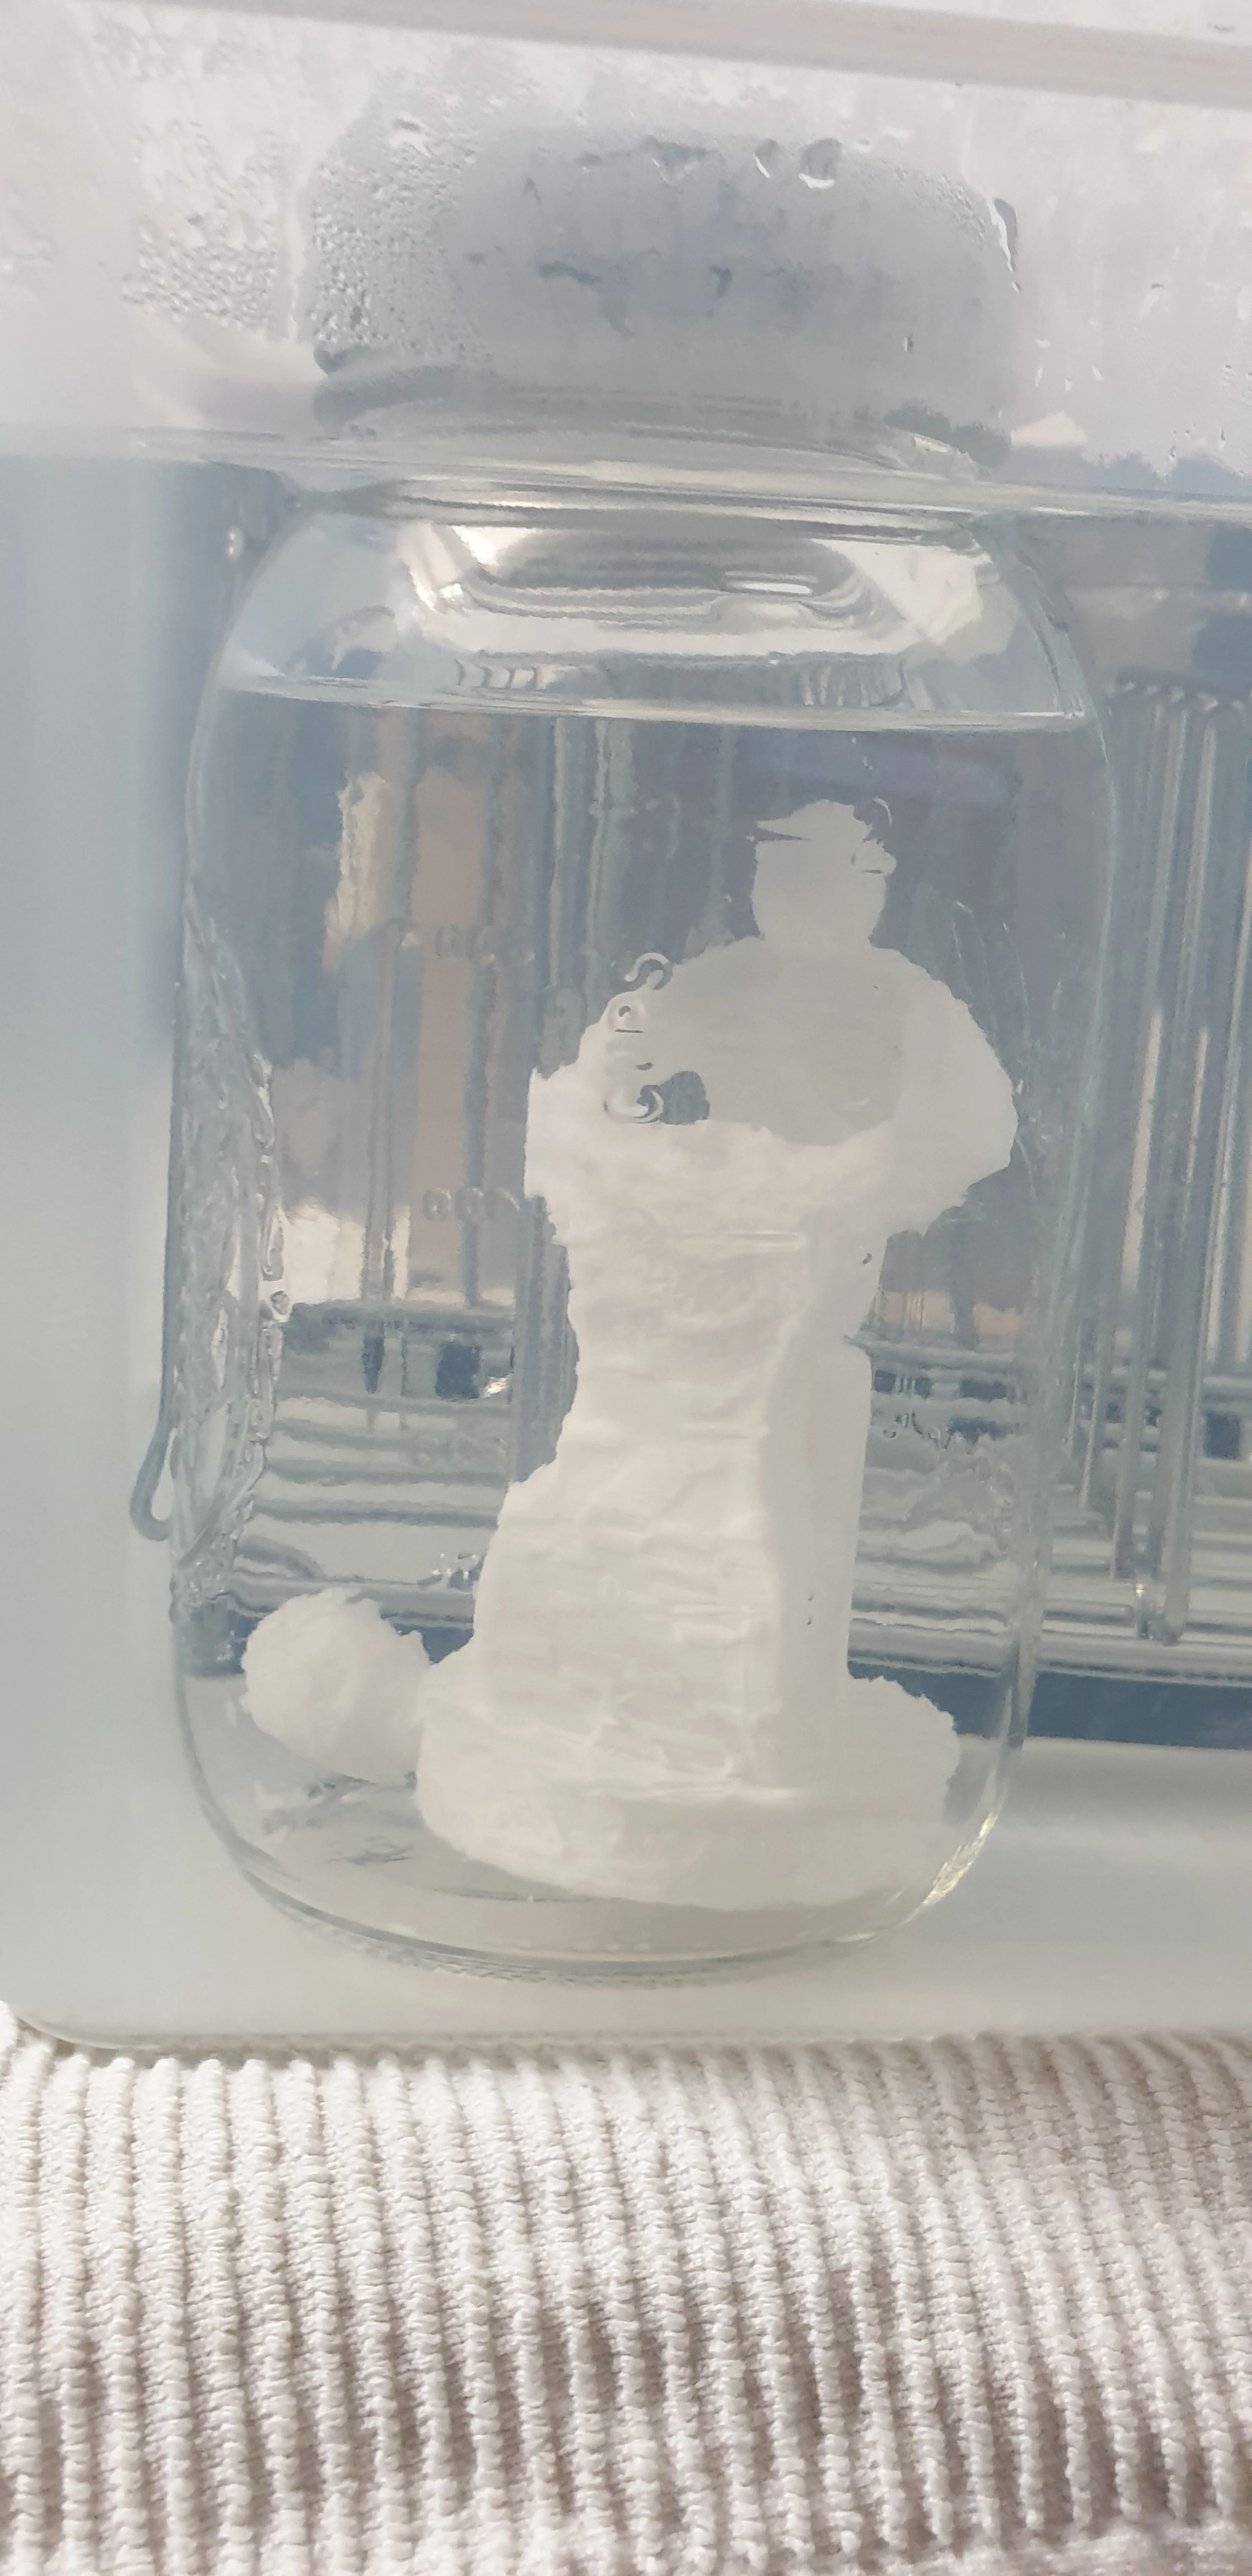
I extracted the internal structure of the resin surrounded by PLA wall, placed it in a glass jar, filled with fresh solvent and continued the experiment.
complete fail
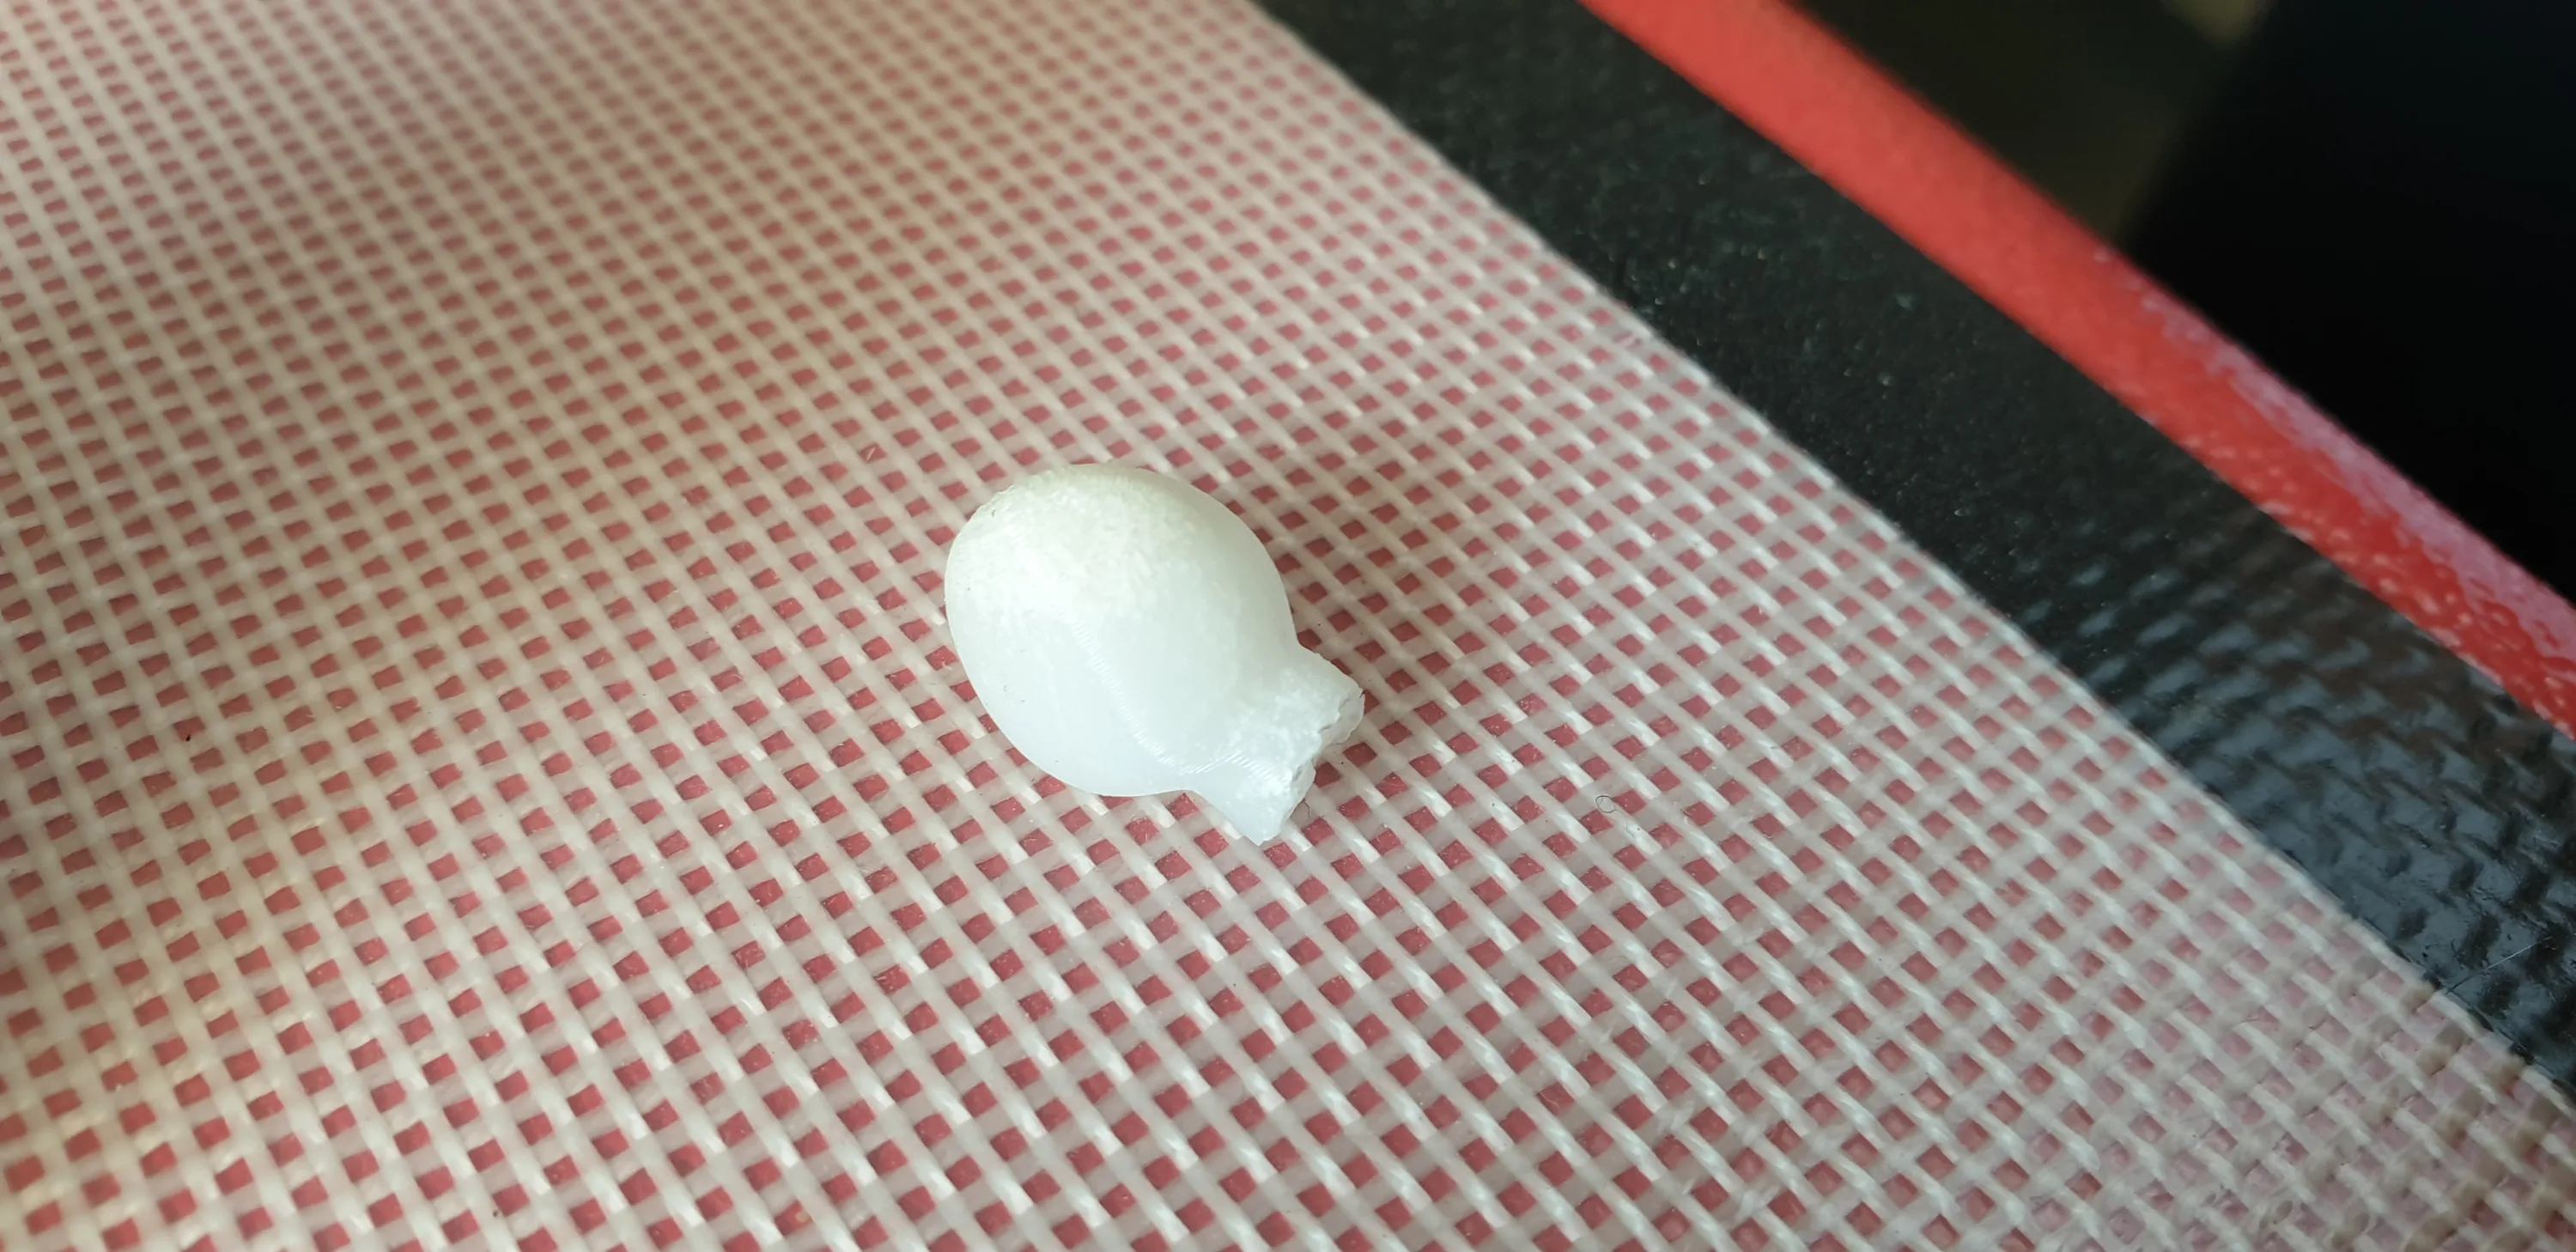
After more time to let the PLA dissolve, disaster struck - DECAPITATION! The mother’s head fell off. I think the resin was also slowly being dissolved. I thought that maybe I had an air bubble stuck in the thin neck part and once the supporting PLA was dissolved, the head fell off, but after close inspection, I think this is not the case.
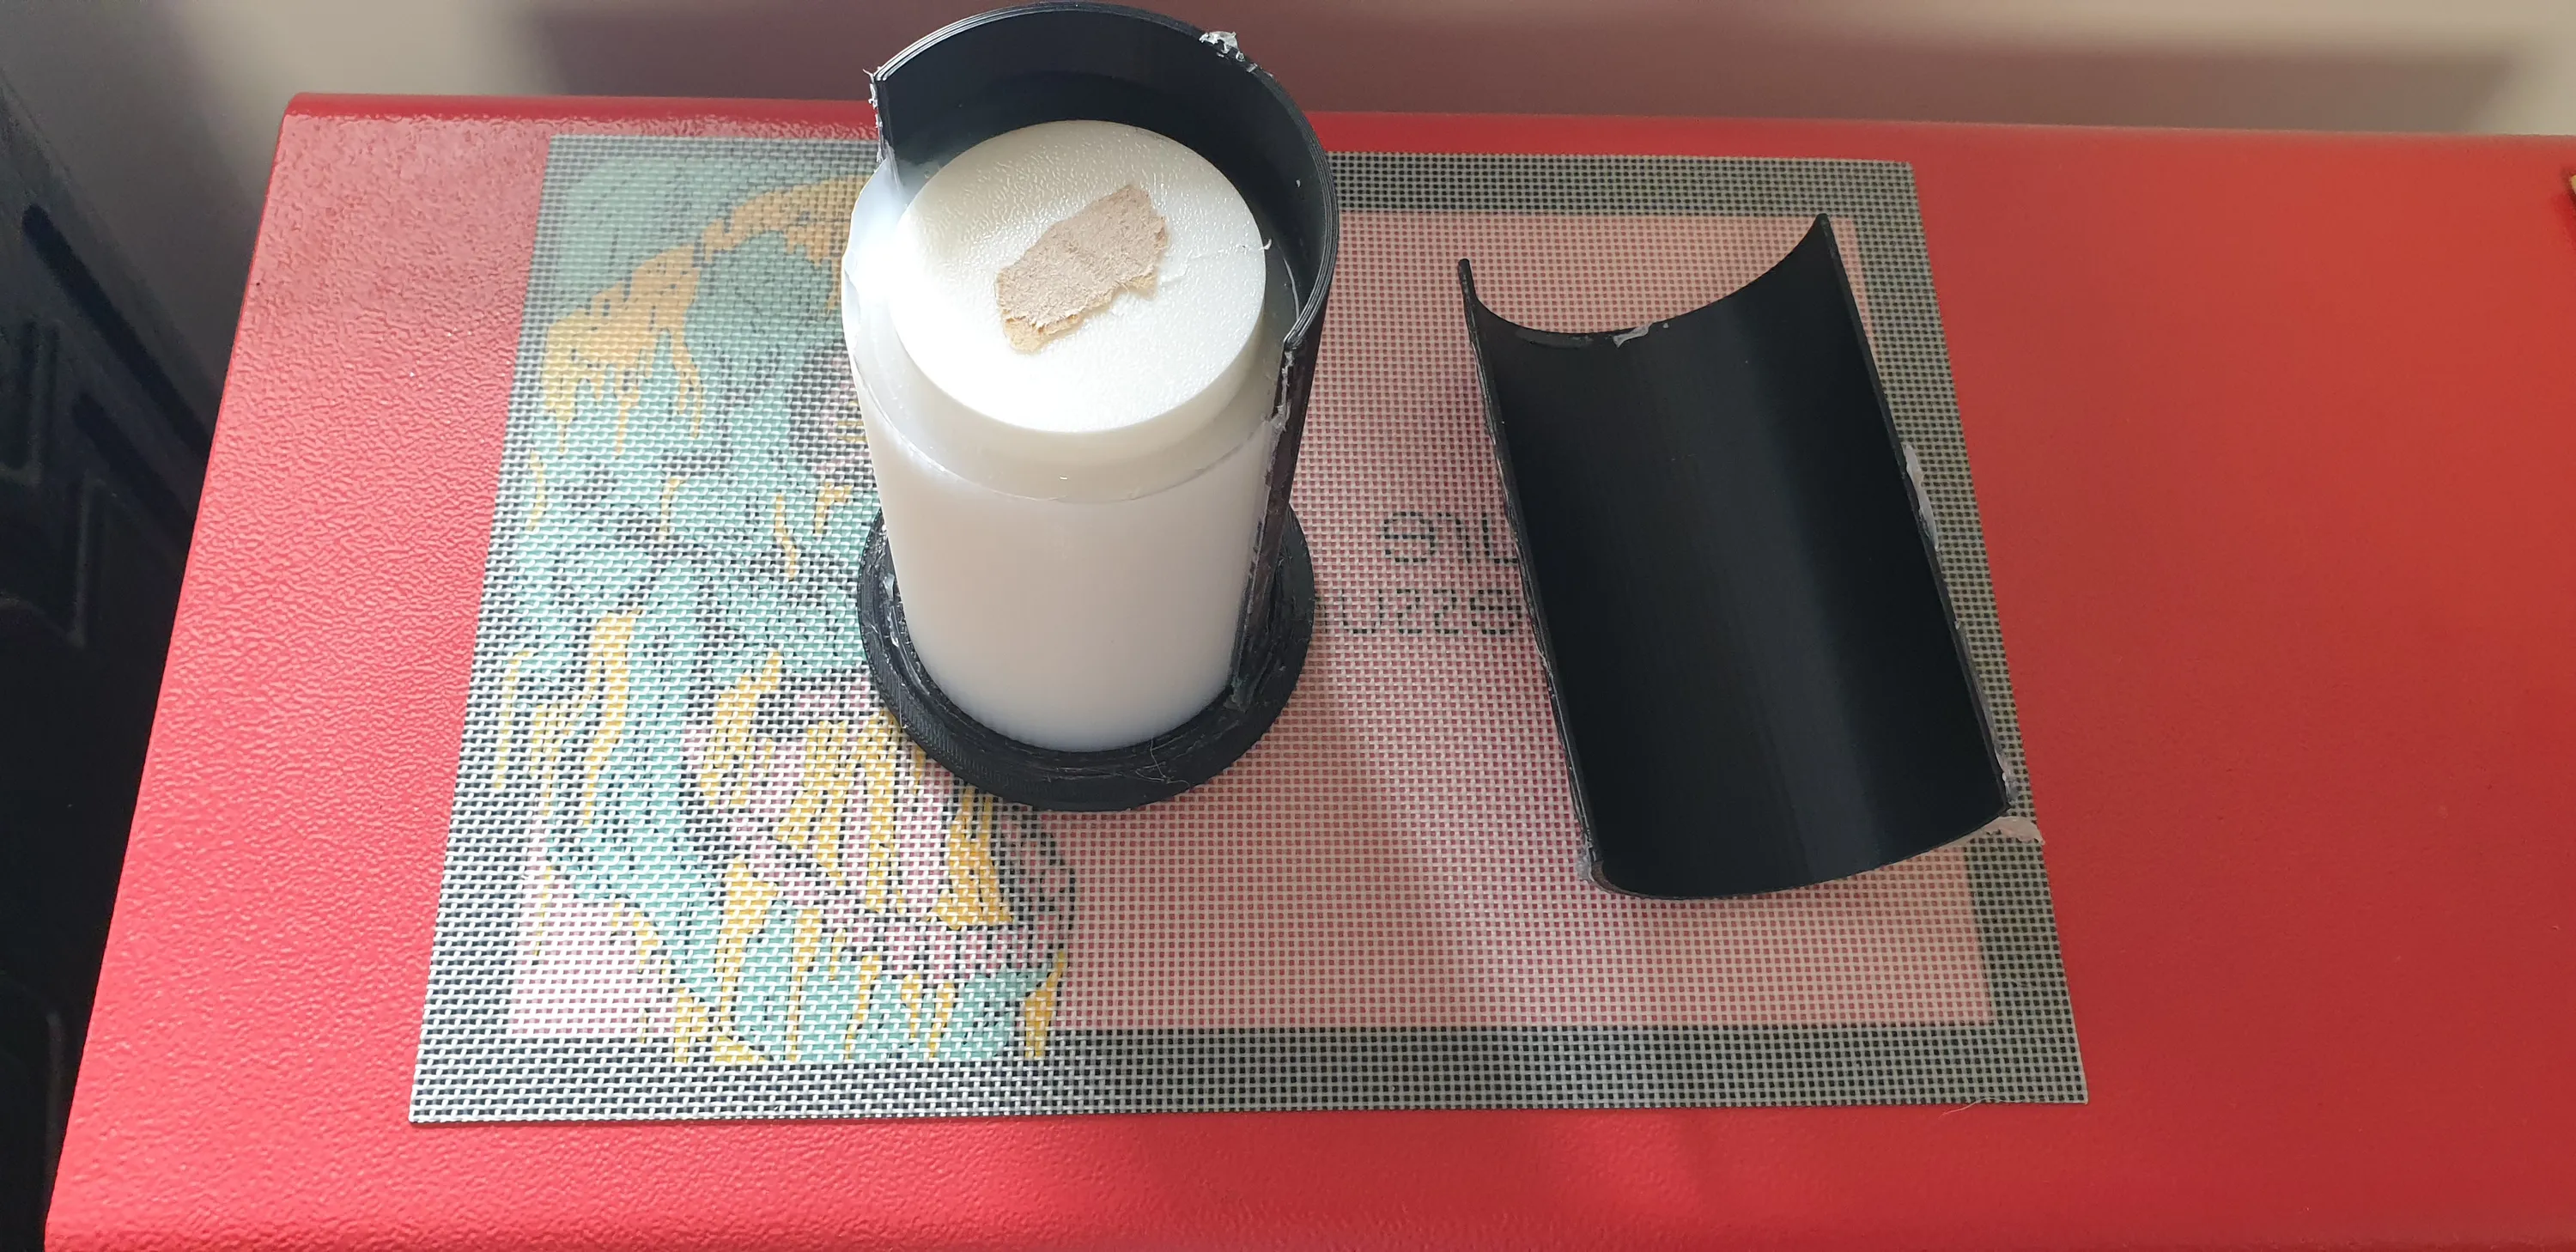
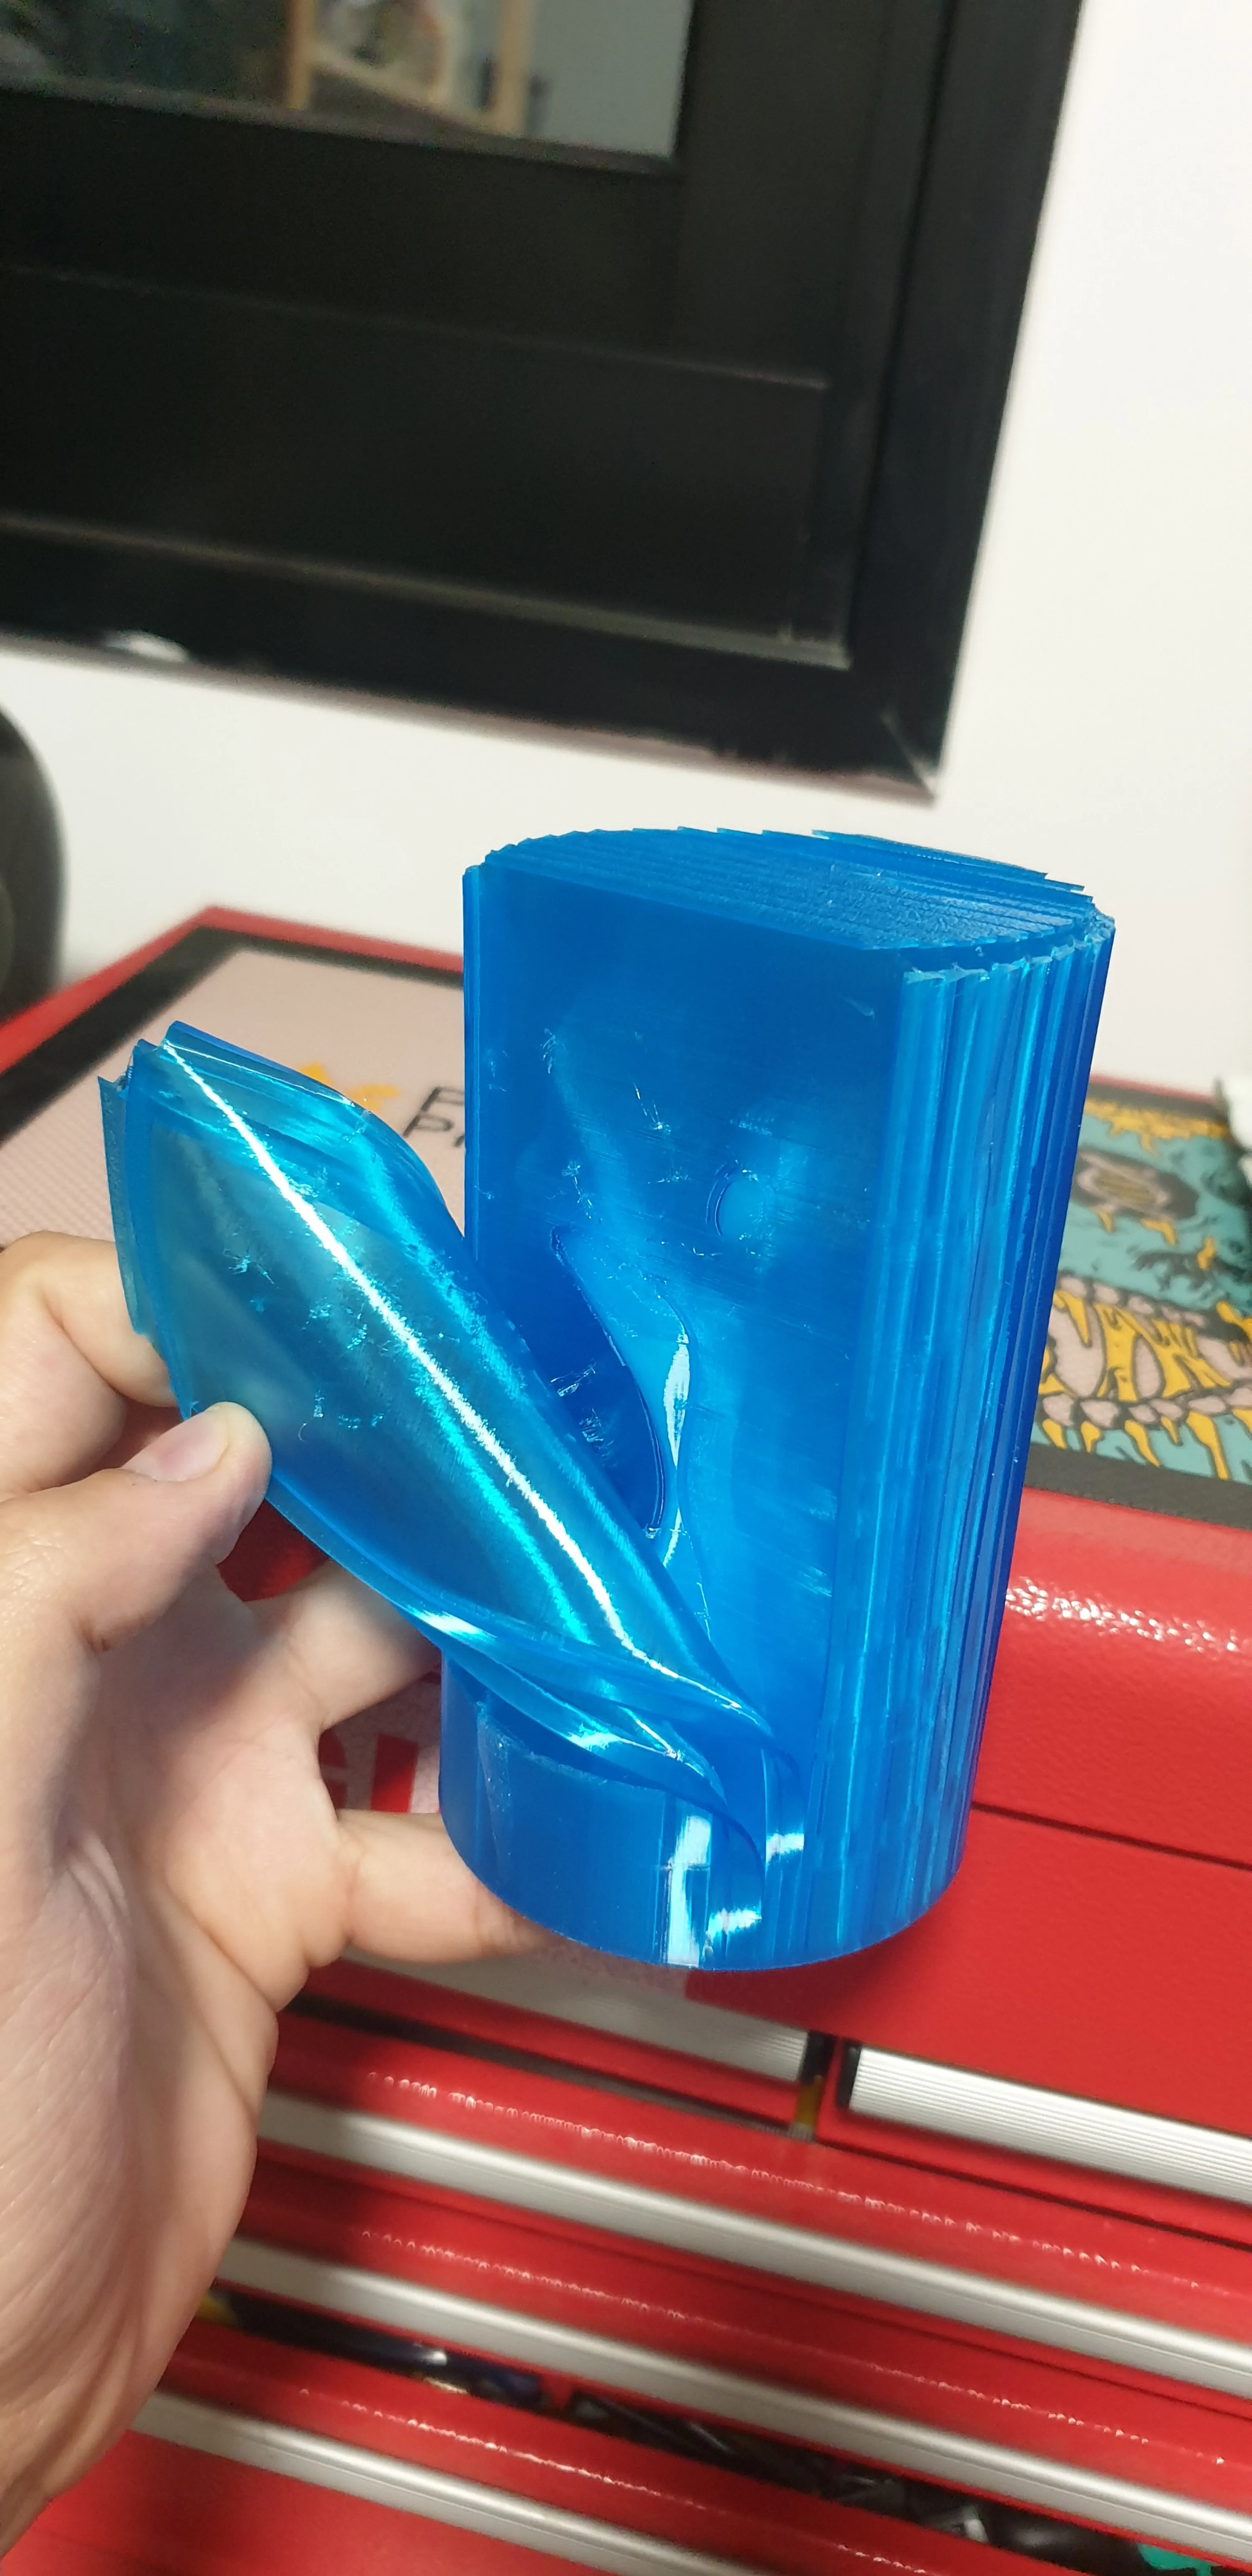
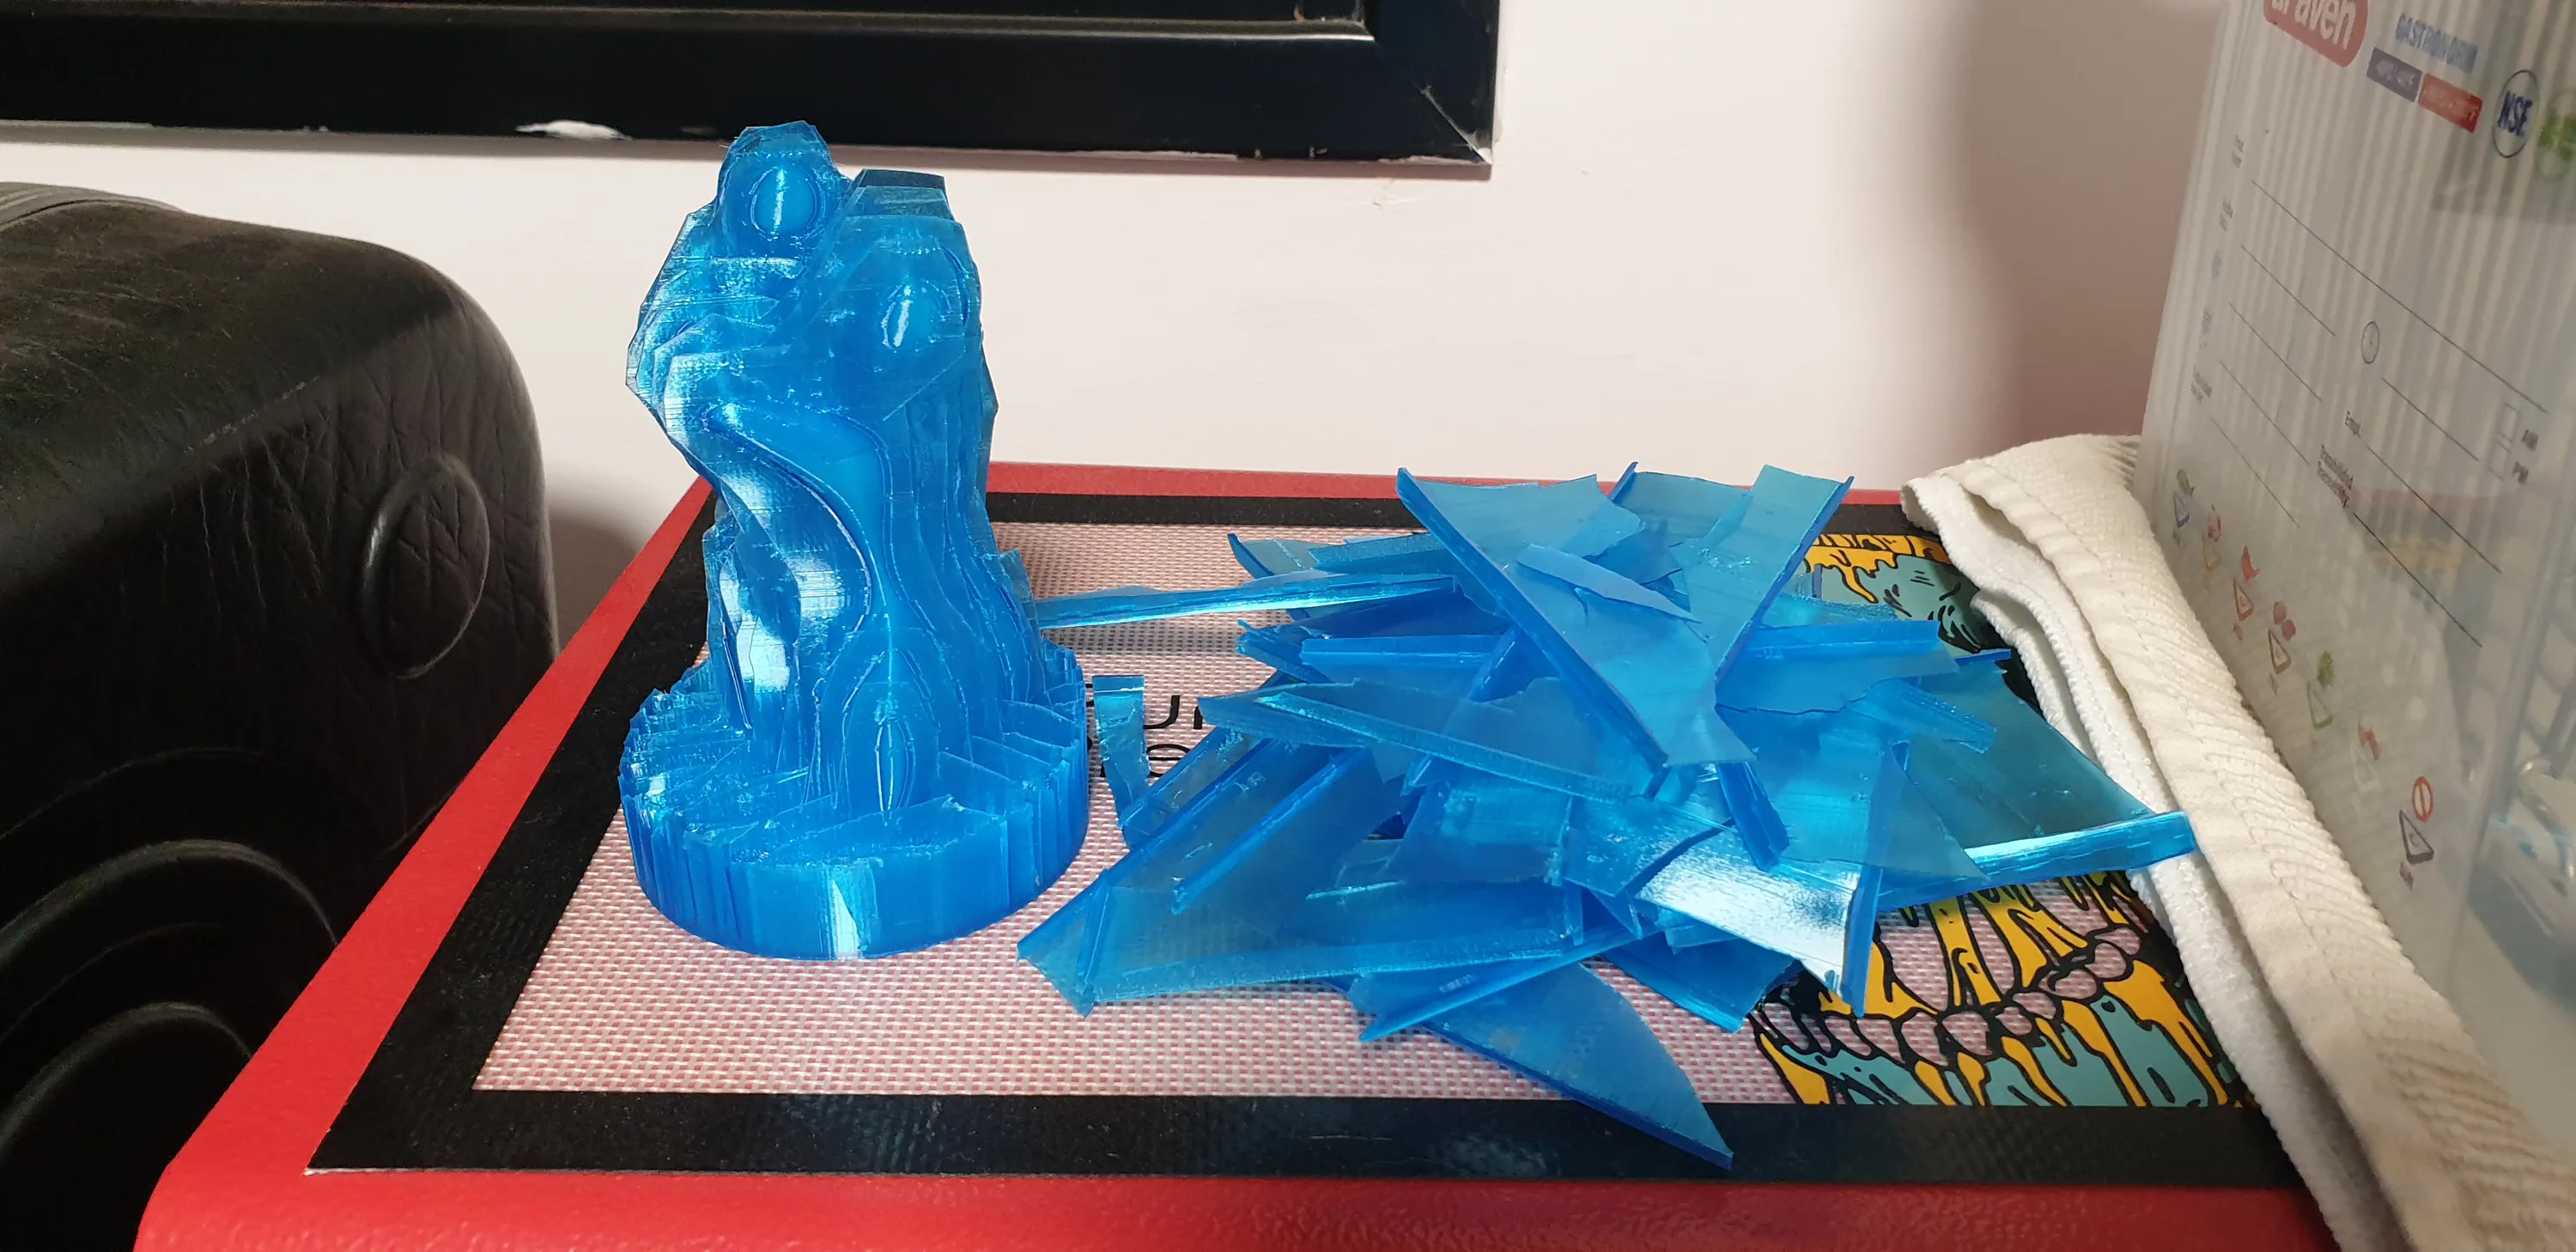
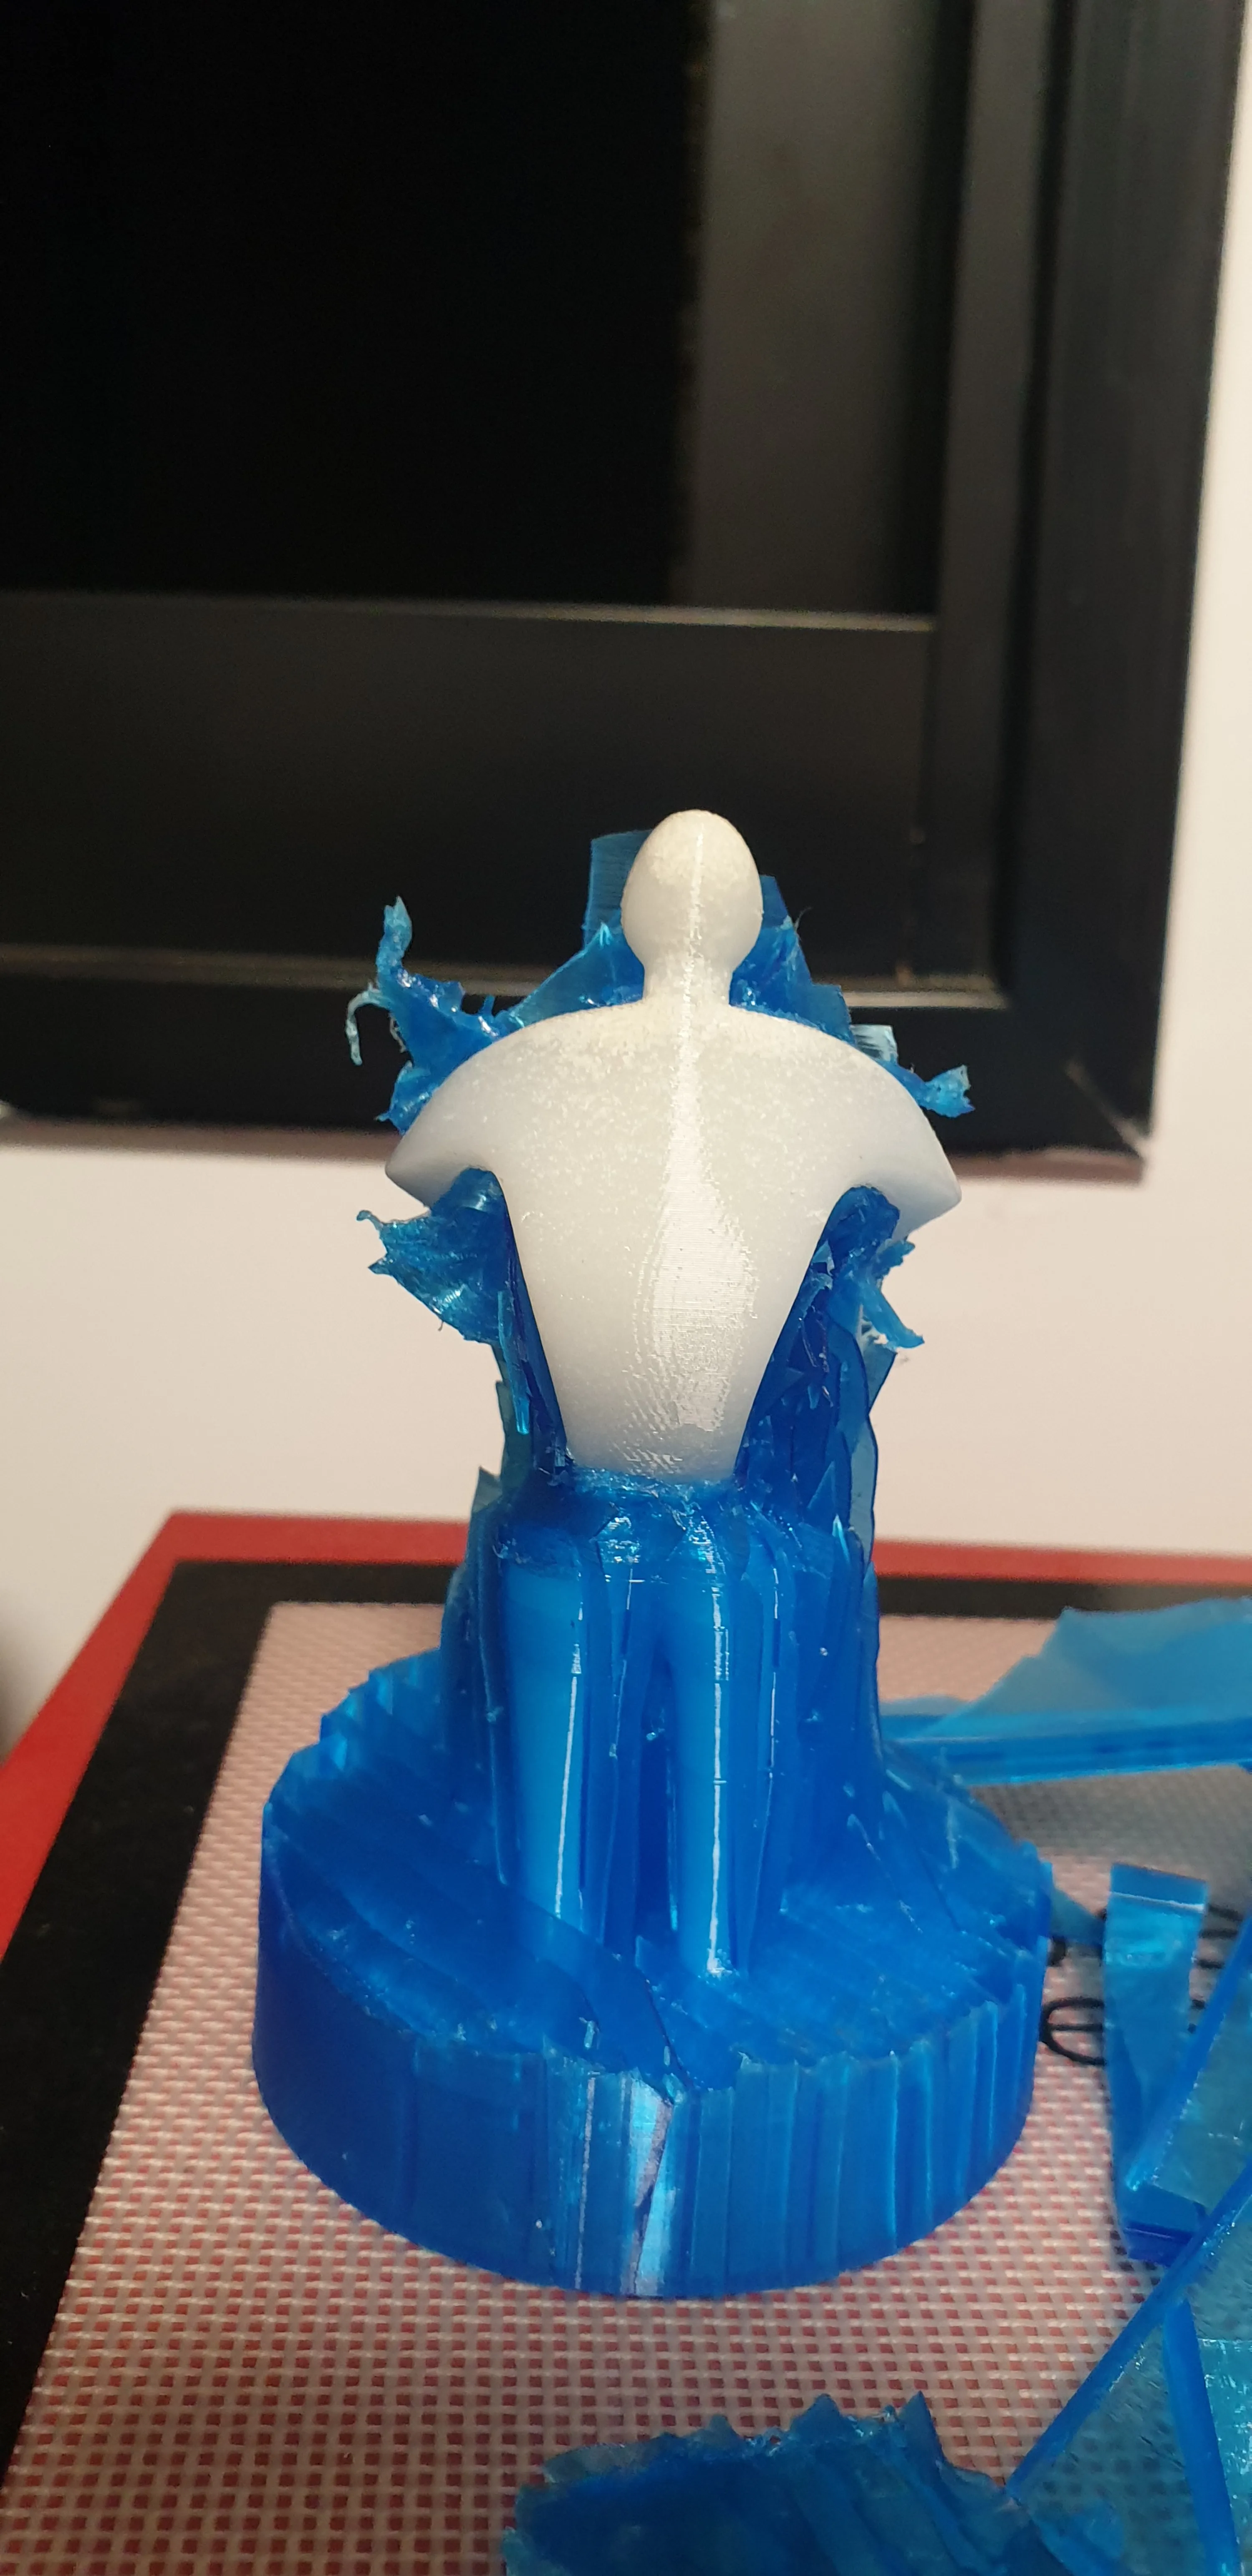
Trial 4: Tear-Away Mold
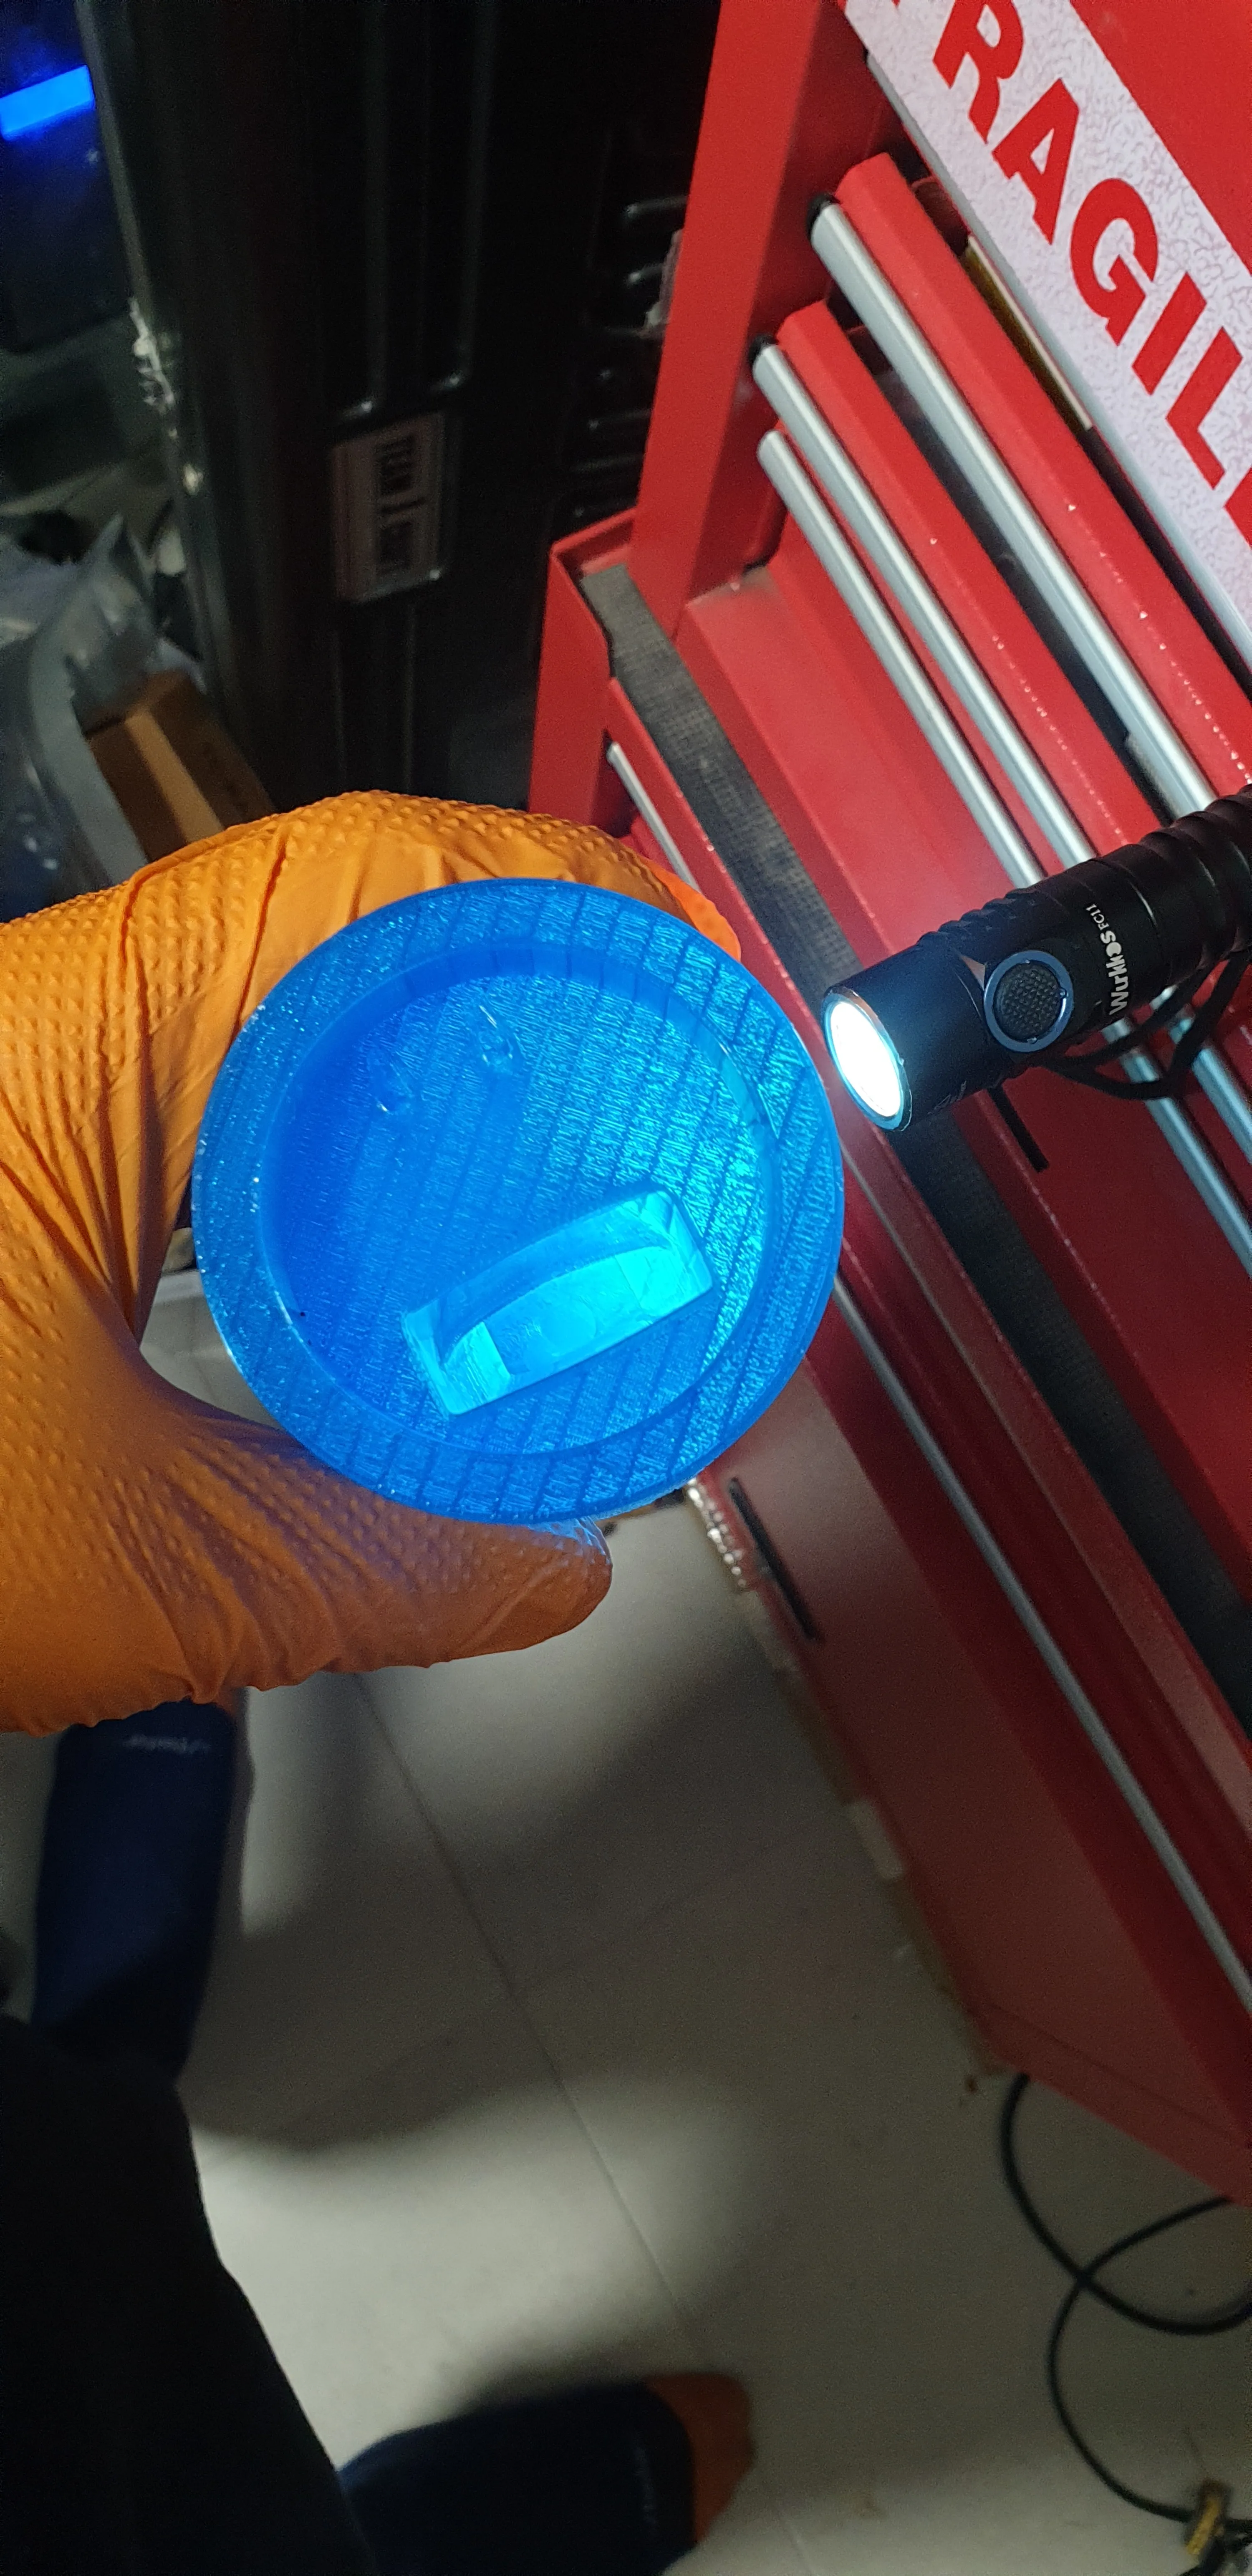
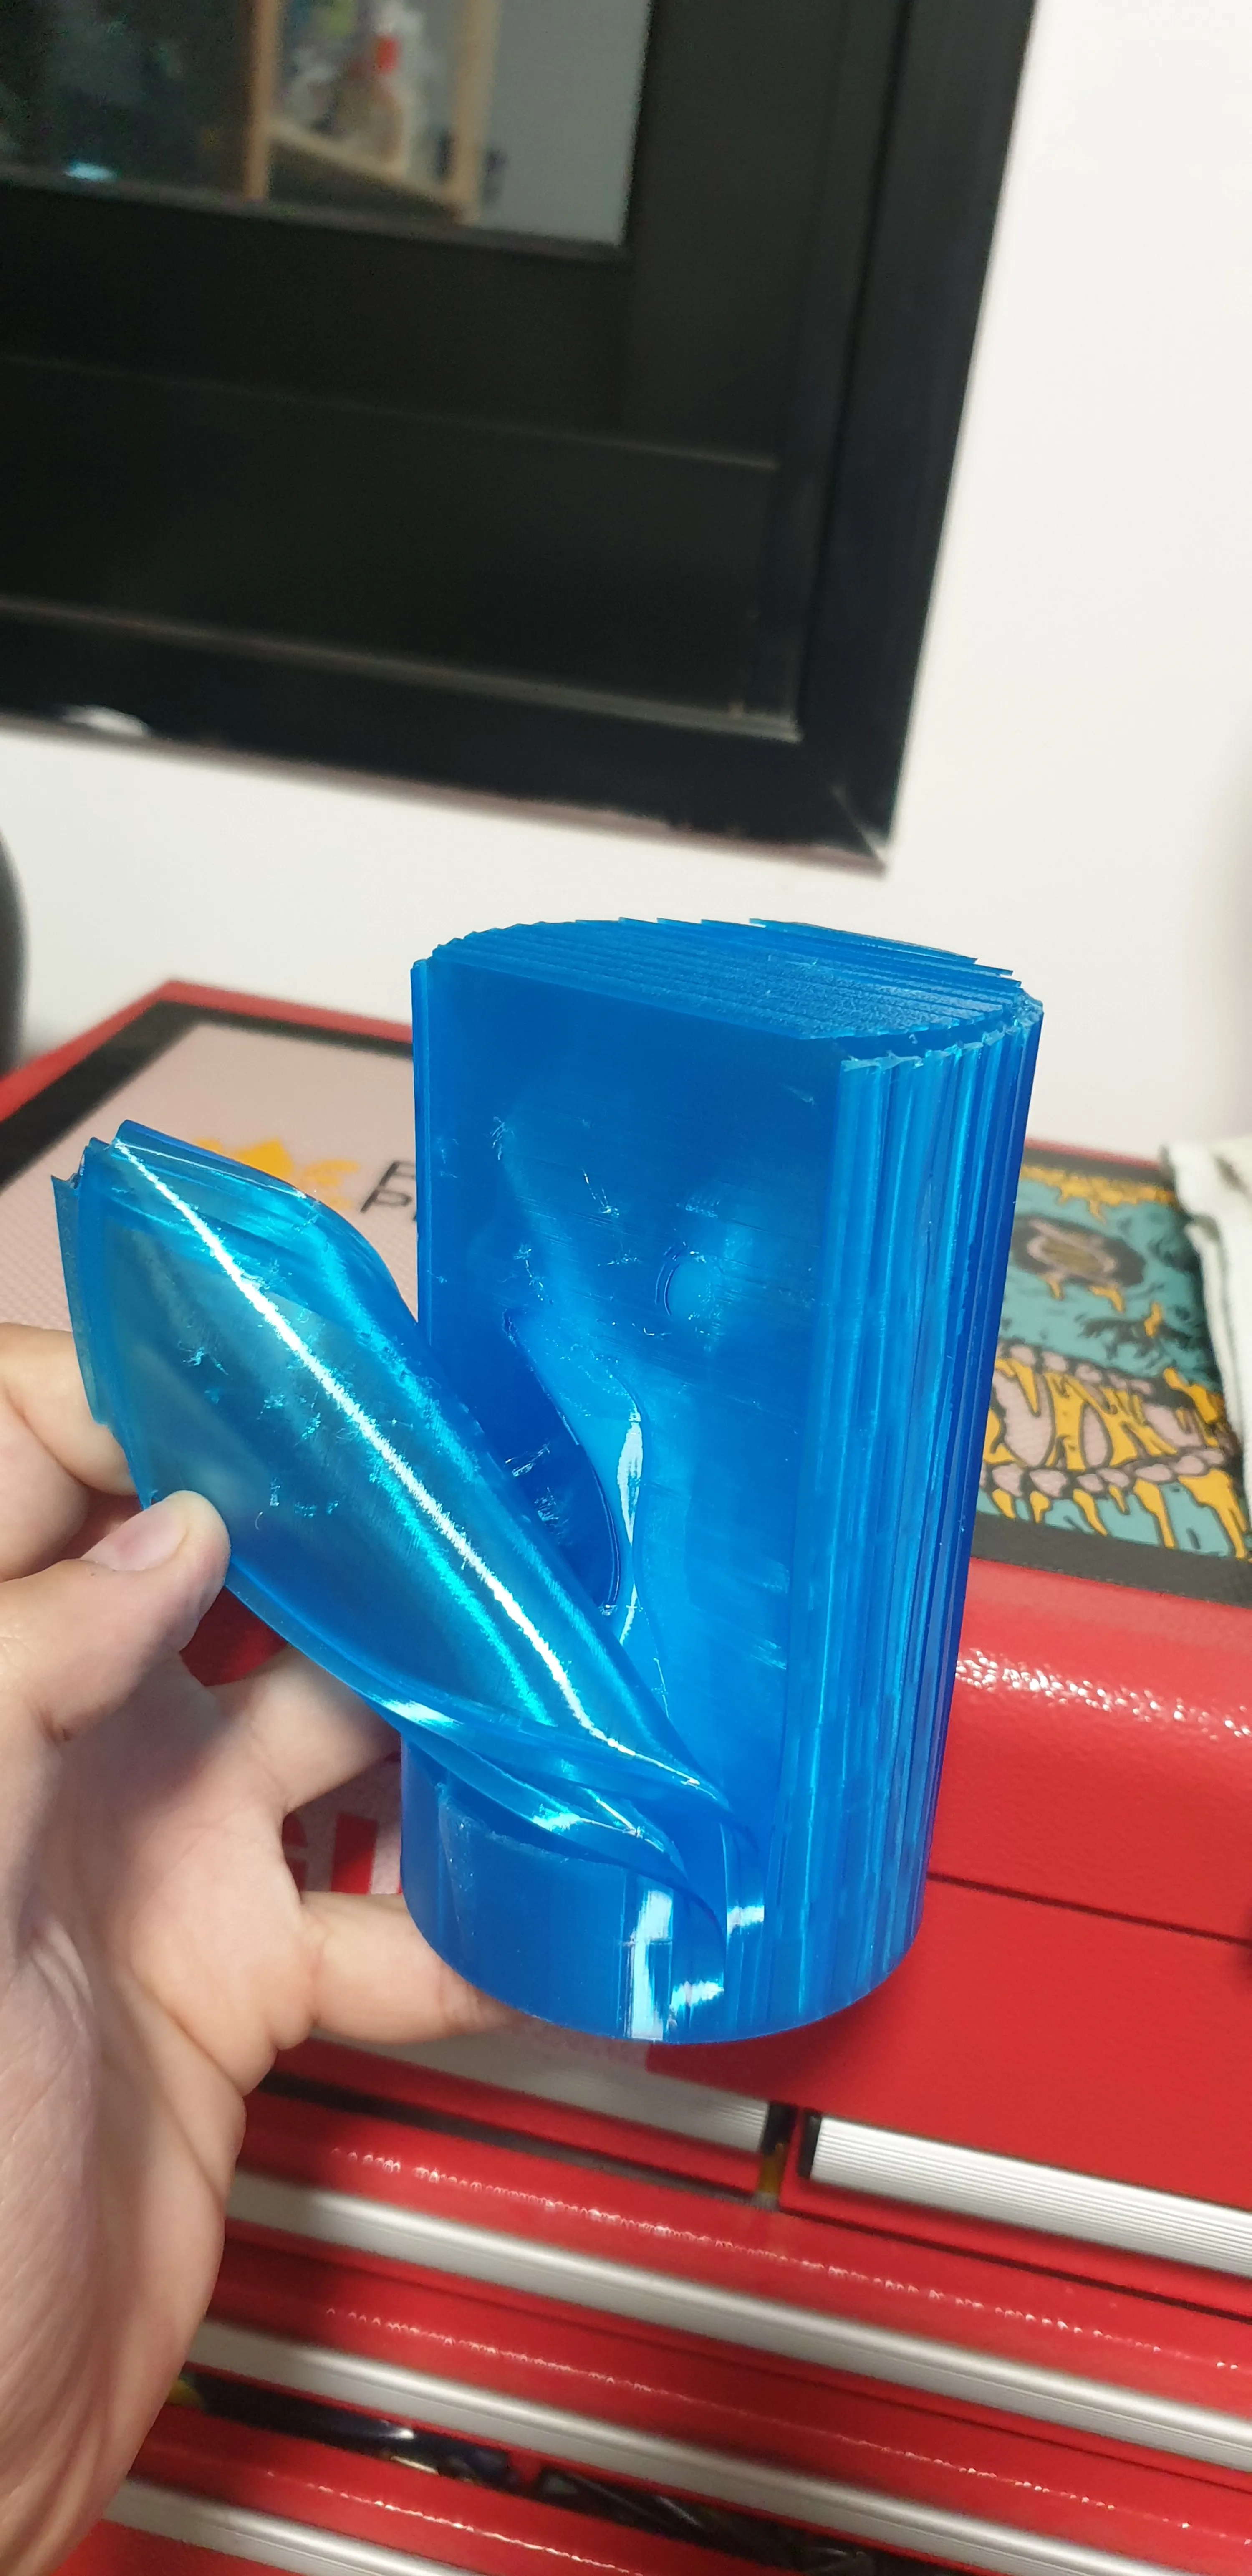
For my last attempt, I had a brilliant idea, I’ll make the mold out of material that would be easy to peel away from the cast resin. I chose TPU, a flexible filament. It can be cut and torn with simple tools and it’s easy to print.
The printed TPU mold had fewer outer walls to make them weaker so that they would tear more easily. I also chose simple lines as infill pattern. That way, they are held only on two sides and not connected to all the other infill lines, making them easily removable.
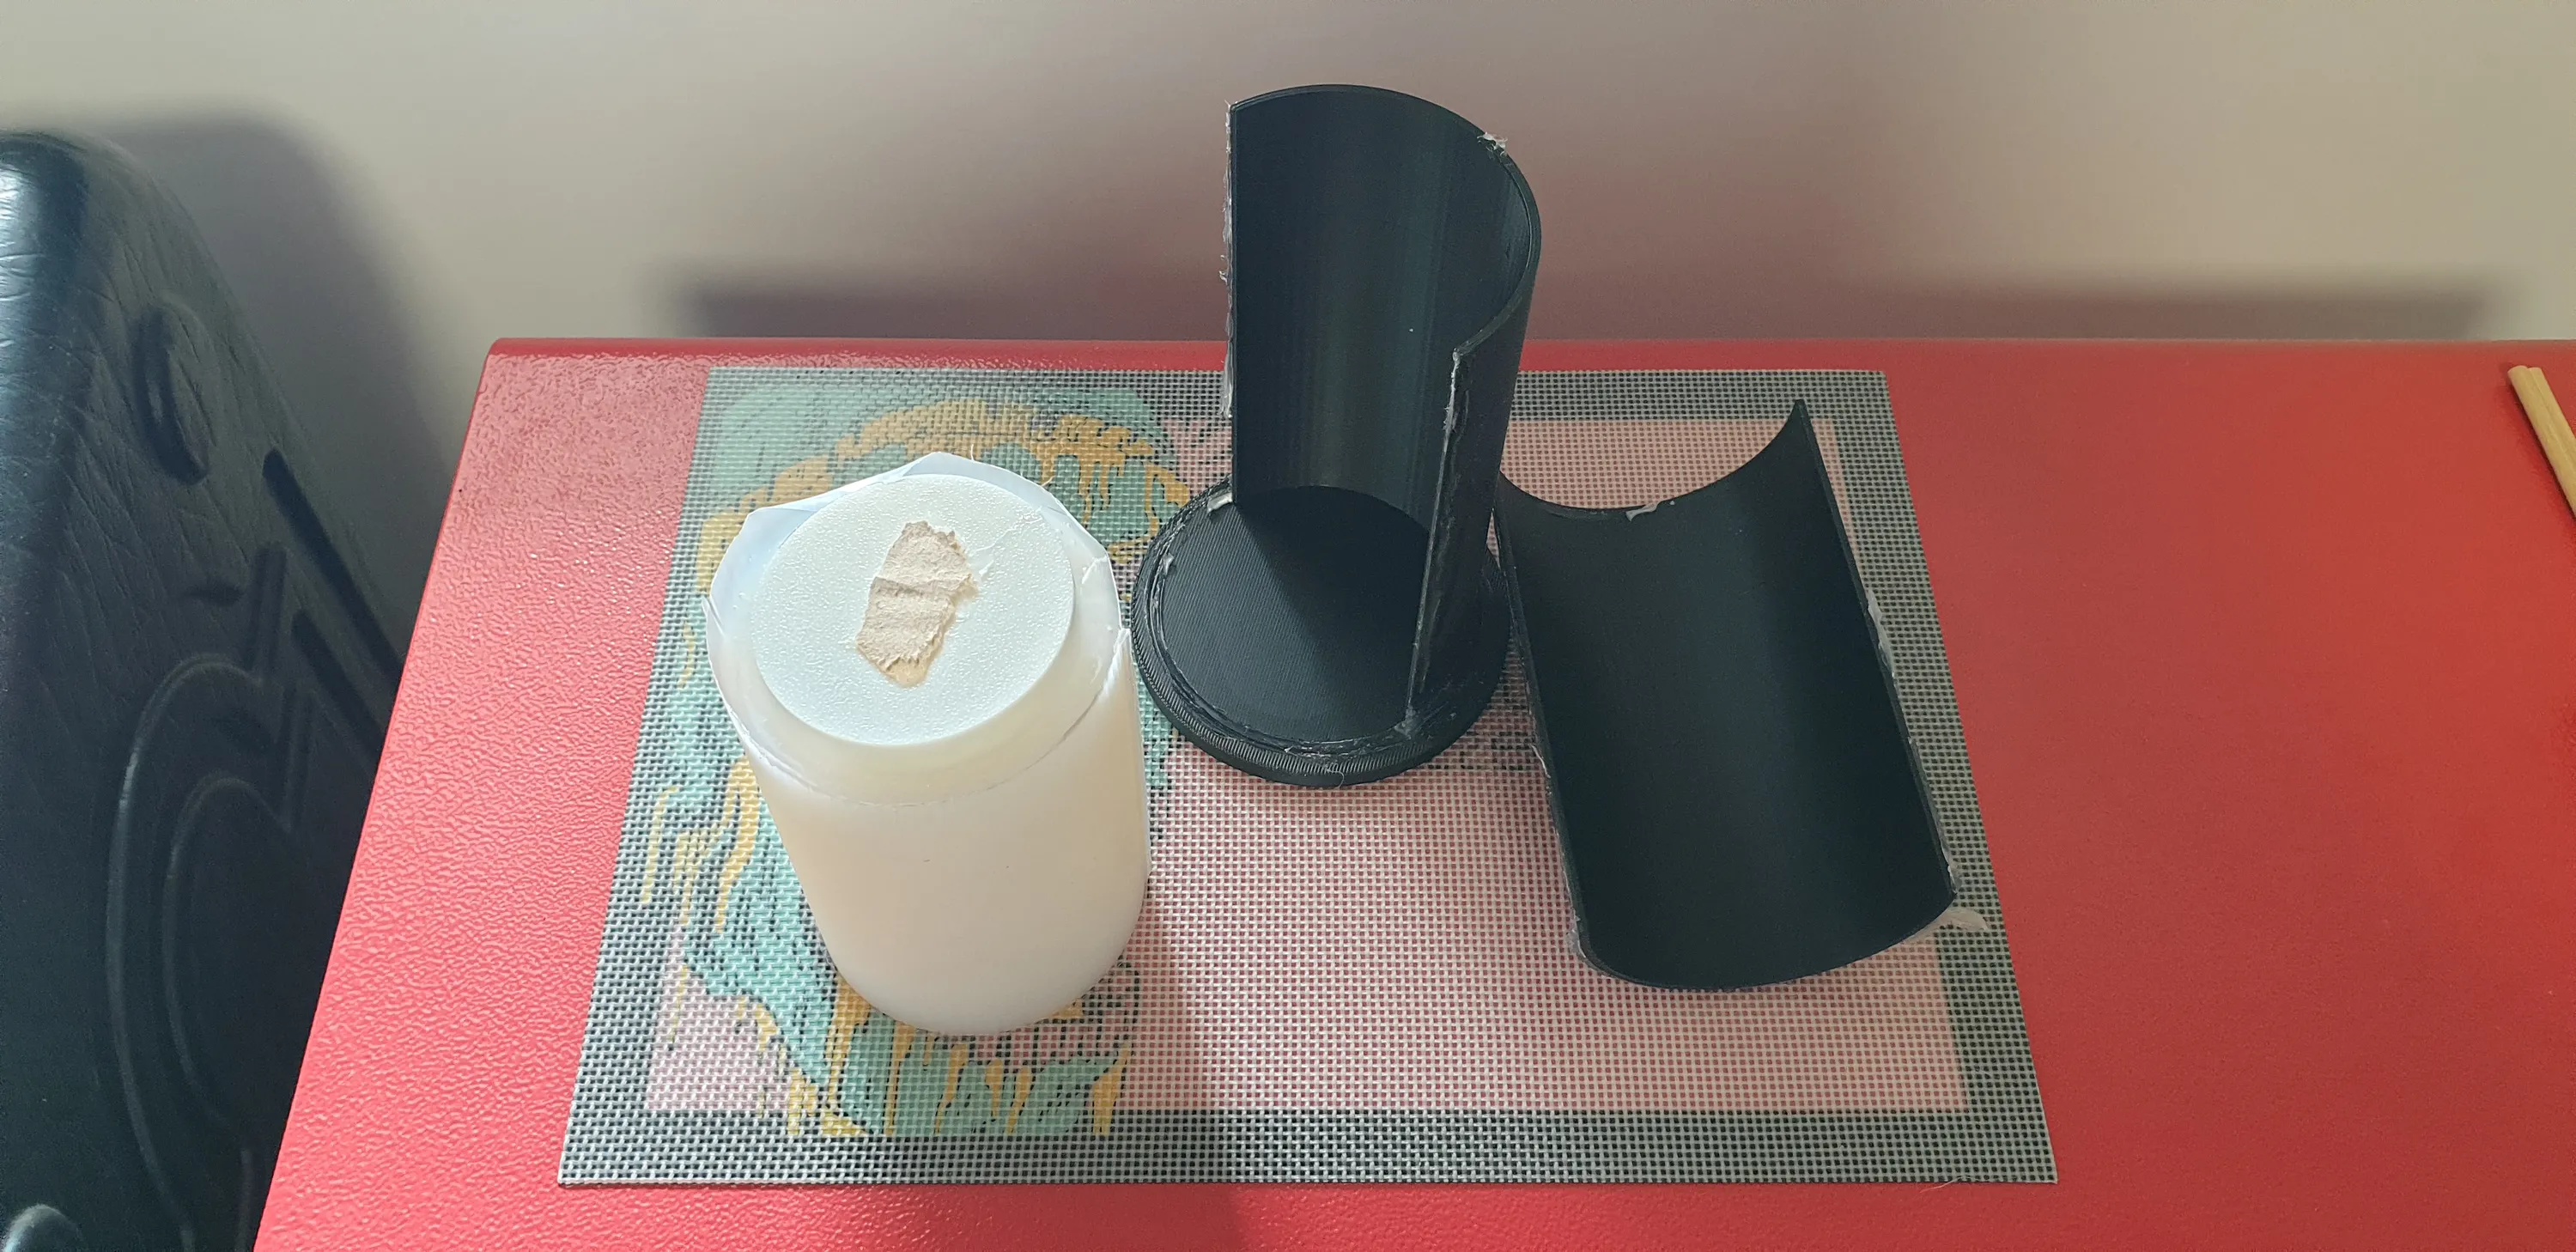
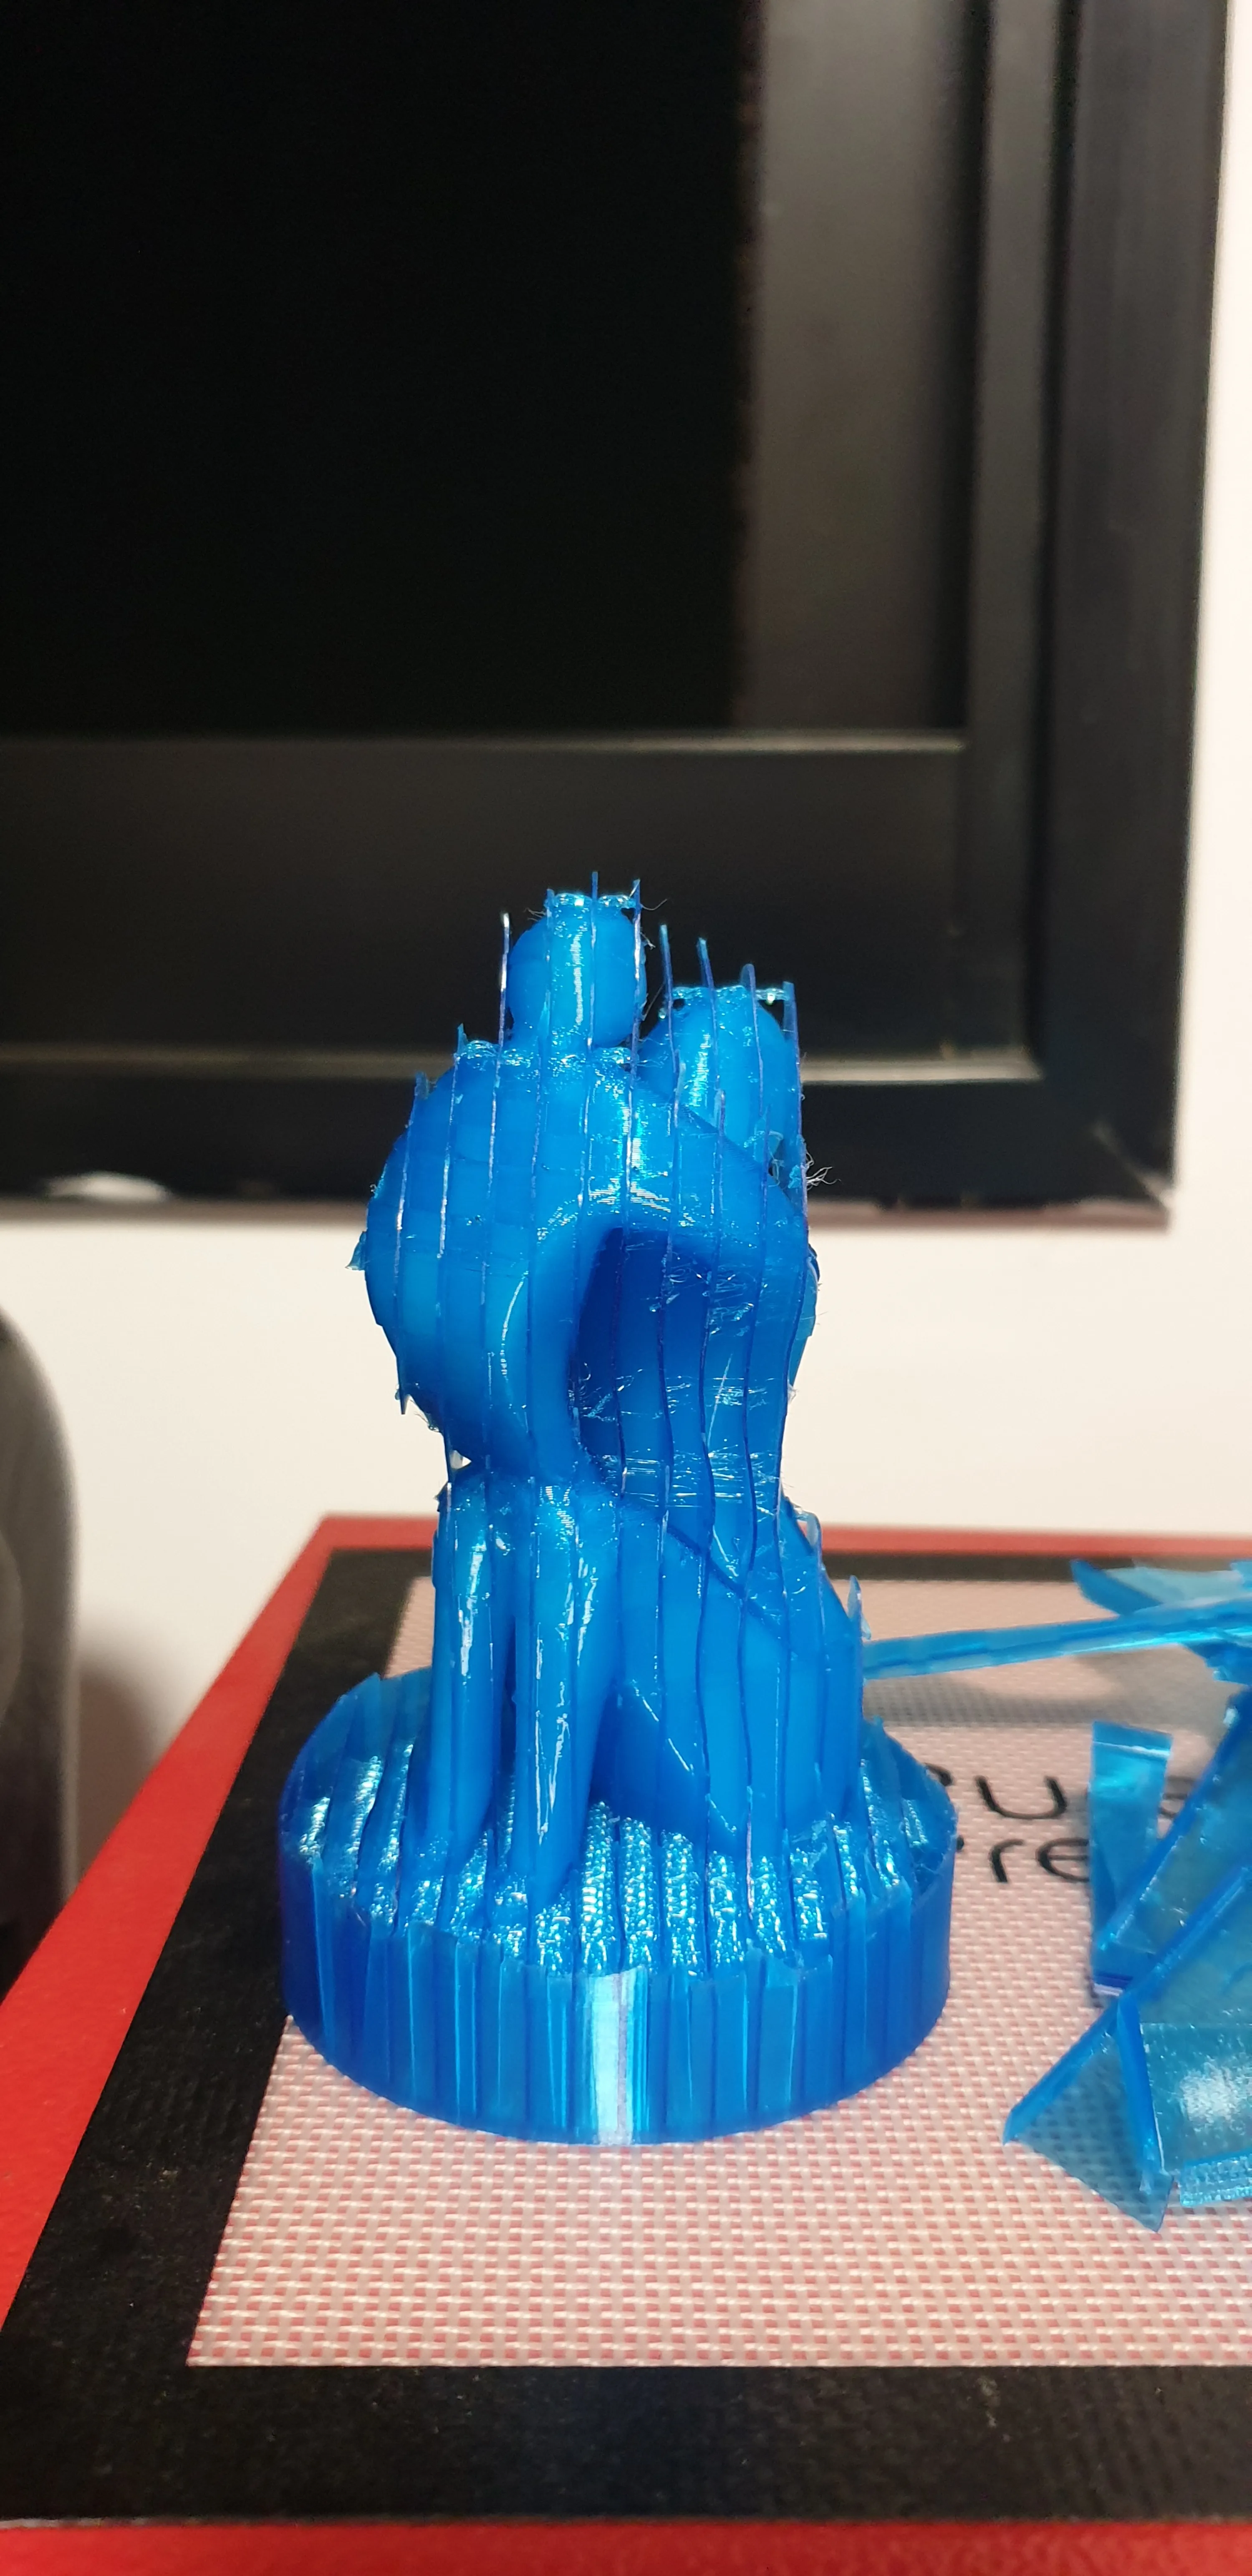
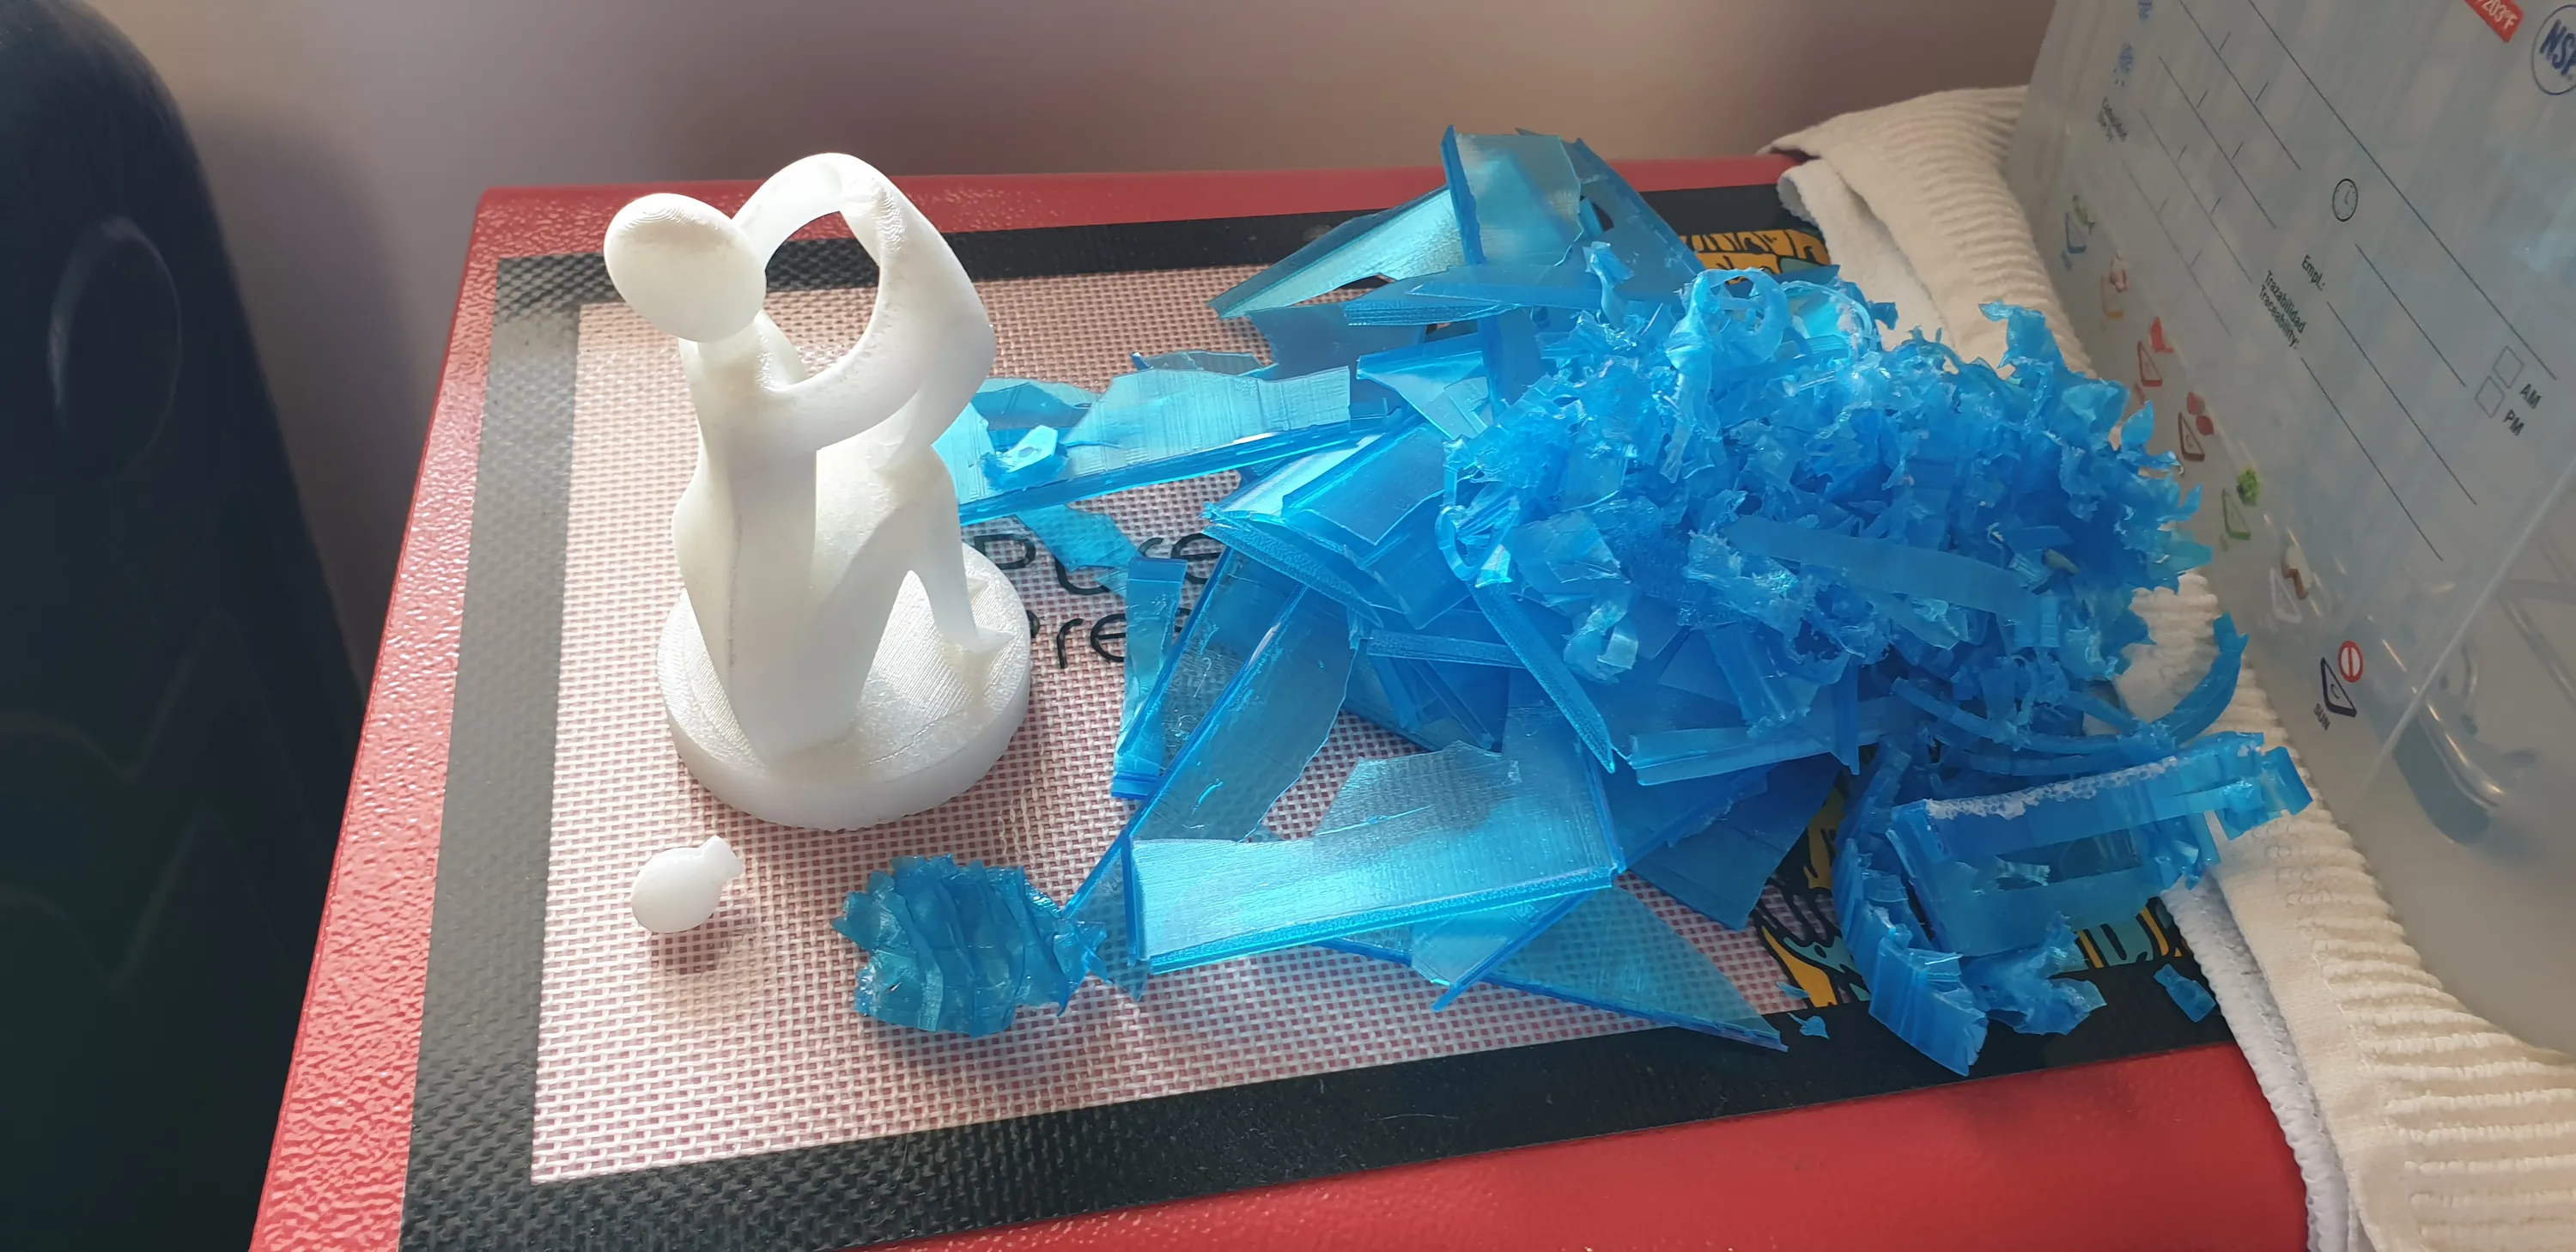
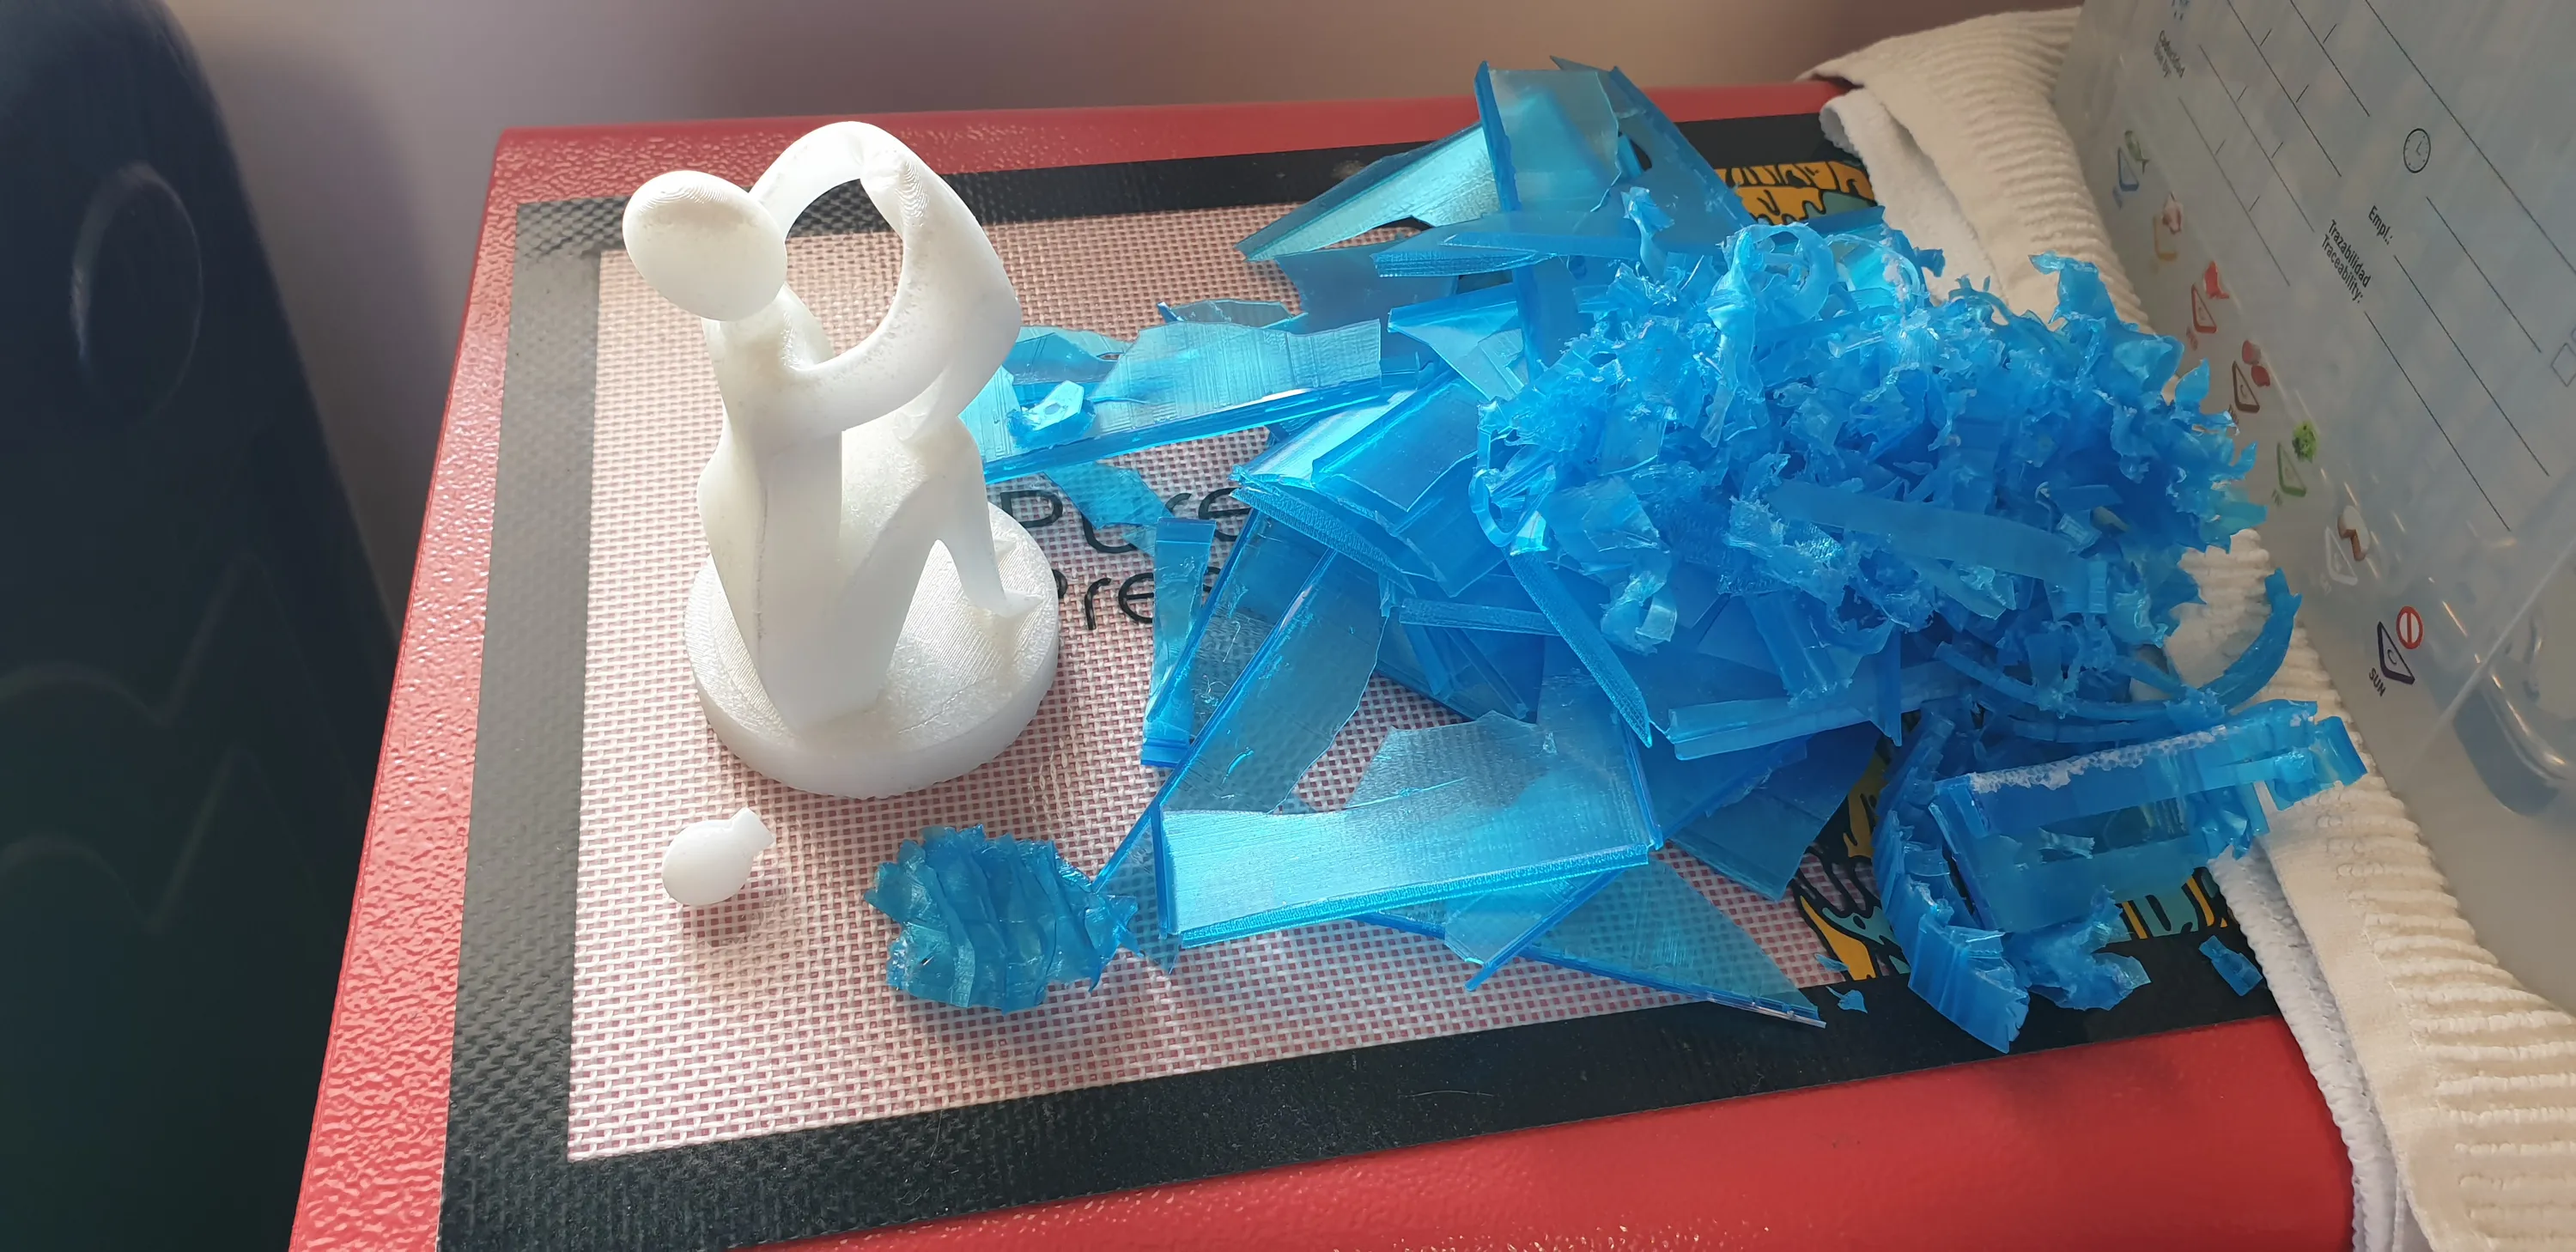
This worked almost perfectly. The print came out great, the infill was very easy to cut and remove and I was quickly left with only the inner shell stuck to the resin witch had to be removed more delicately.
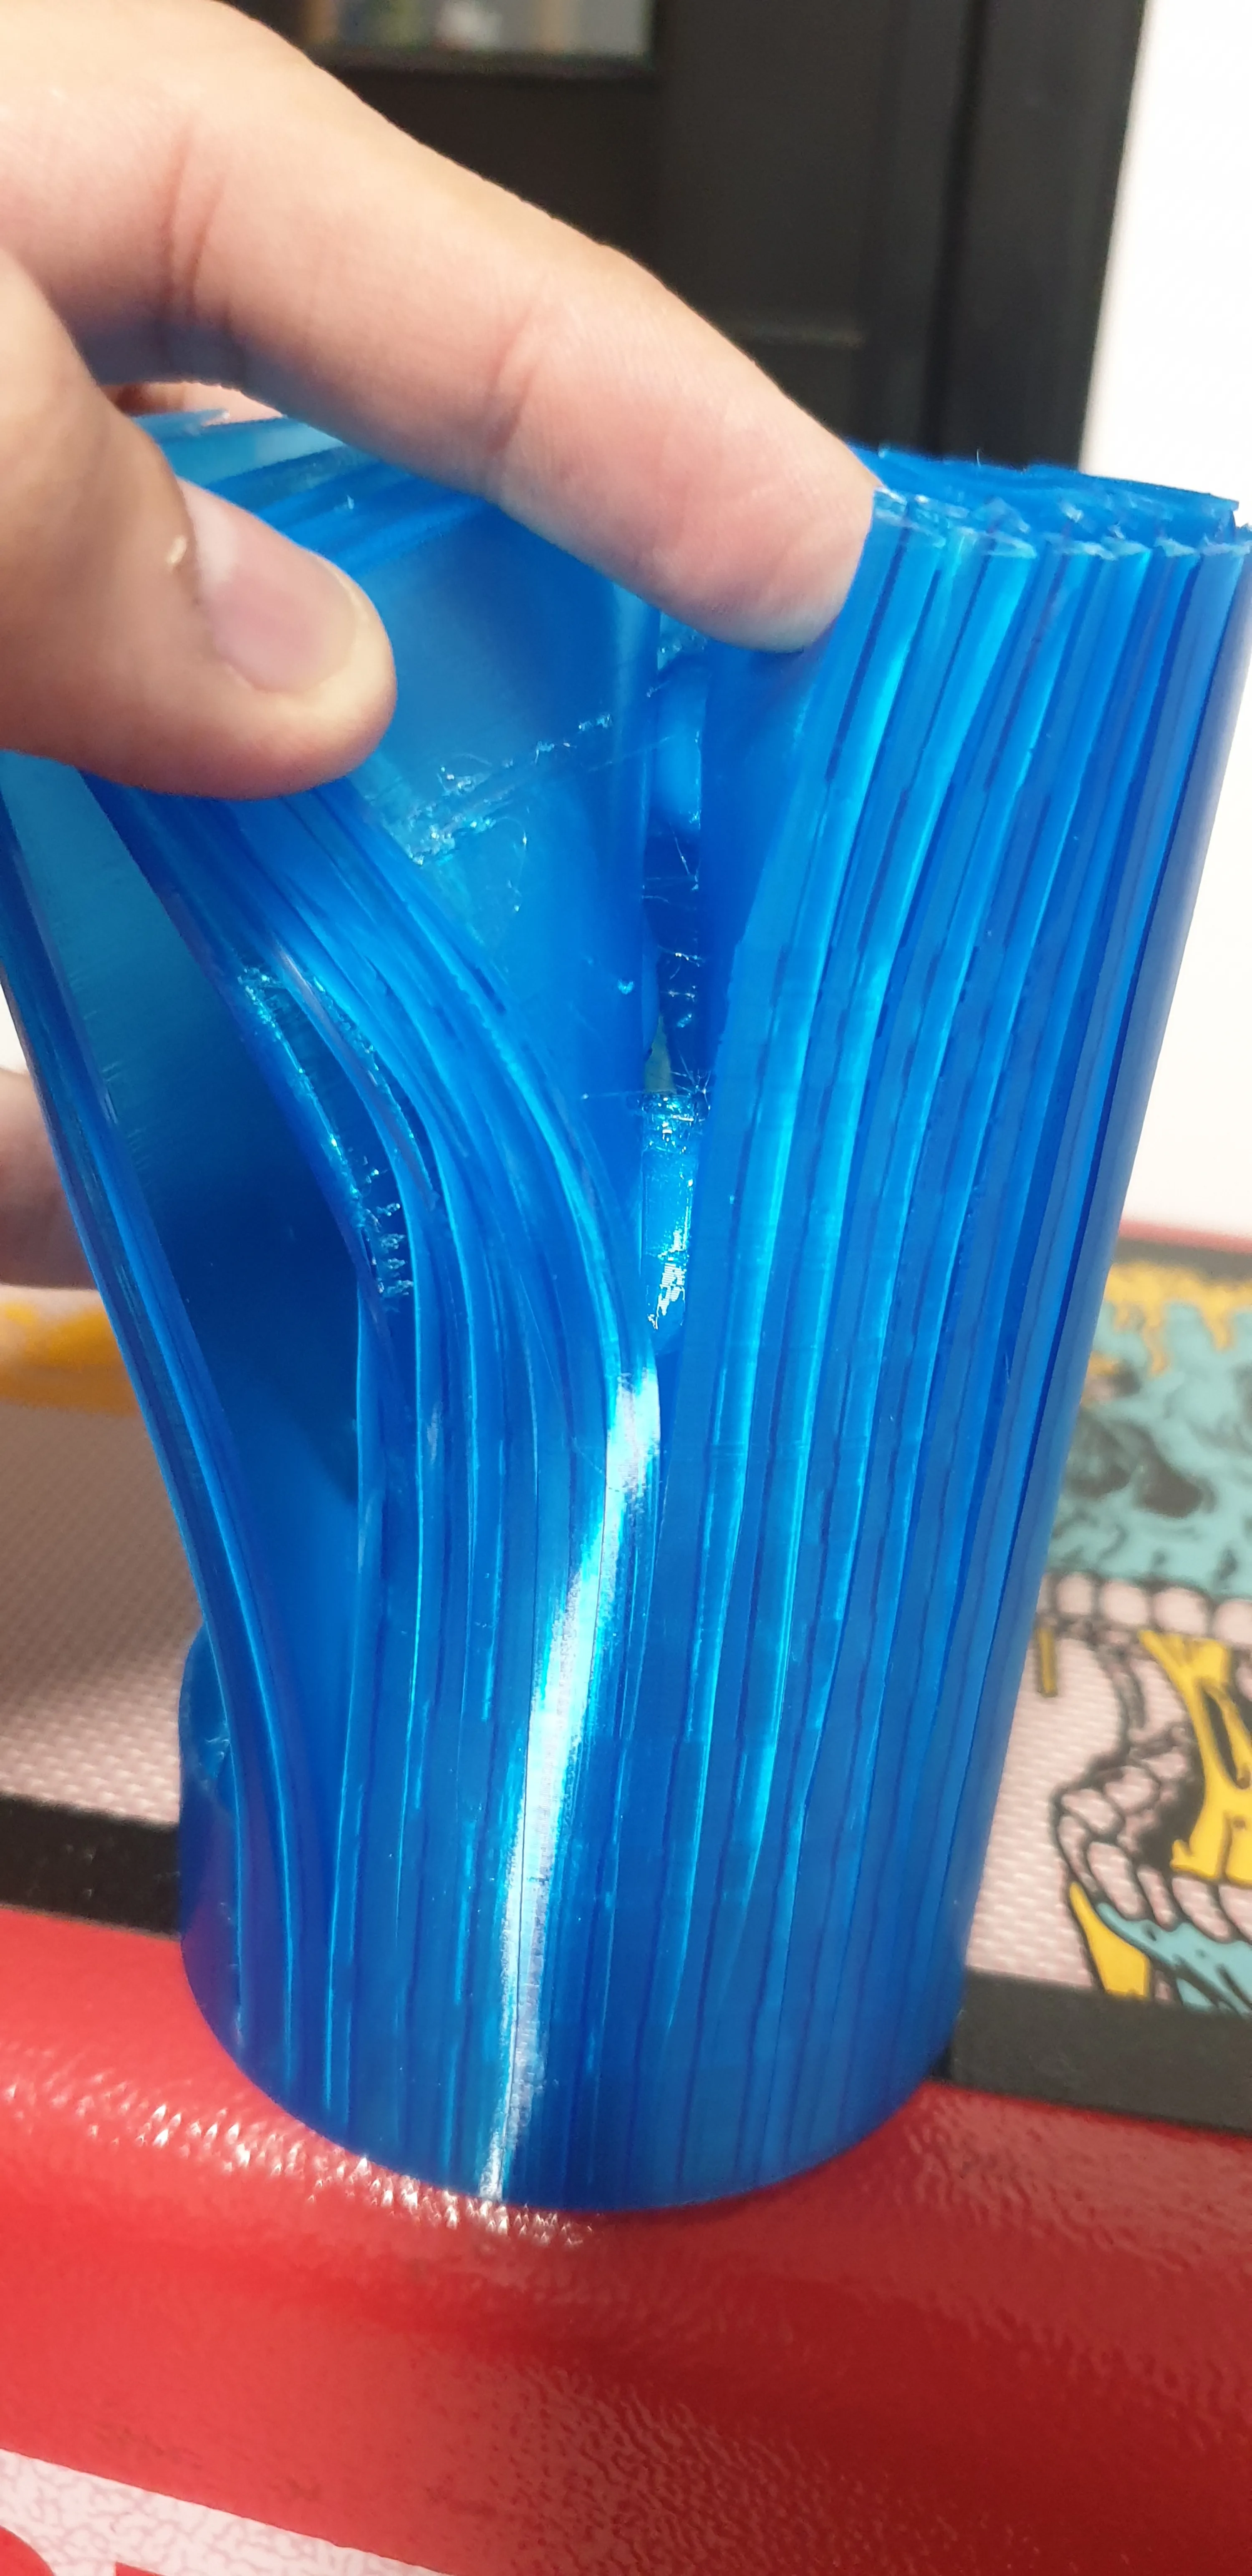
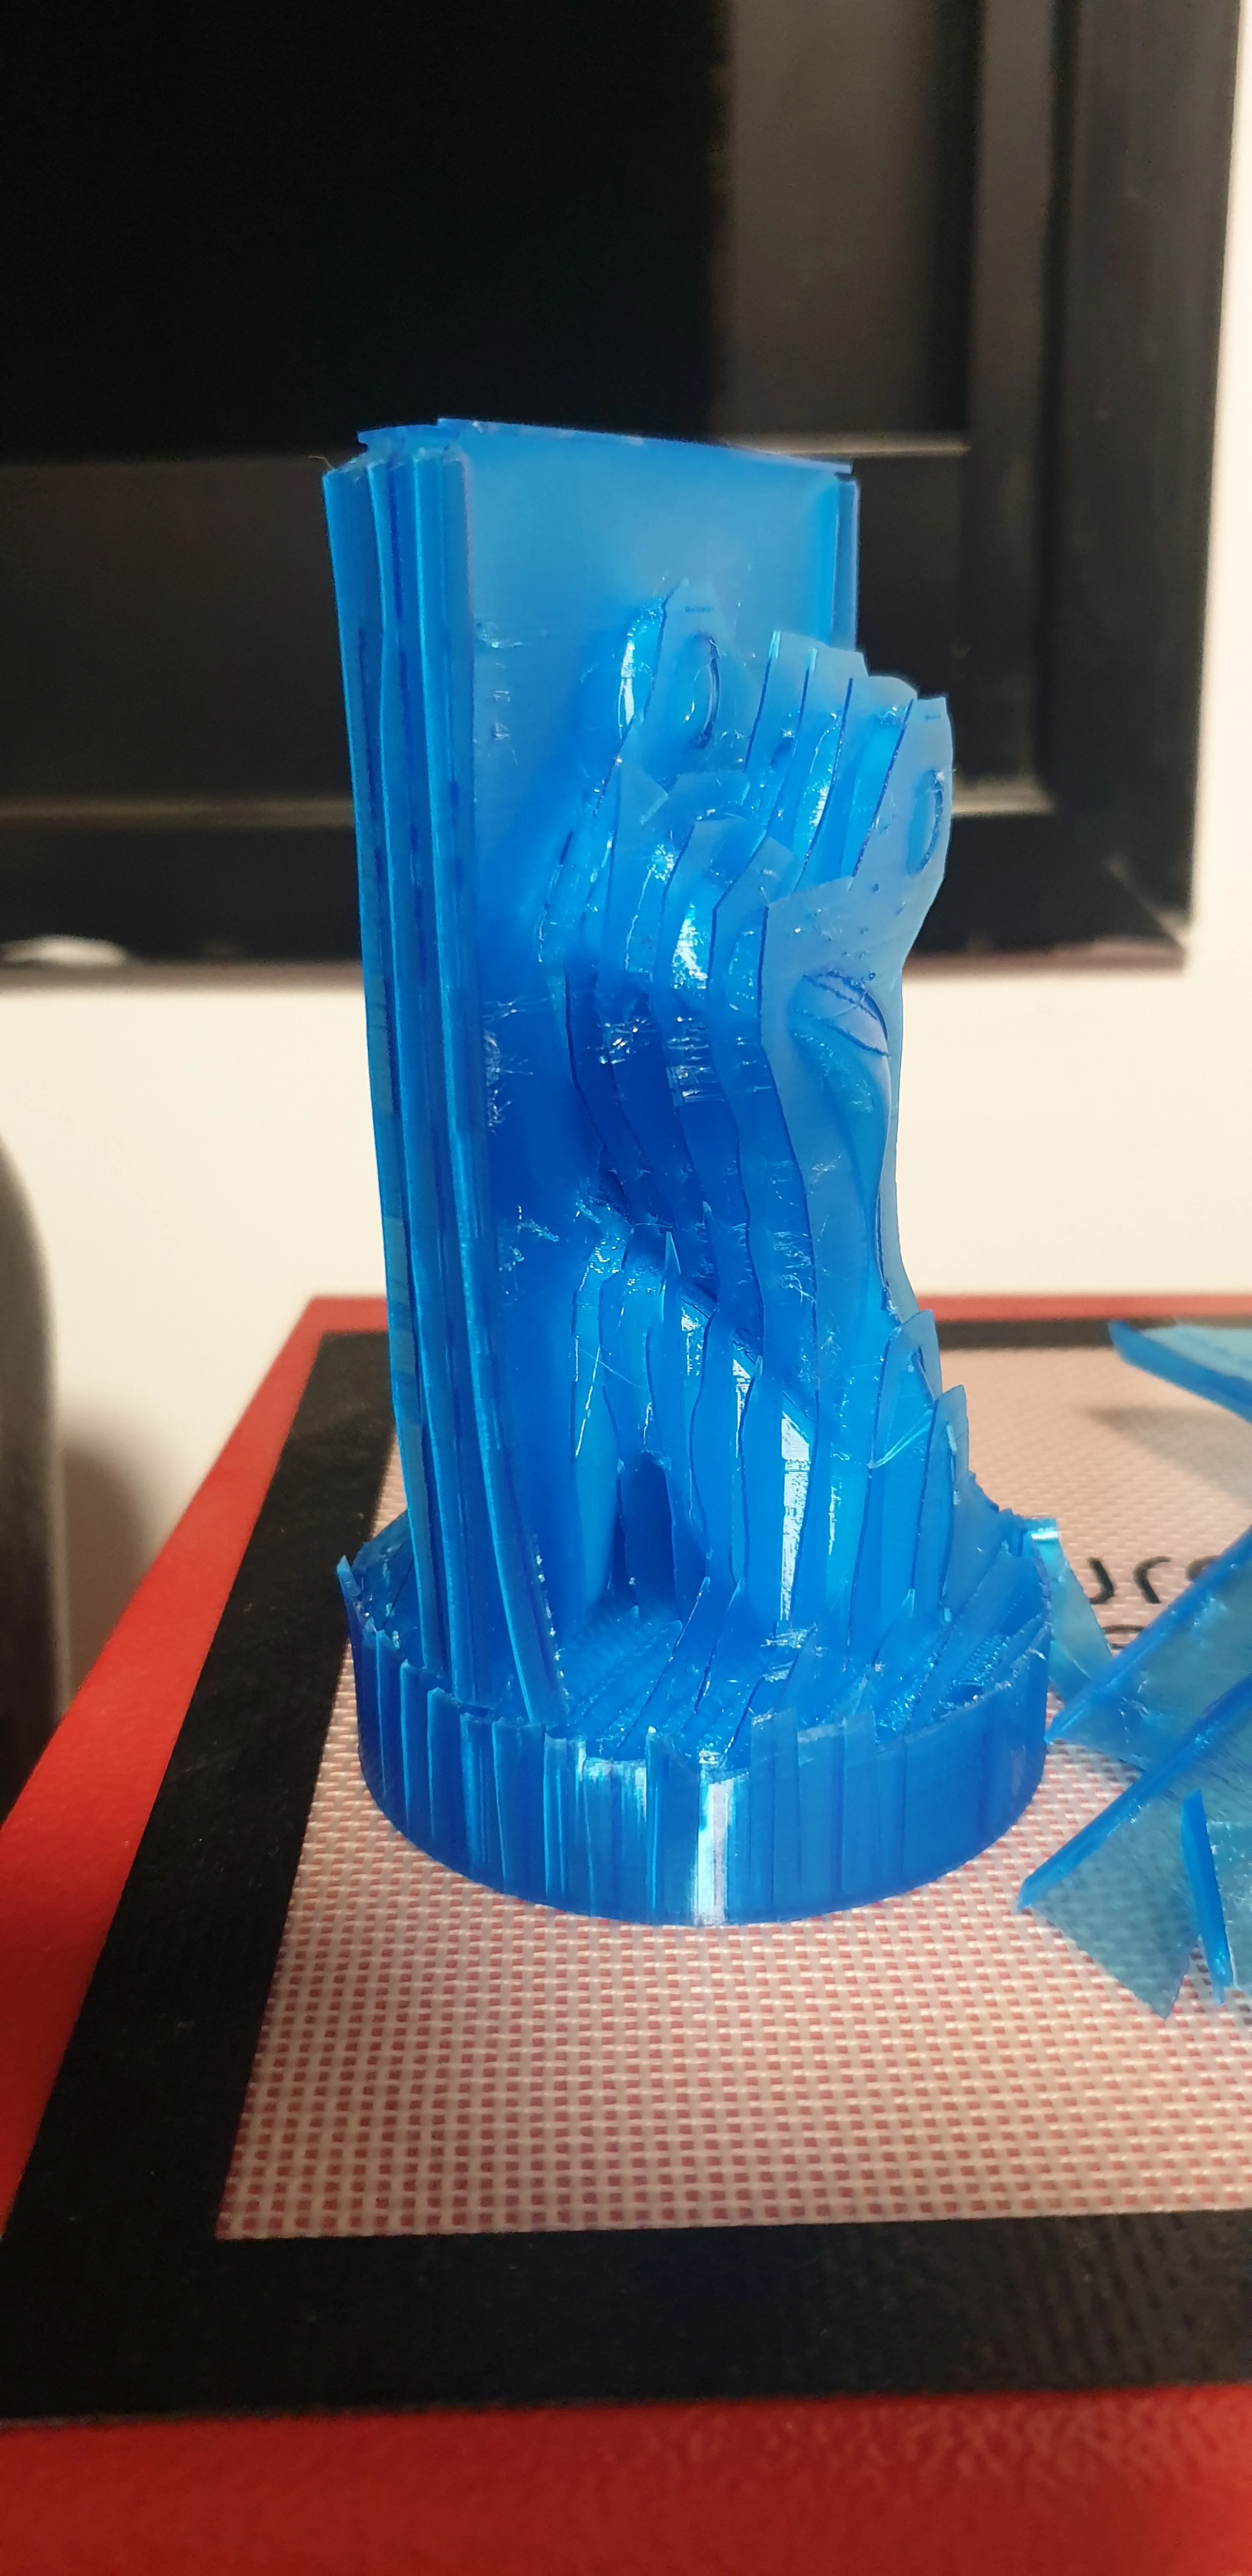
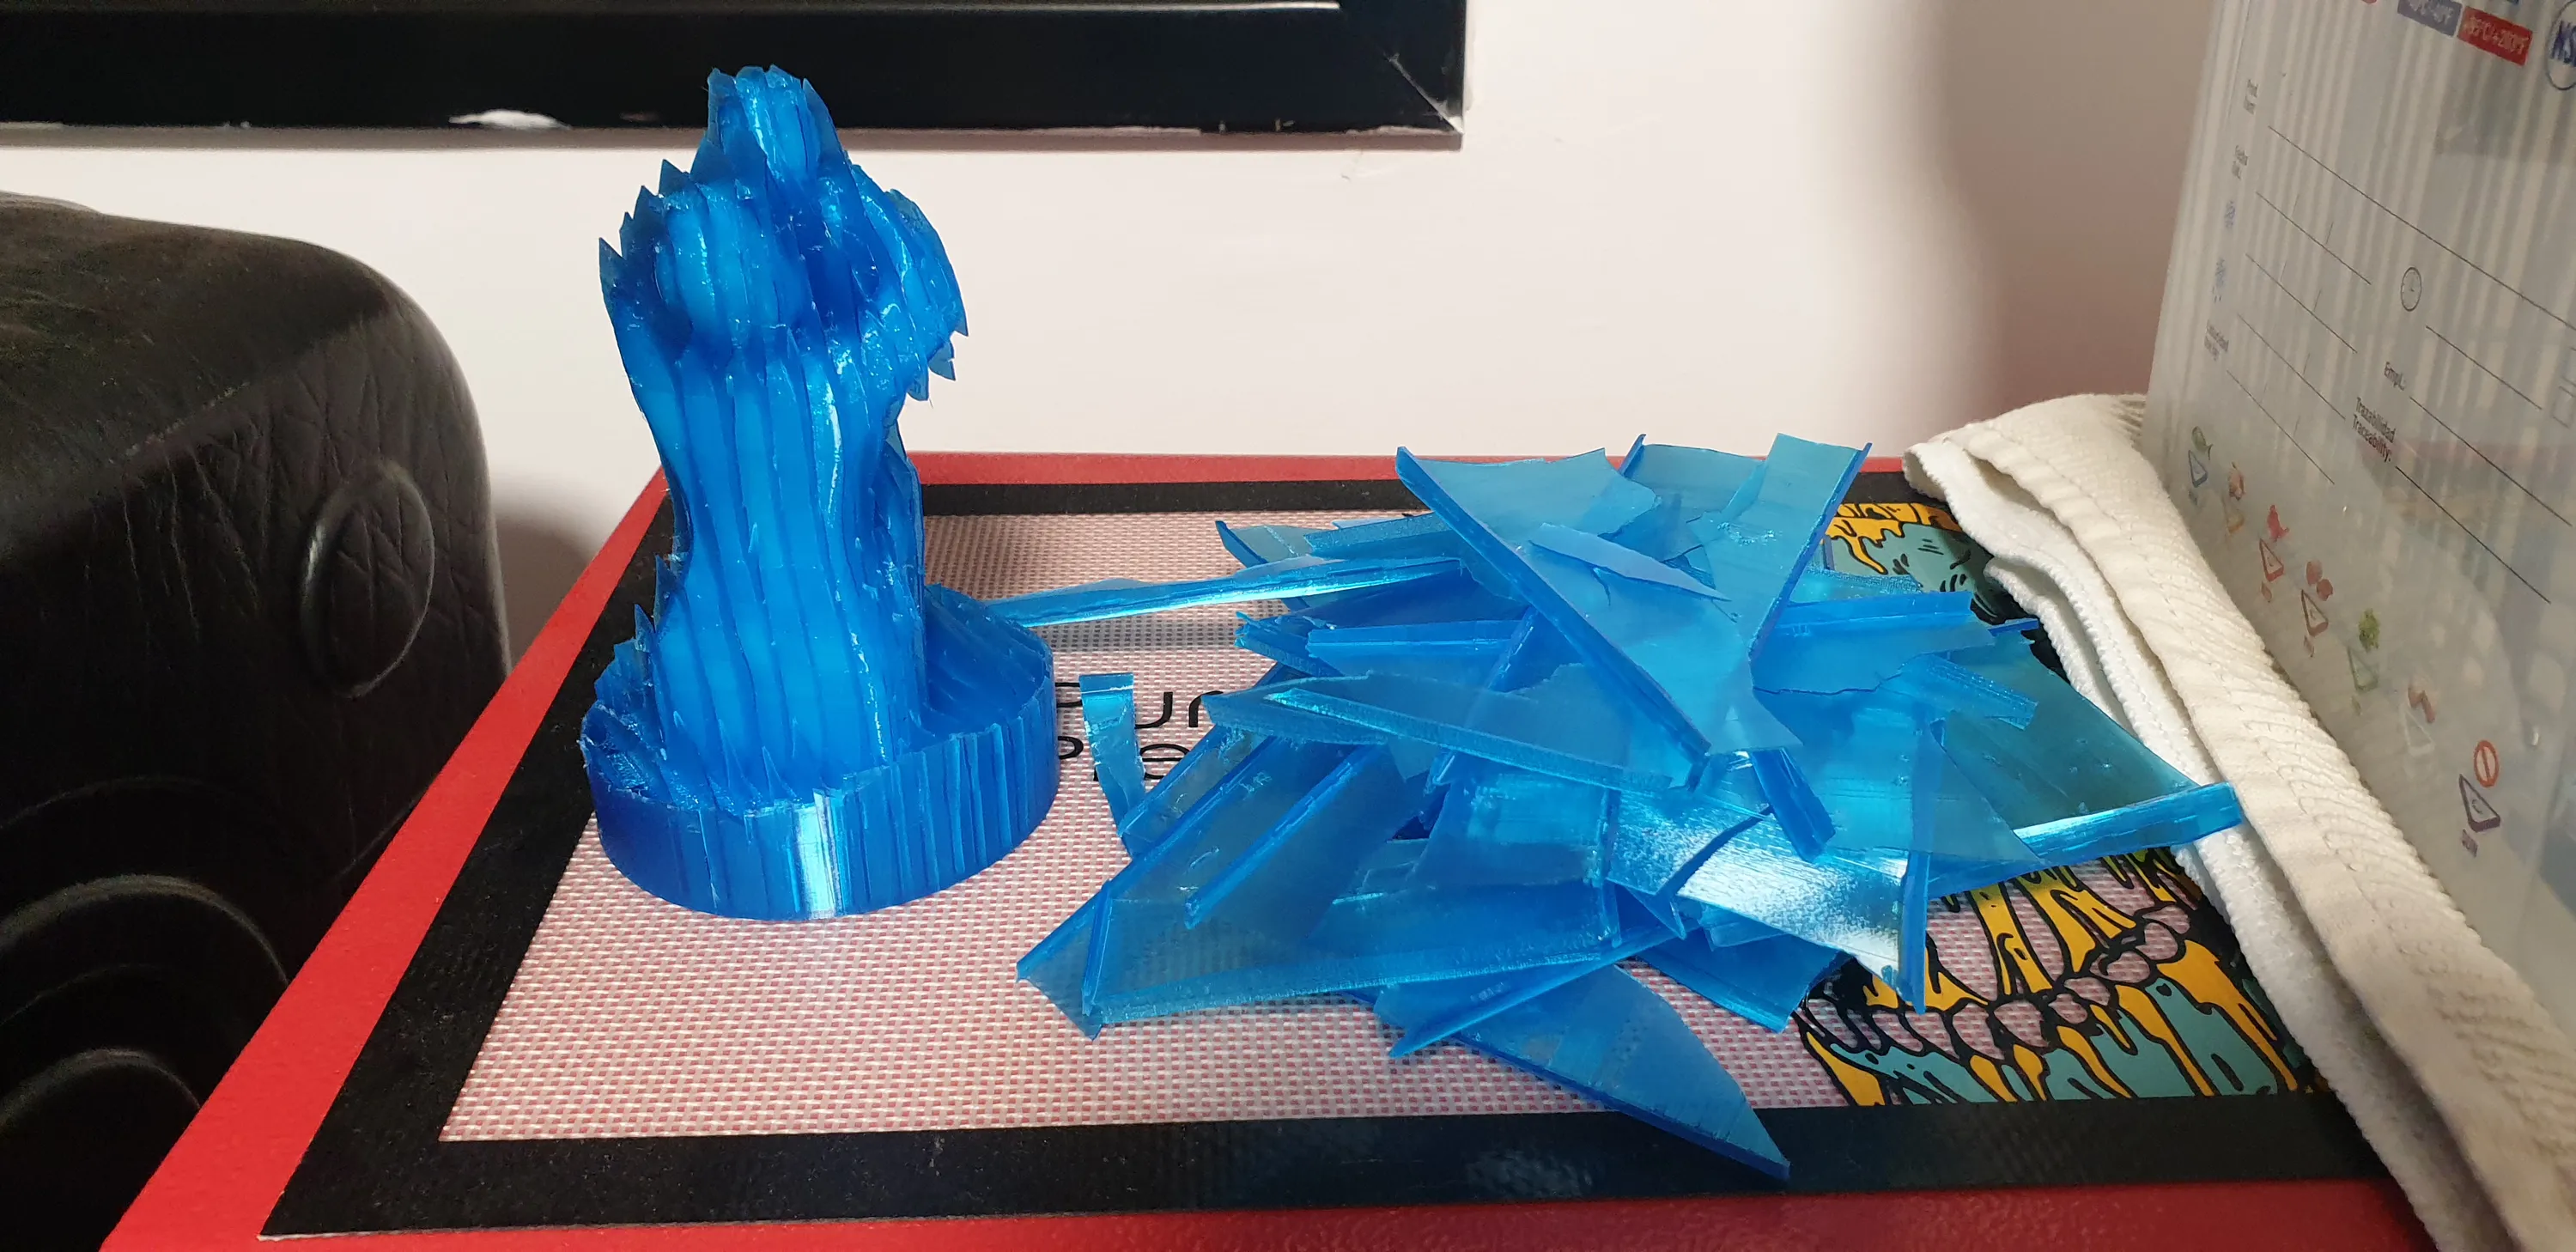
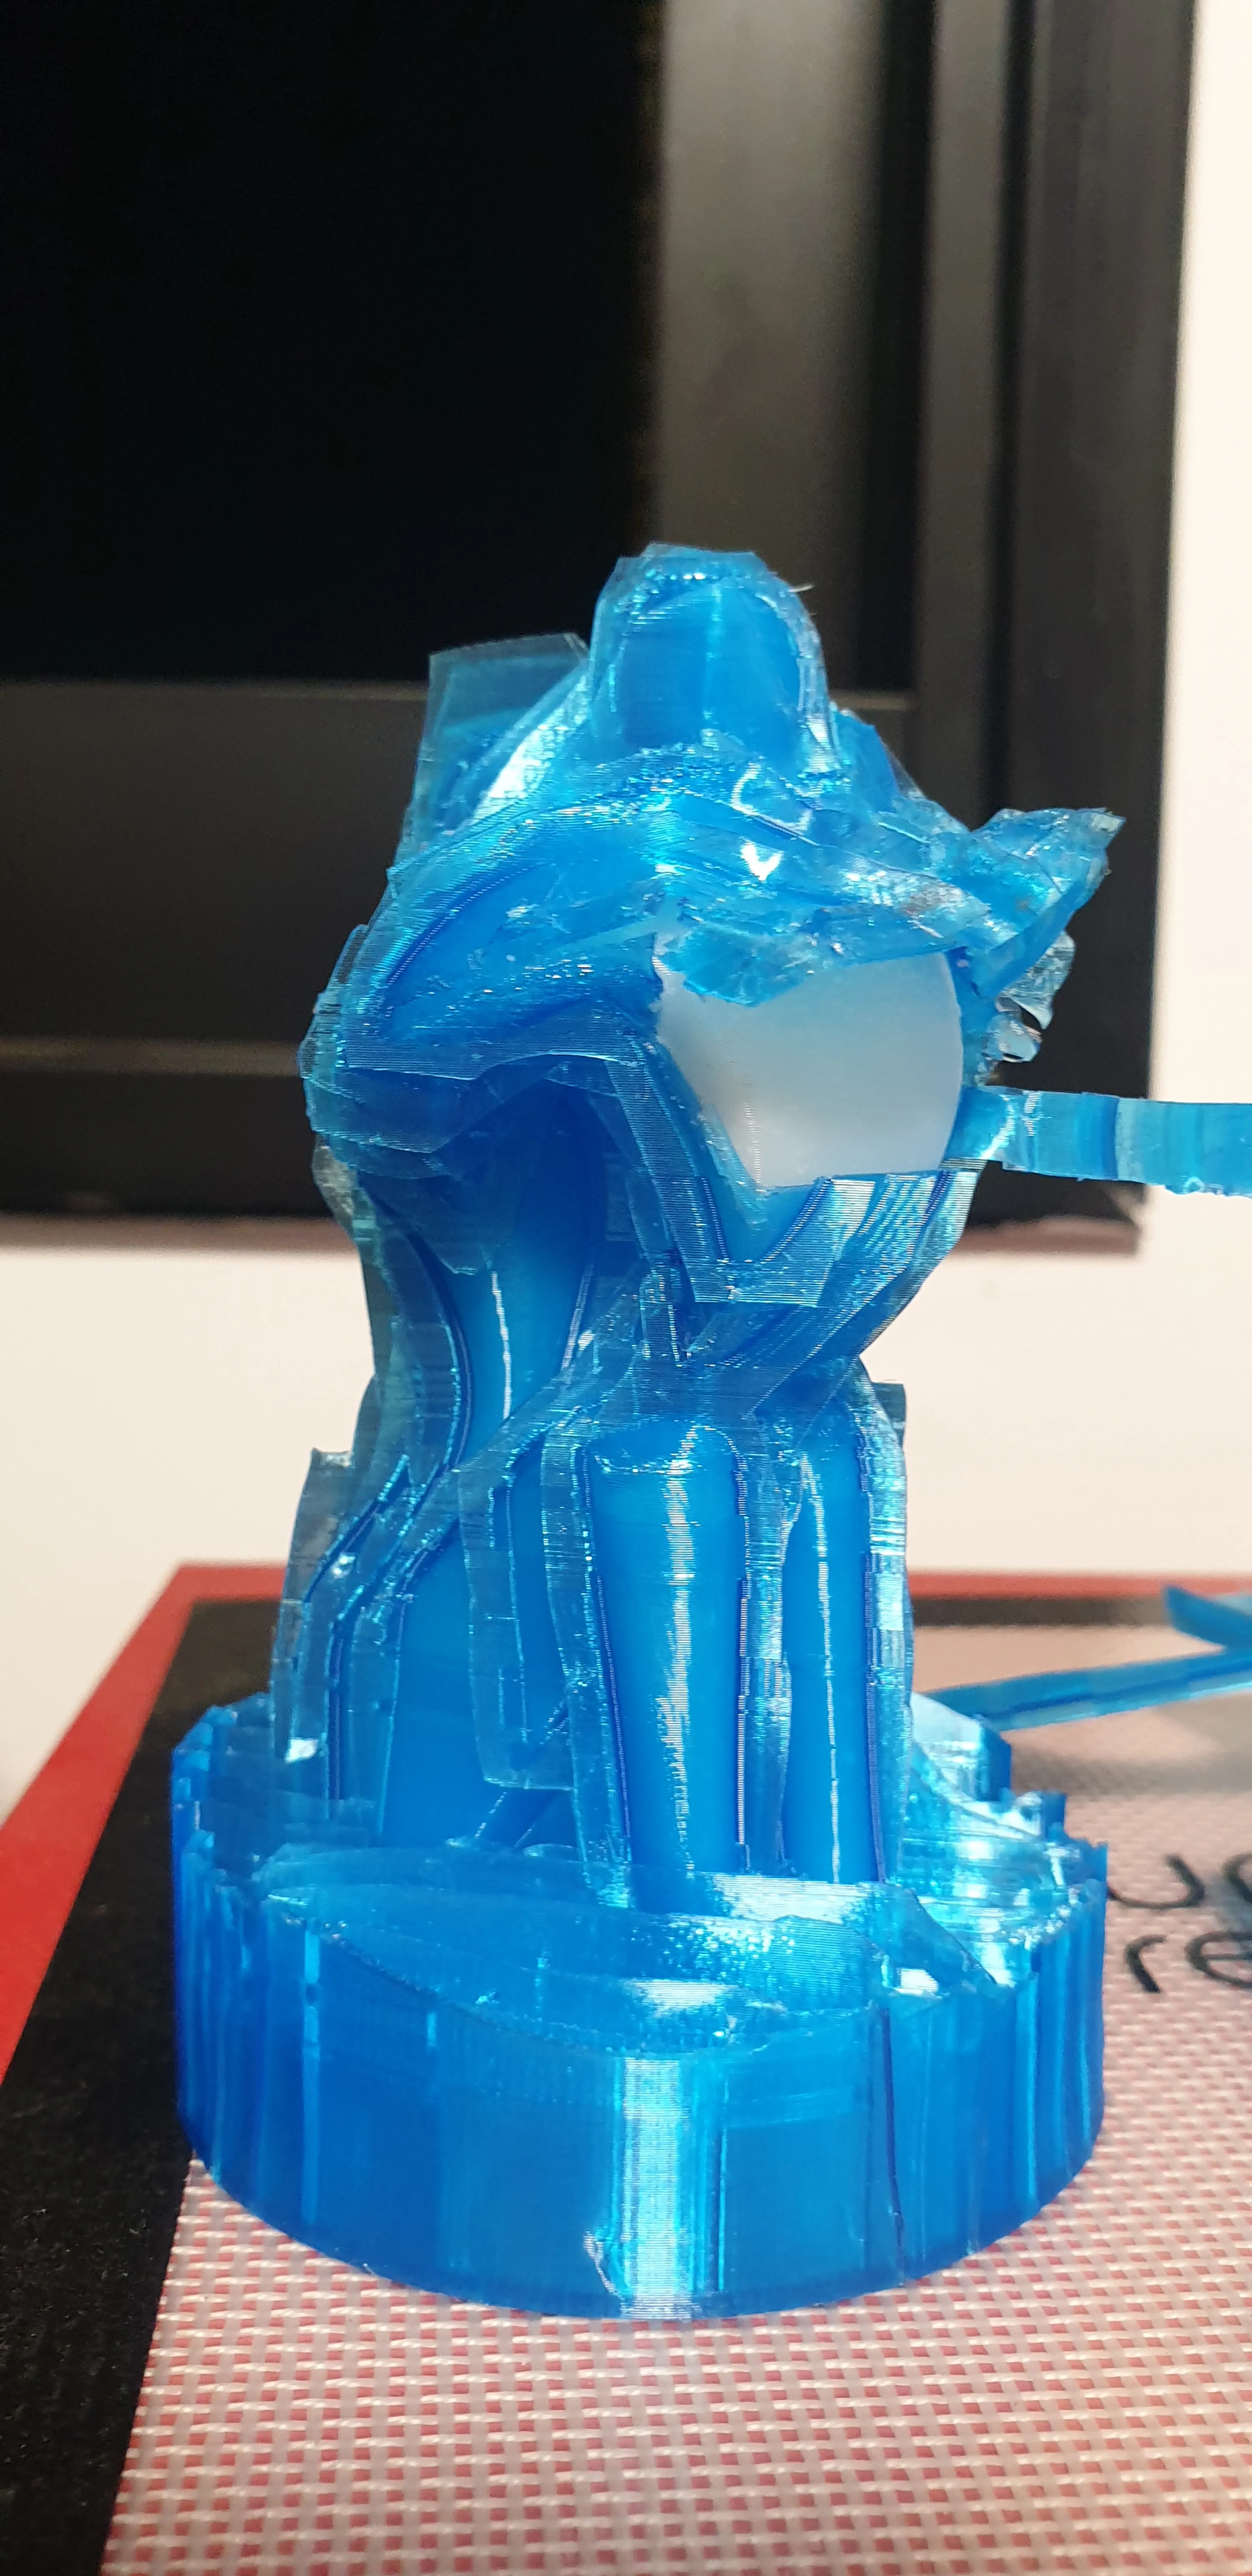
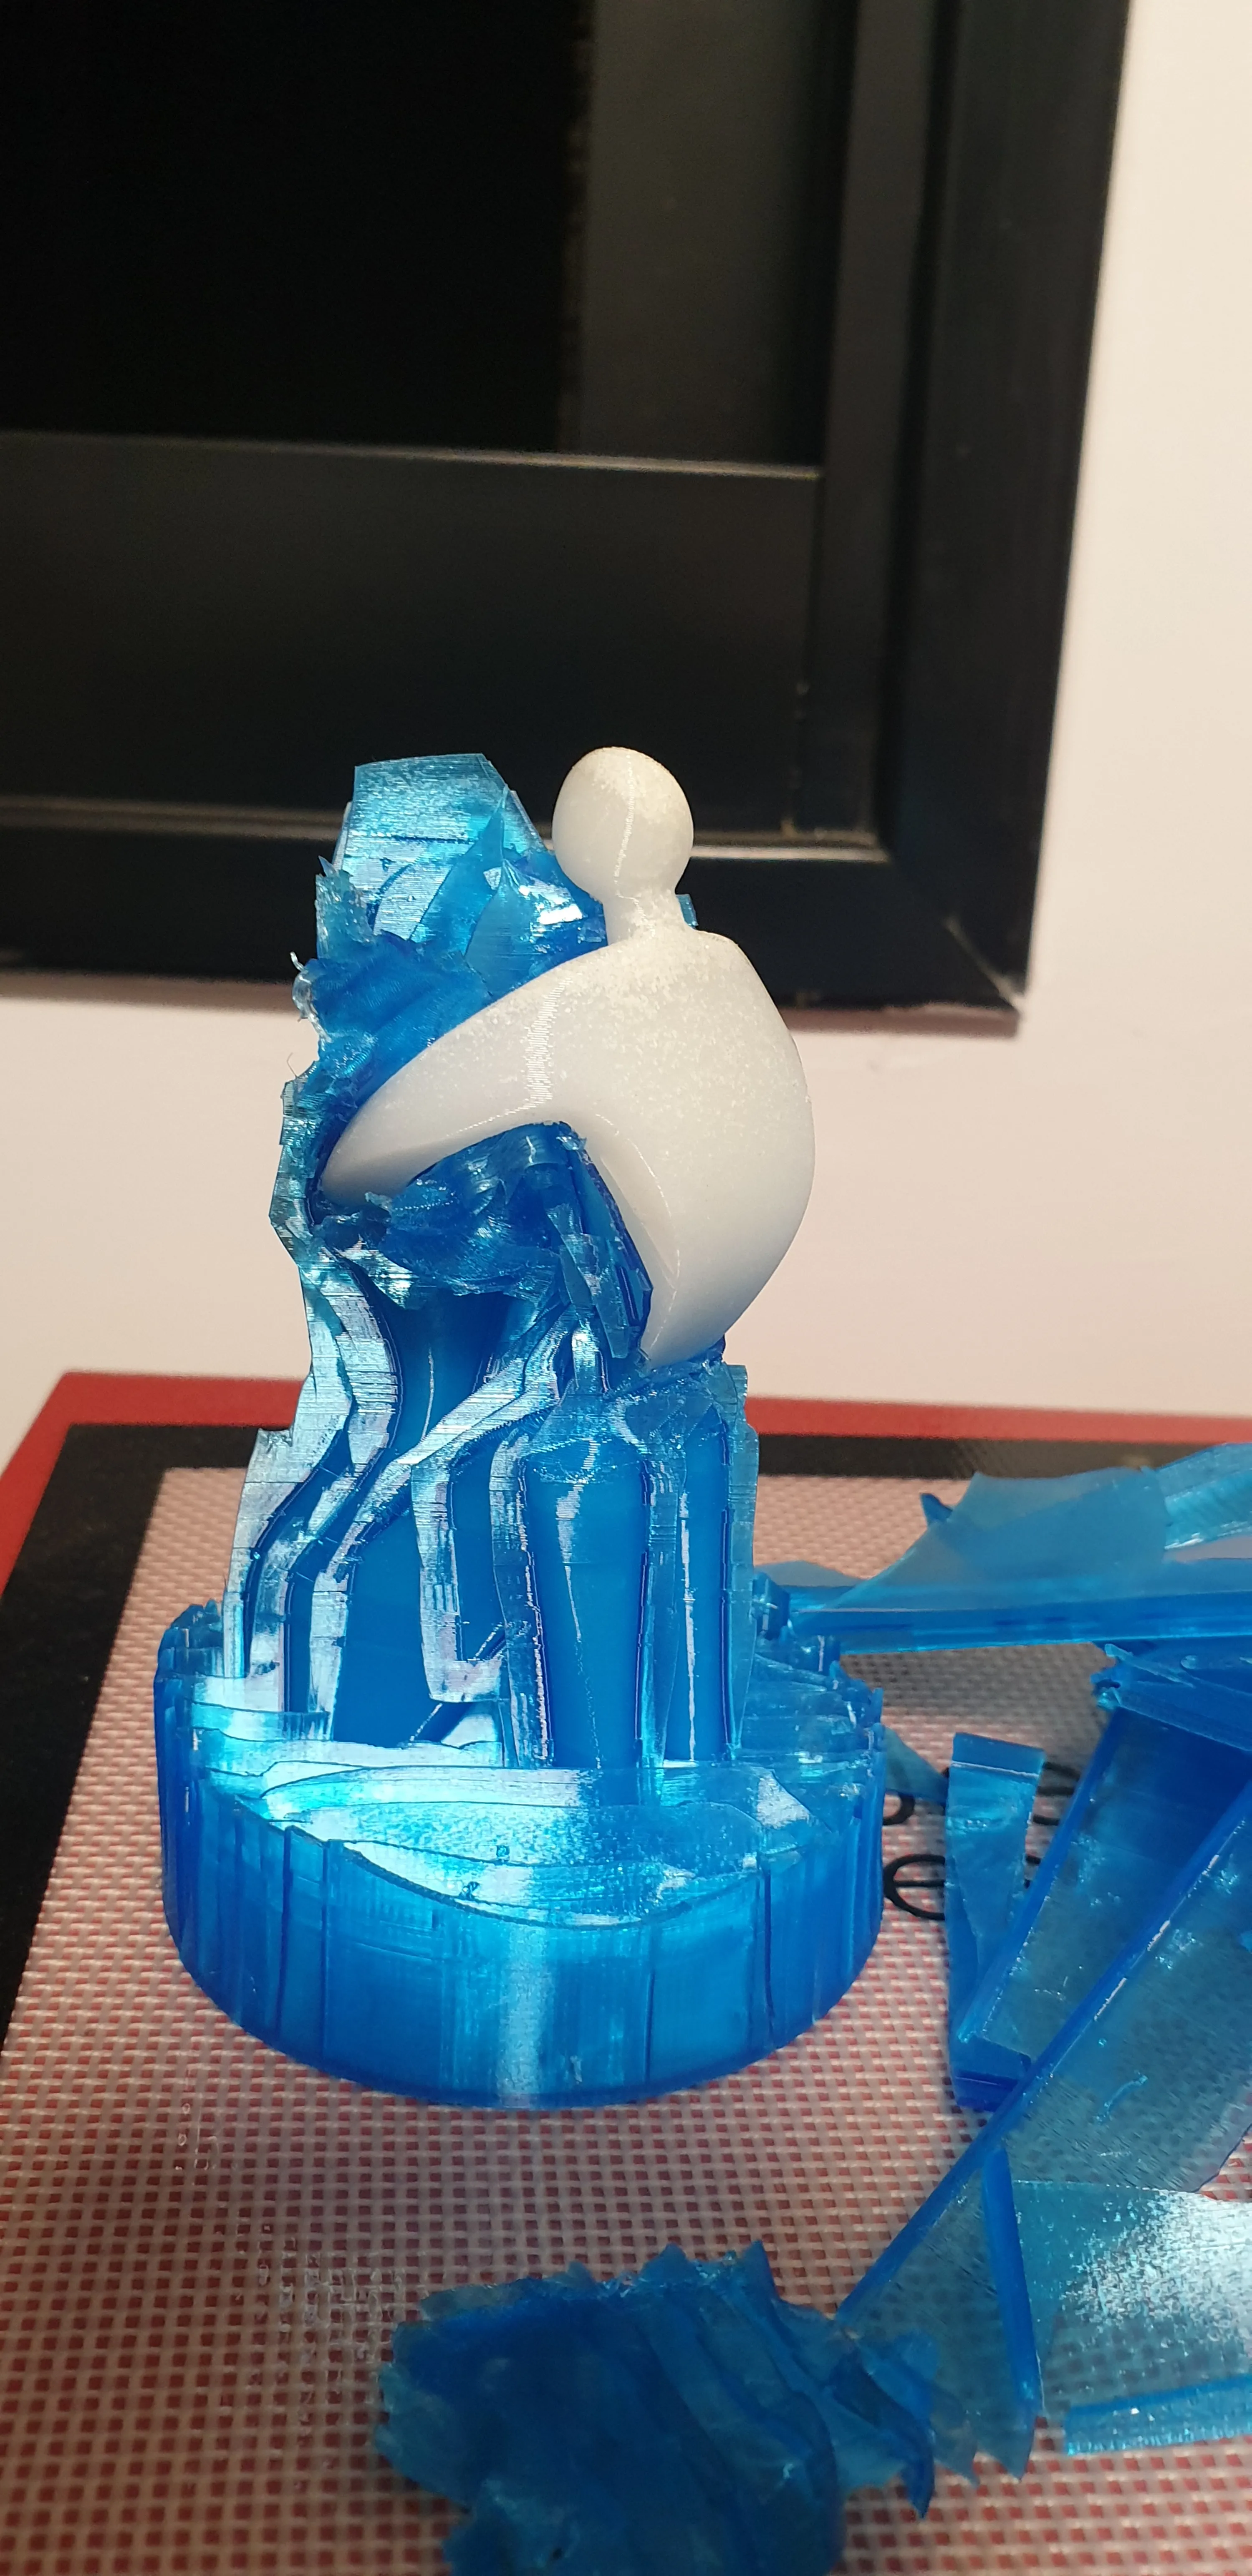
Decapitation #2
Now came the hard part. Separating the resin from the inner walls of the mold. They were stuck pretty good to each other, but the TPU peeled away cleanly if pulled carefully. I think part of it was due to the layer lines of the print increasing surface area and creating small cracks for resin to grab. Maybe it would have been easier to remove had I used some mold release..
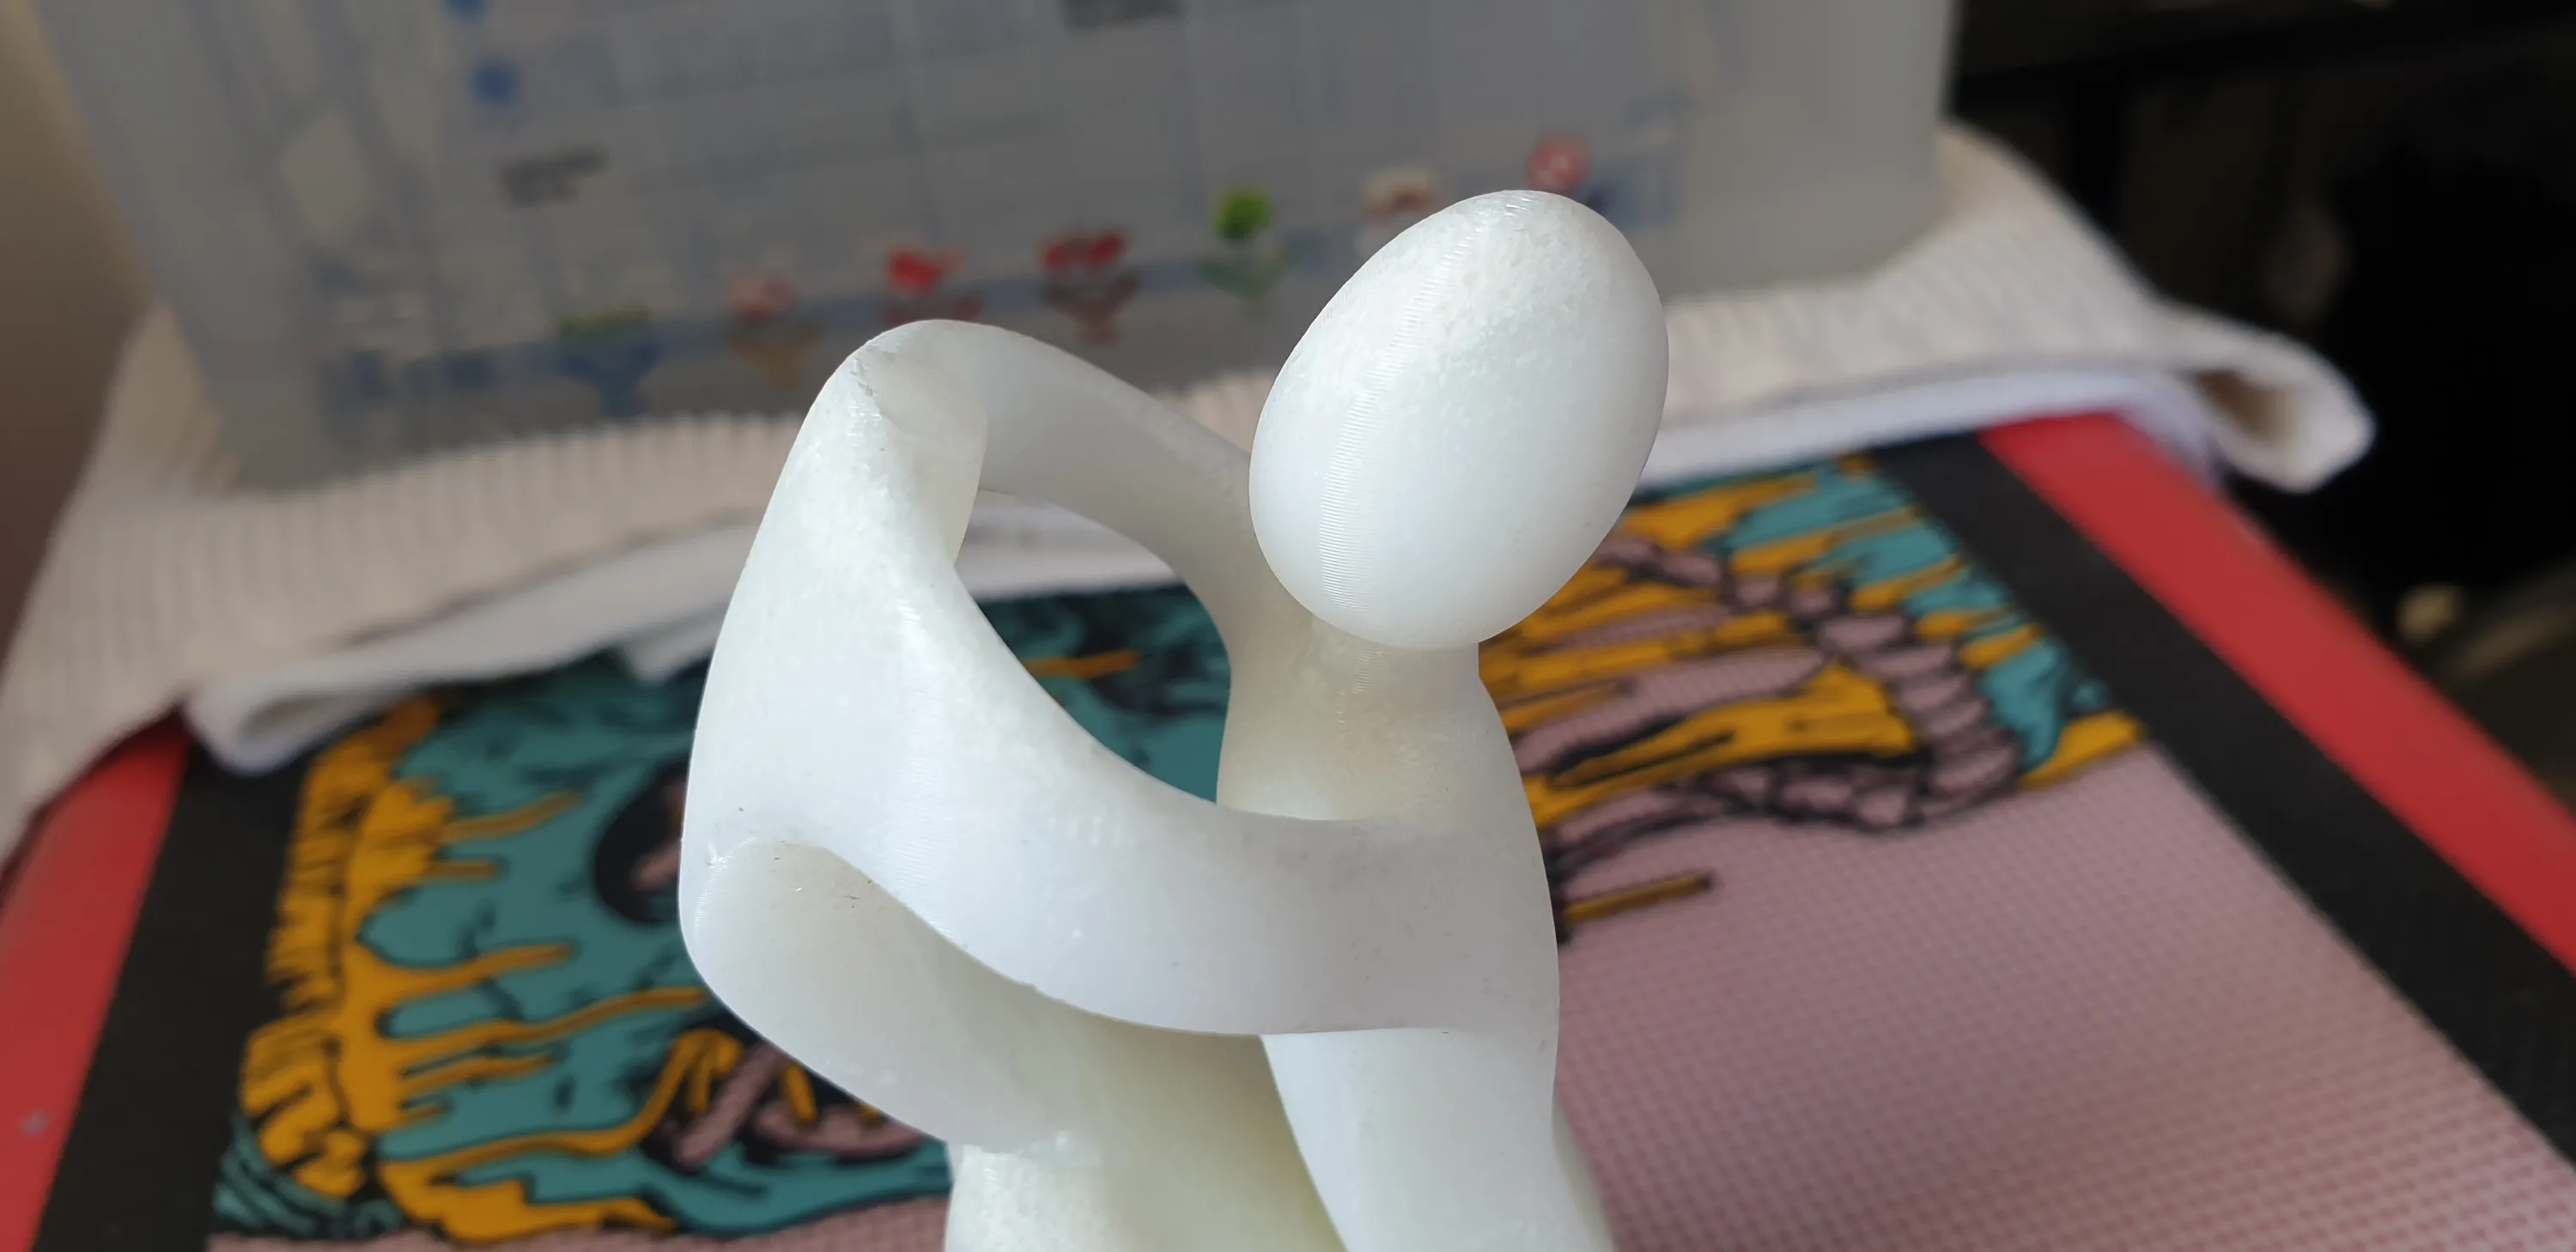
When I got to the thin neck part of the child, another disaster struck - the force from pulling pulled his head right off. I aslo think that because this is the lowest part of the mold when cast, more powder settled there before the resin solidified, making that area weaker.
This time, because the resin was intact and not dissolved, it was easy to just glue the head back and continue.
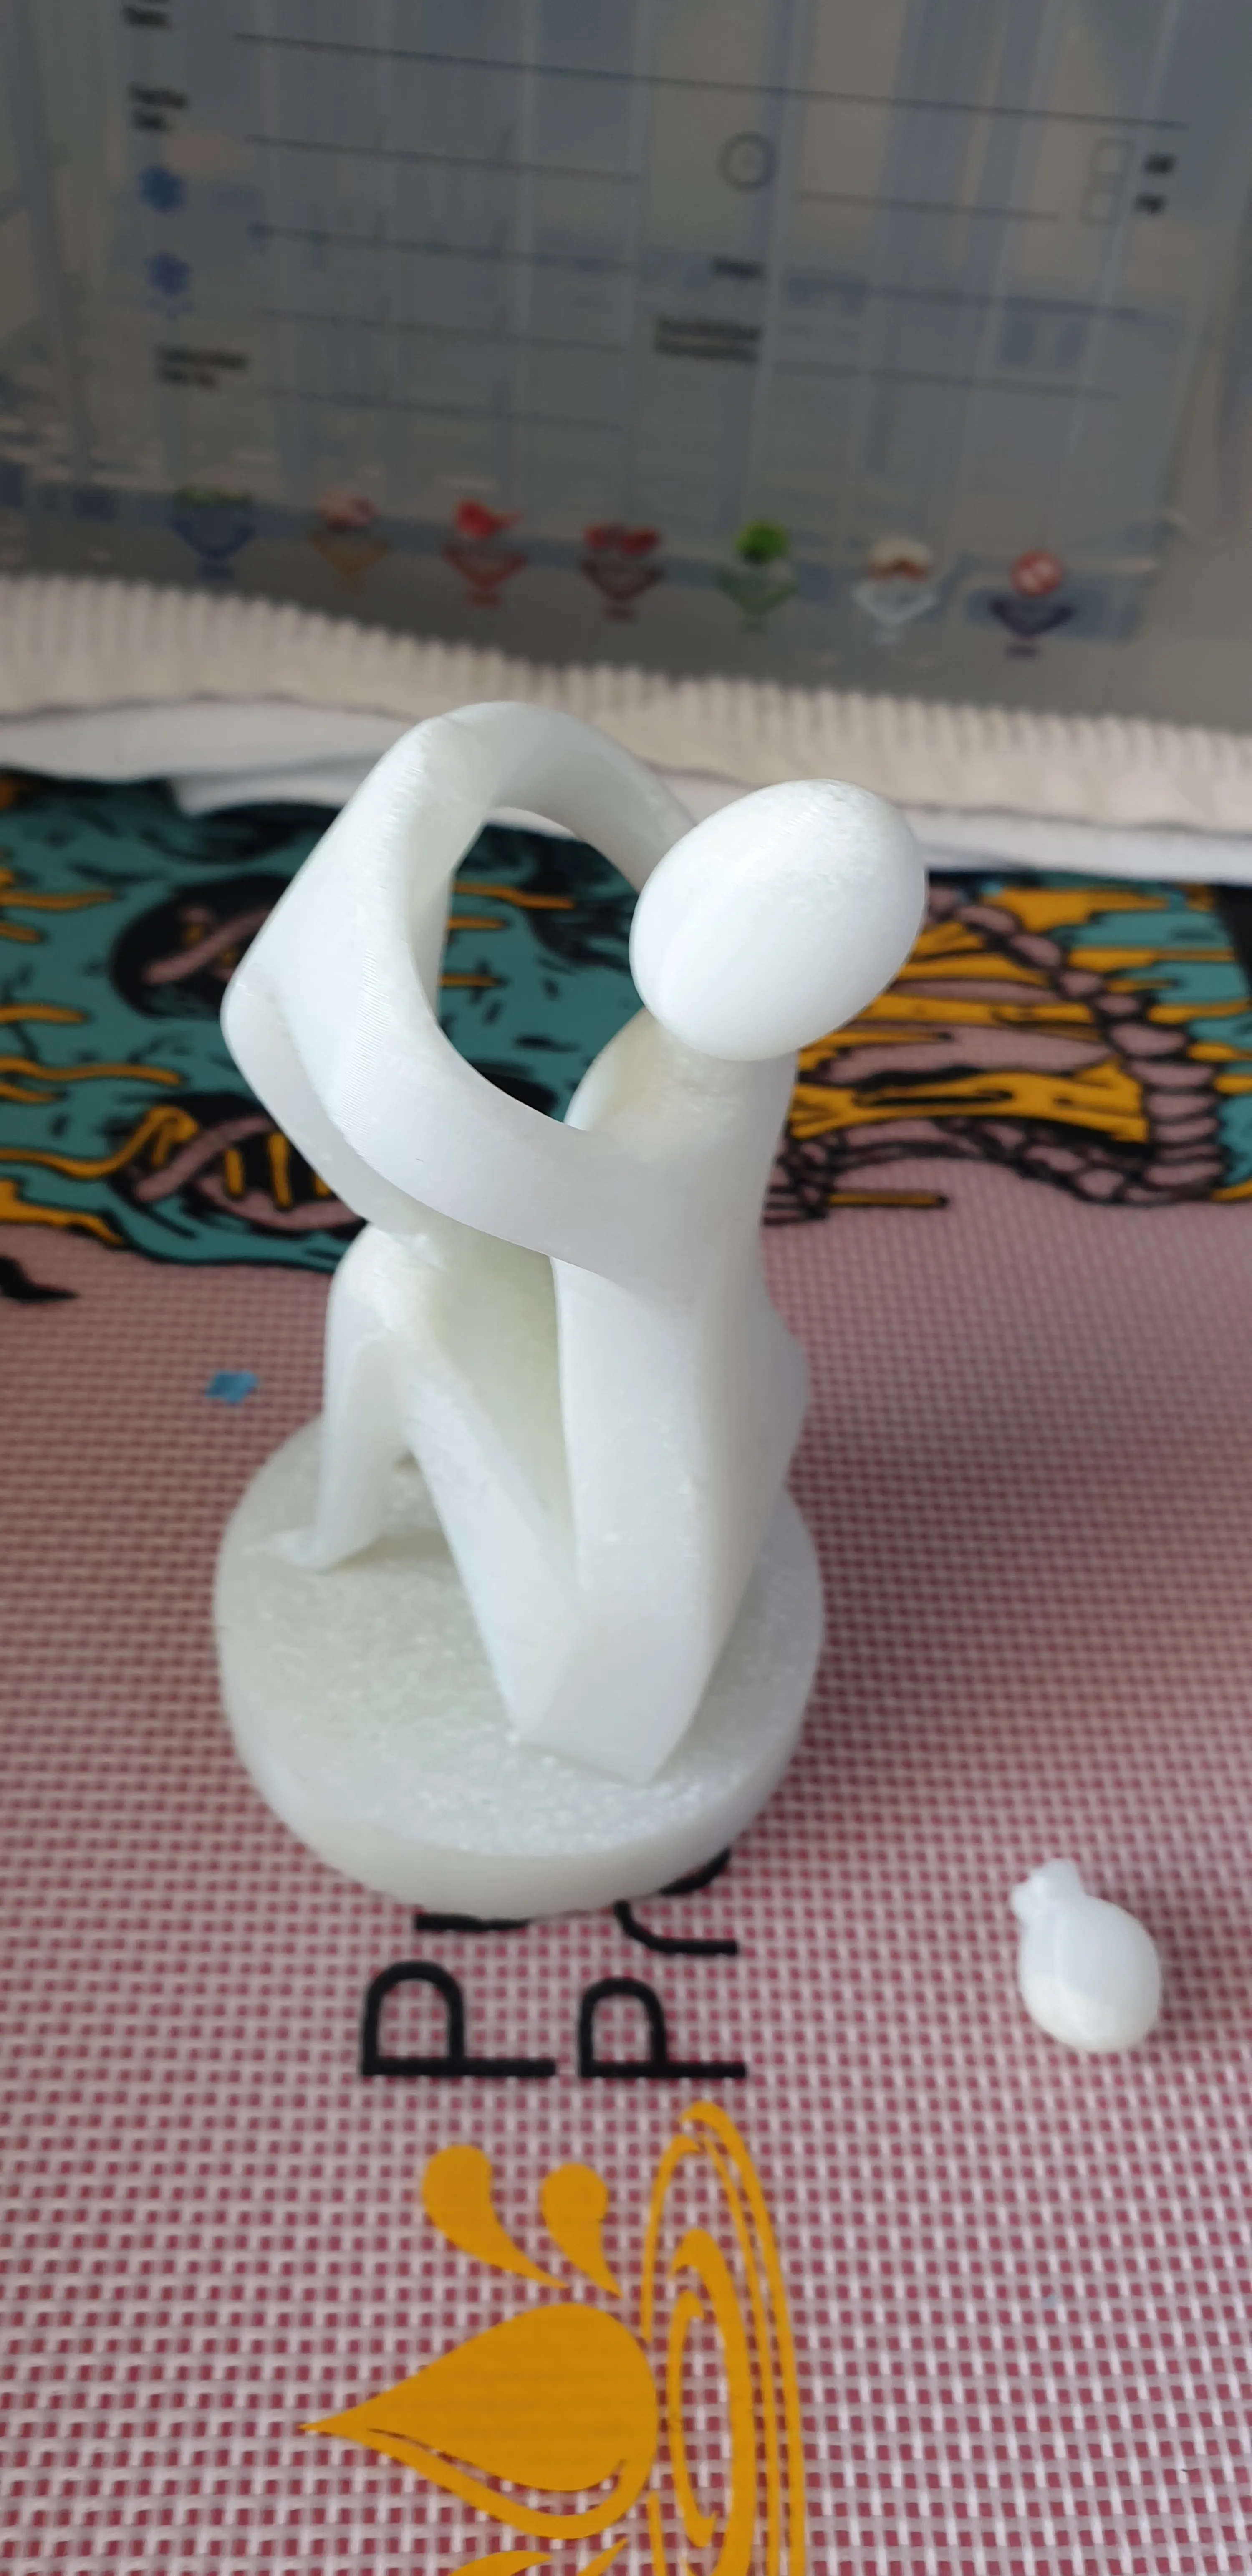
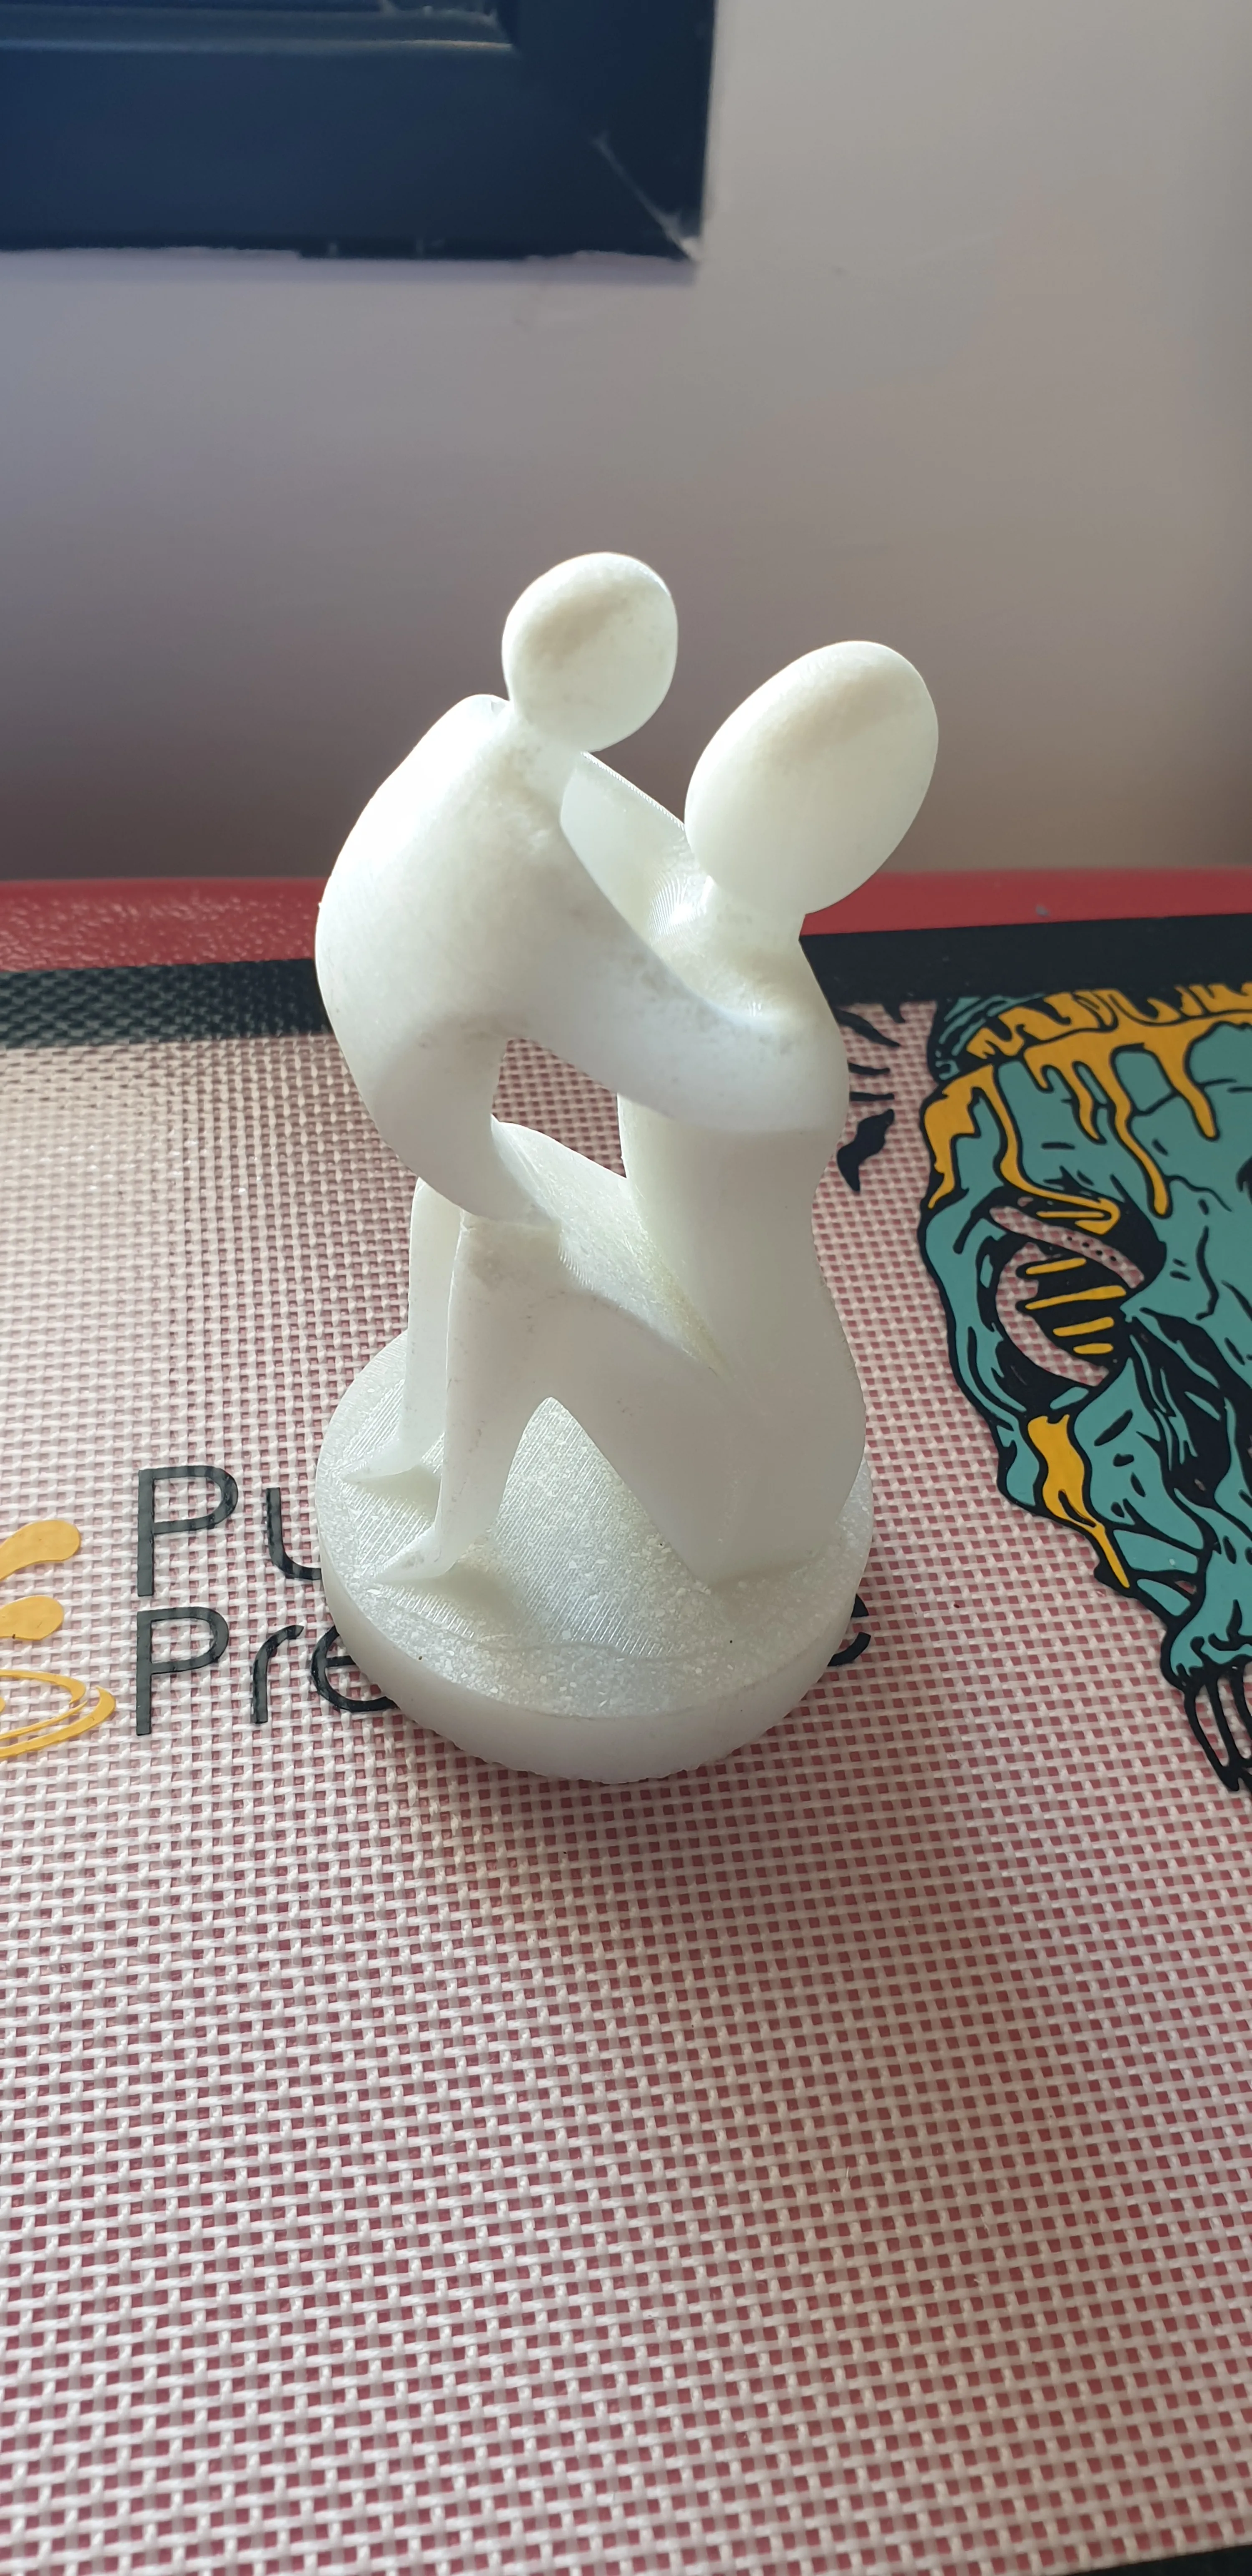
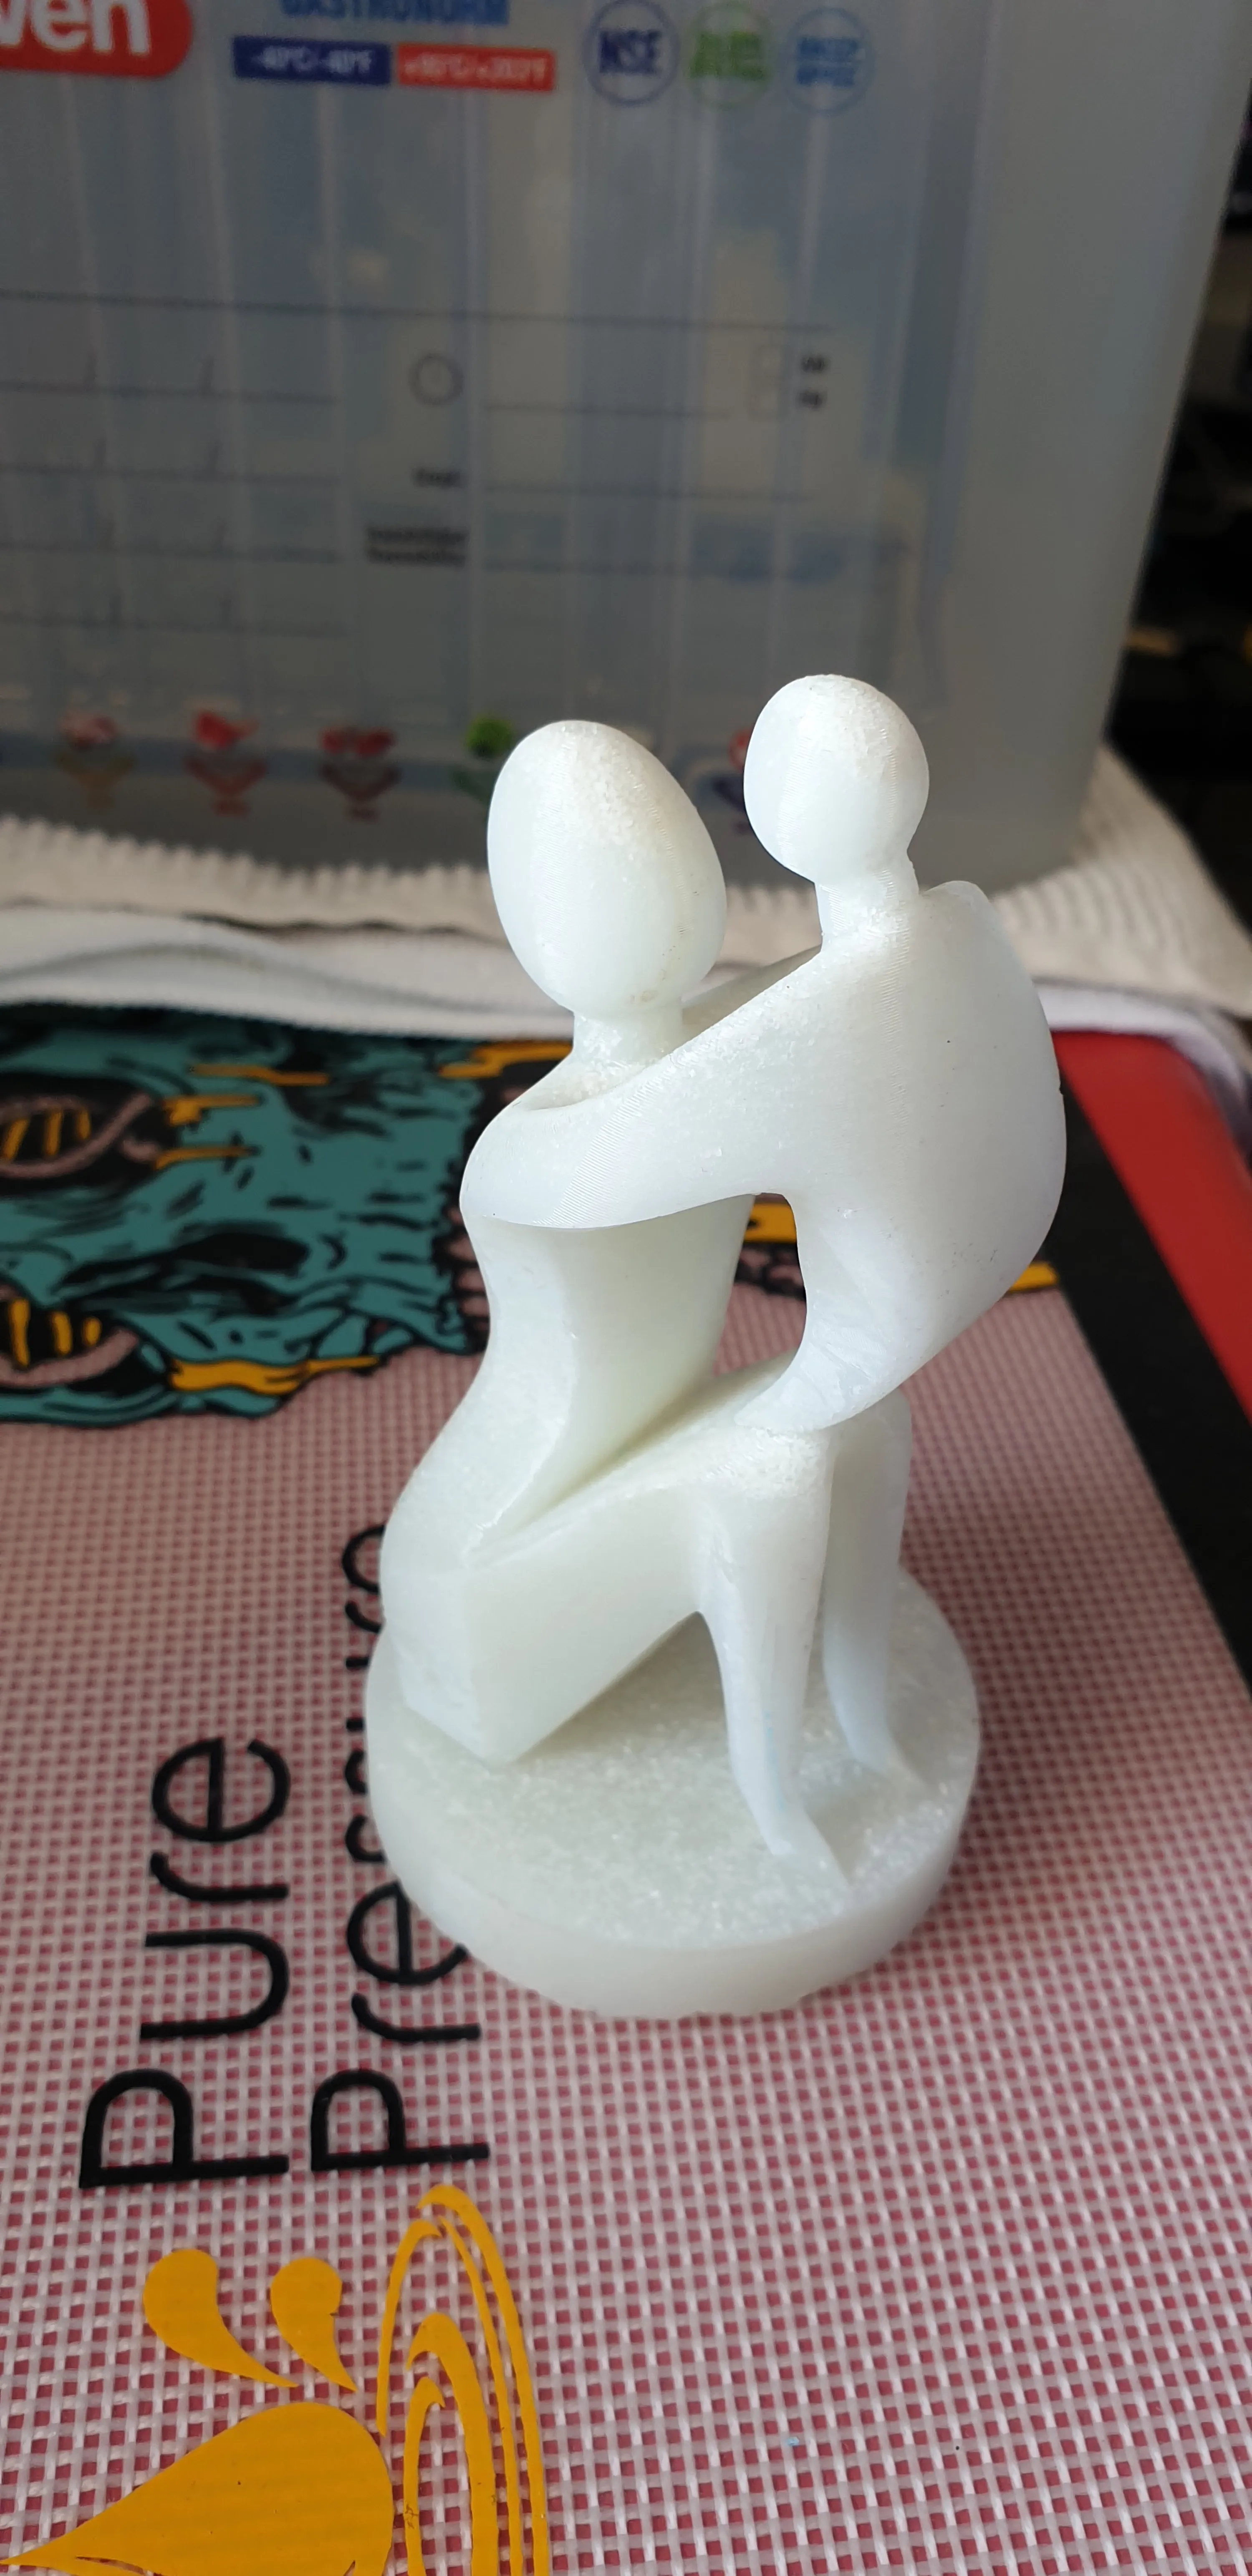
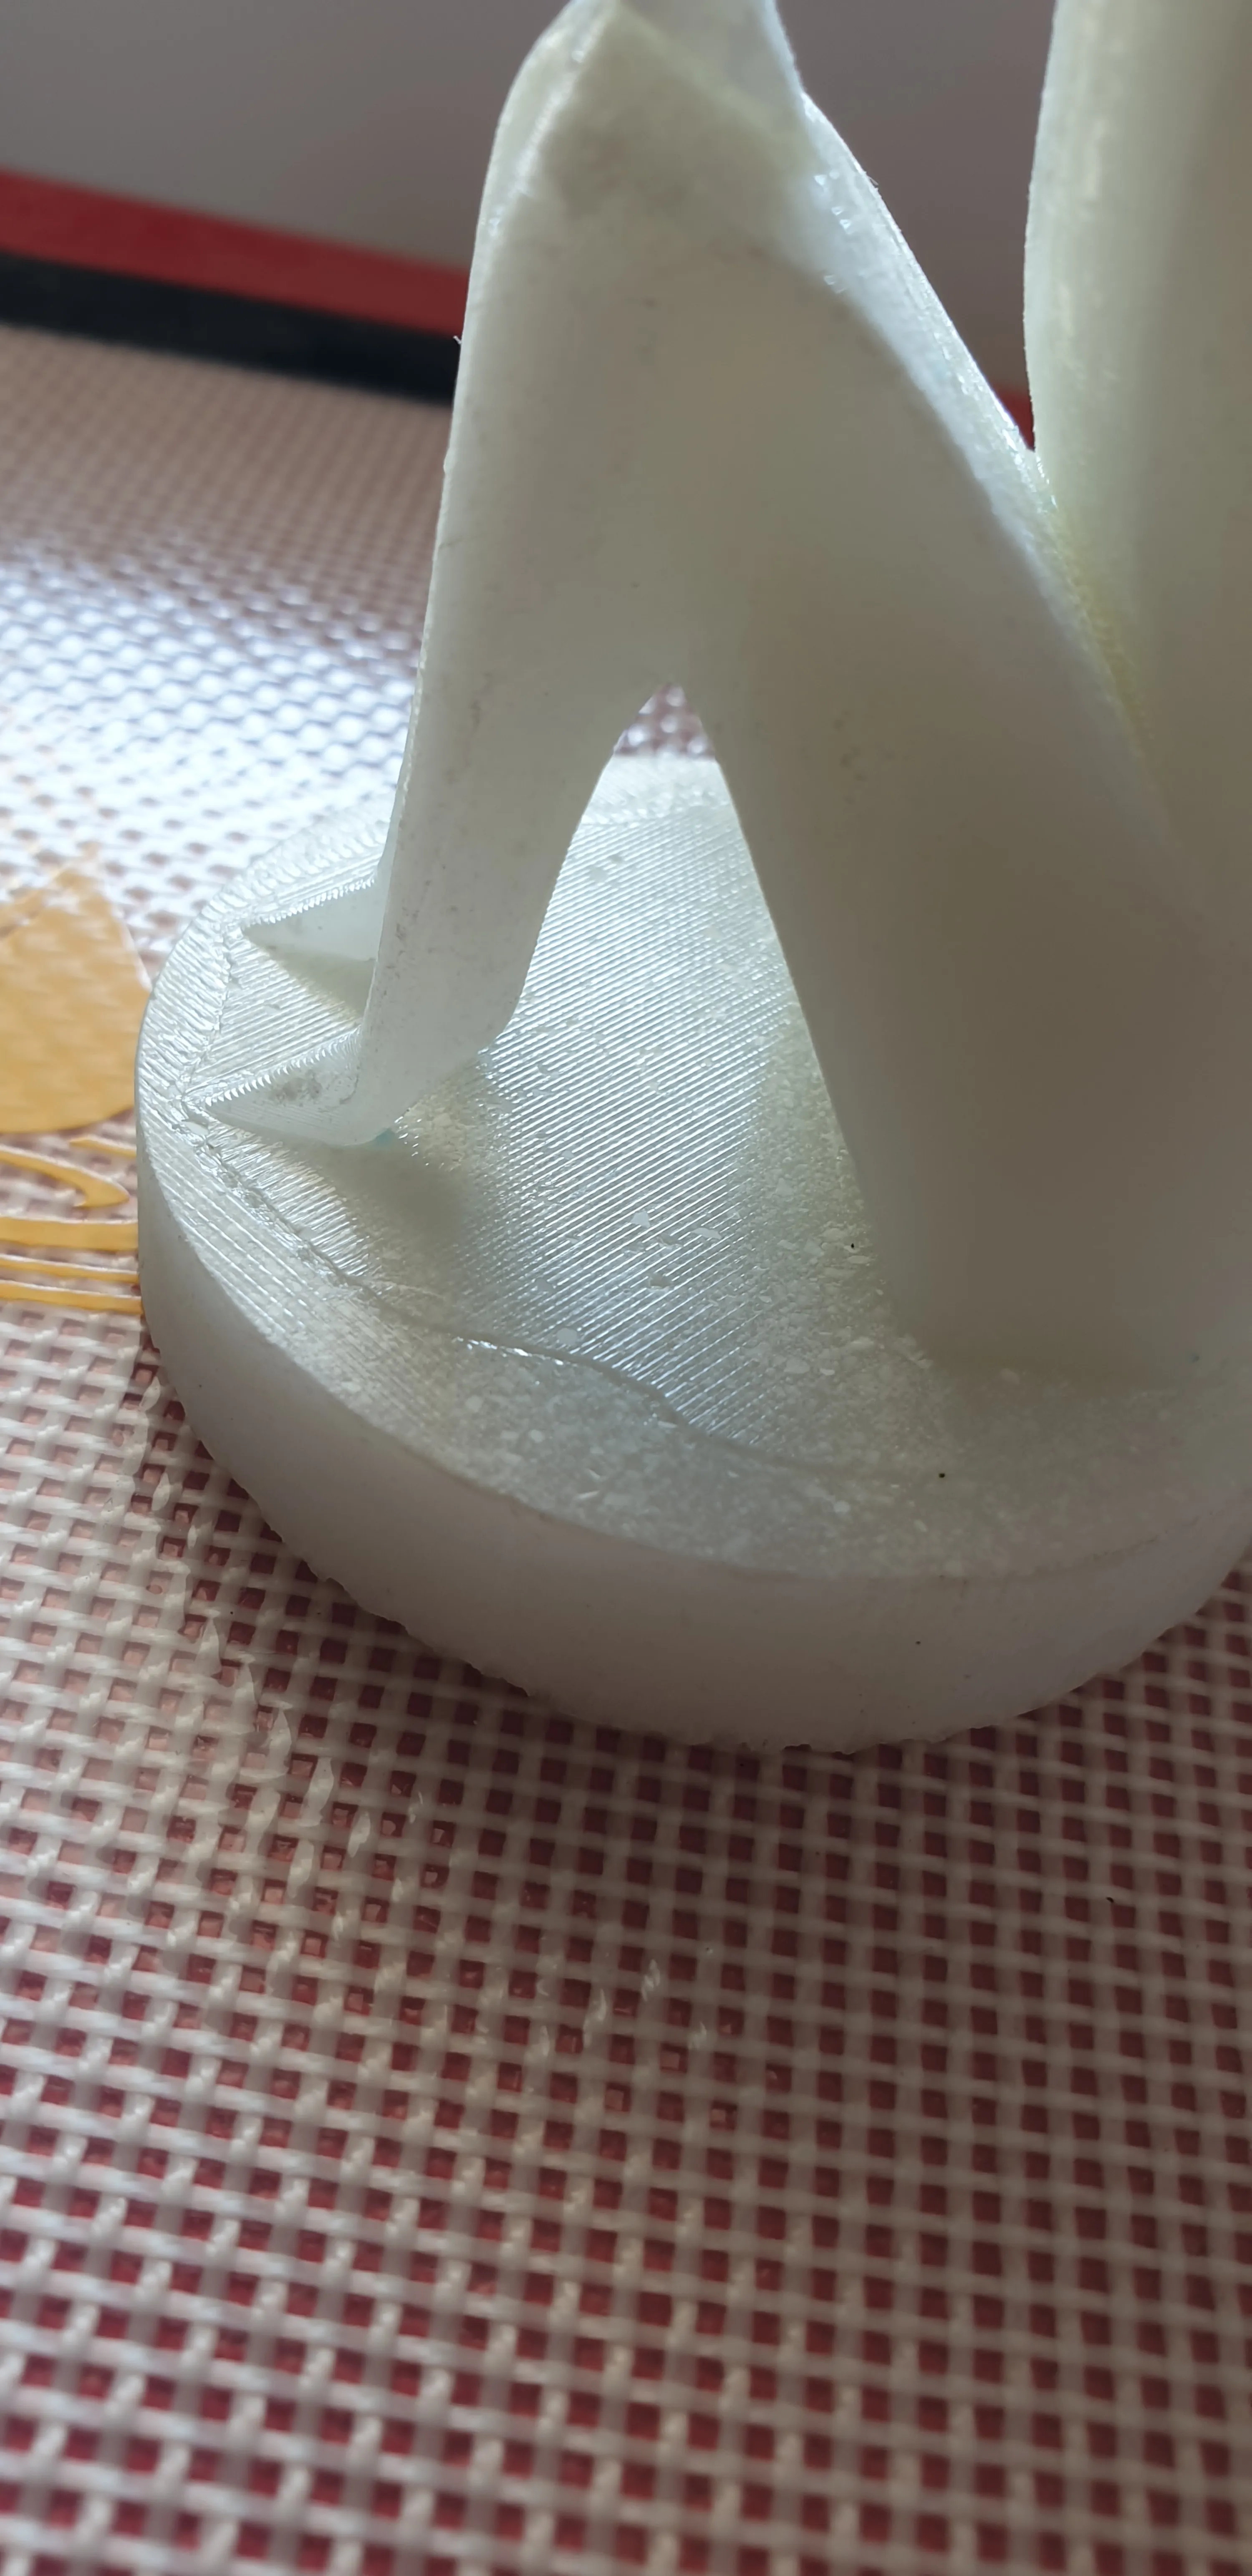
Post Processing
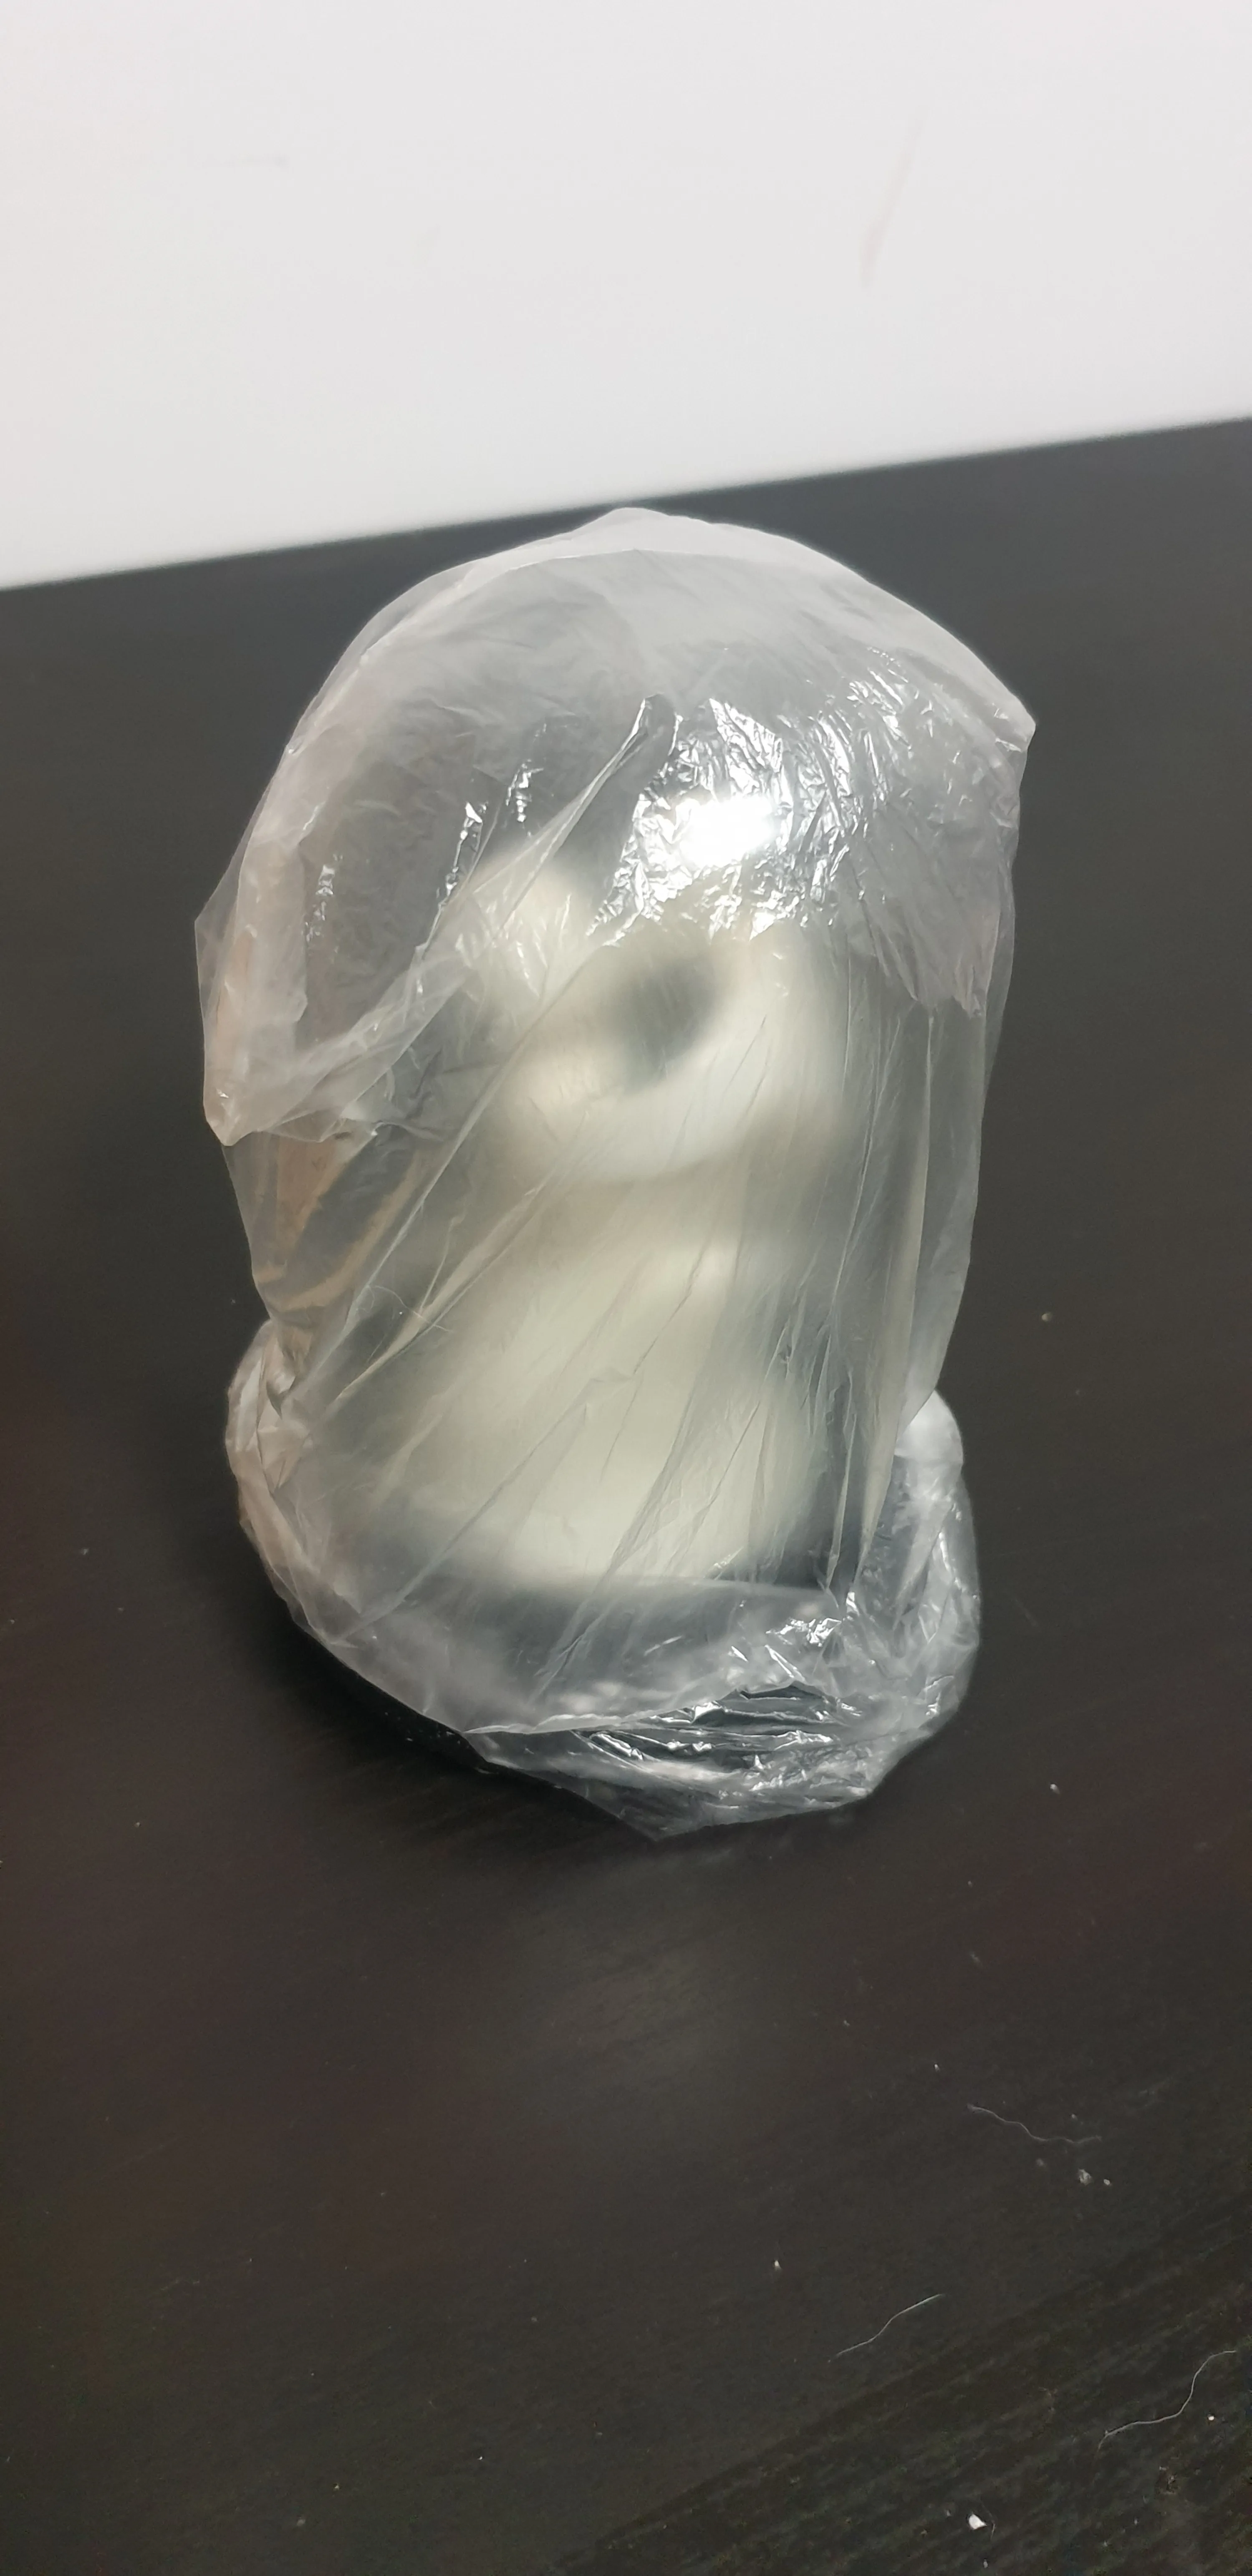
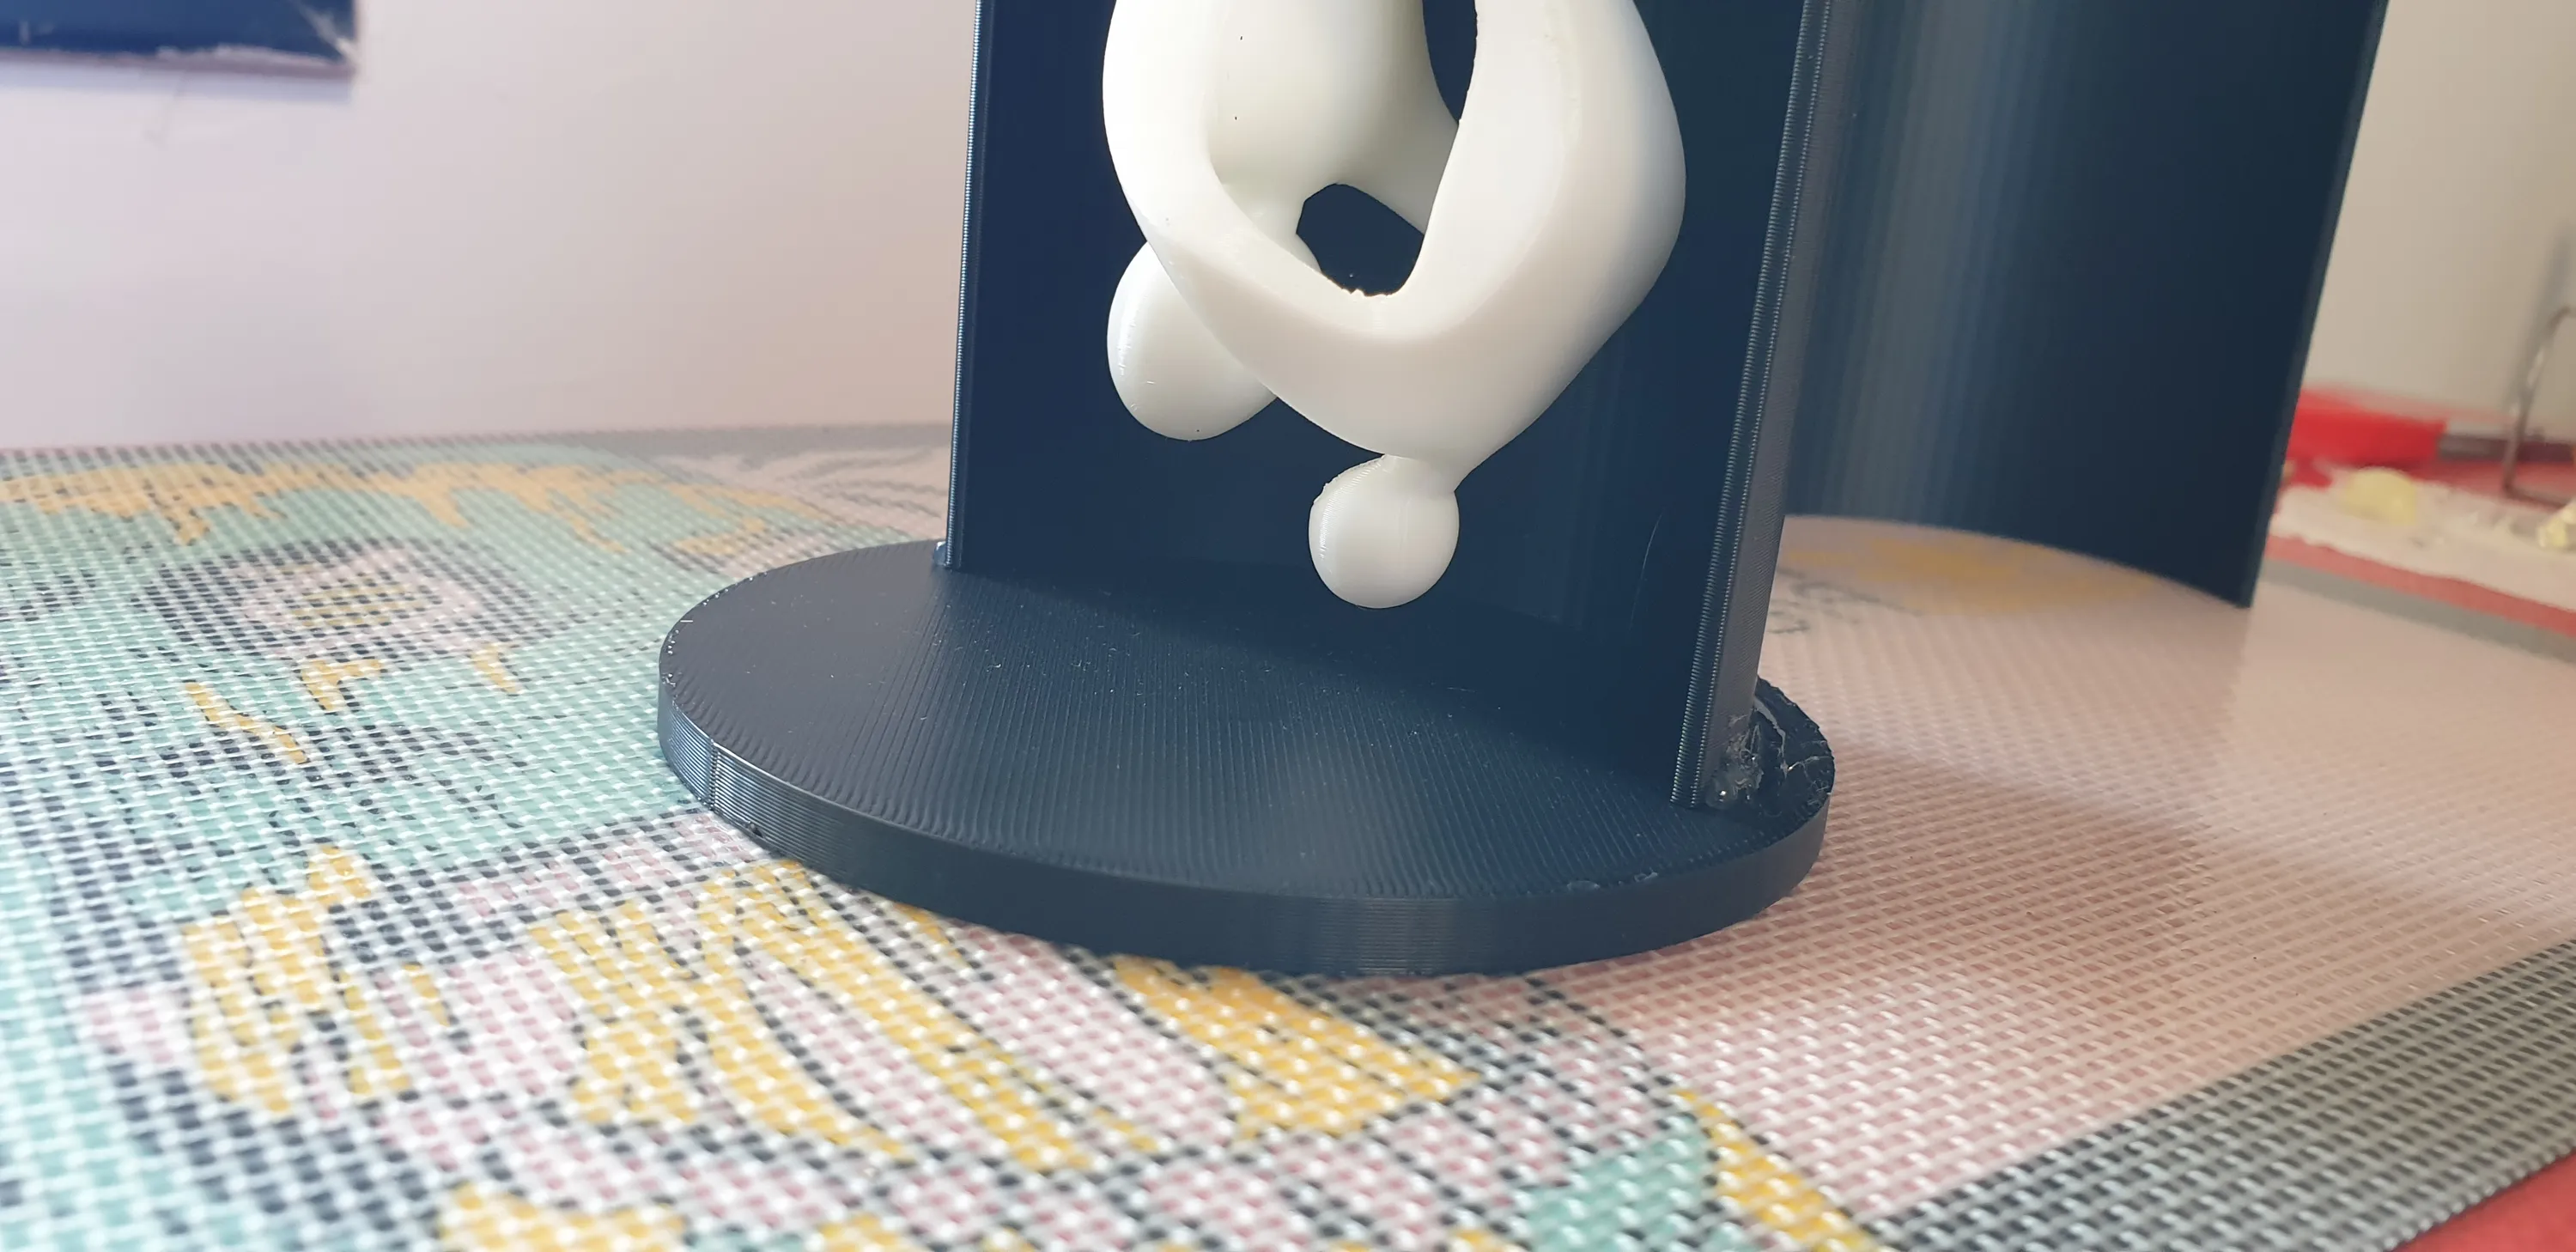
Since the mold was 3D printed and used without any treatment, the layer lines are transferred to the cast model and are visible. Usually, they can be sanded down, but this model has some weak features that can break and has some tight angles that will be very hard to sand. If I was intending to paint the model, it would be less of a problem if something went wrong, because it’s easy to cover mistakes under primer and paint. But the whole point here is to show the natural color.
I decided to apply another thin layer of resin with a brush to fill the lines and hide the texture. It worked very well and the final surface is very smooth and shiny.
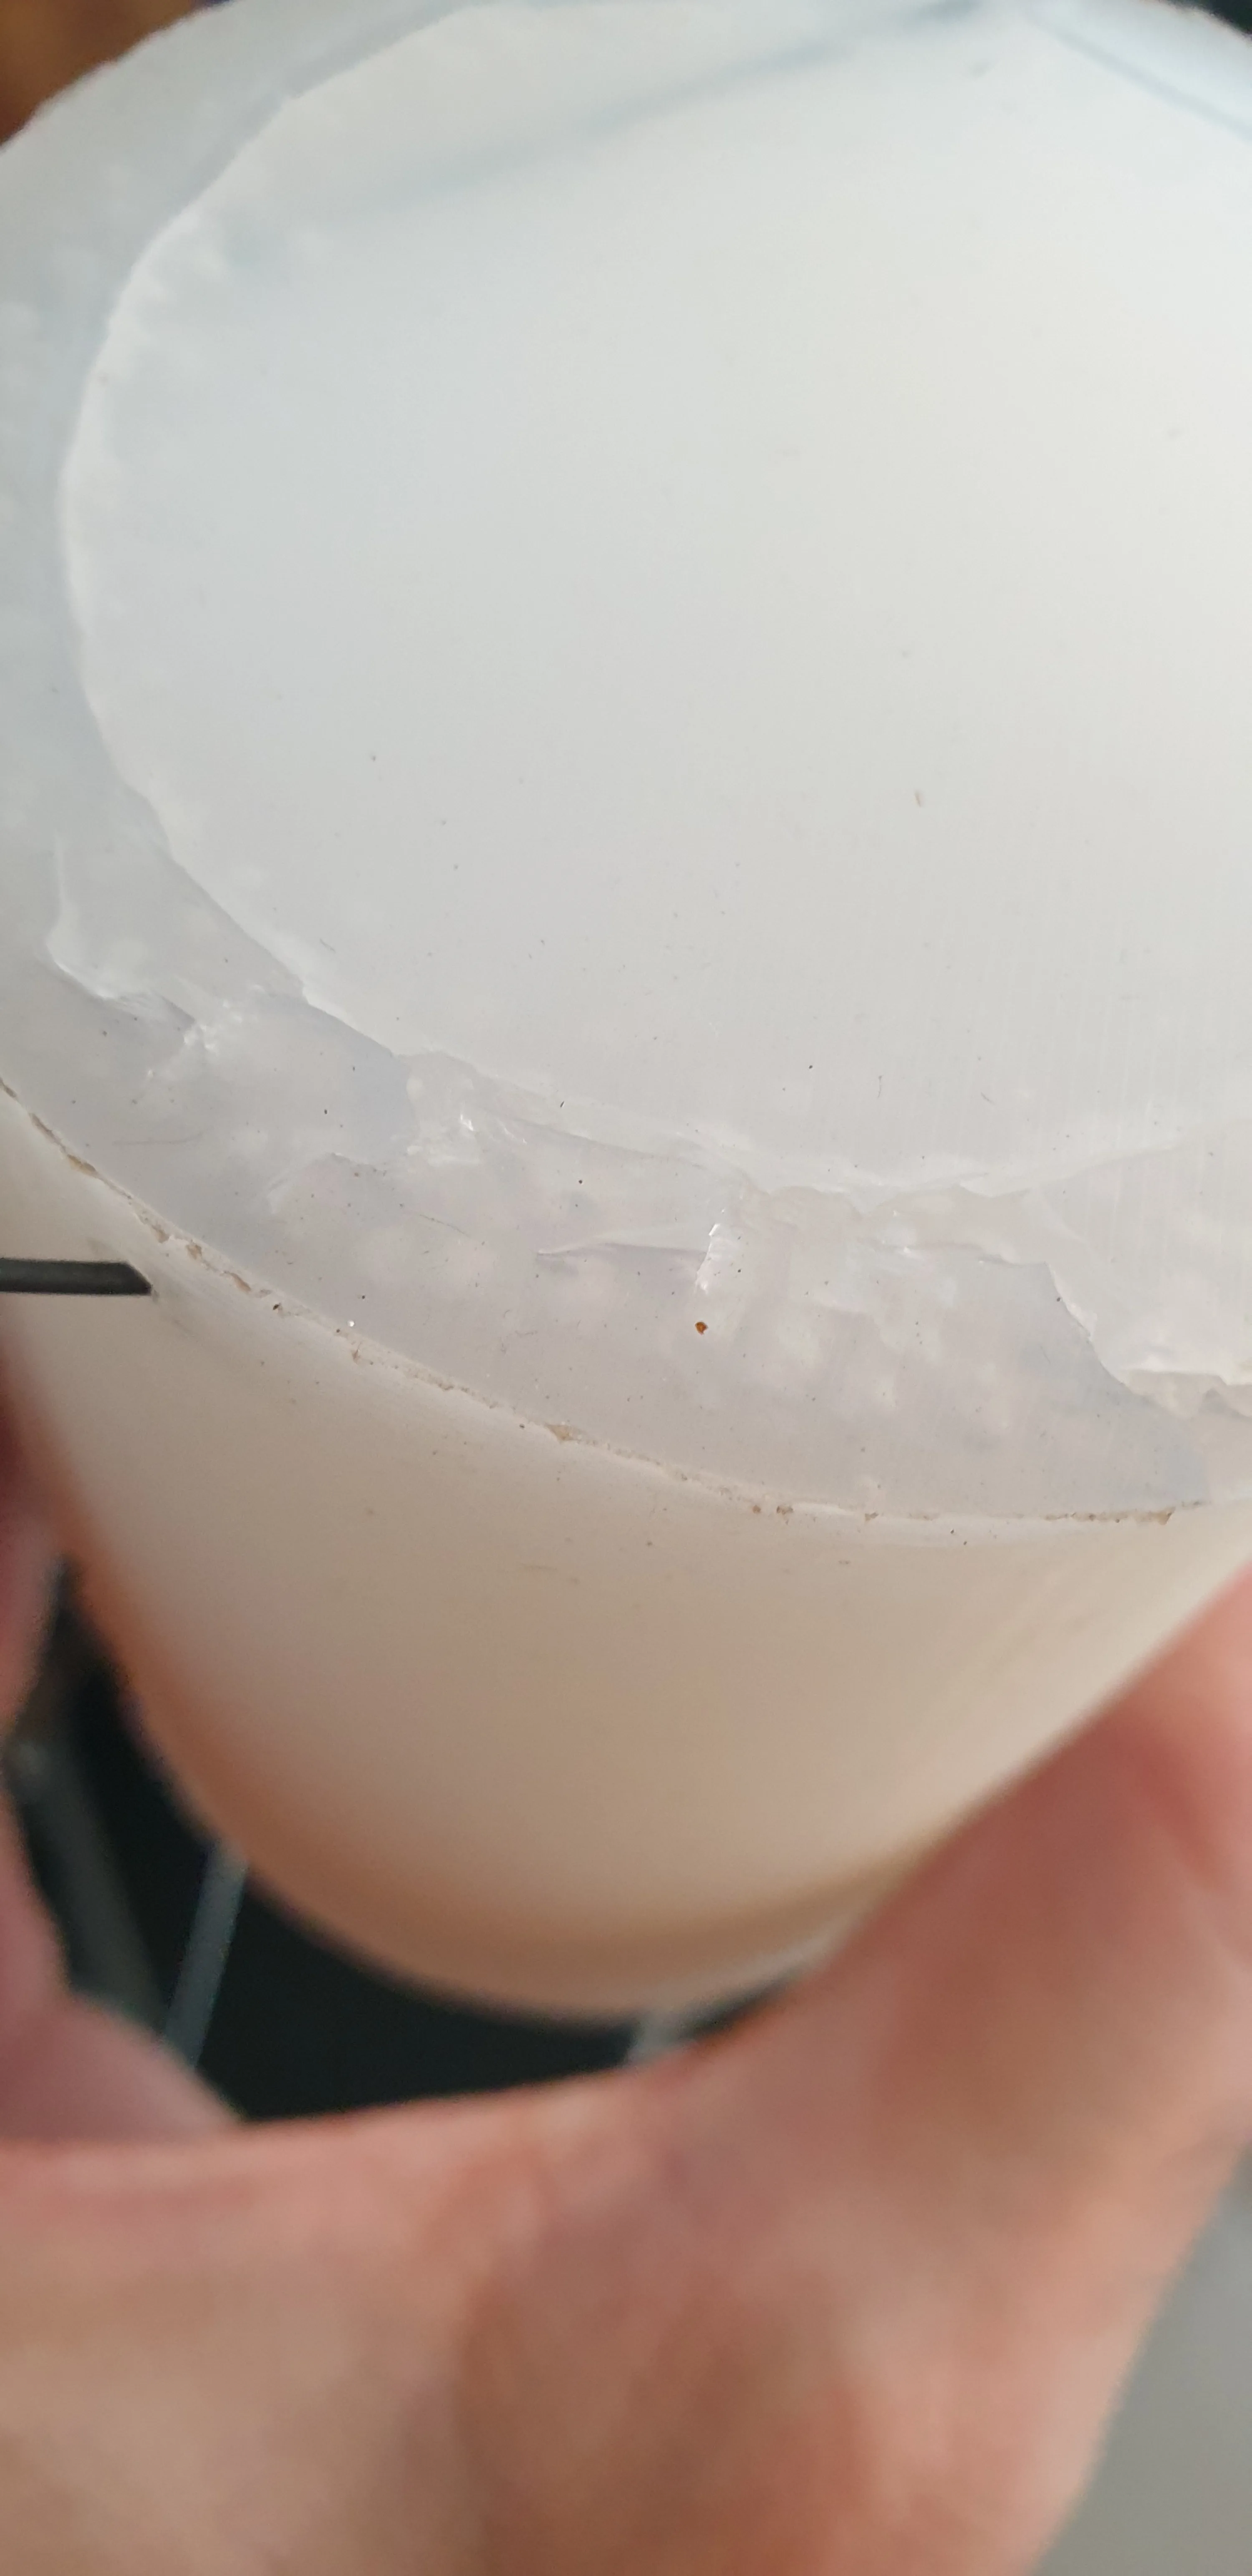
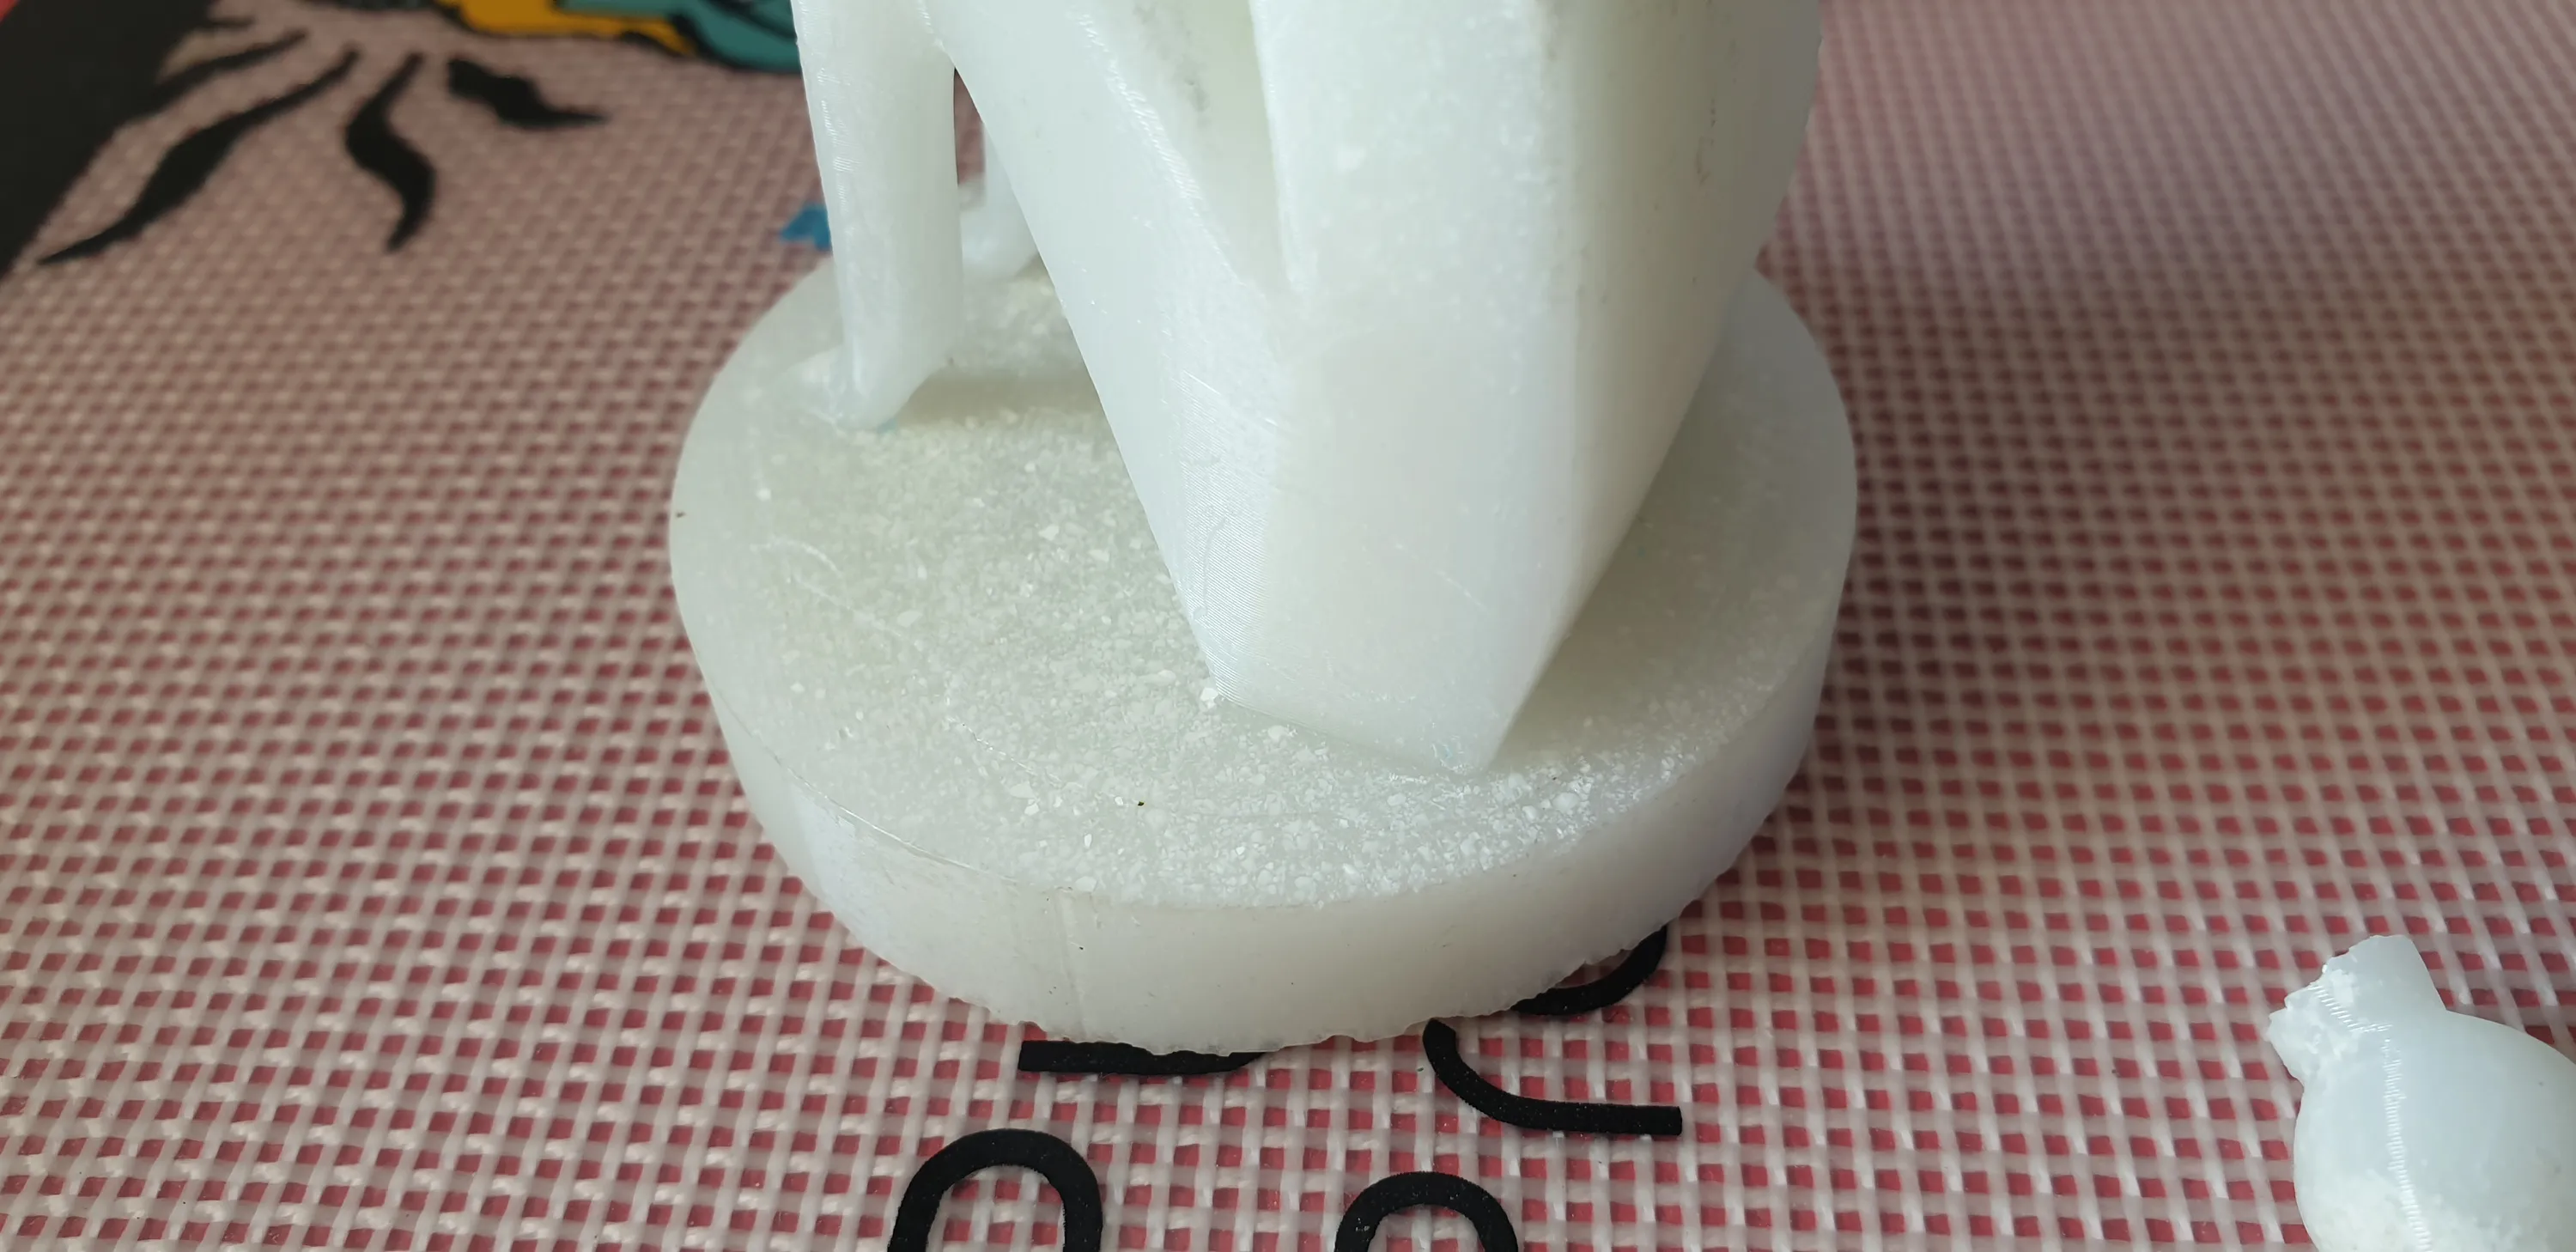
The bottom was ugly, but it’s not visible, so I sanded it a bit to make it flat.
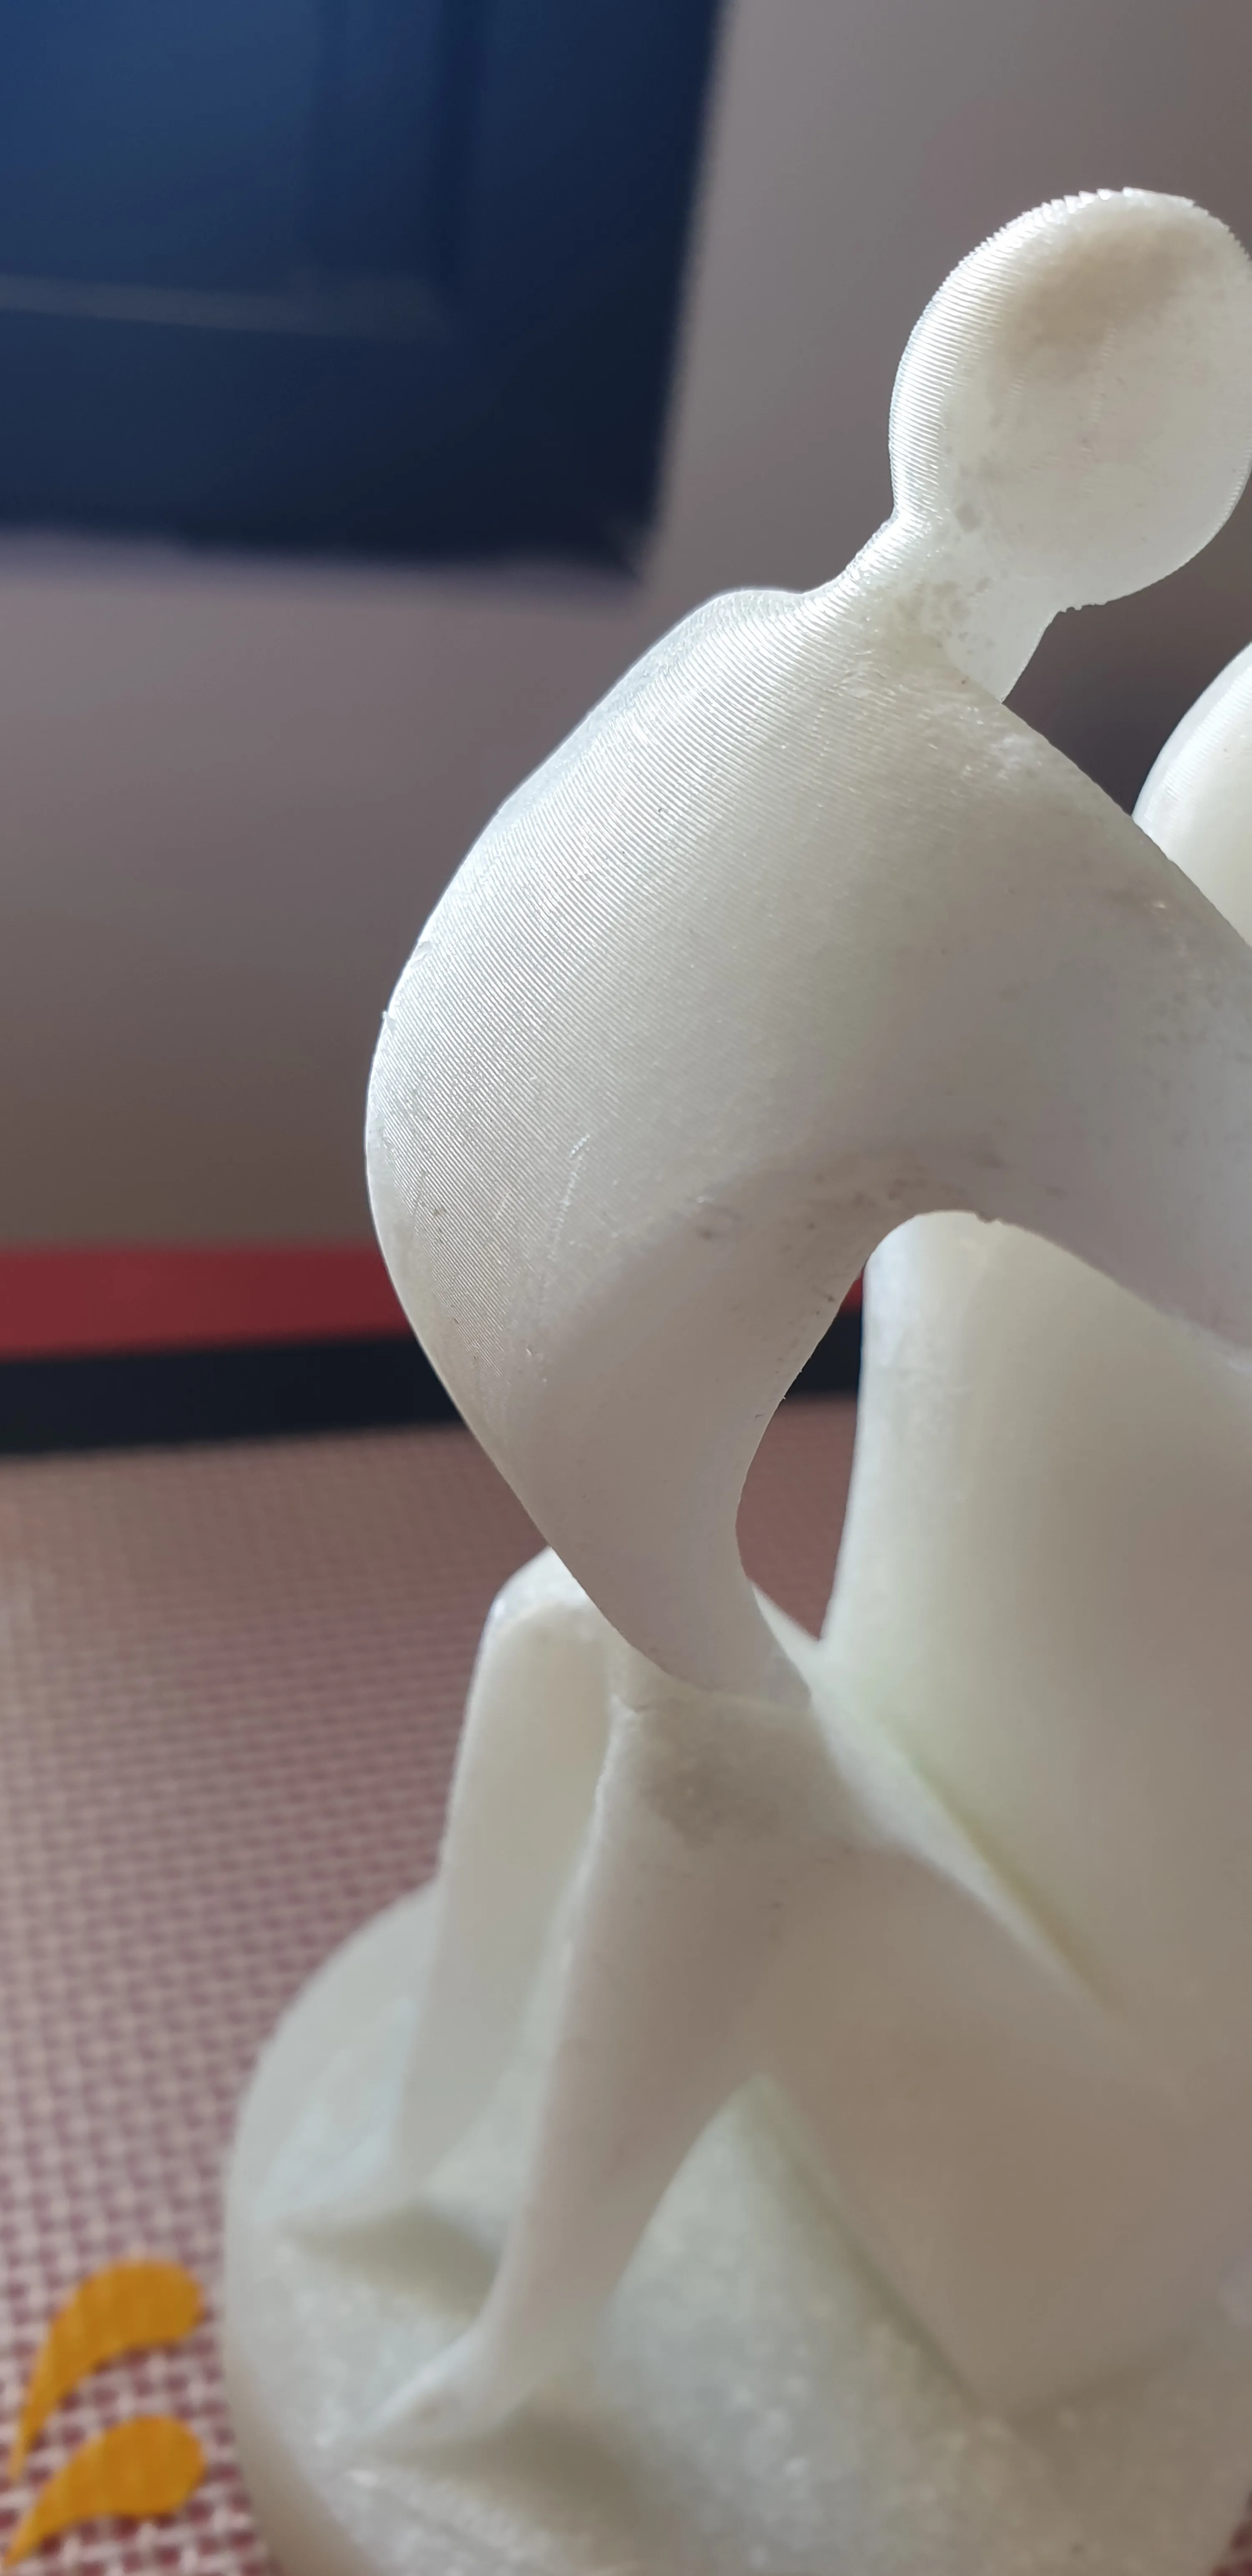
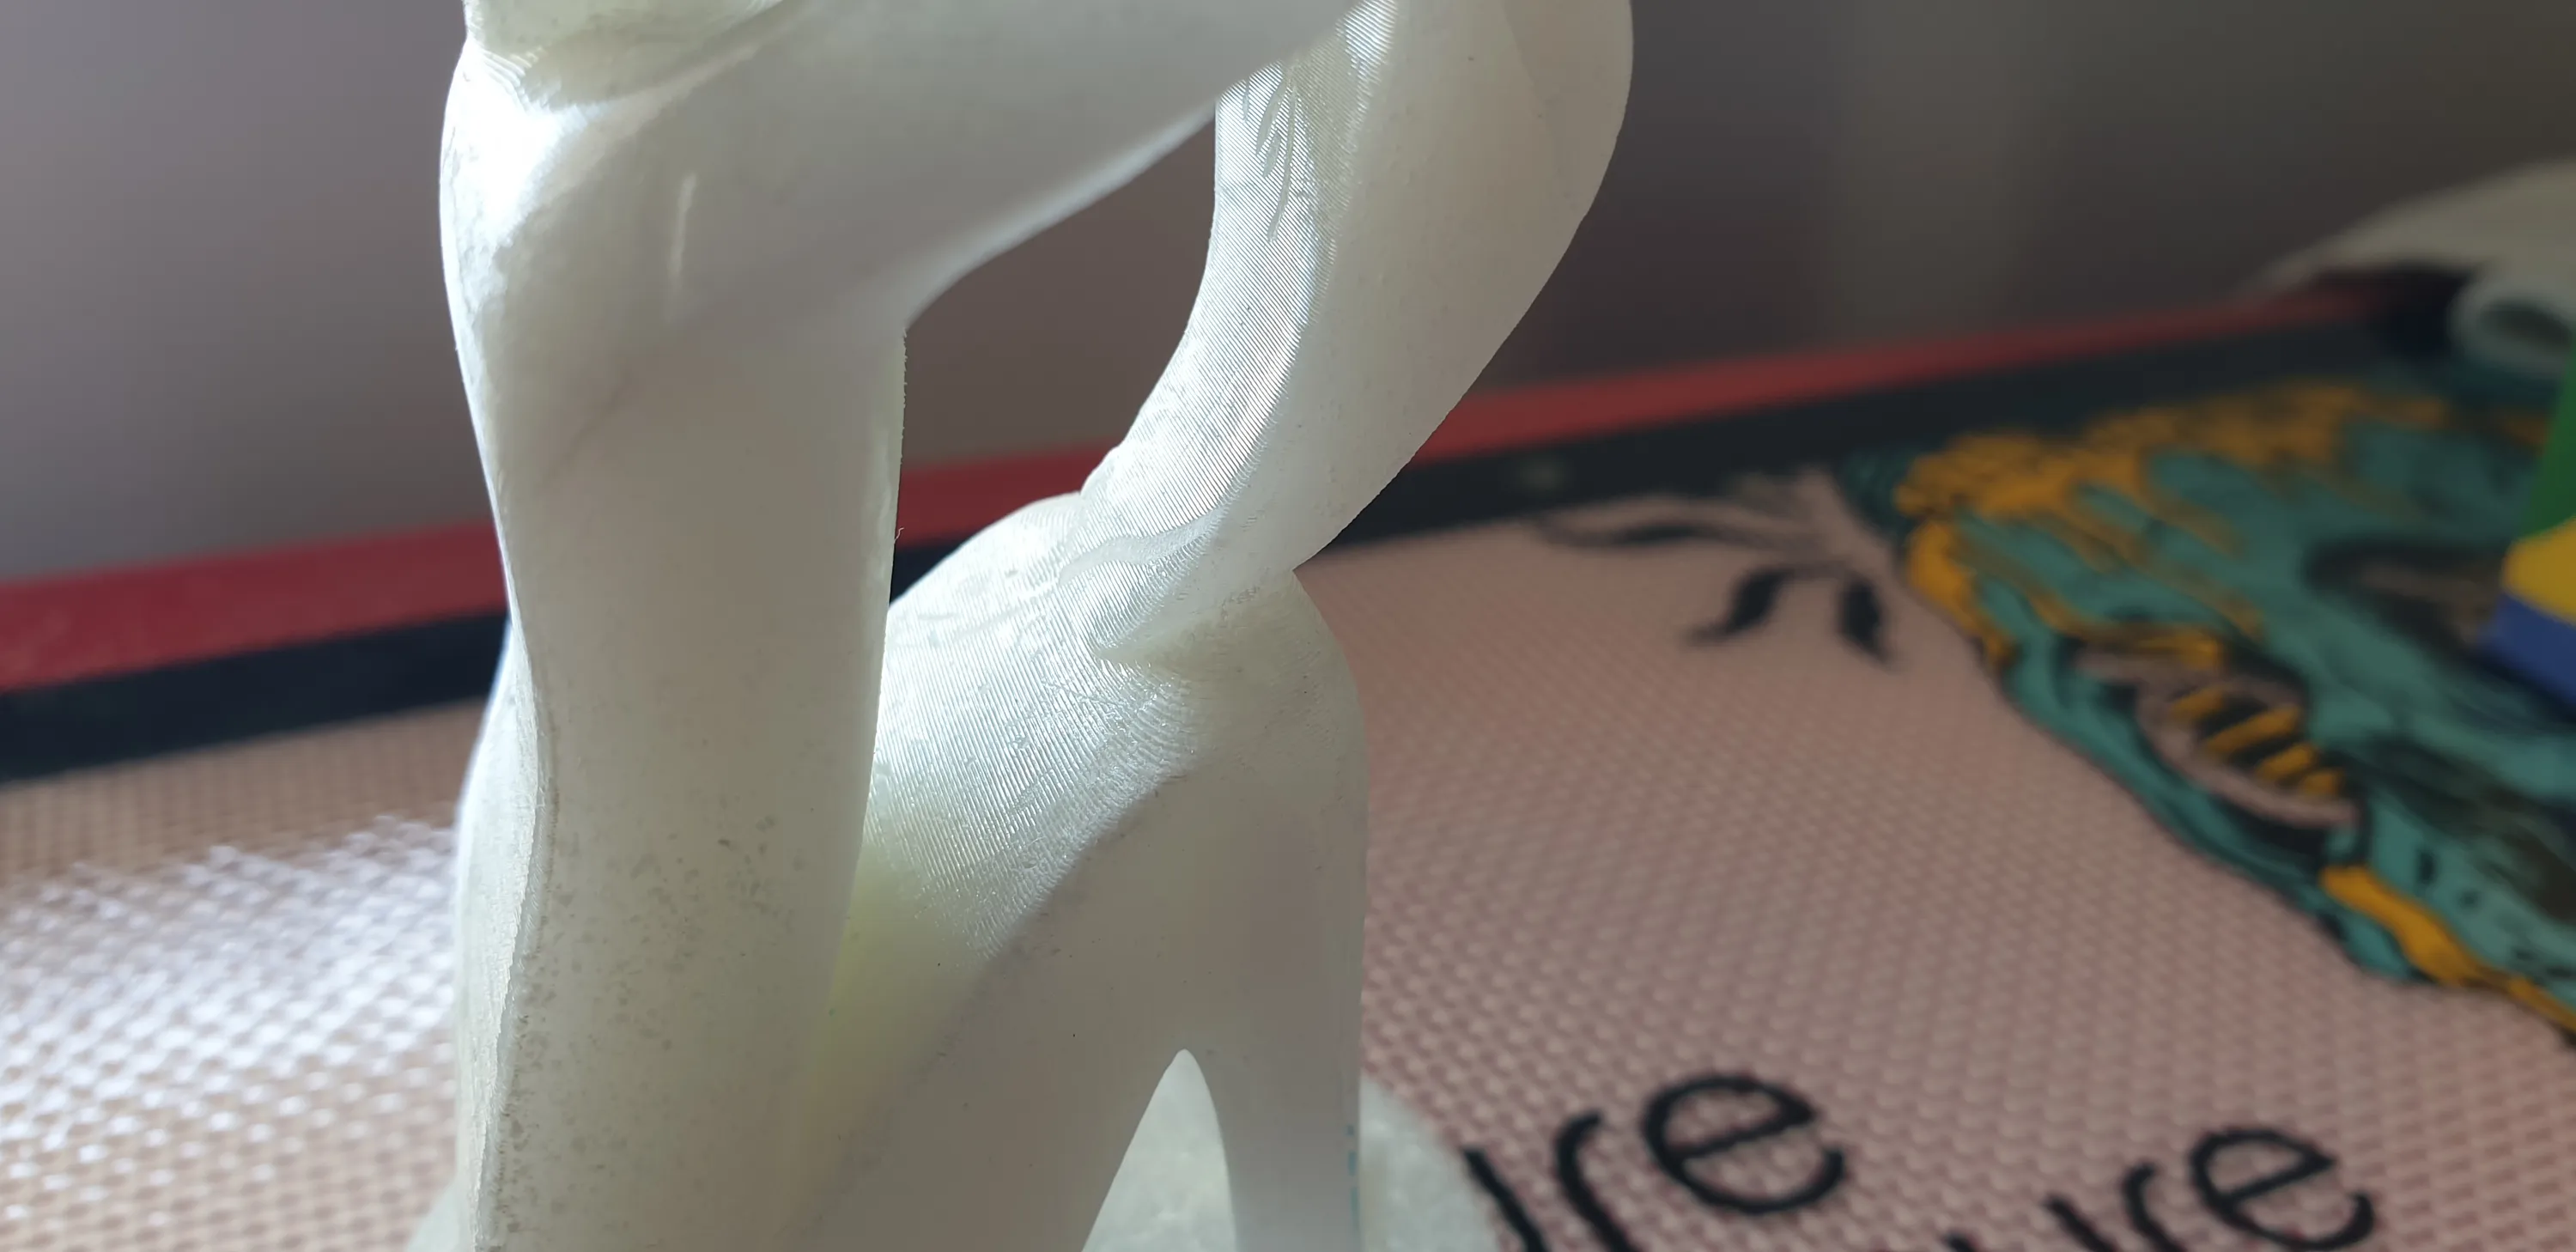
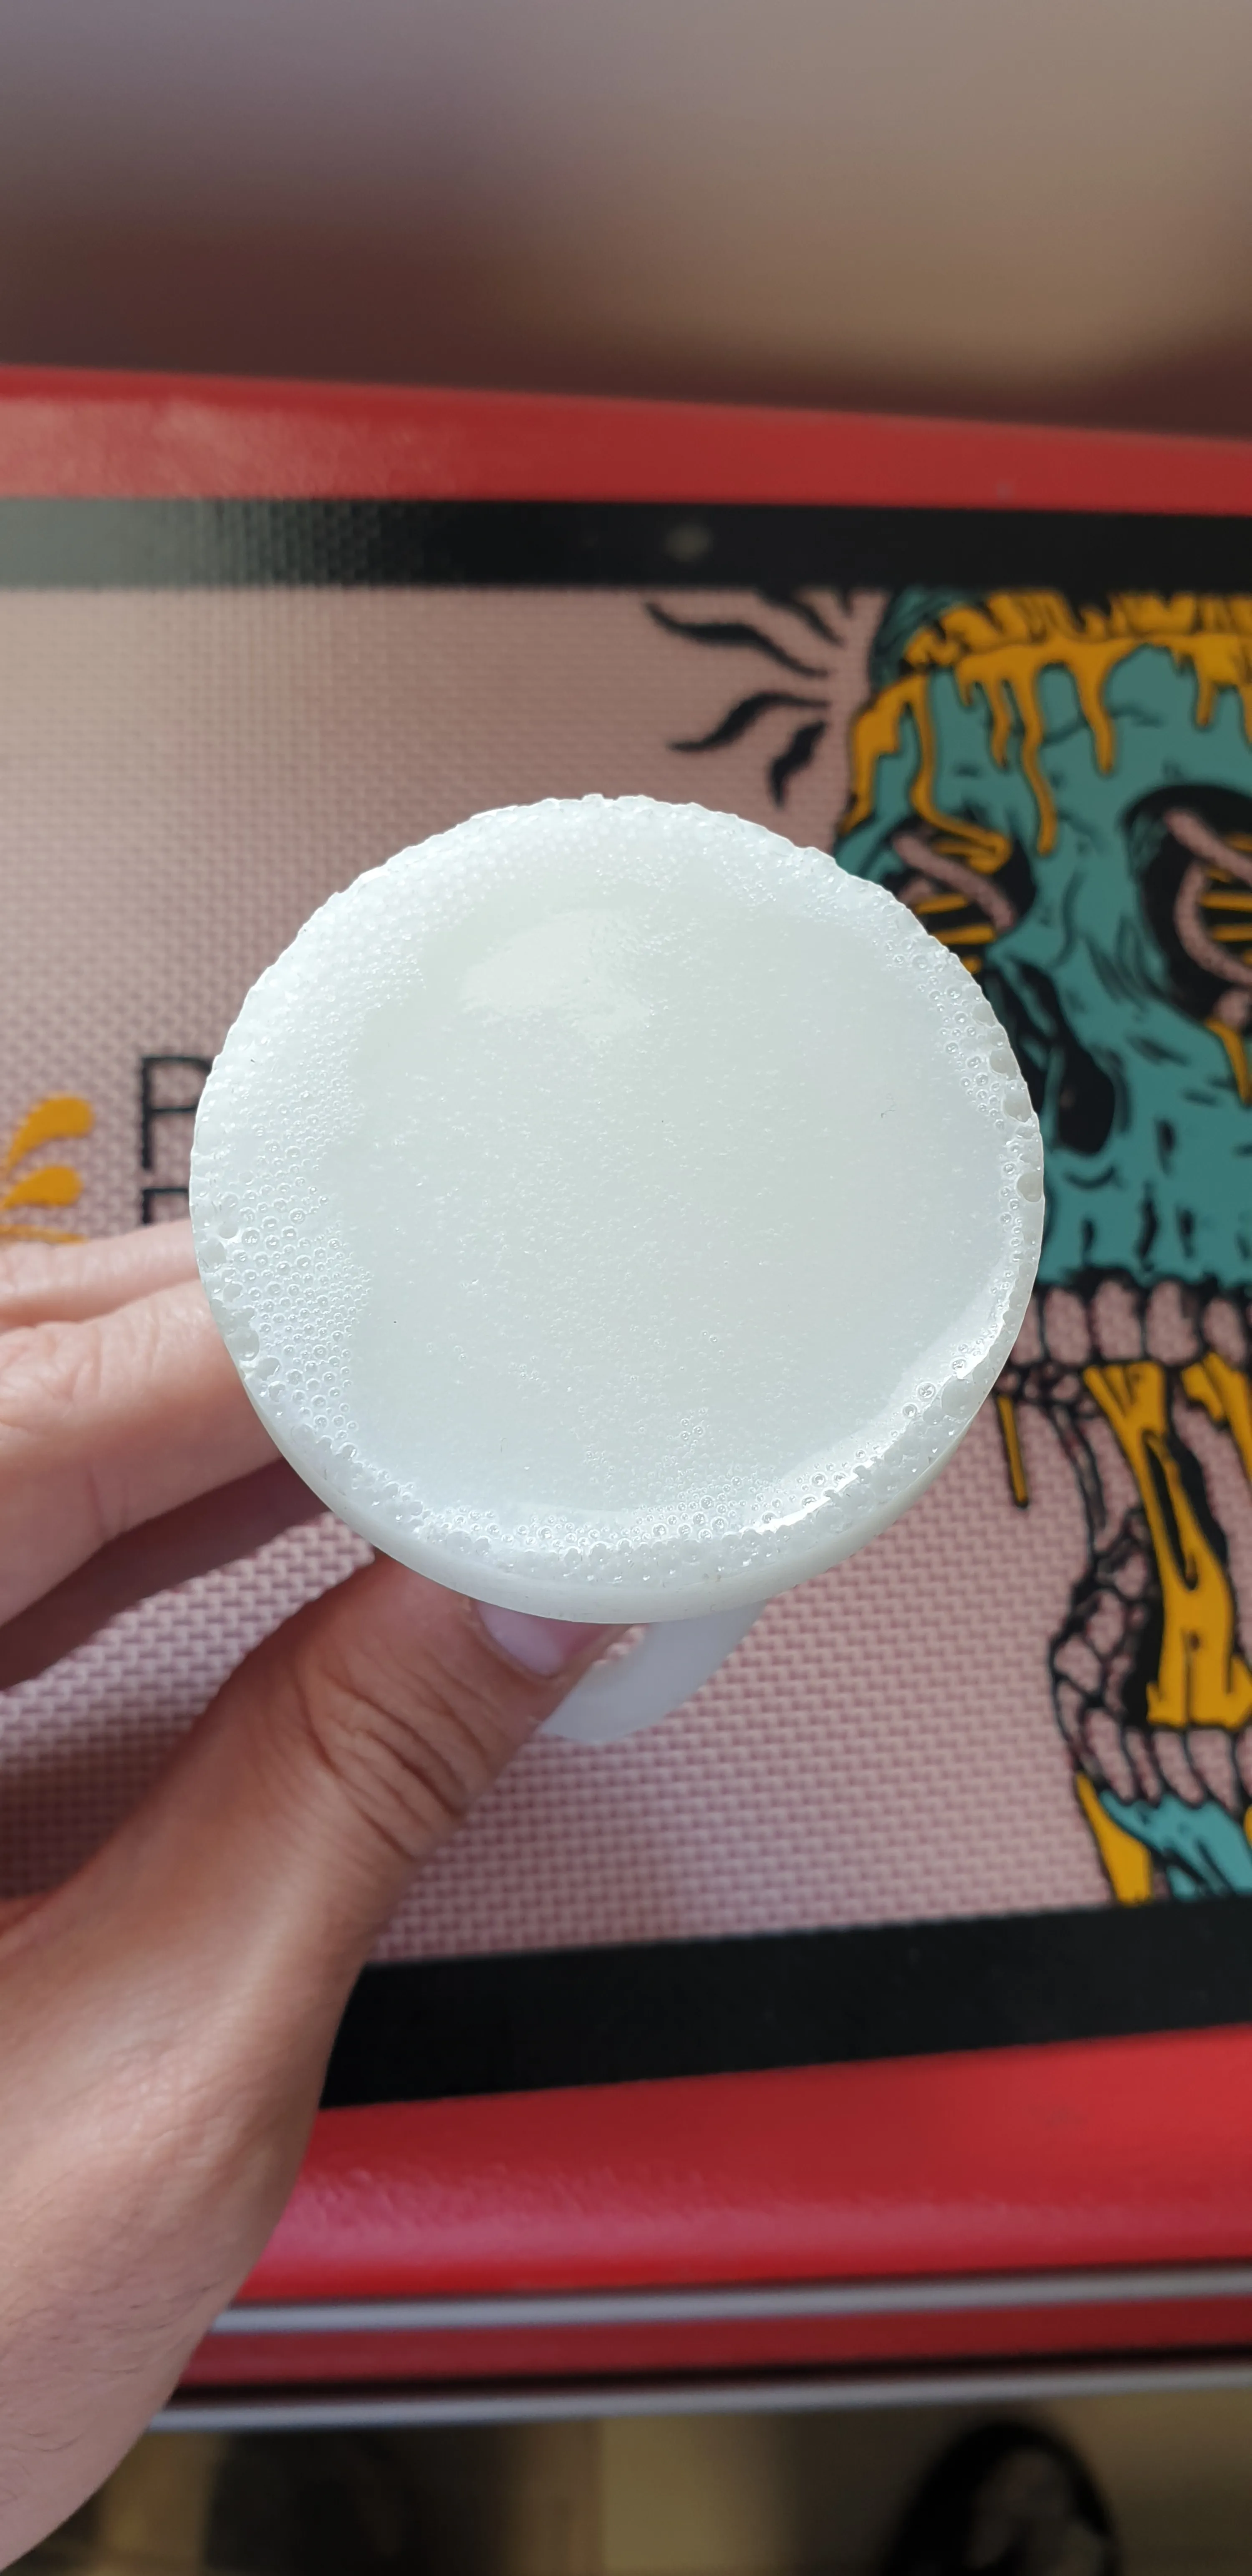
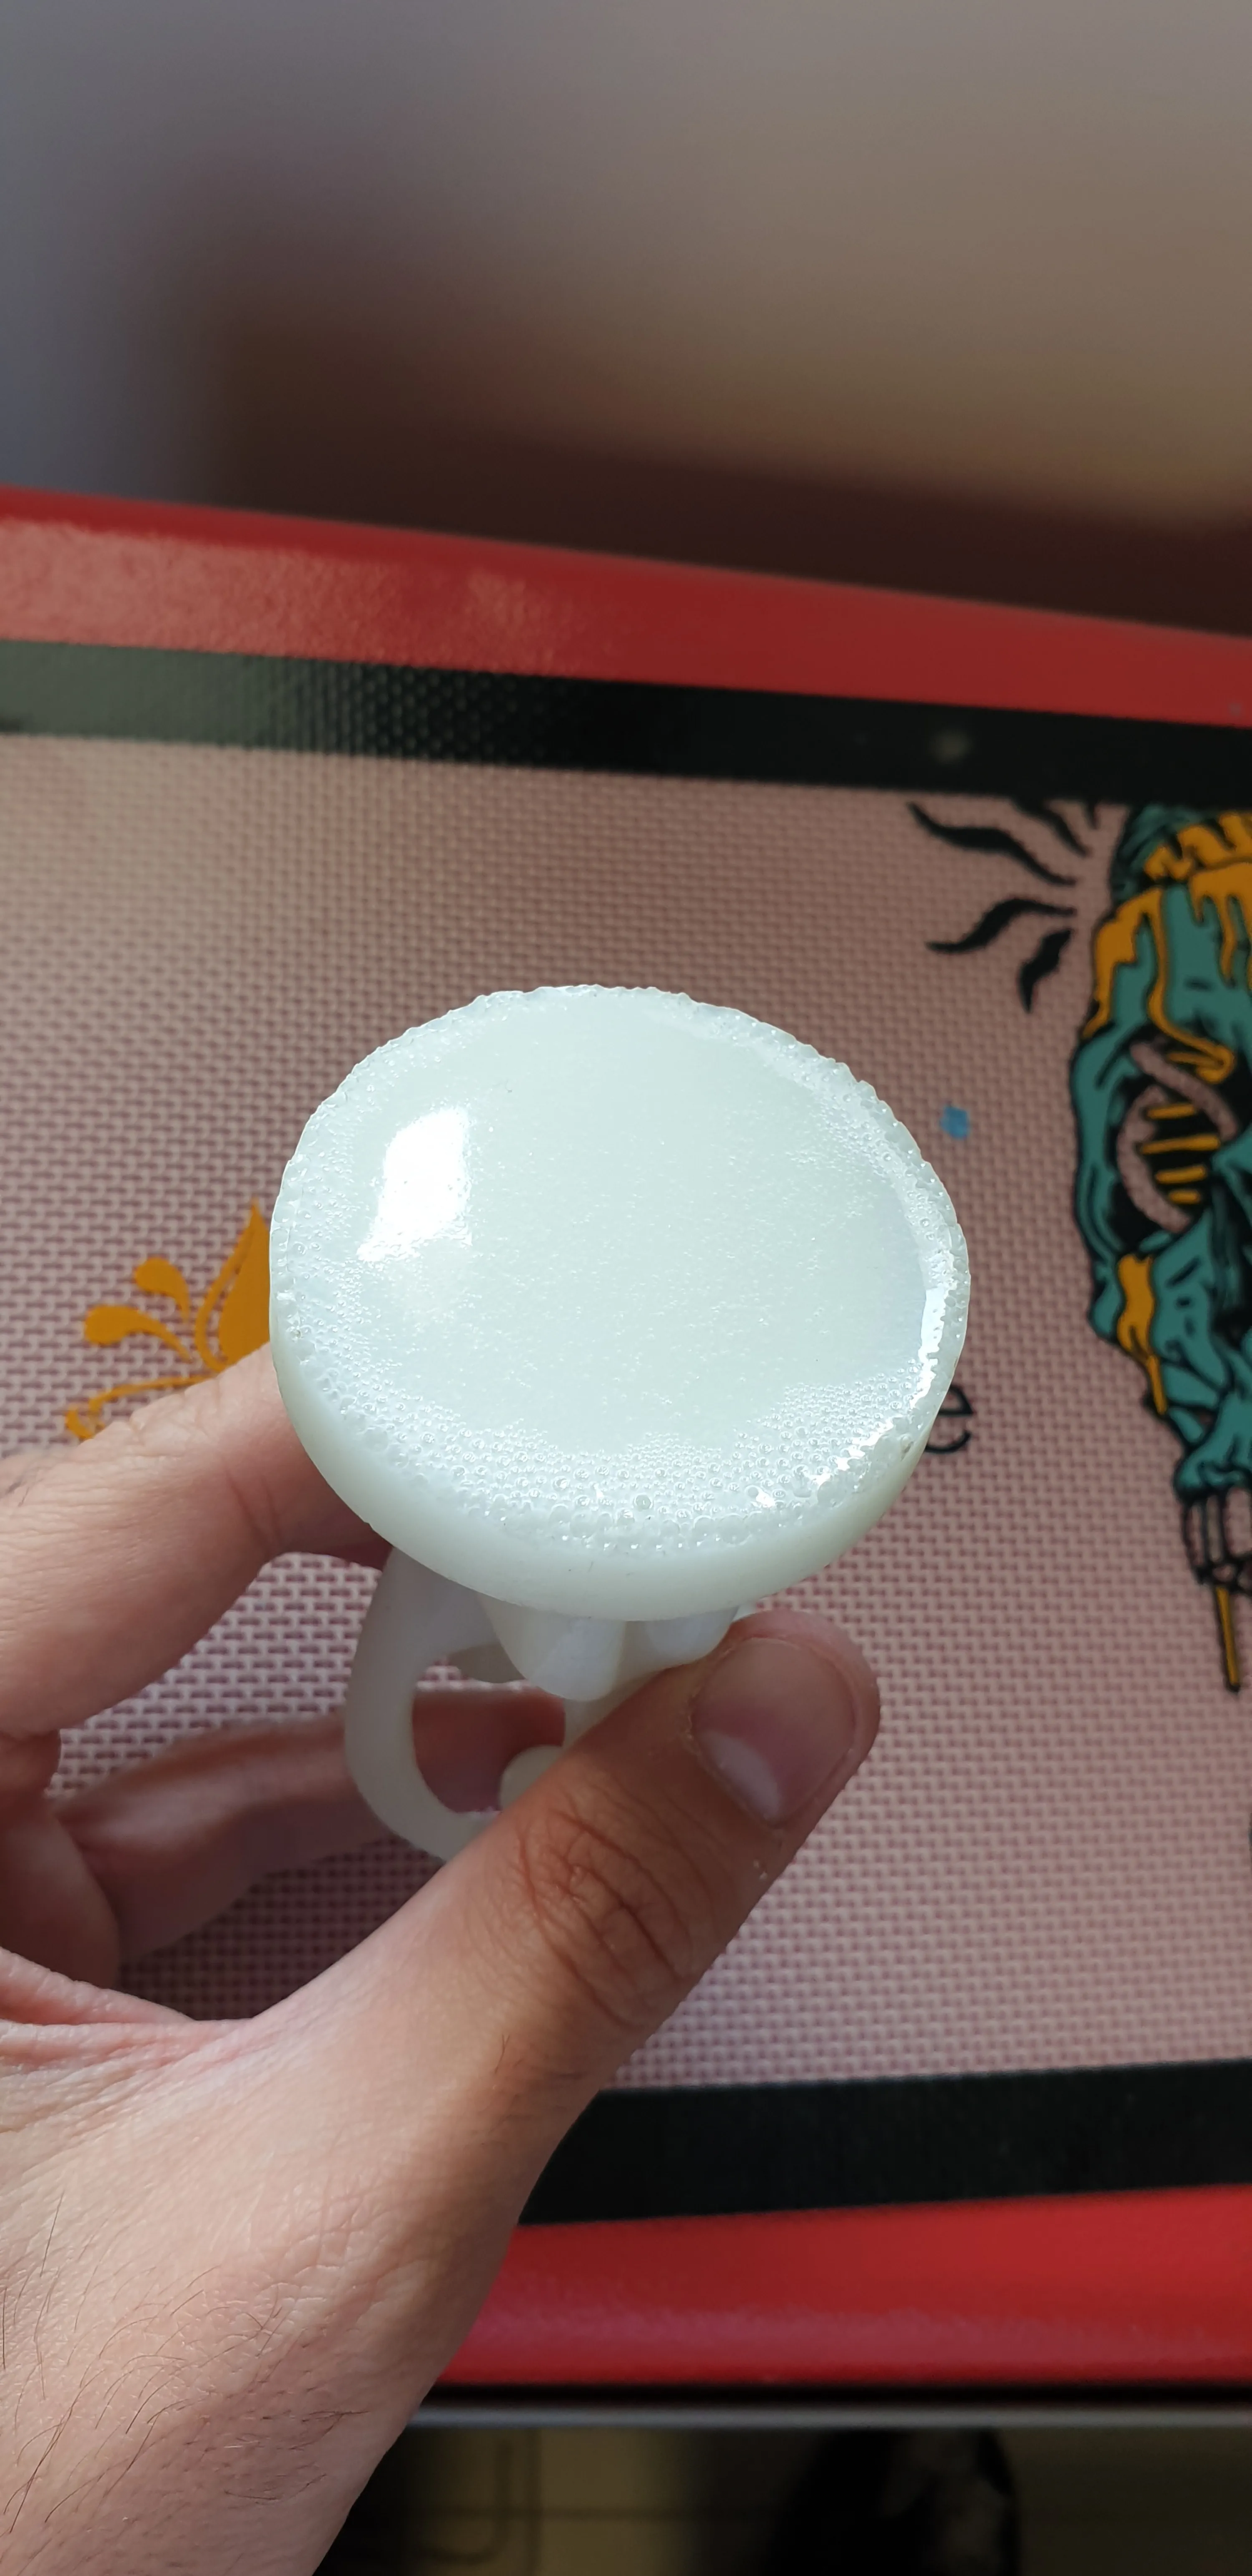
It was at this stage that it was apparent that I didn’t do a good enough job crushing and filtering the powder. You can see that bigger chunks settled to the bottom of the mold, ending up on the top surfaces.
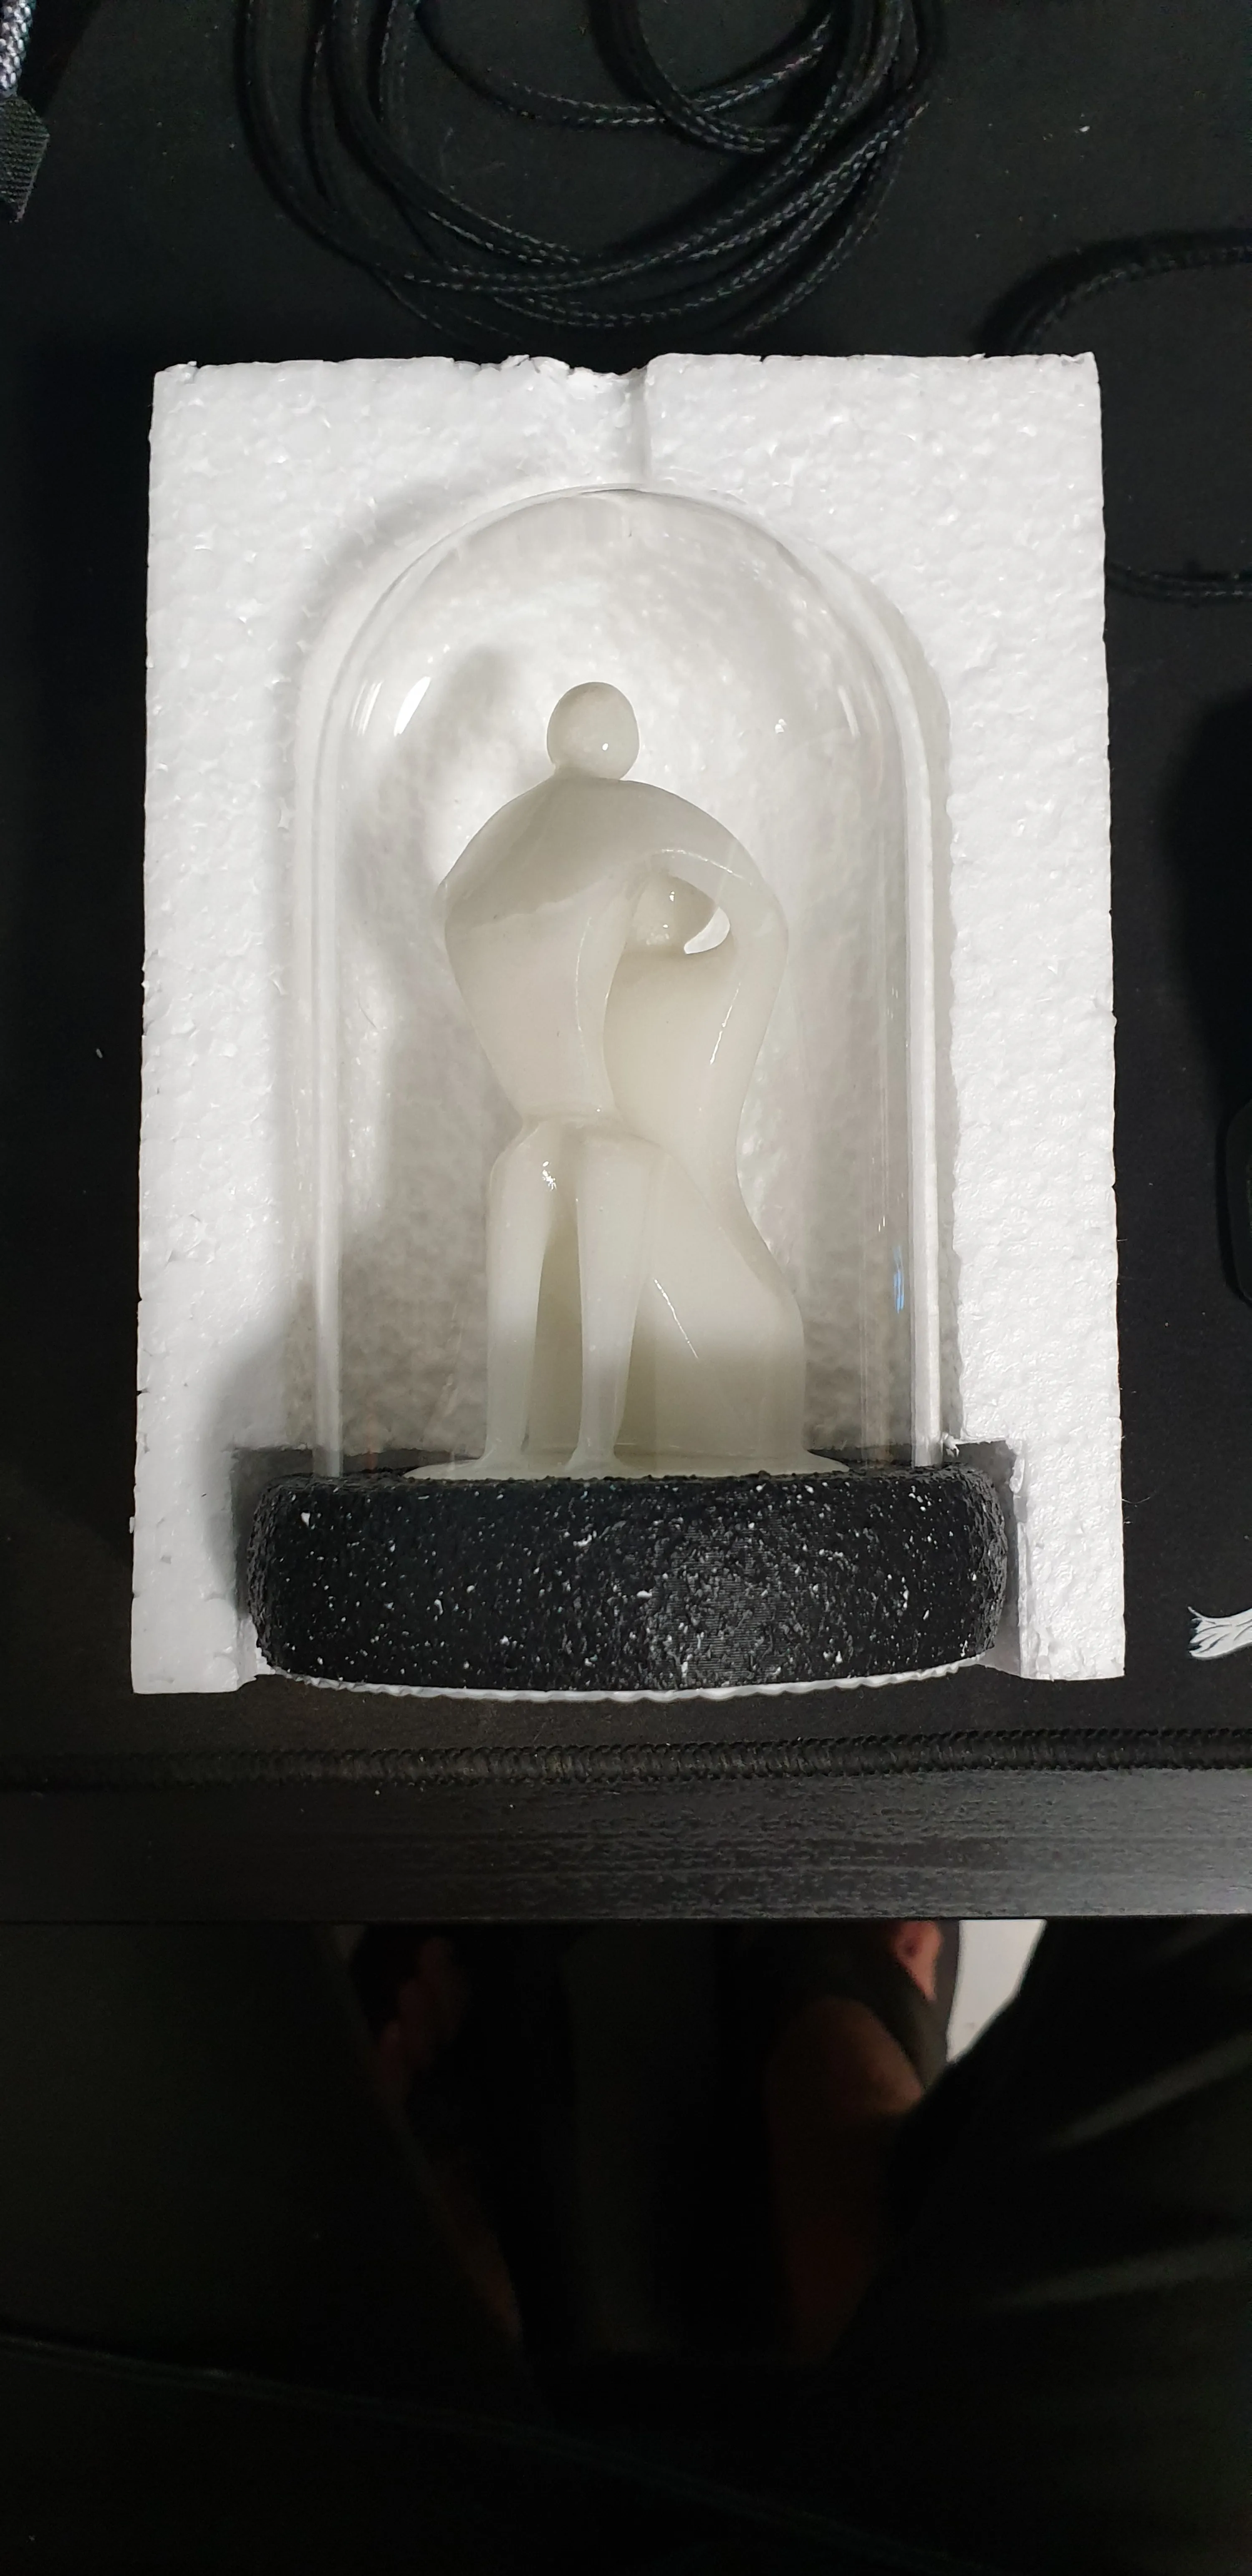
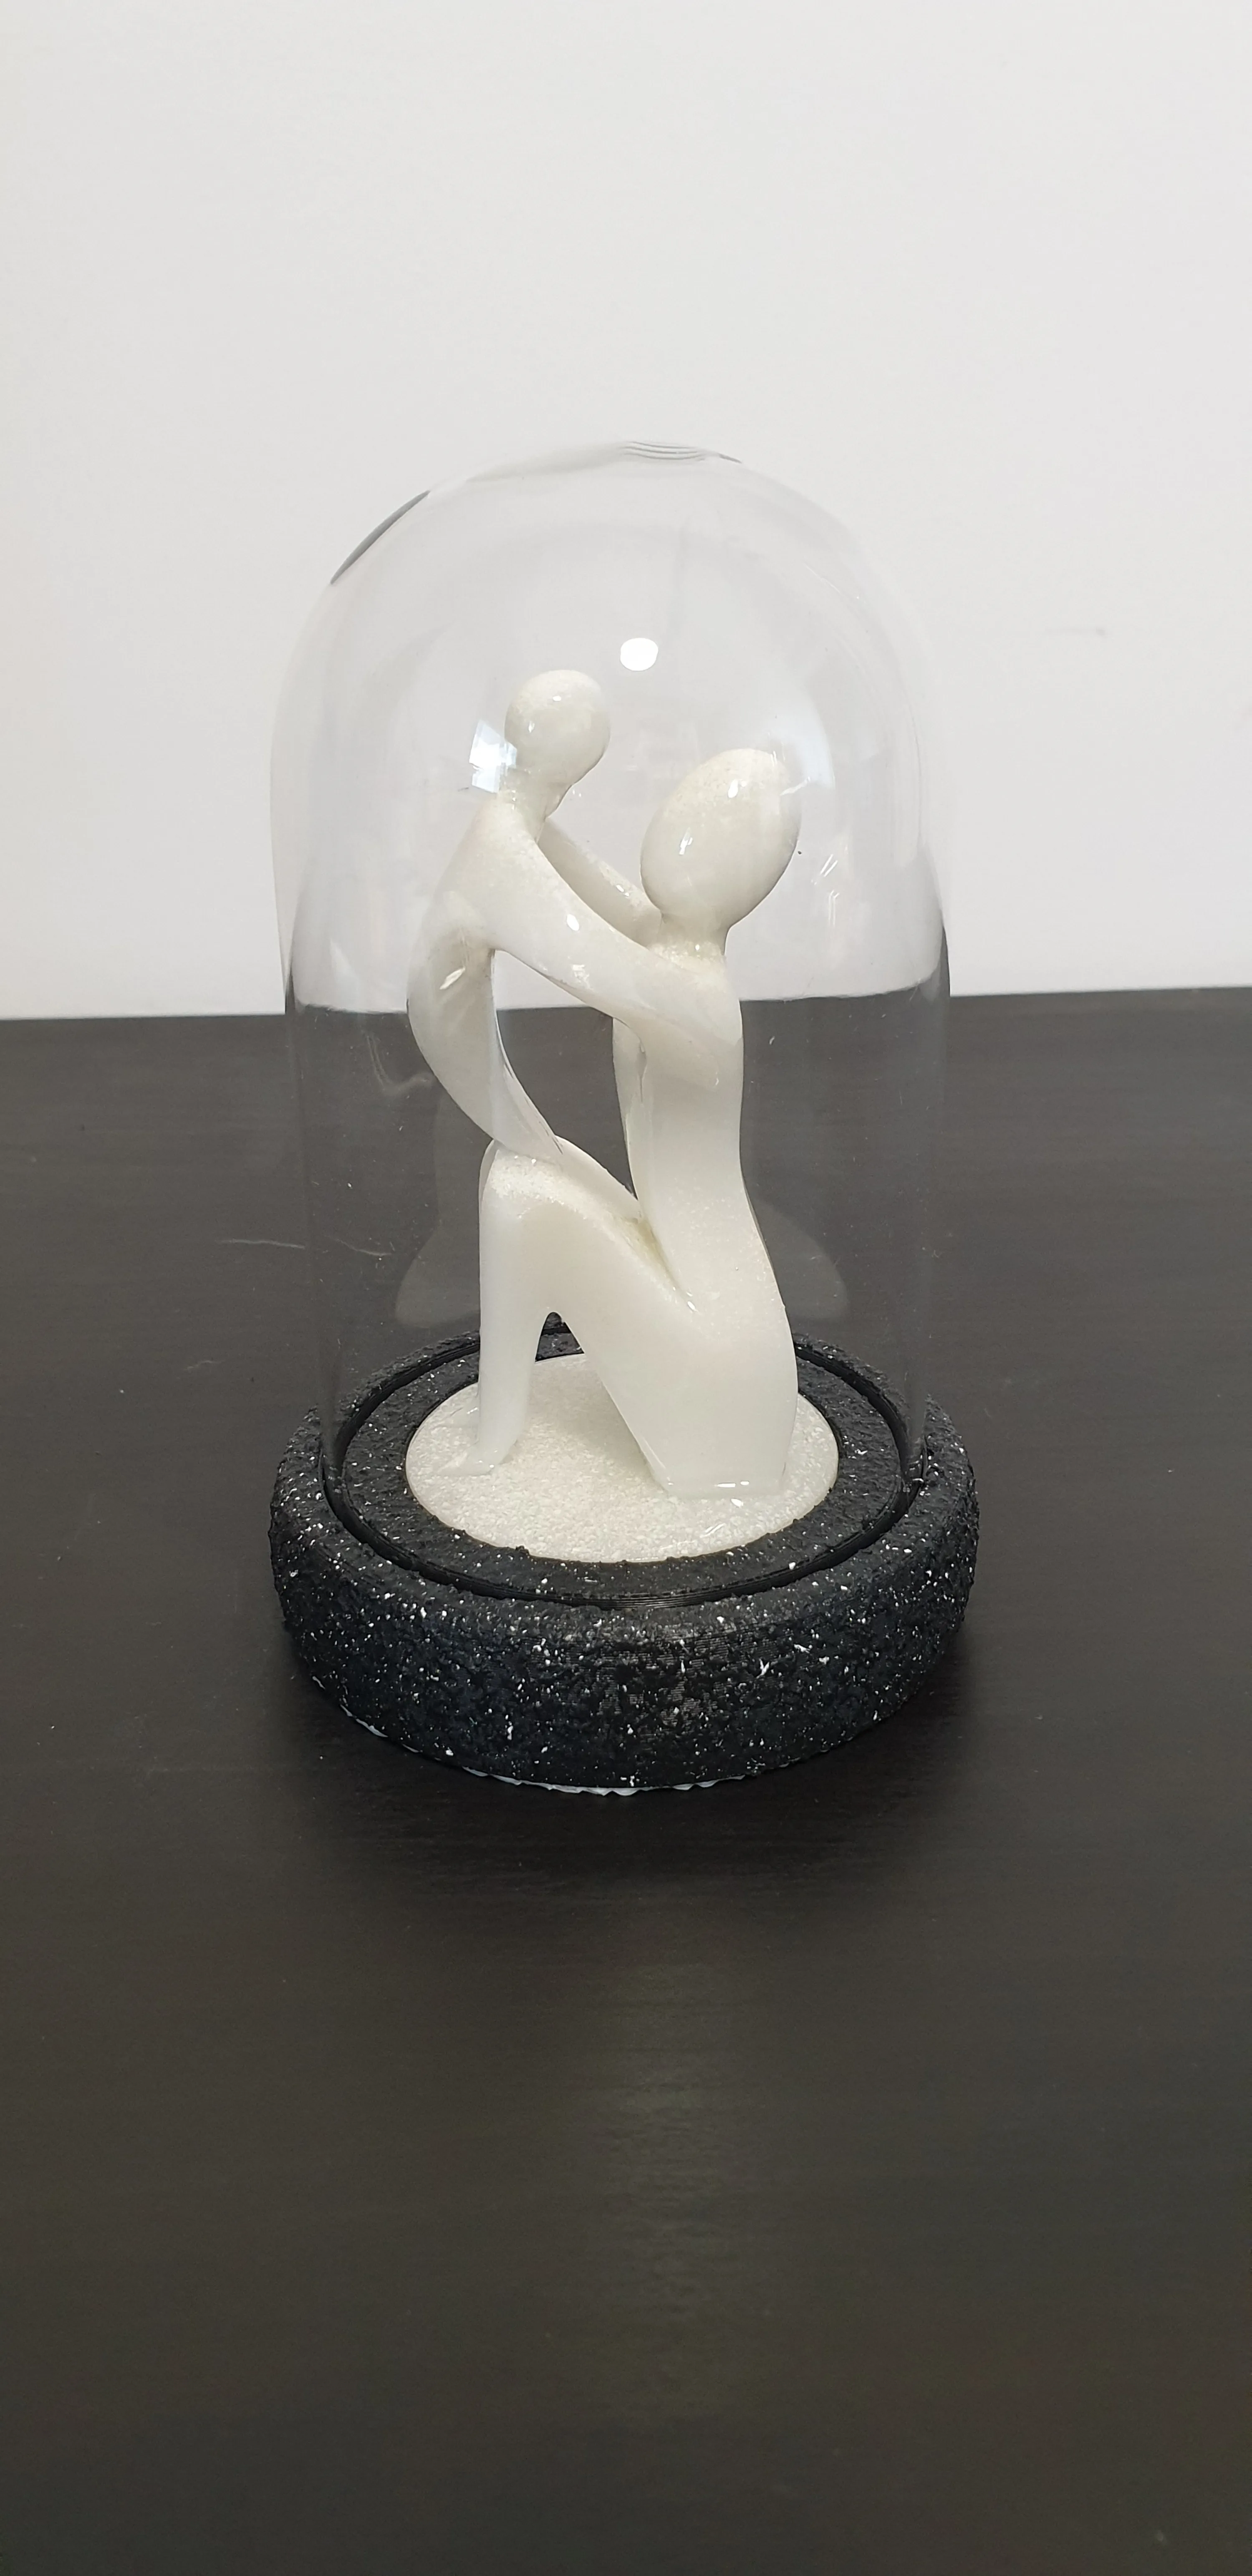
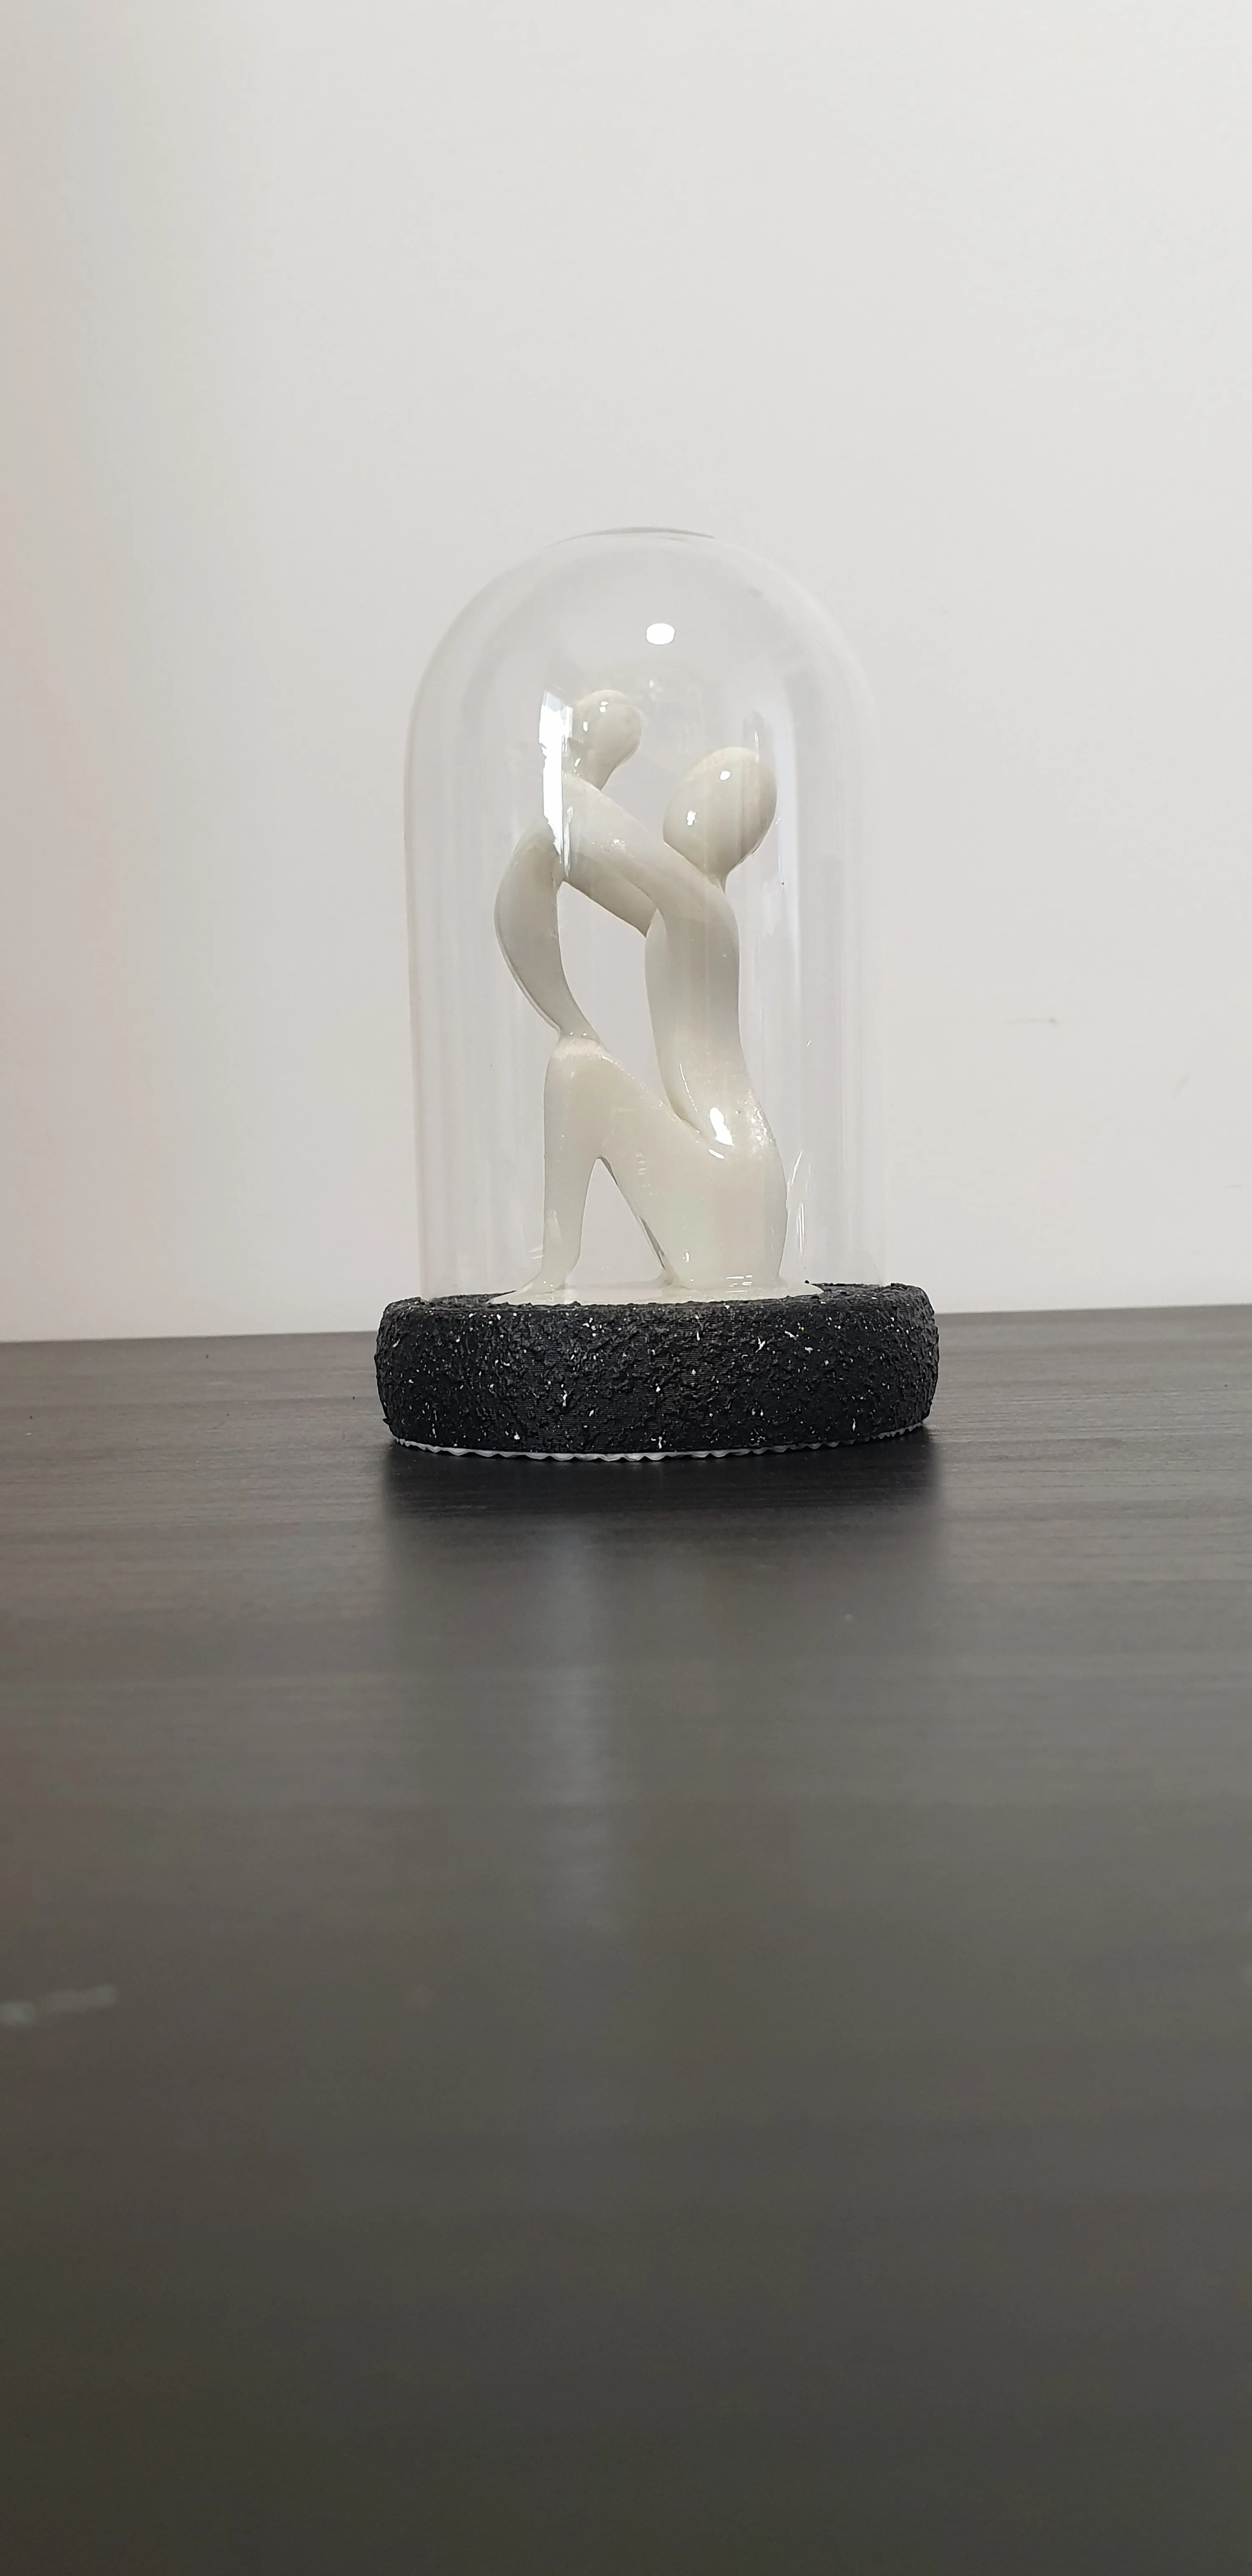
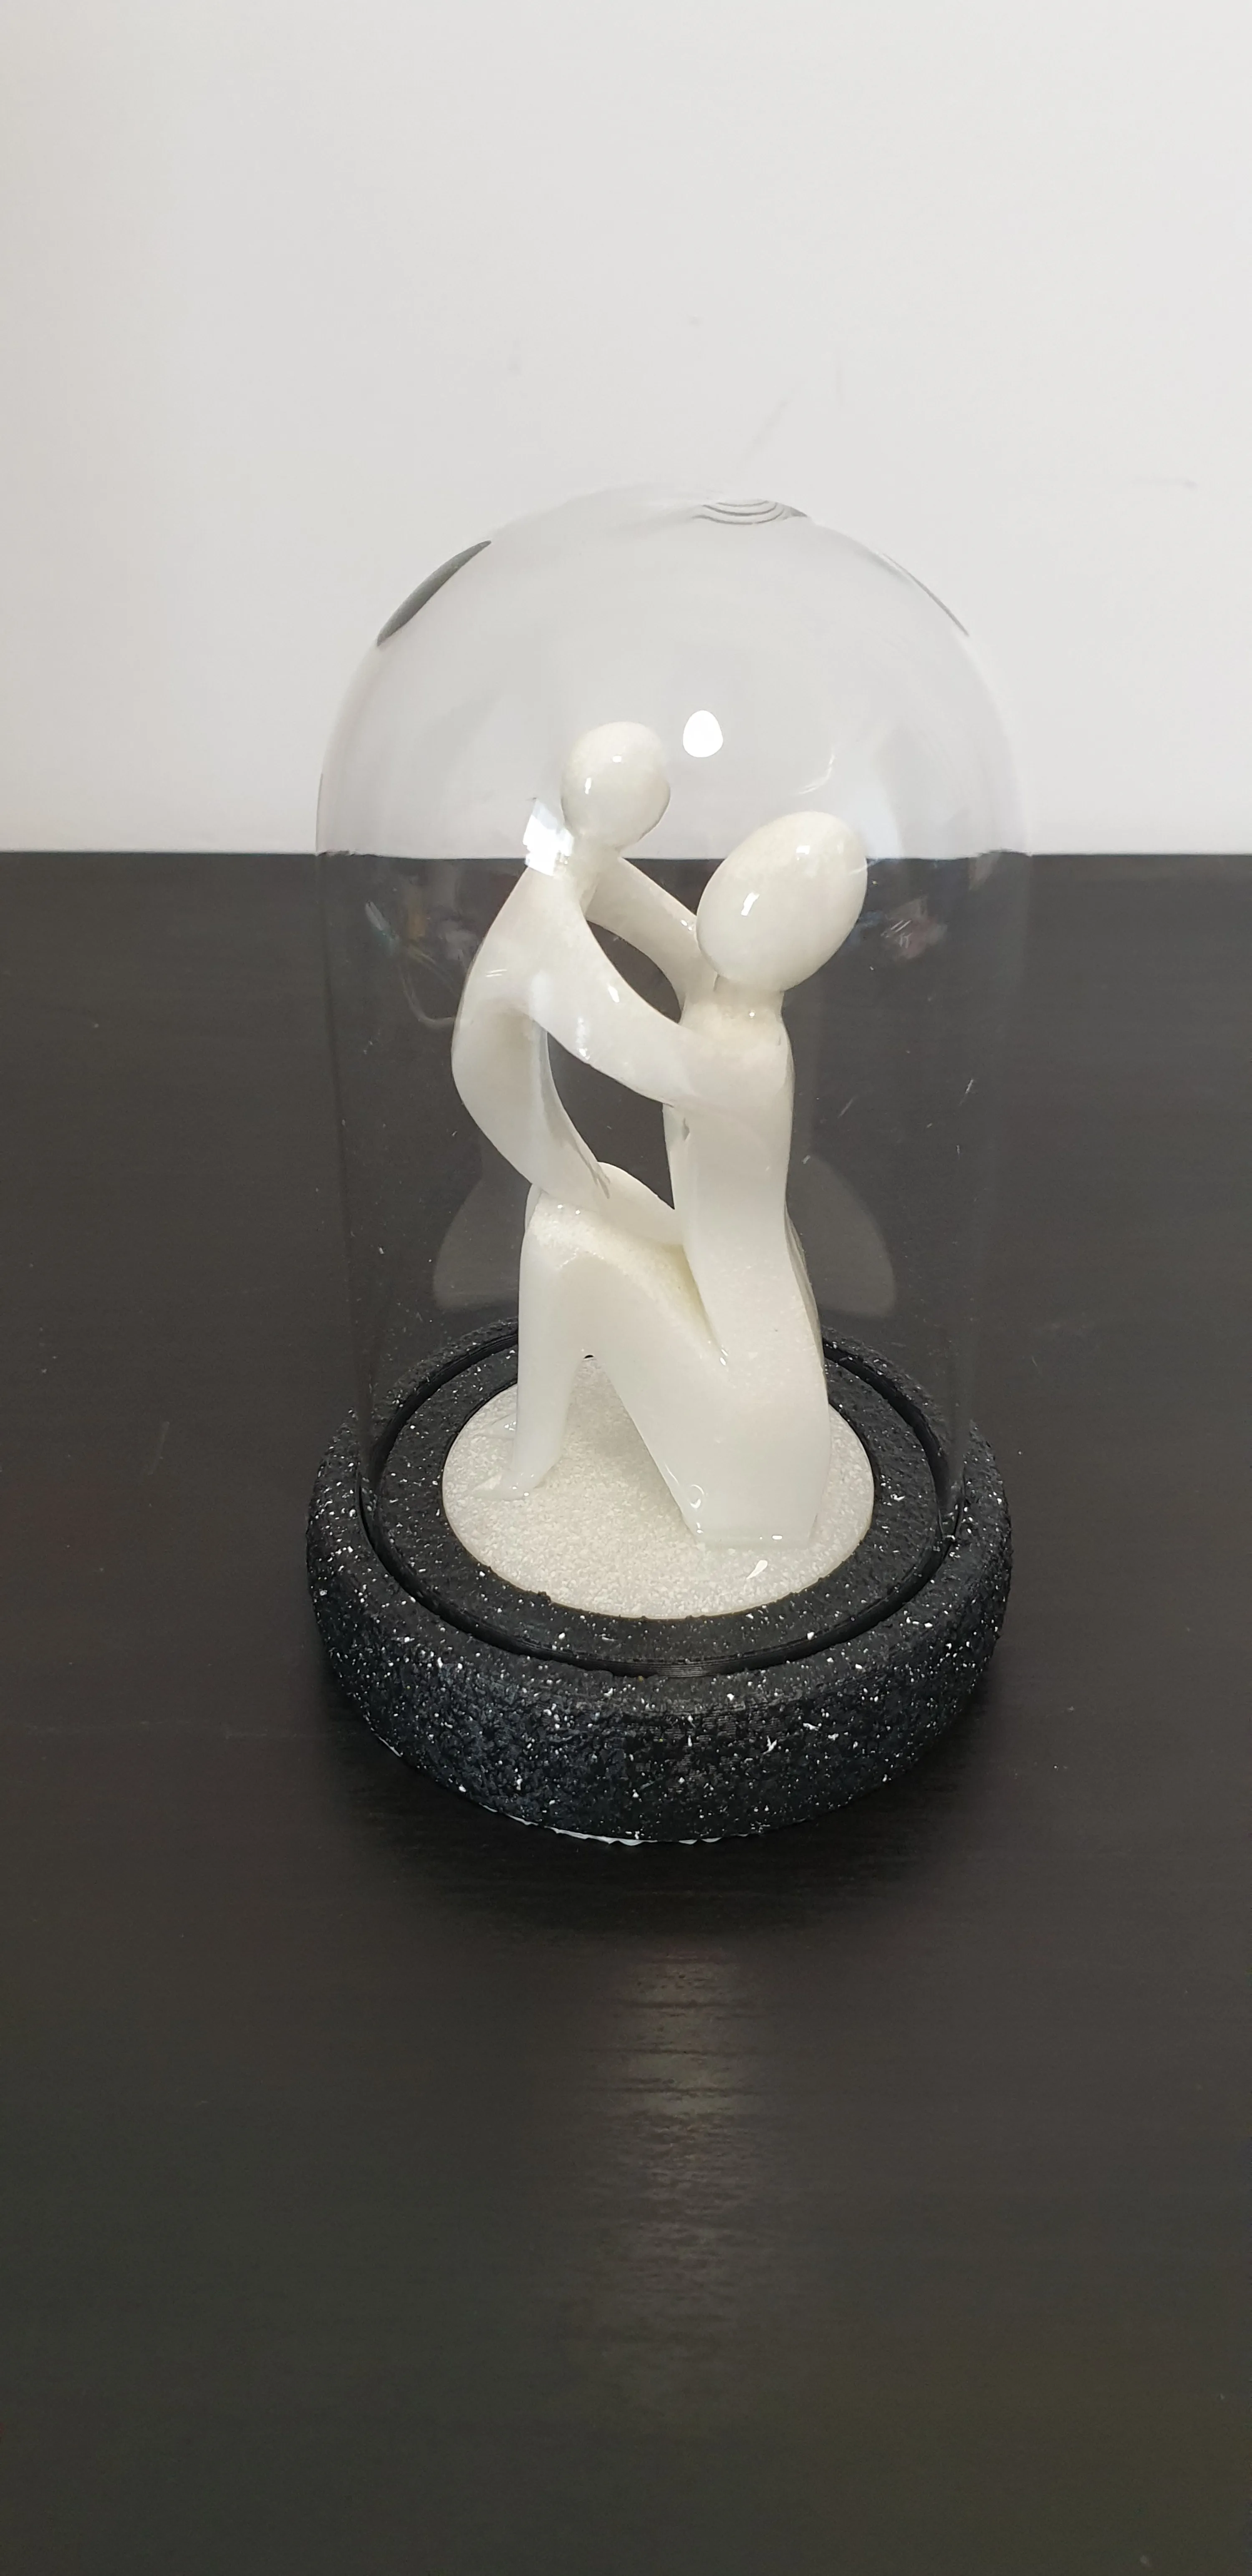
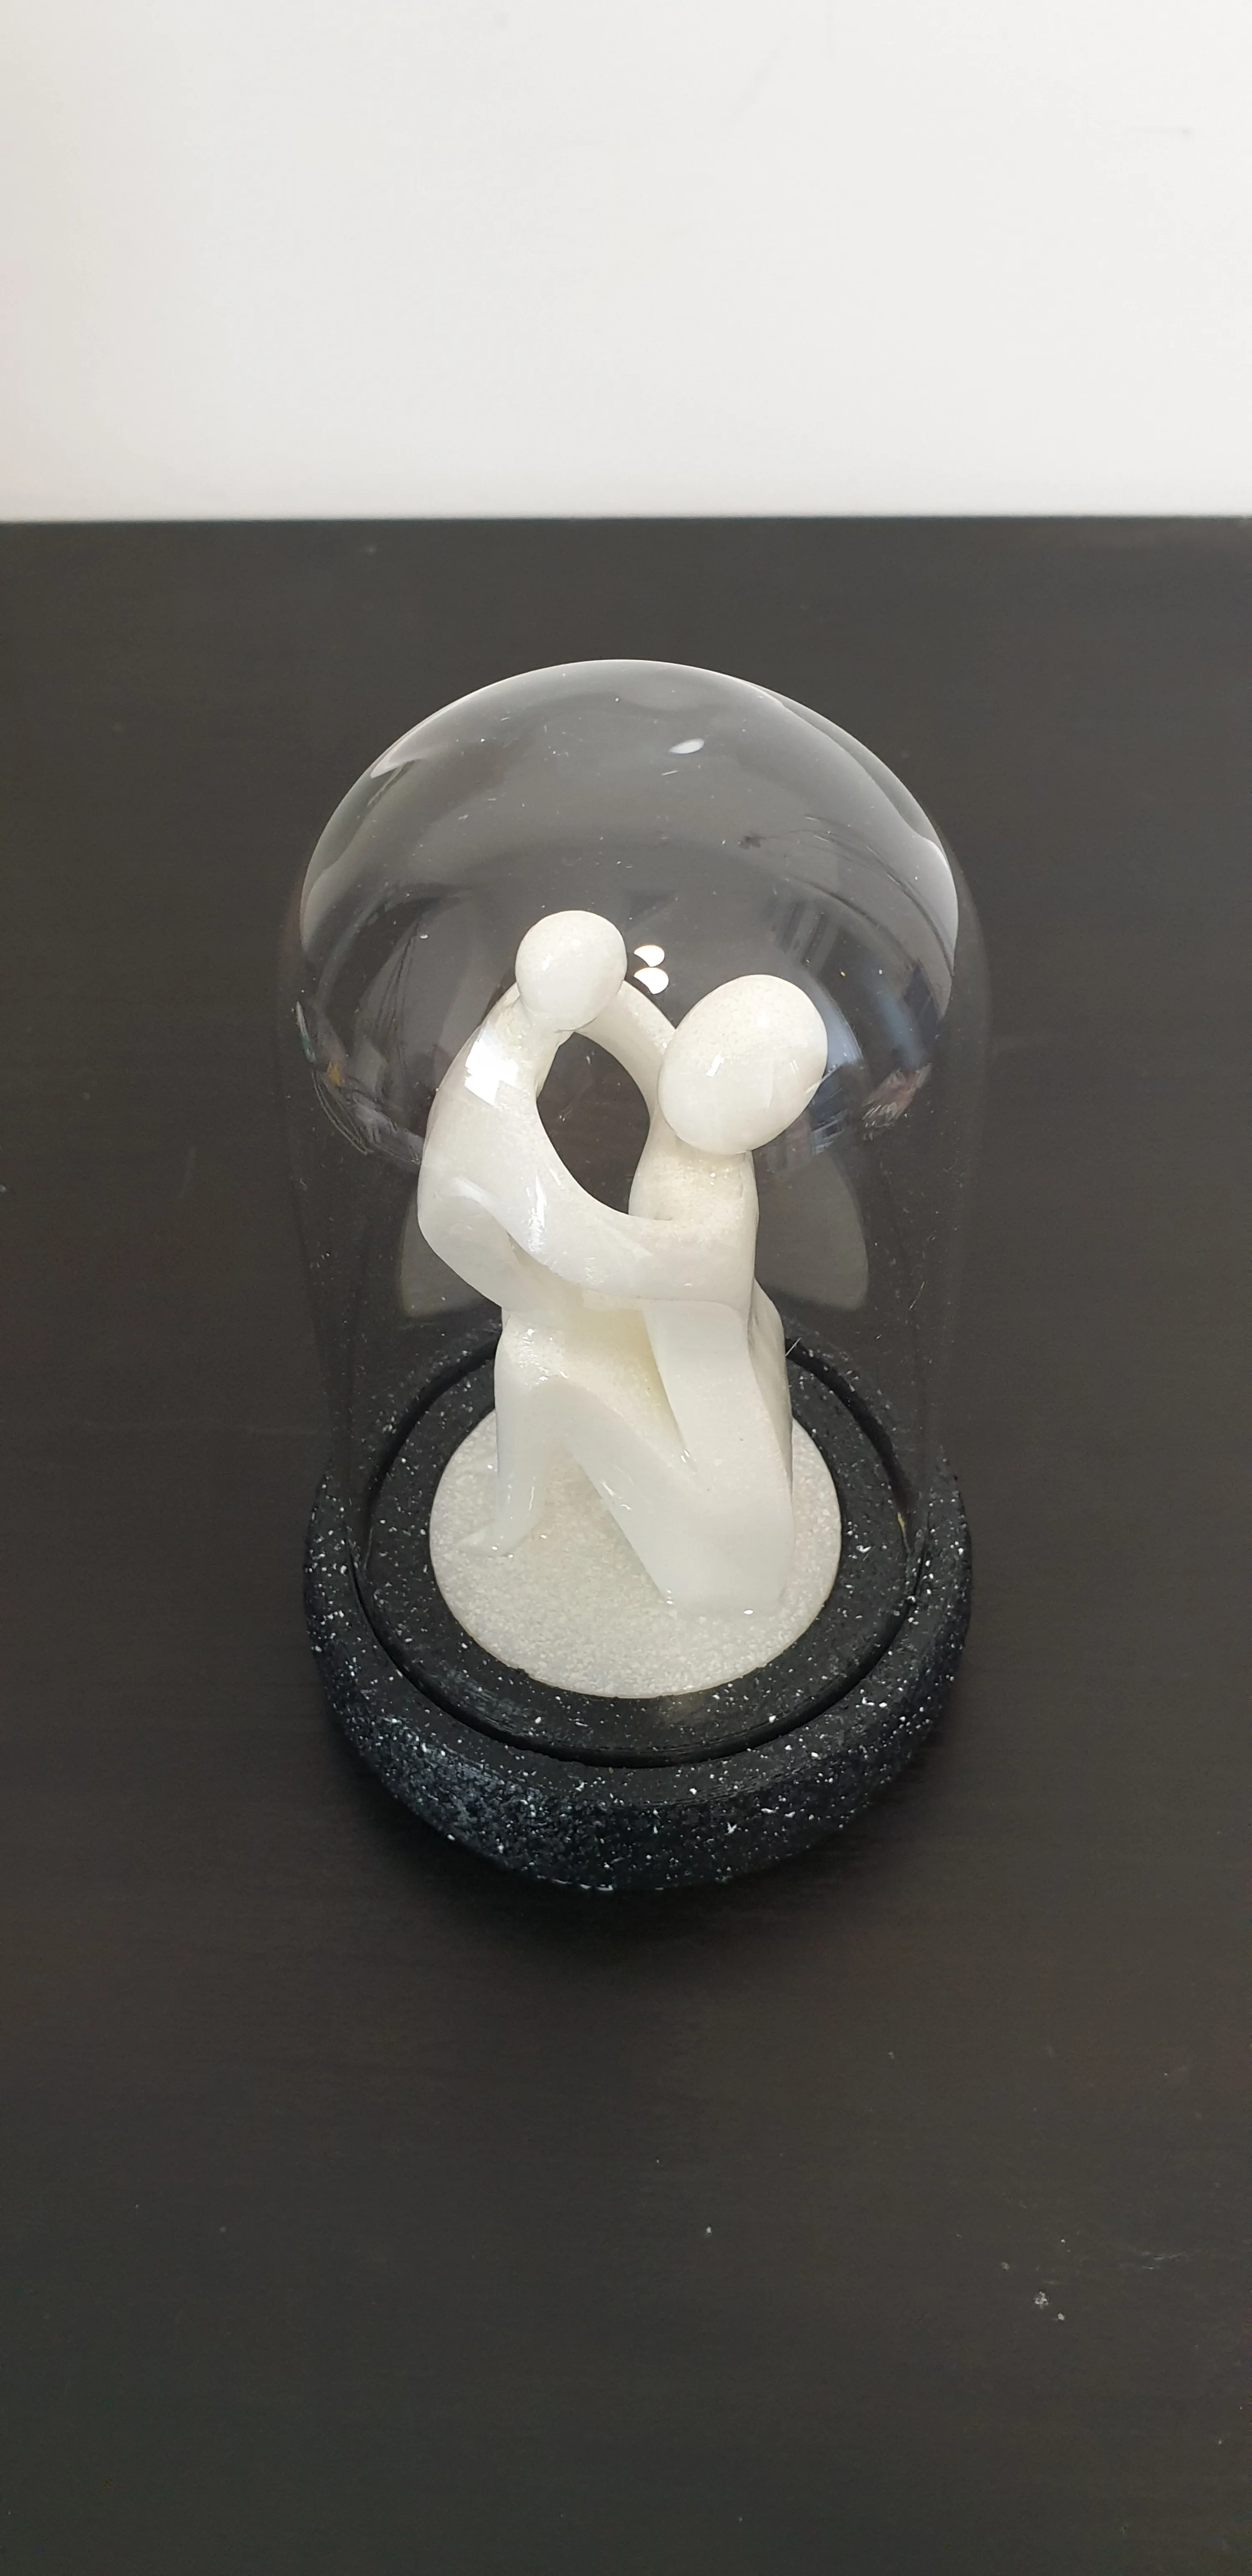
Display
I wanted a classic display. Something that looks professional and pretty, while protecting the statue from dust and people touching it.
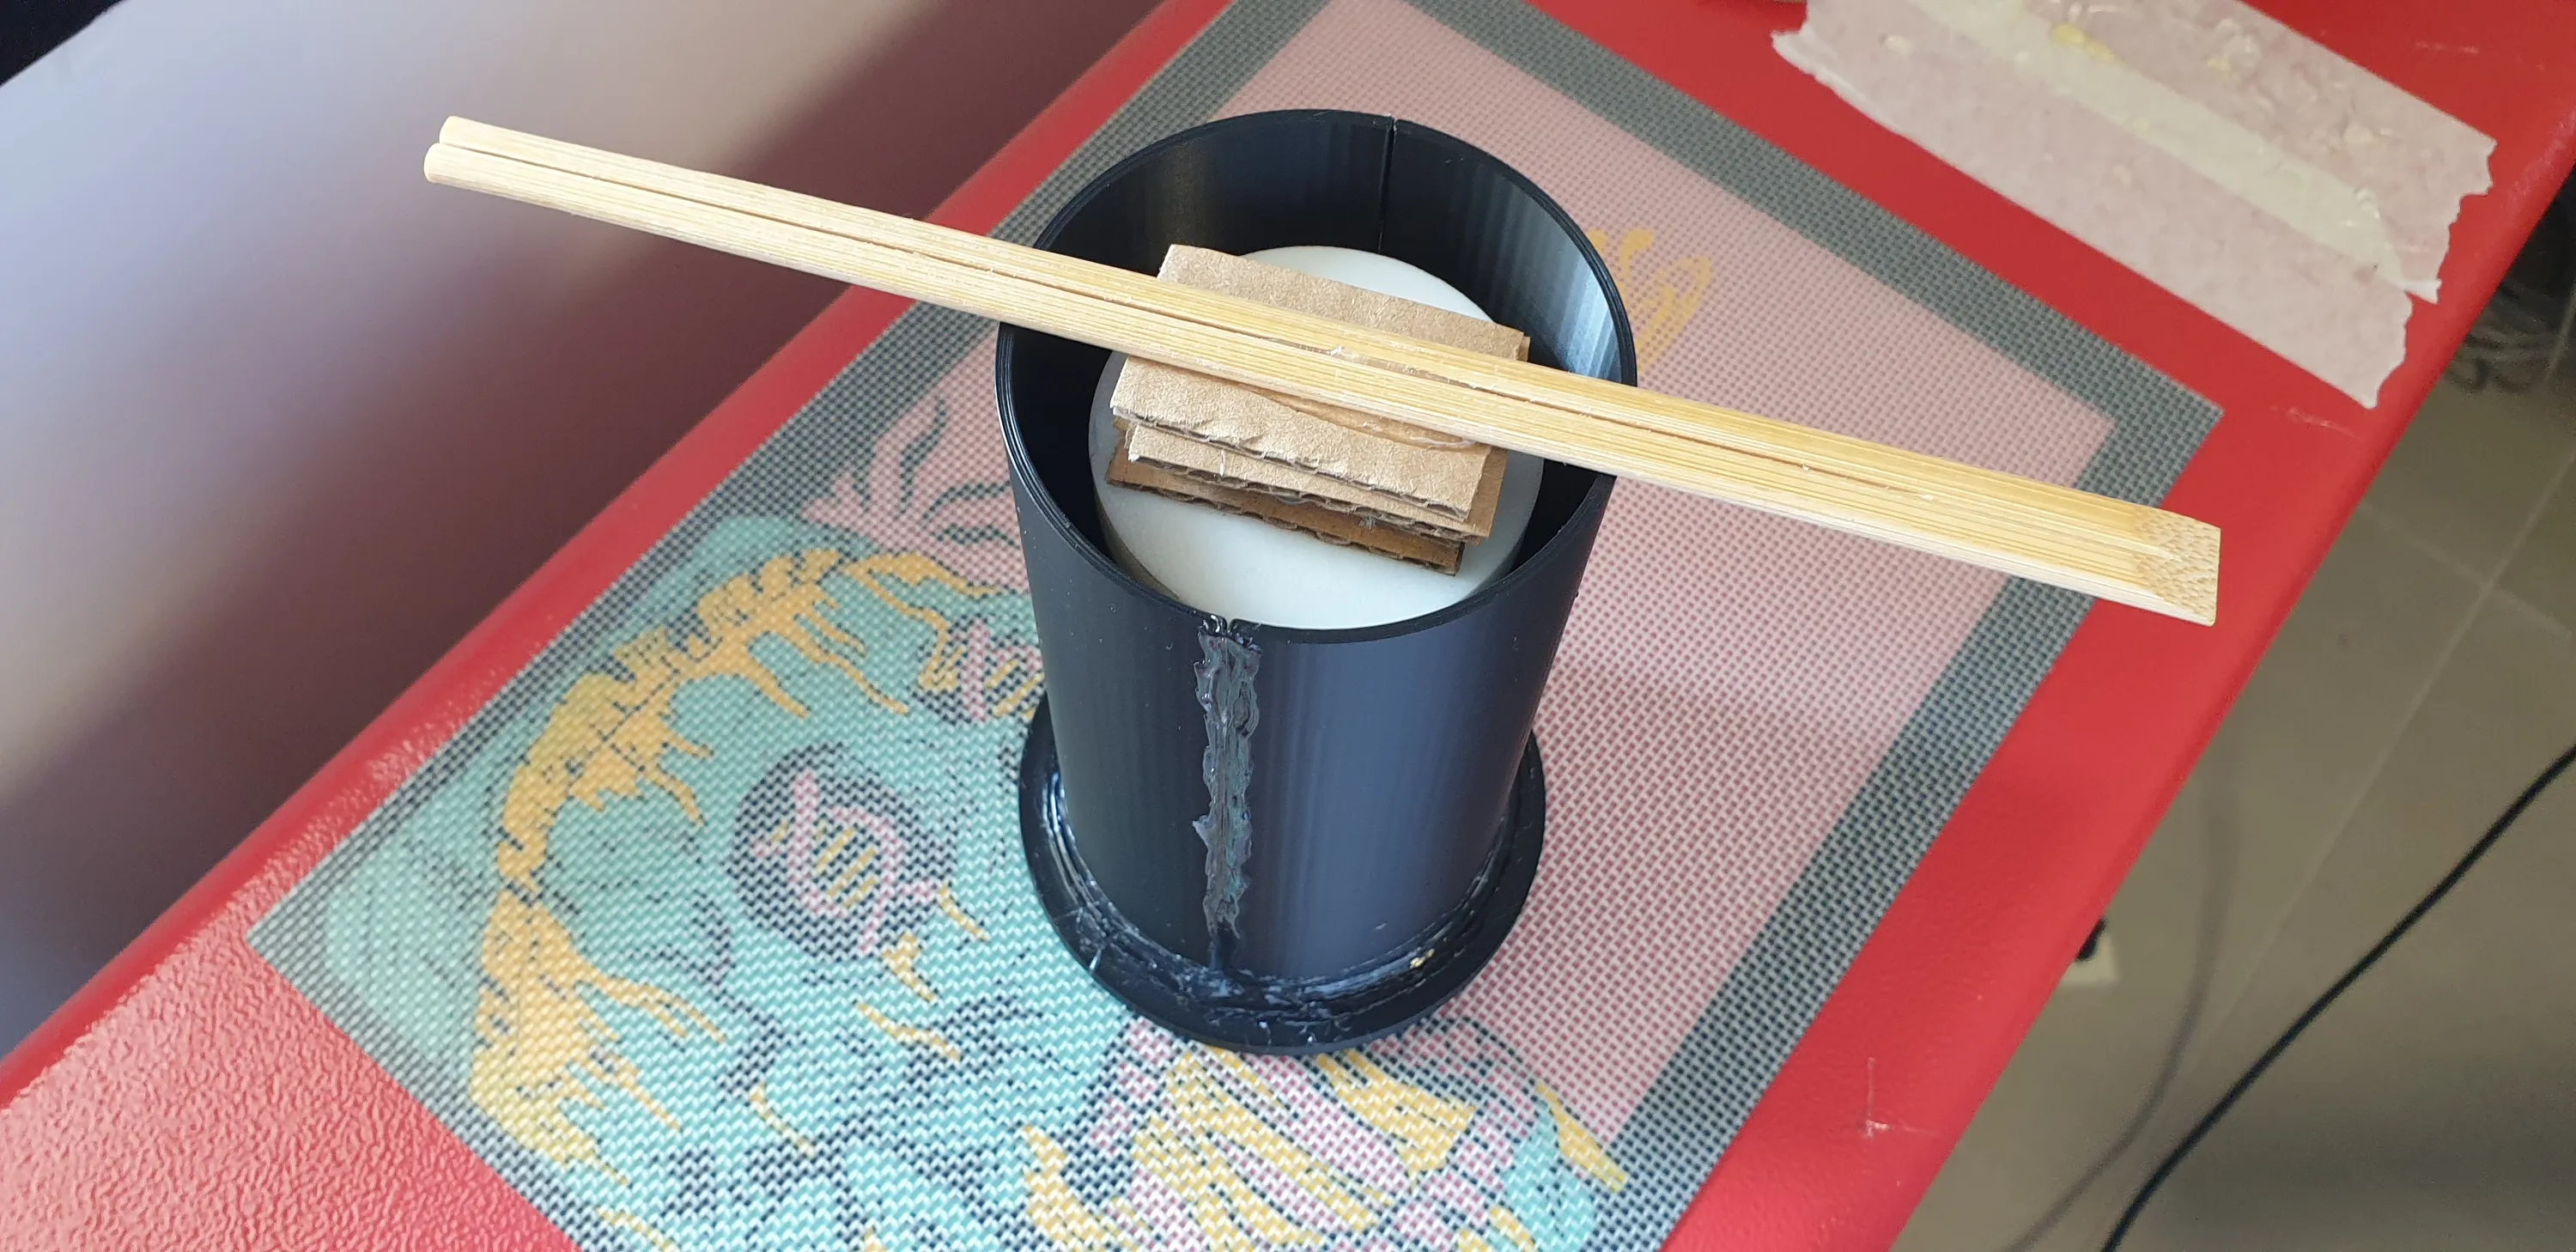
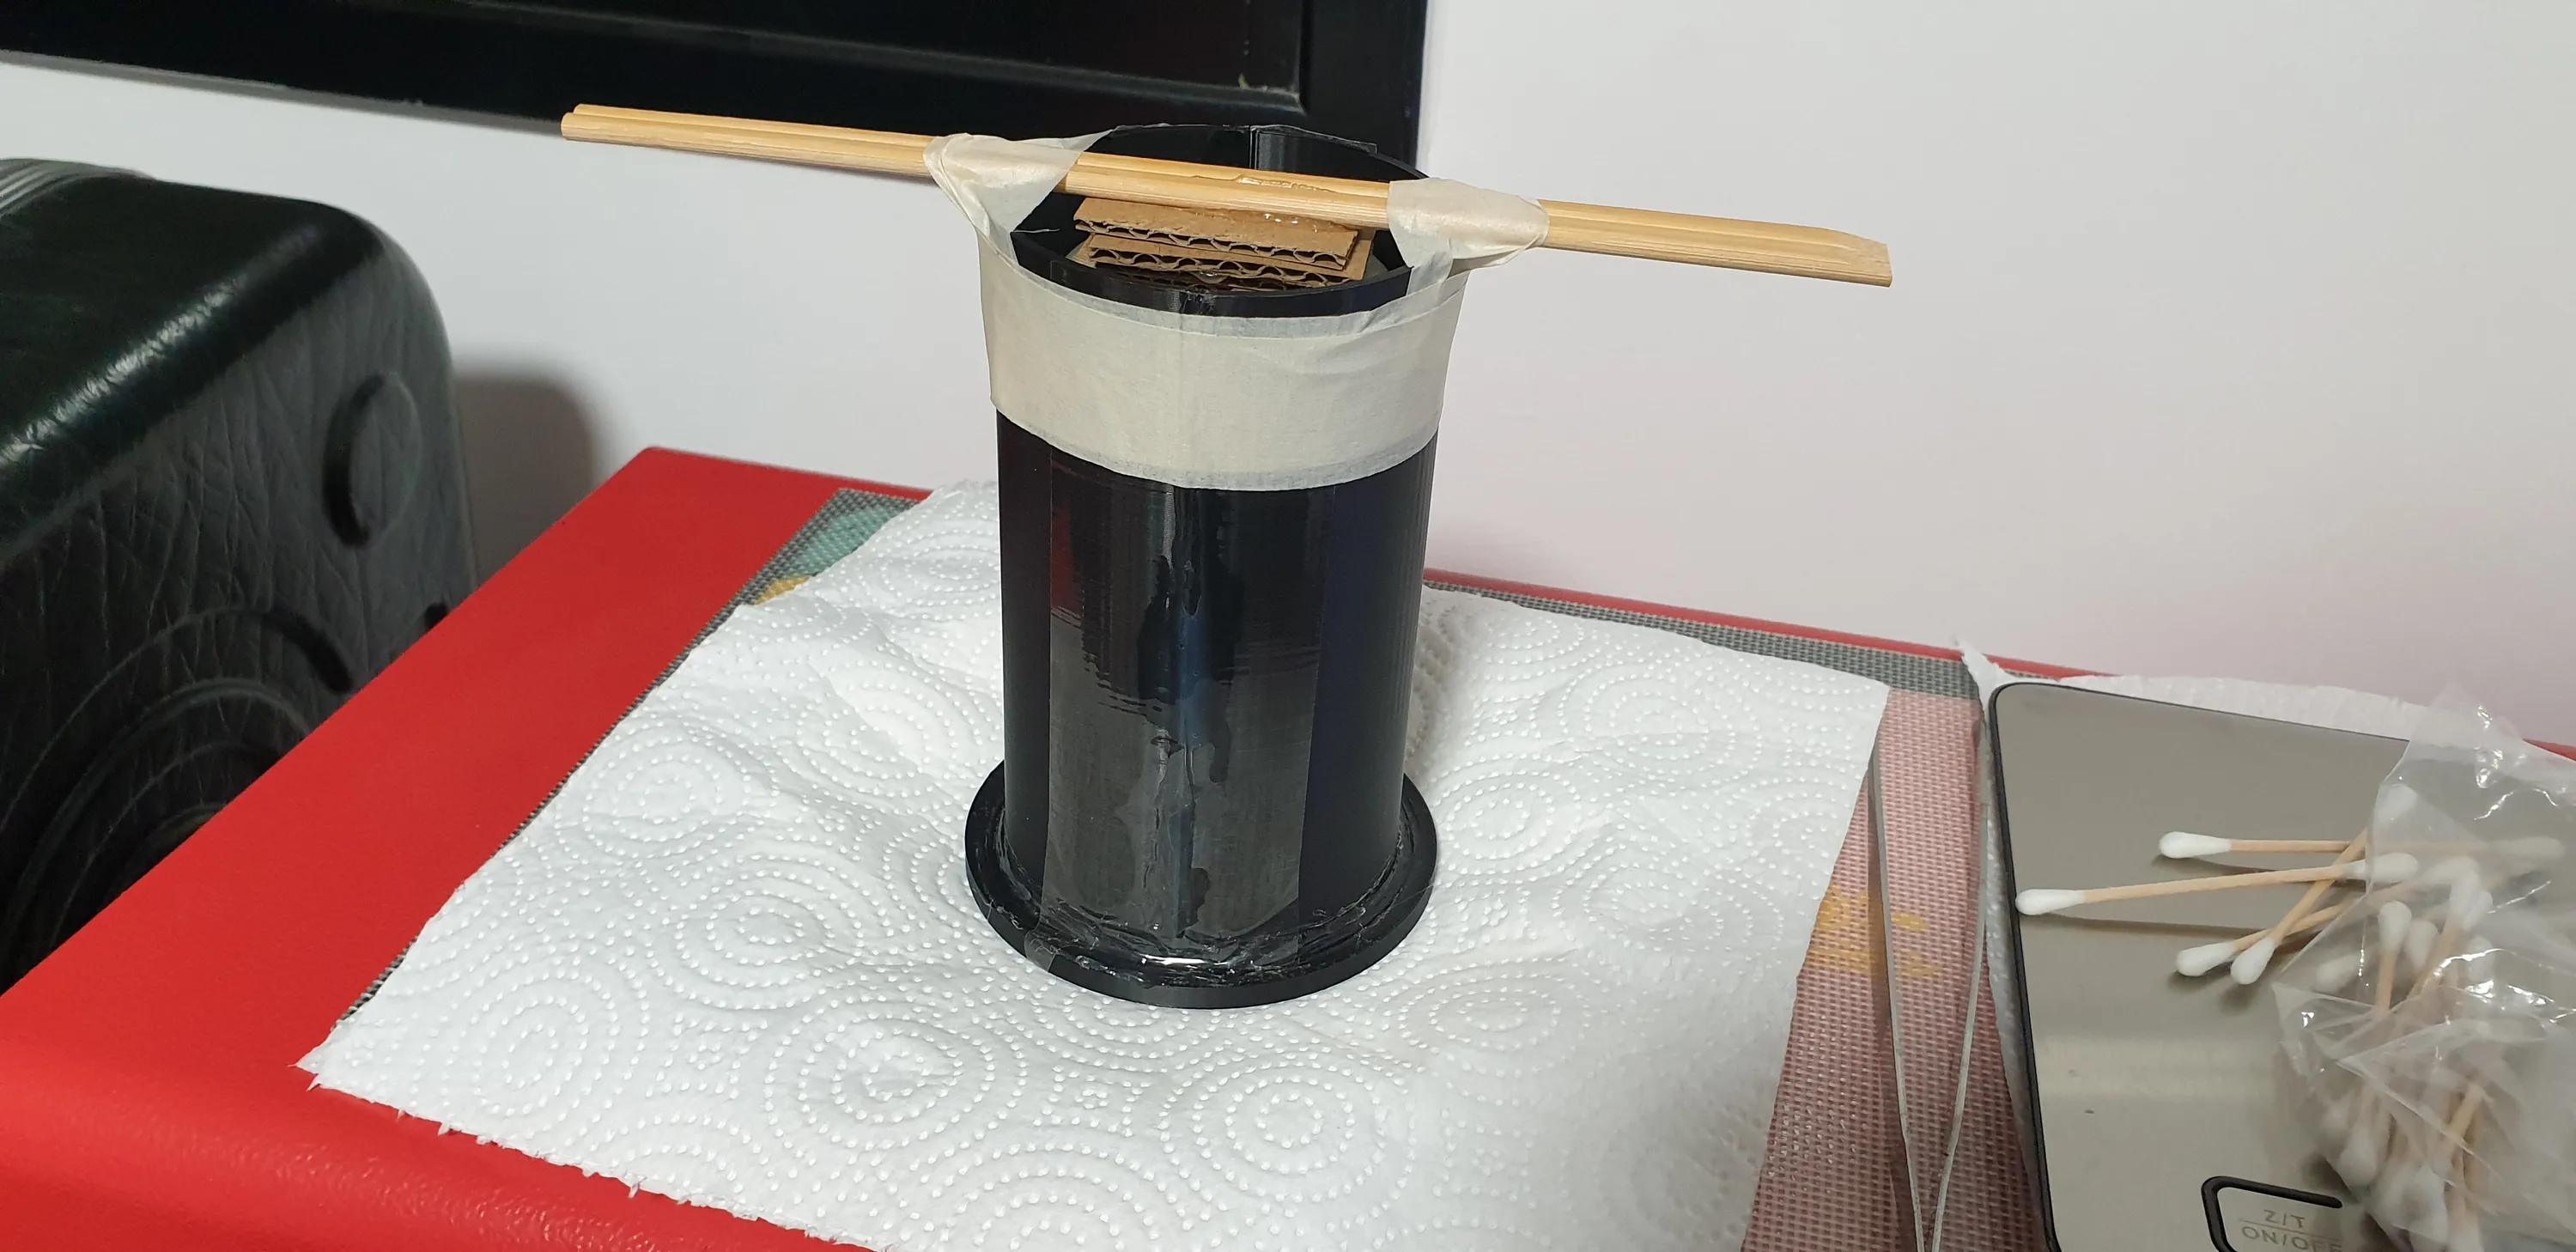
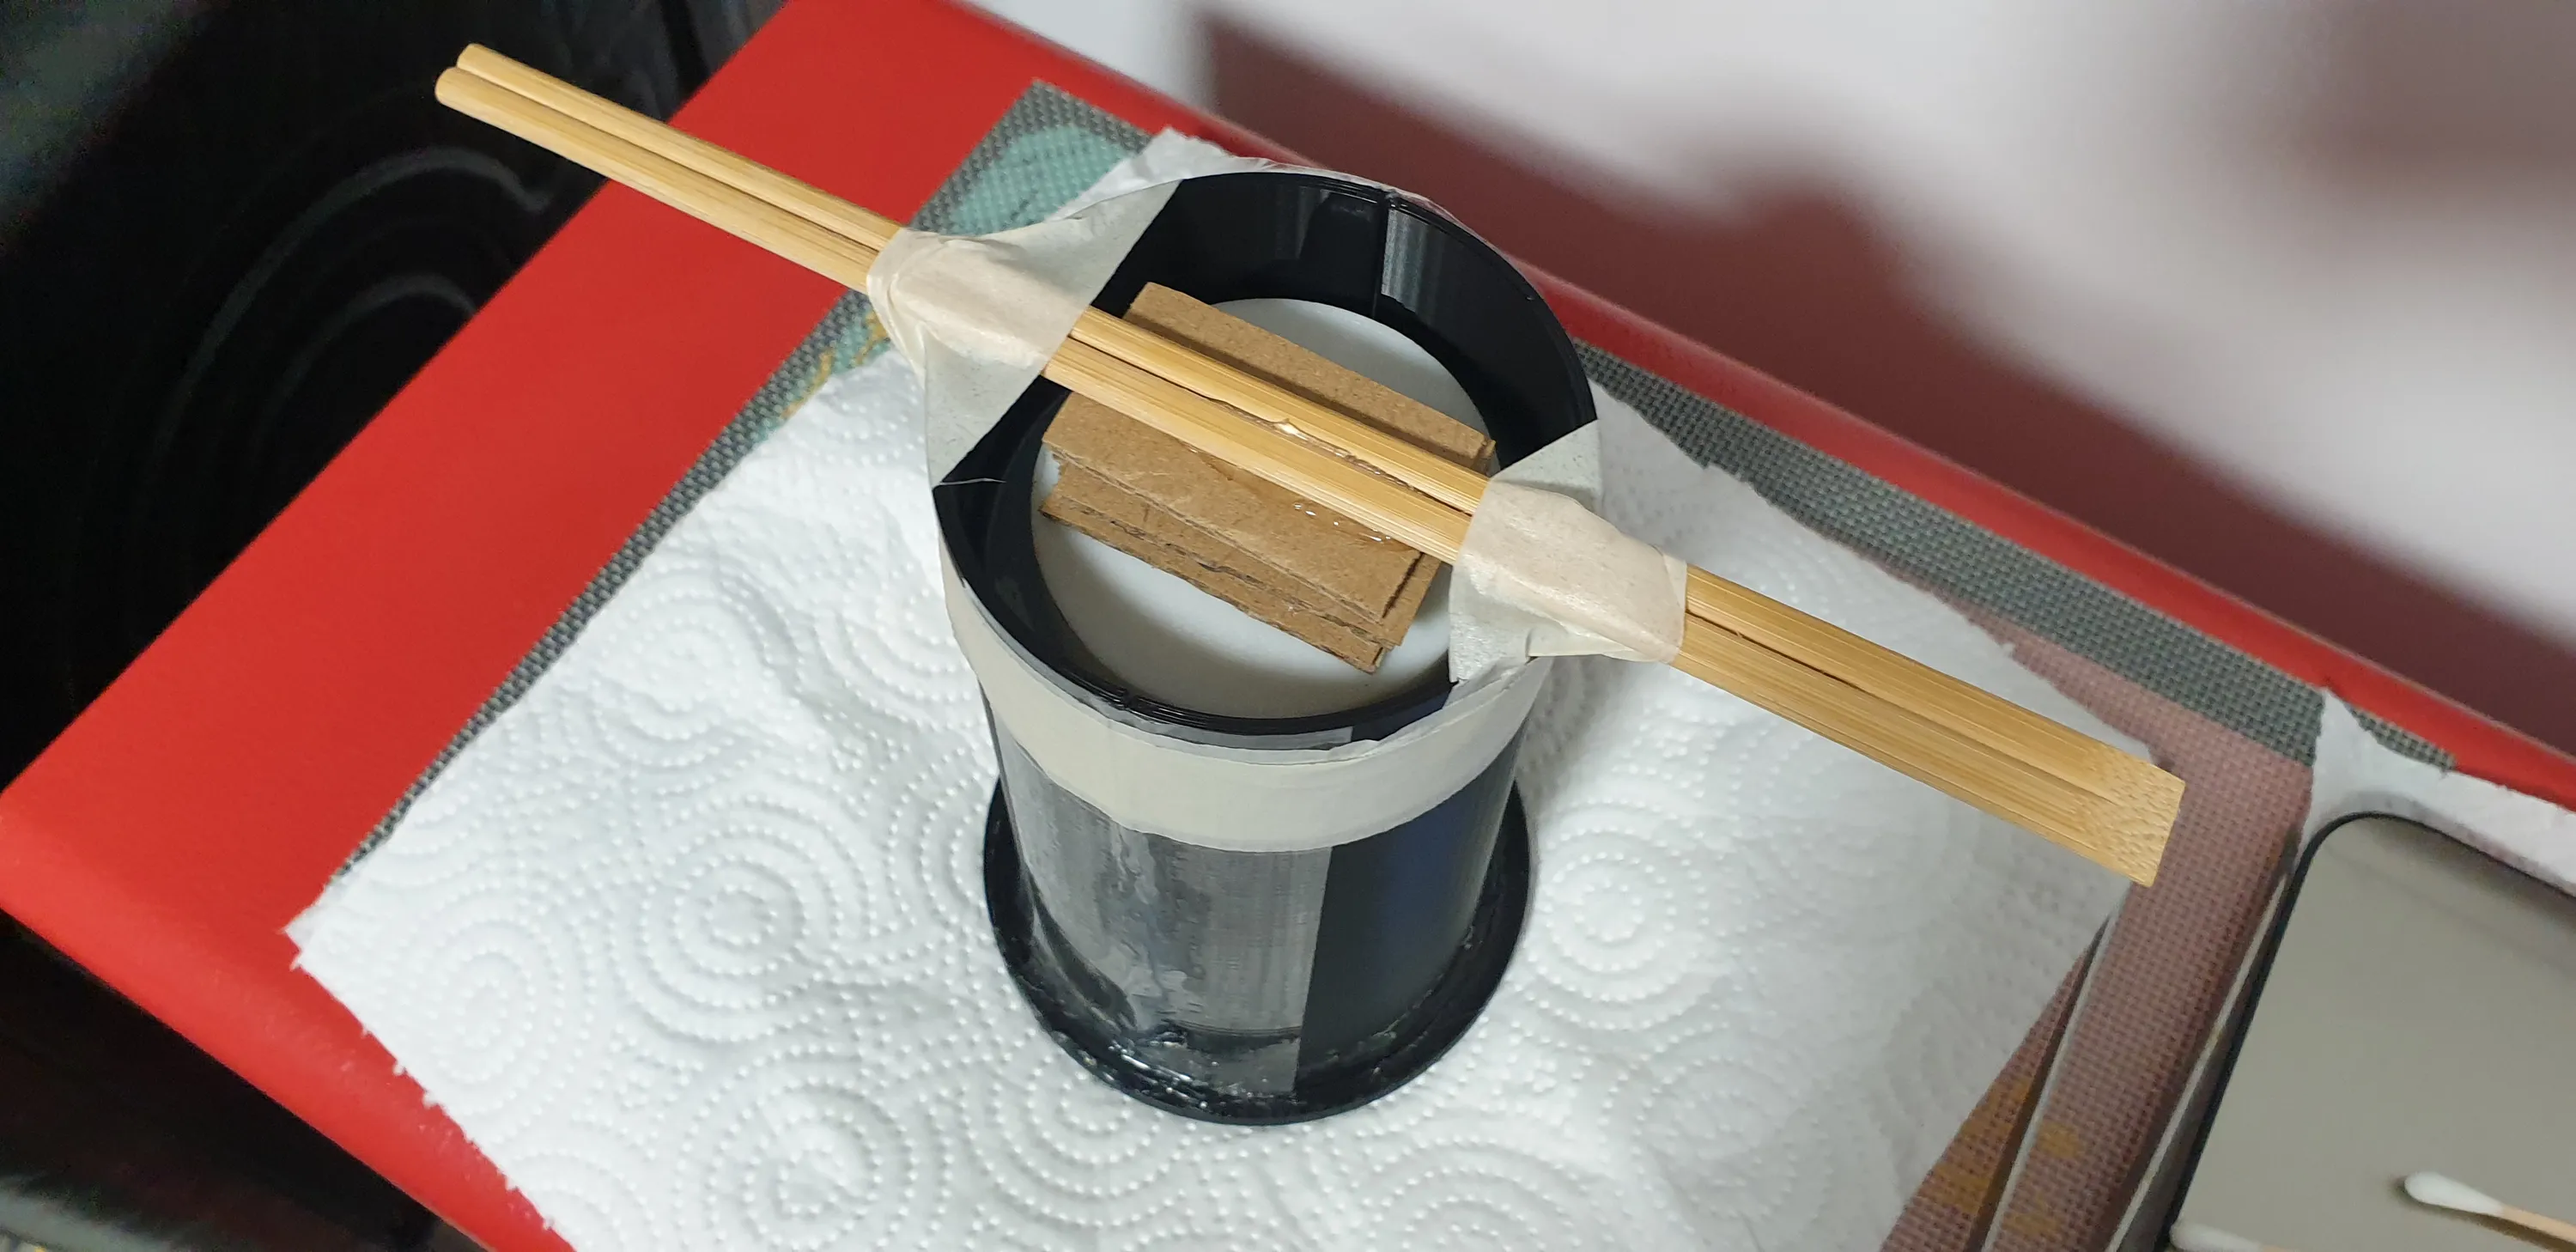
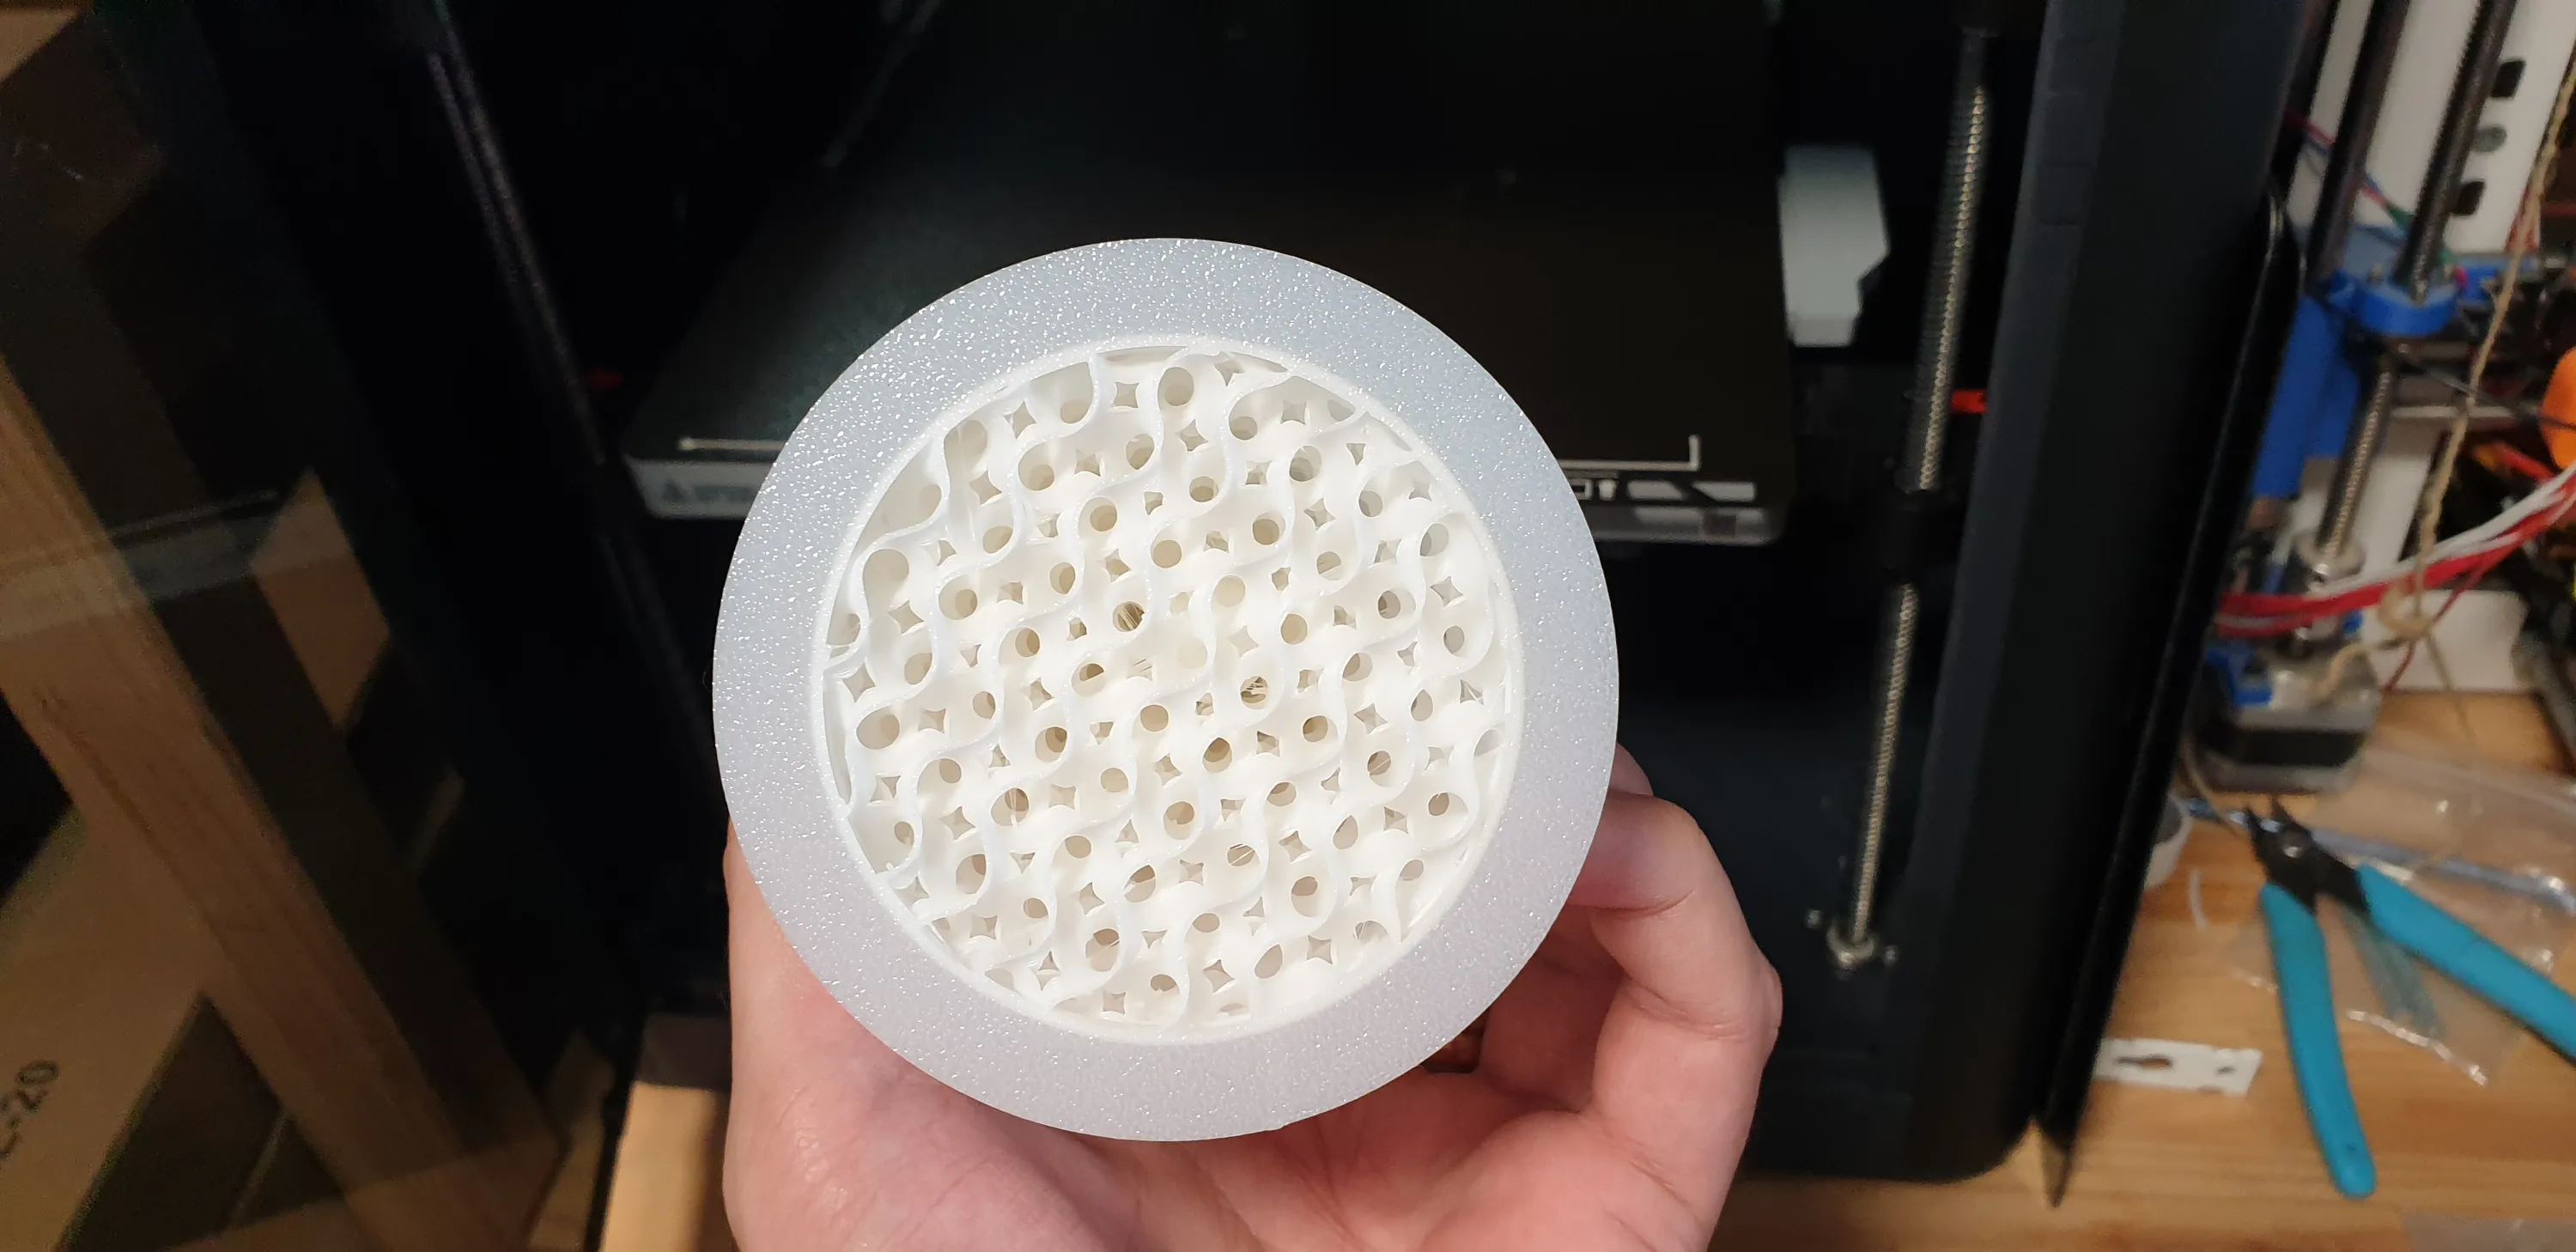
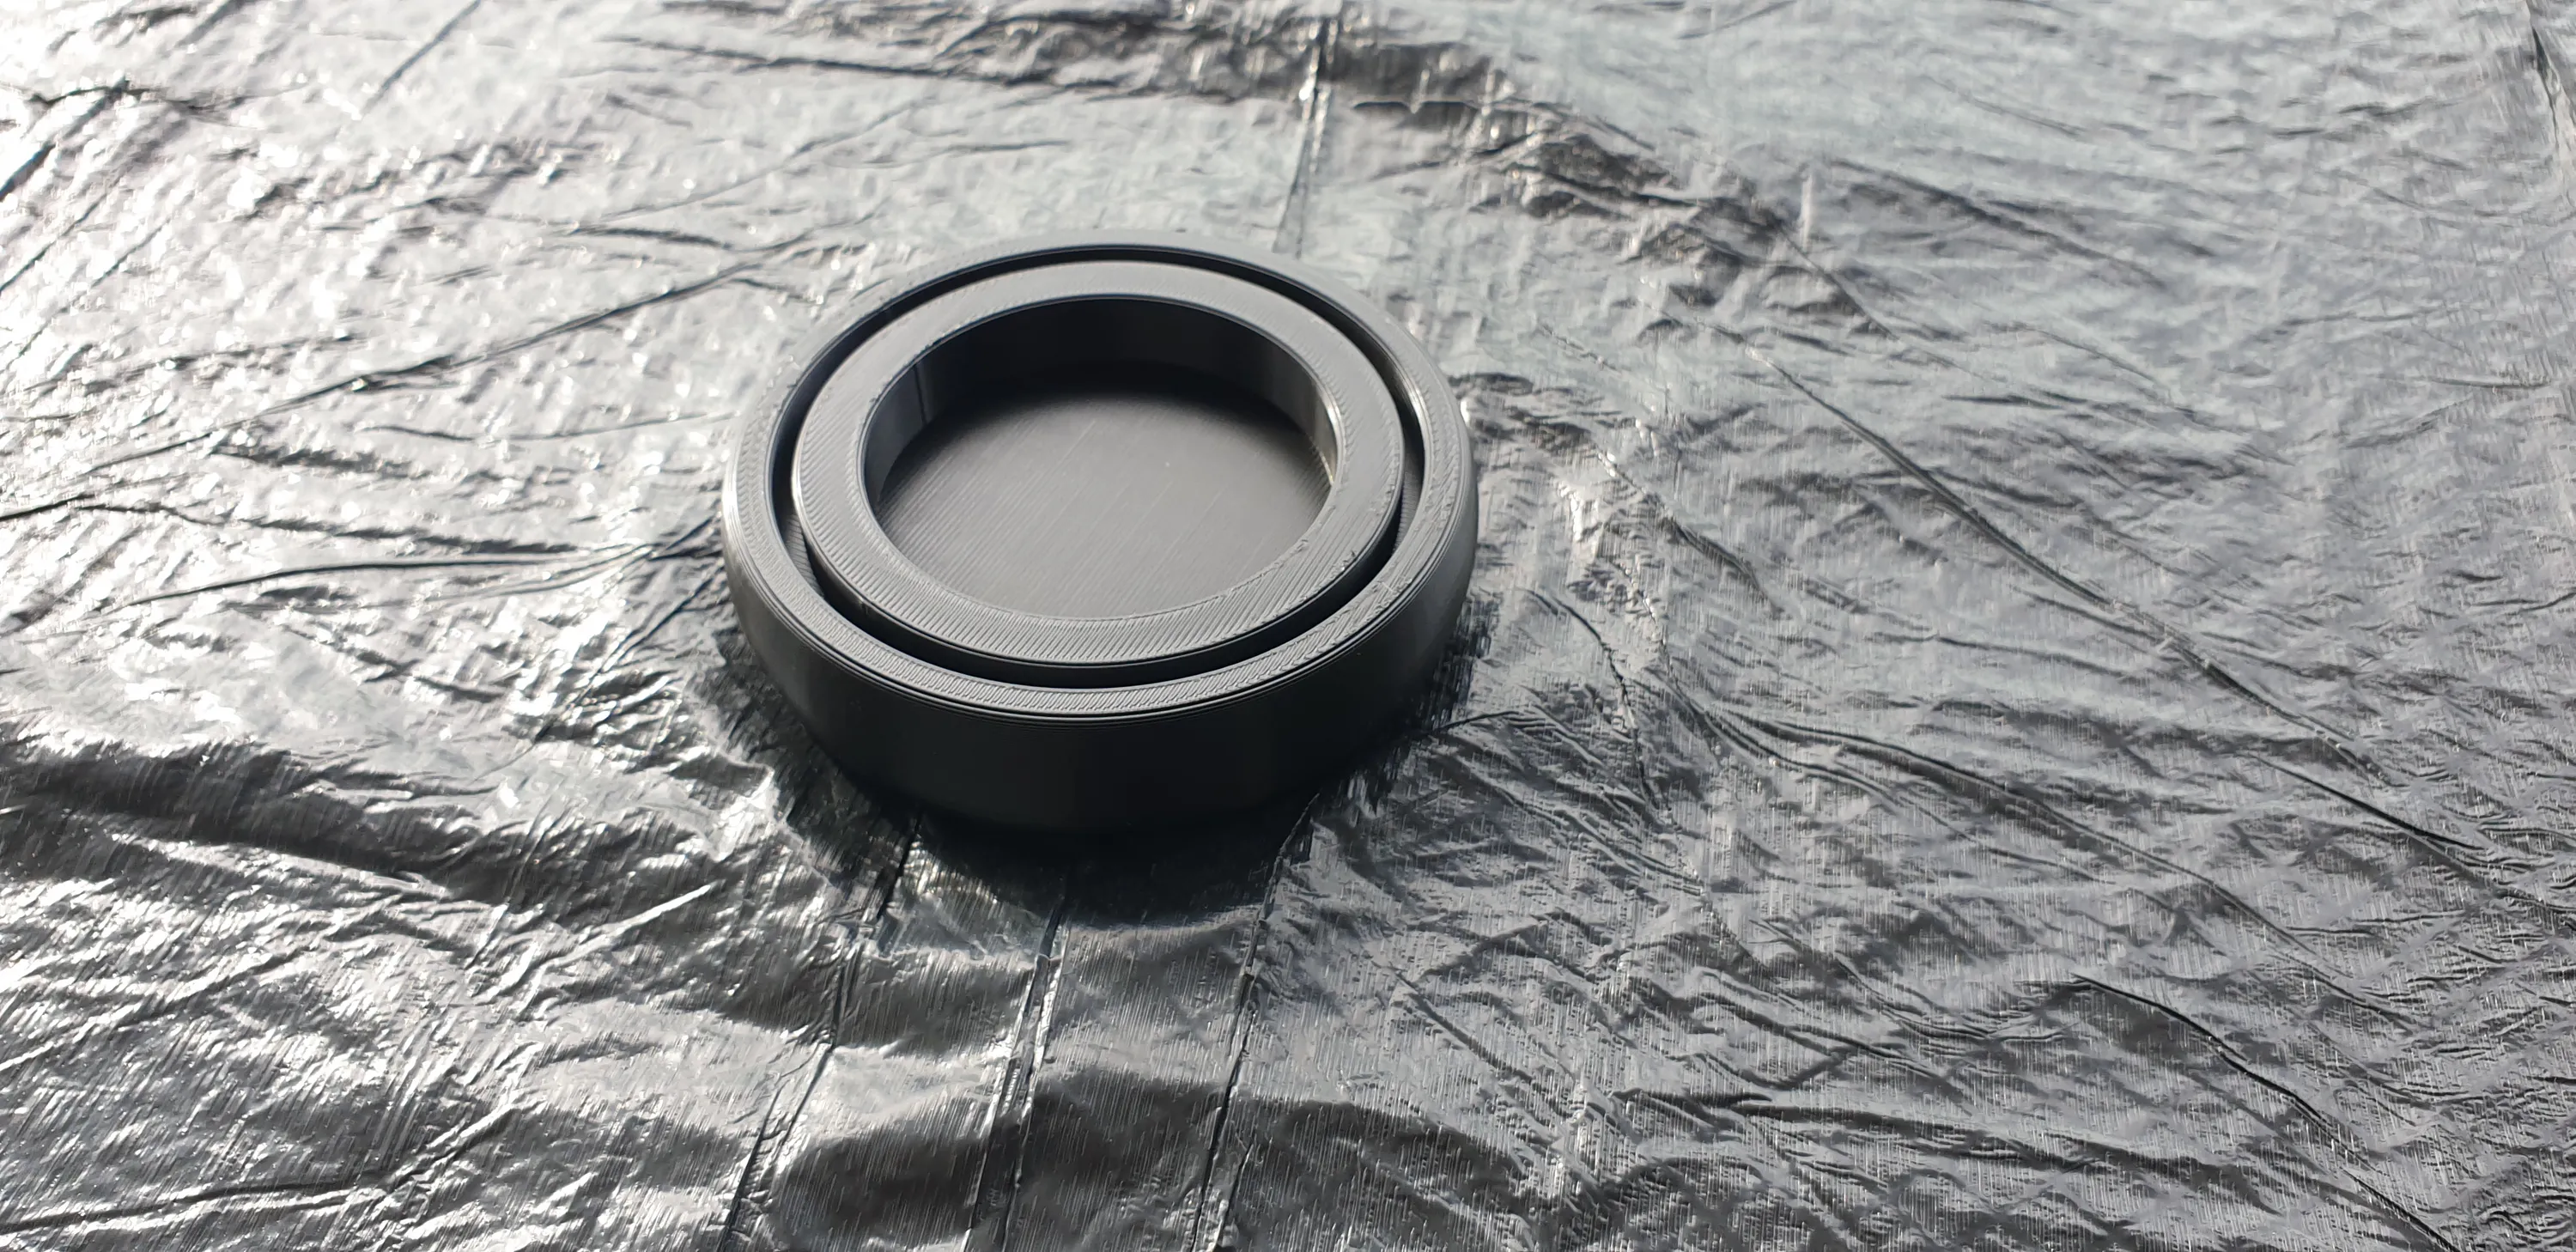
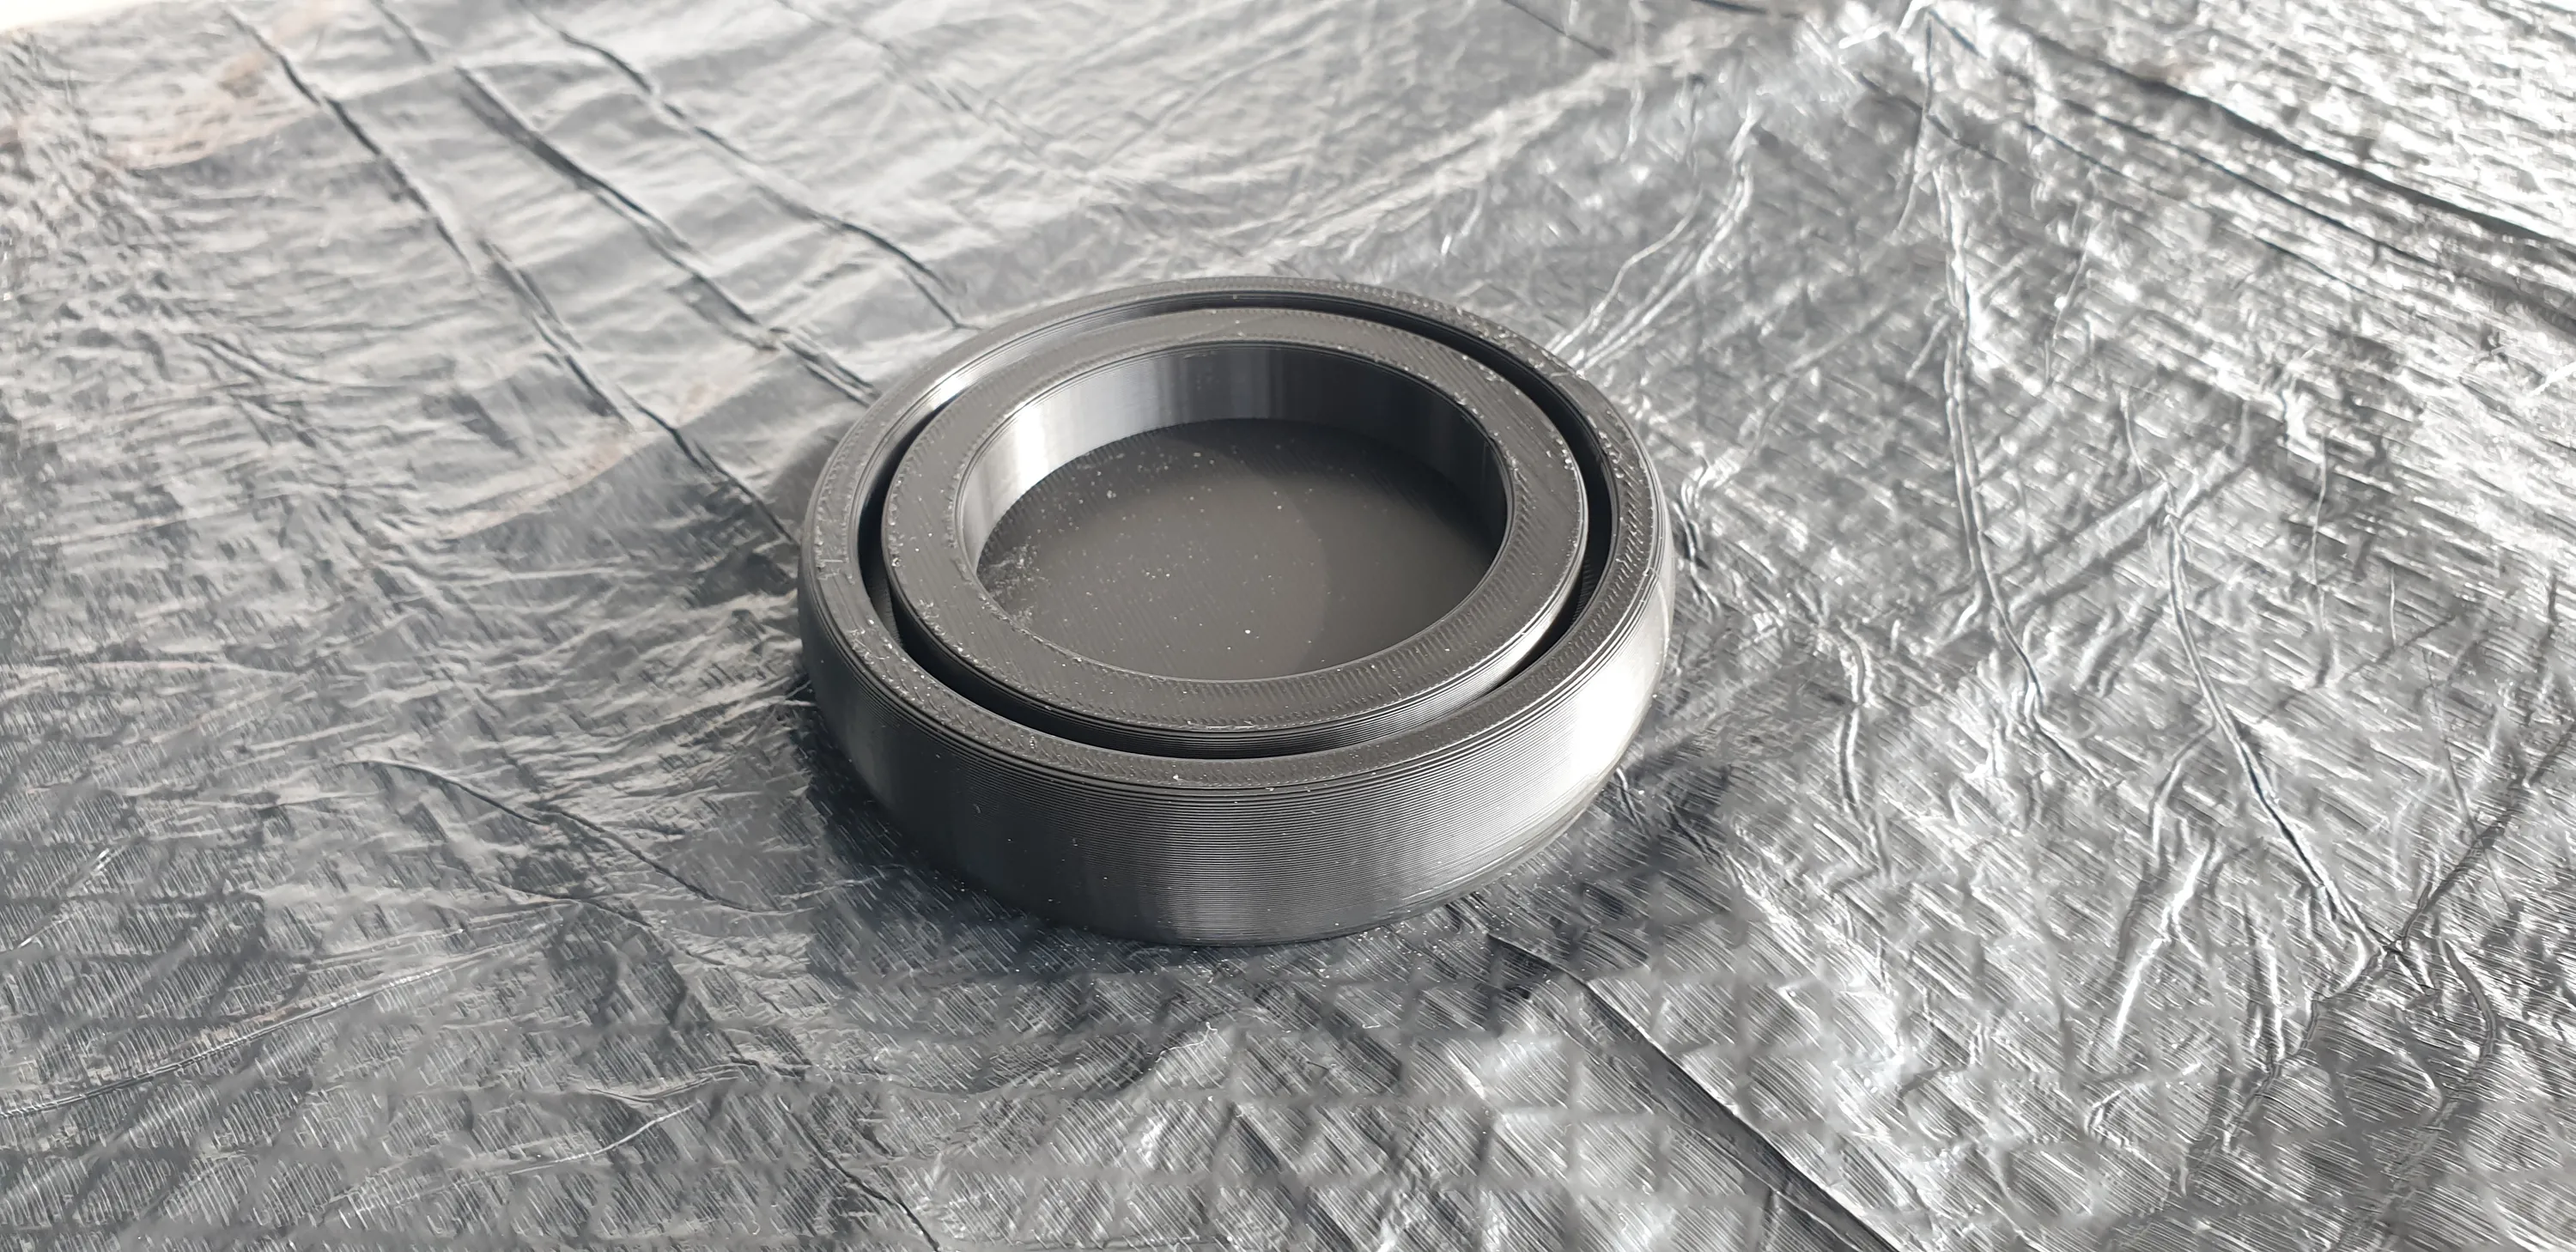
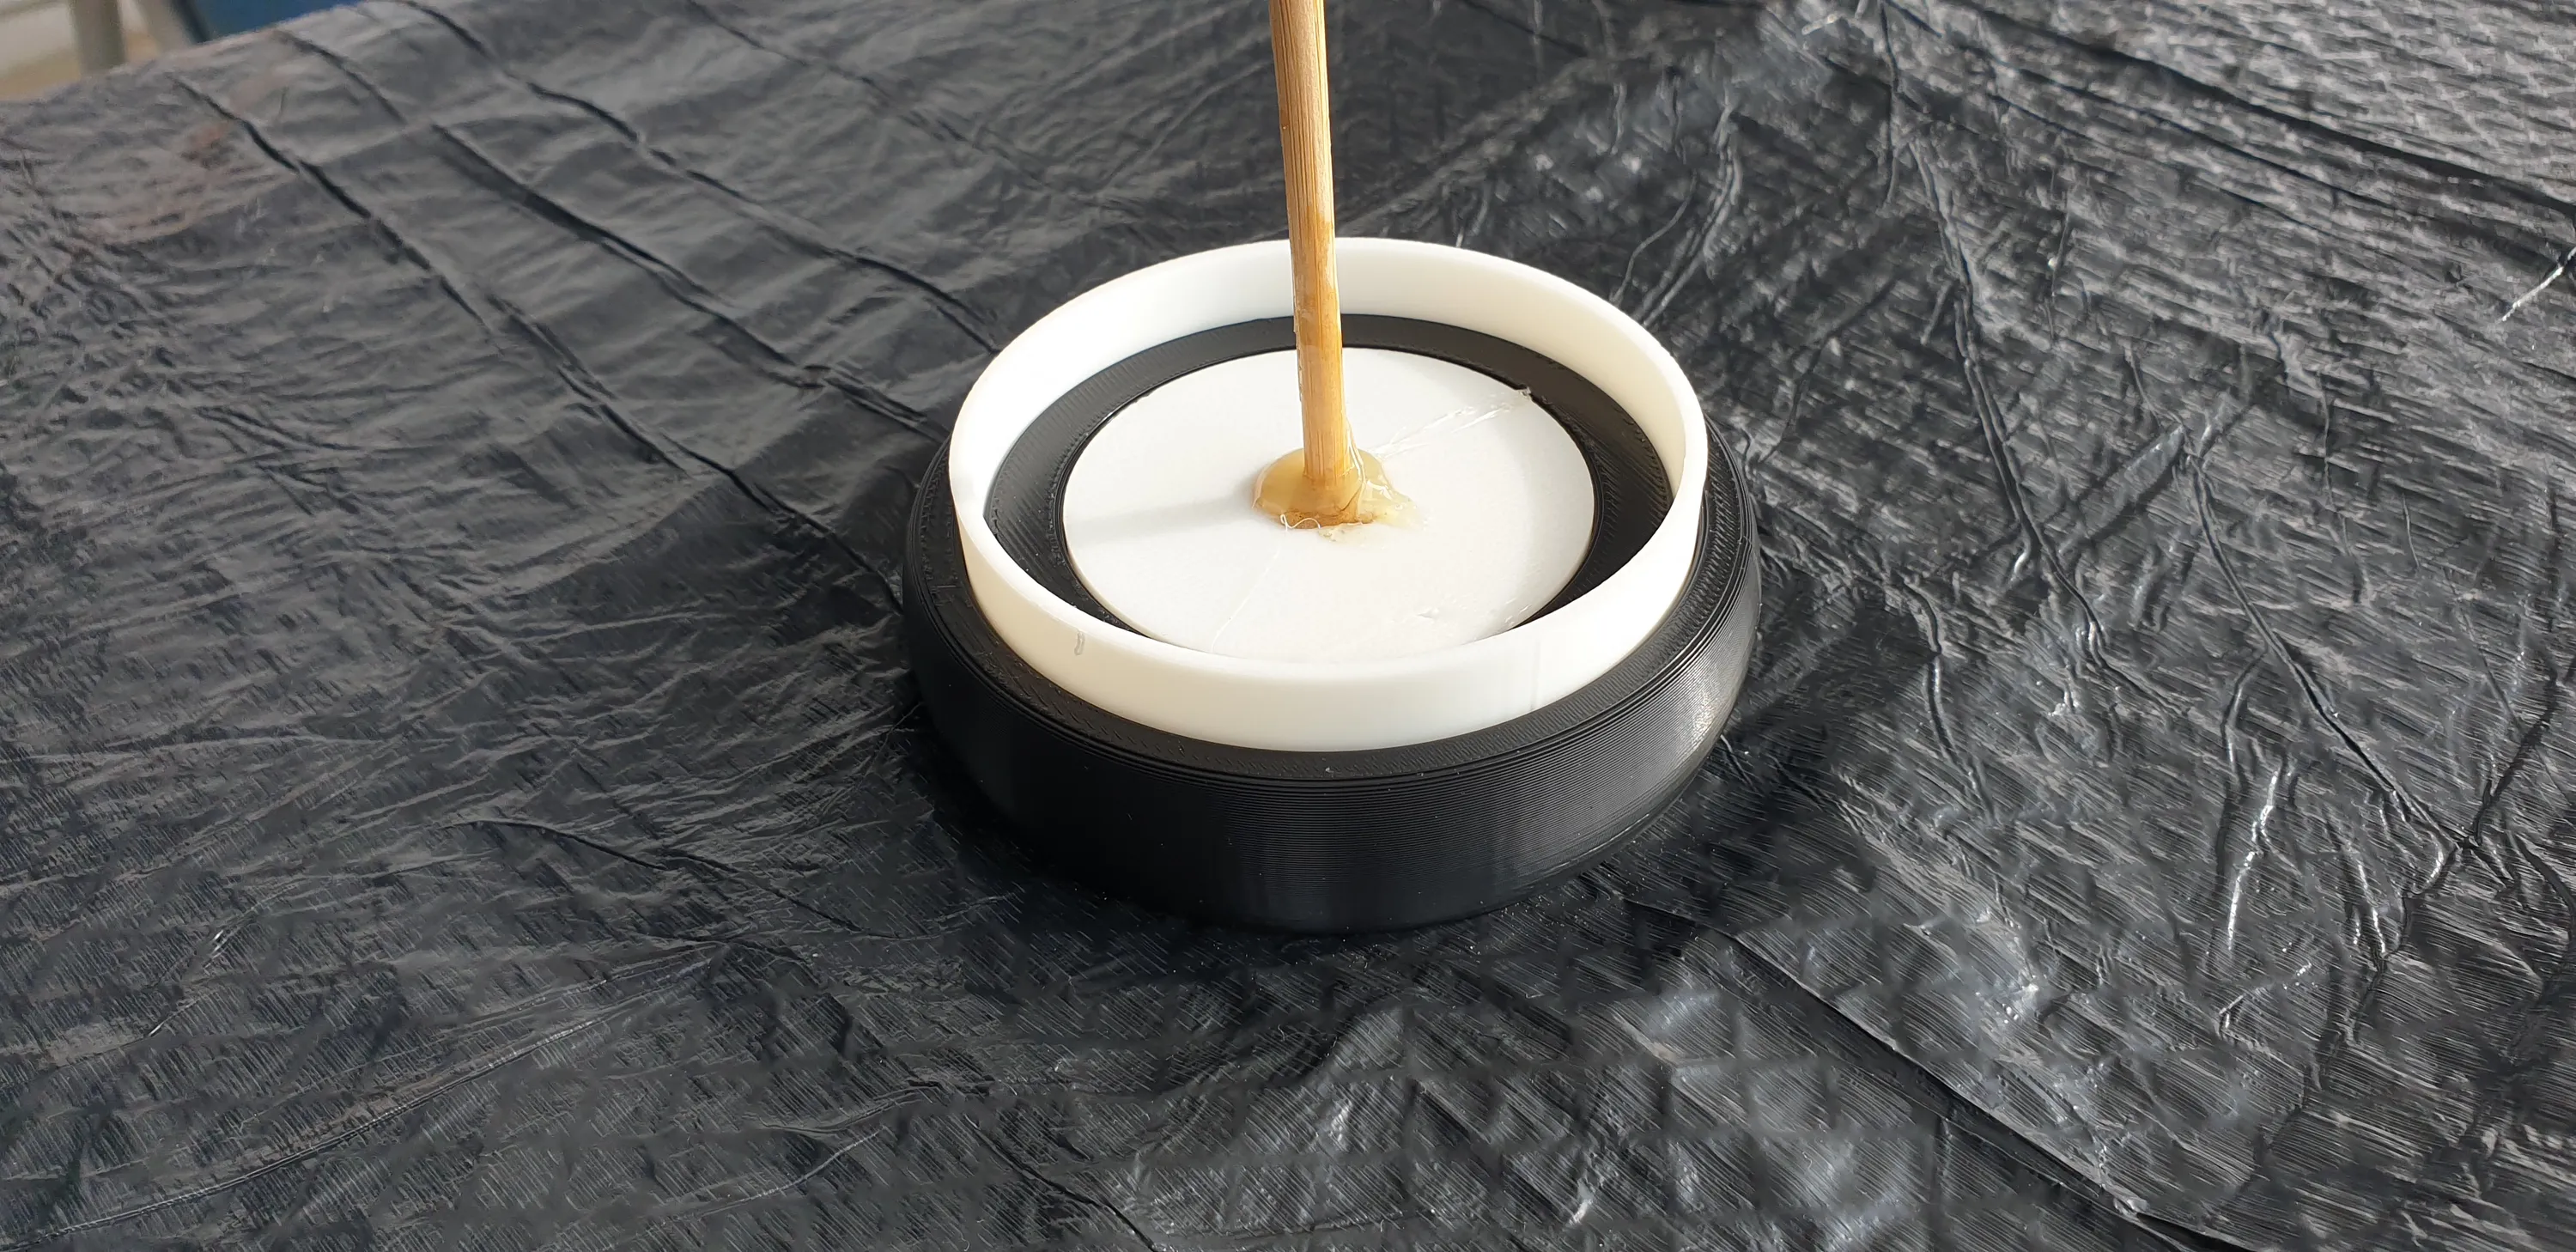
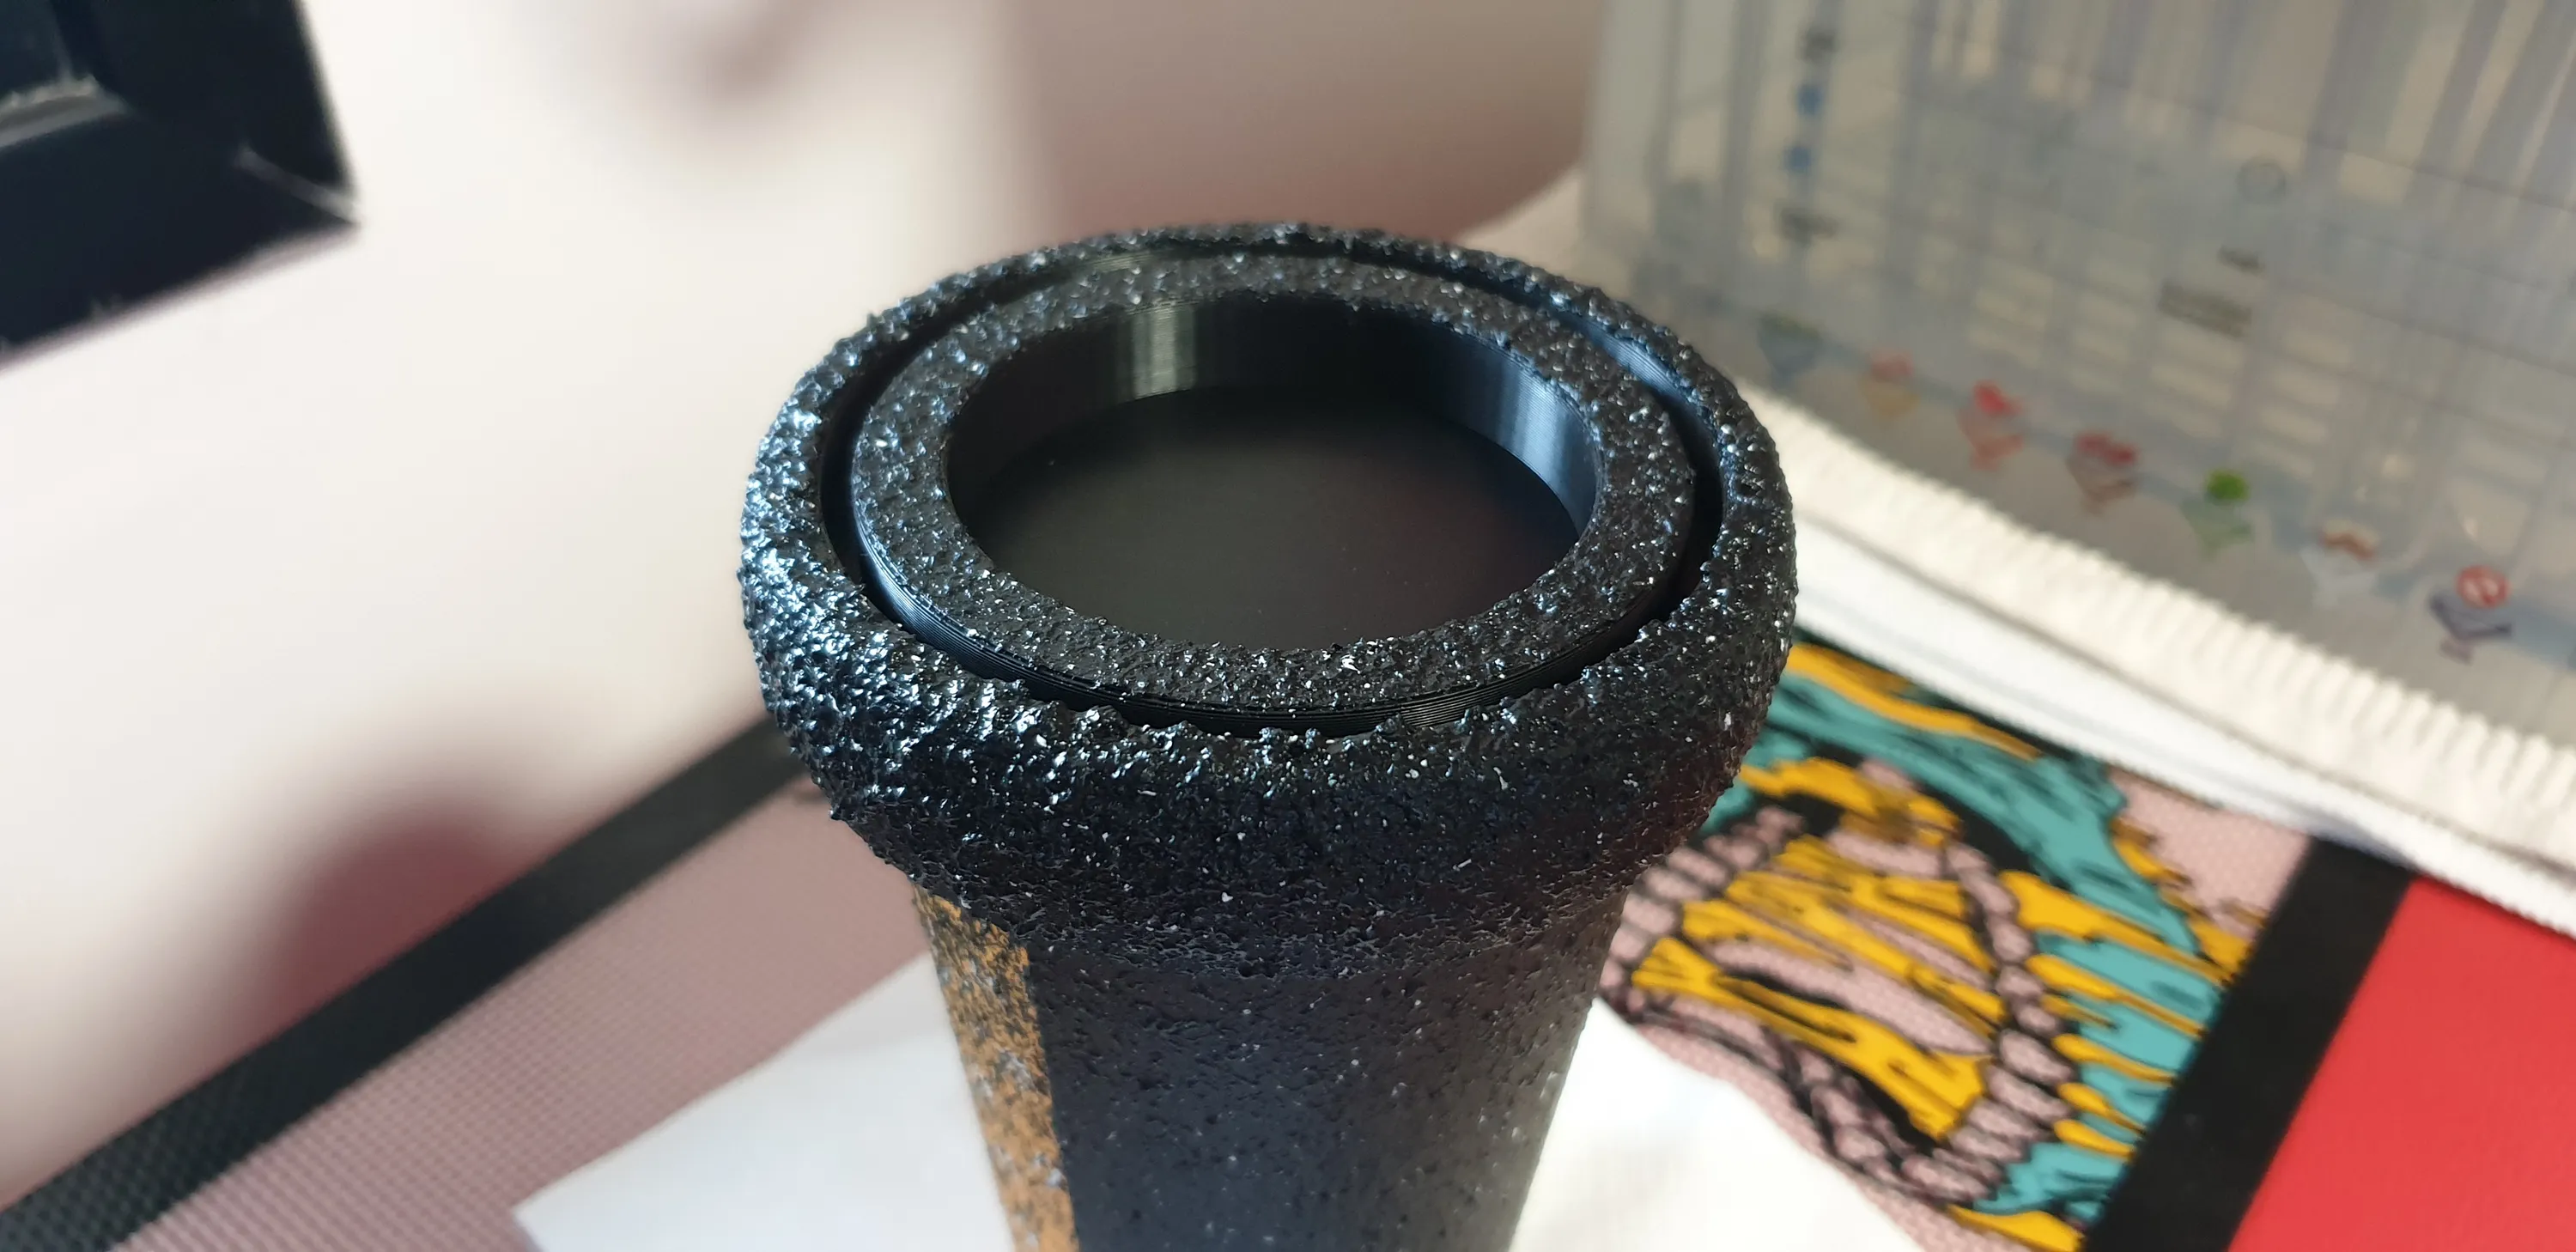
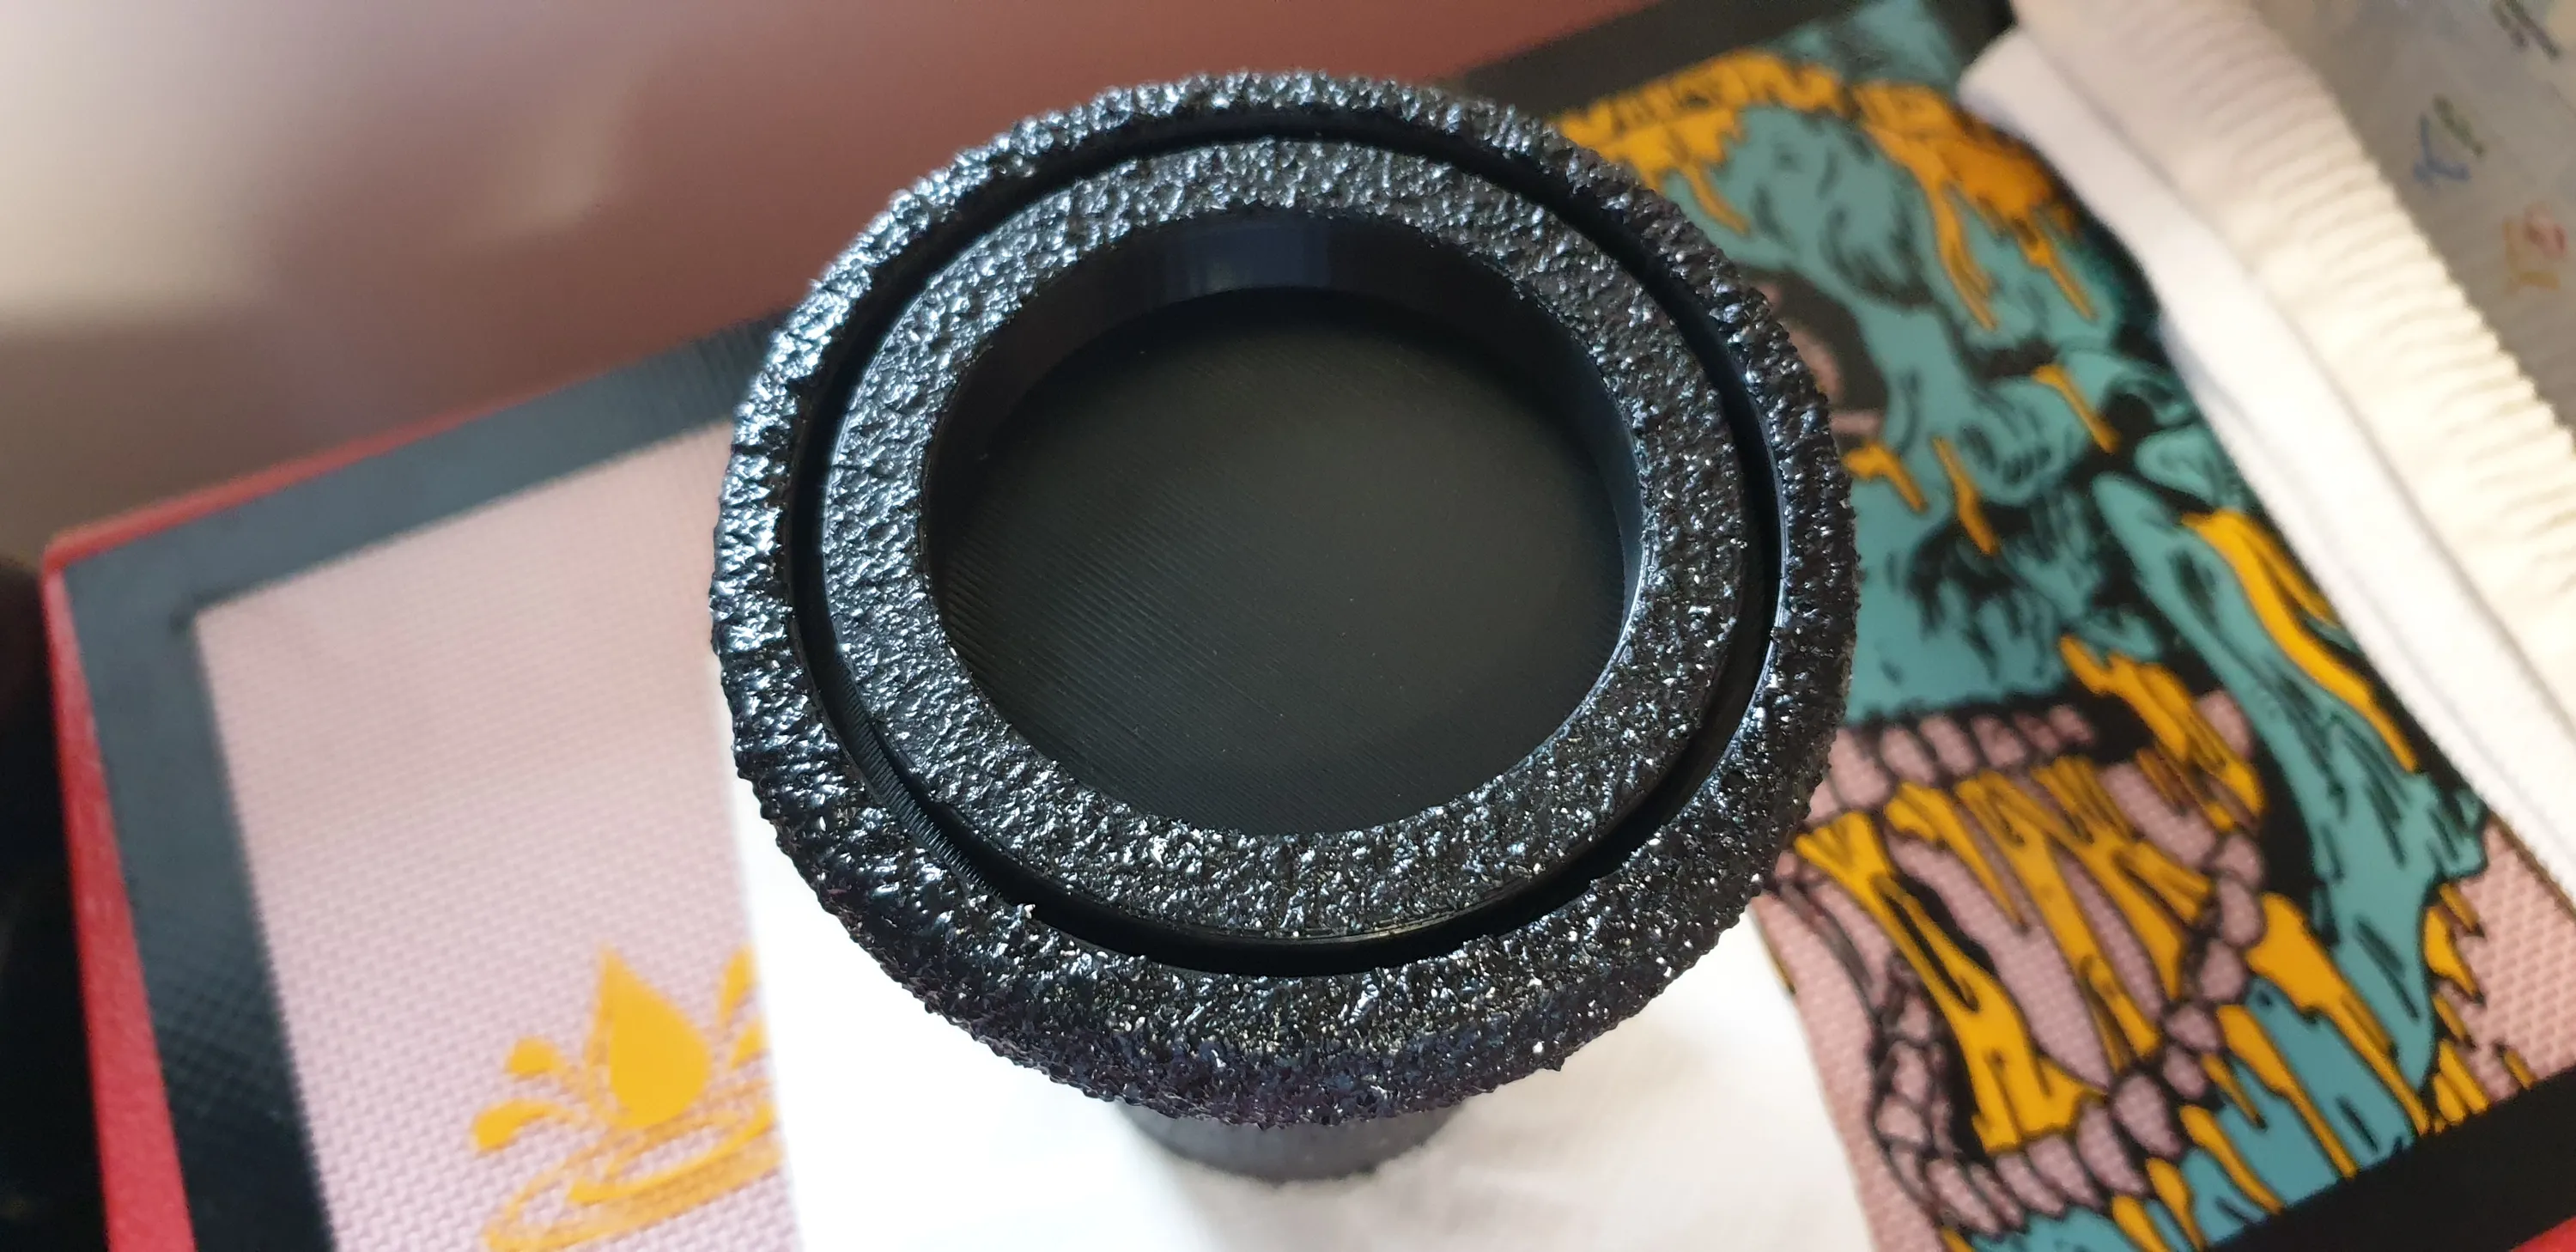
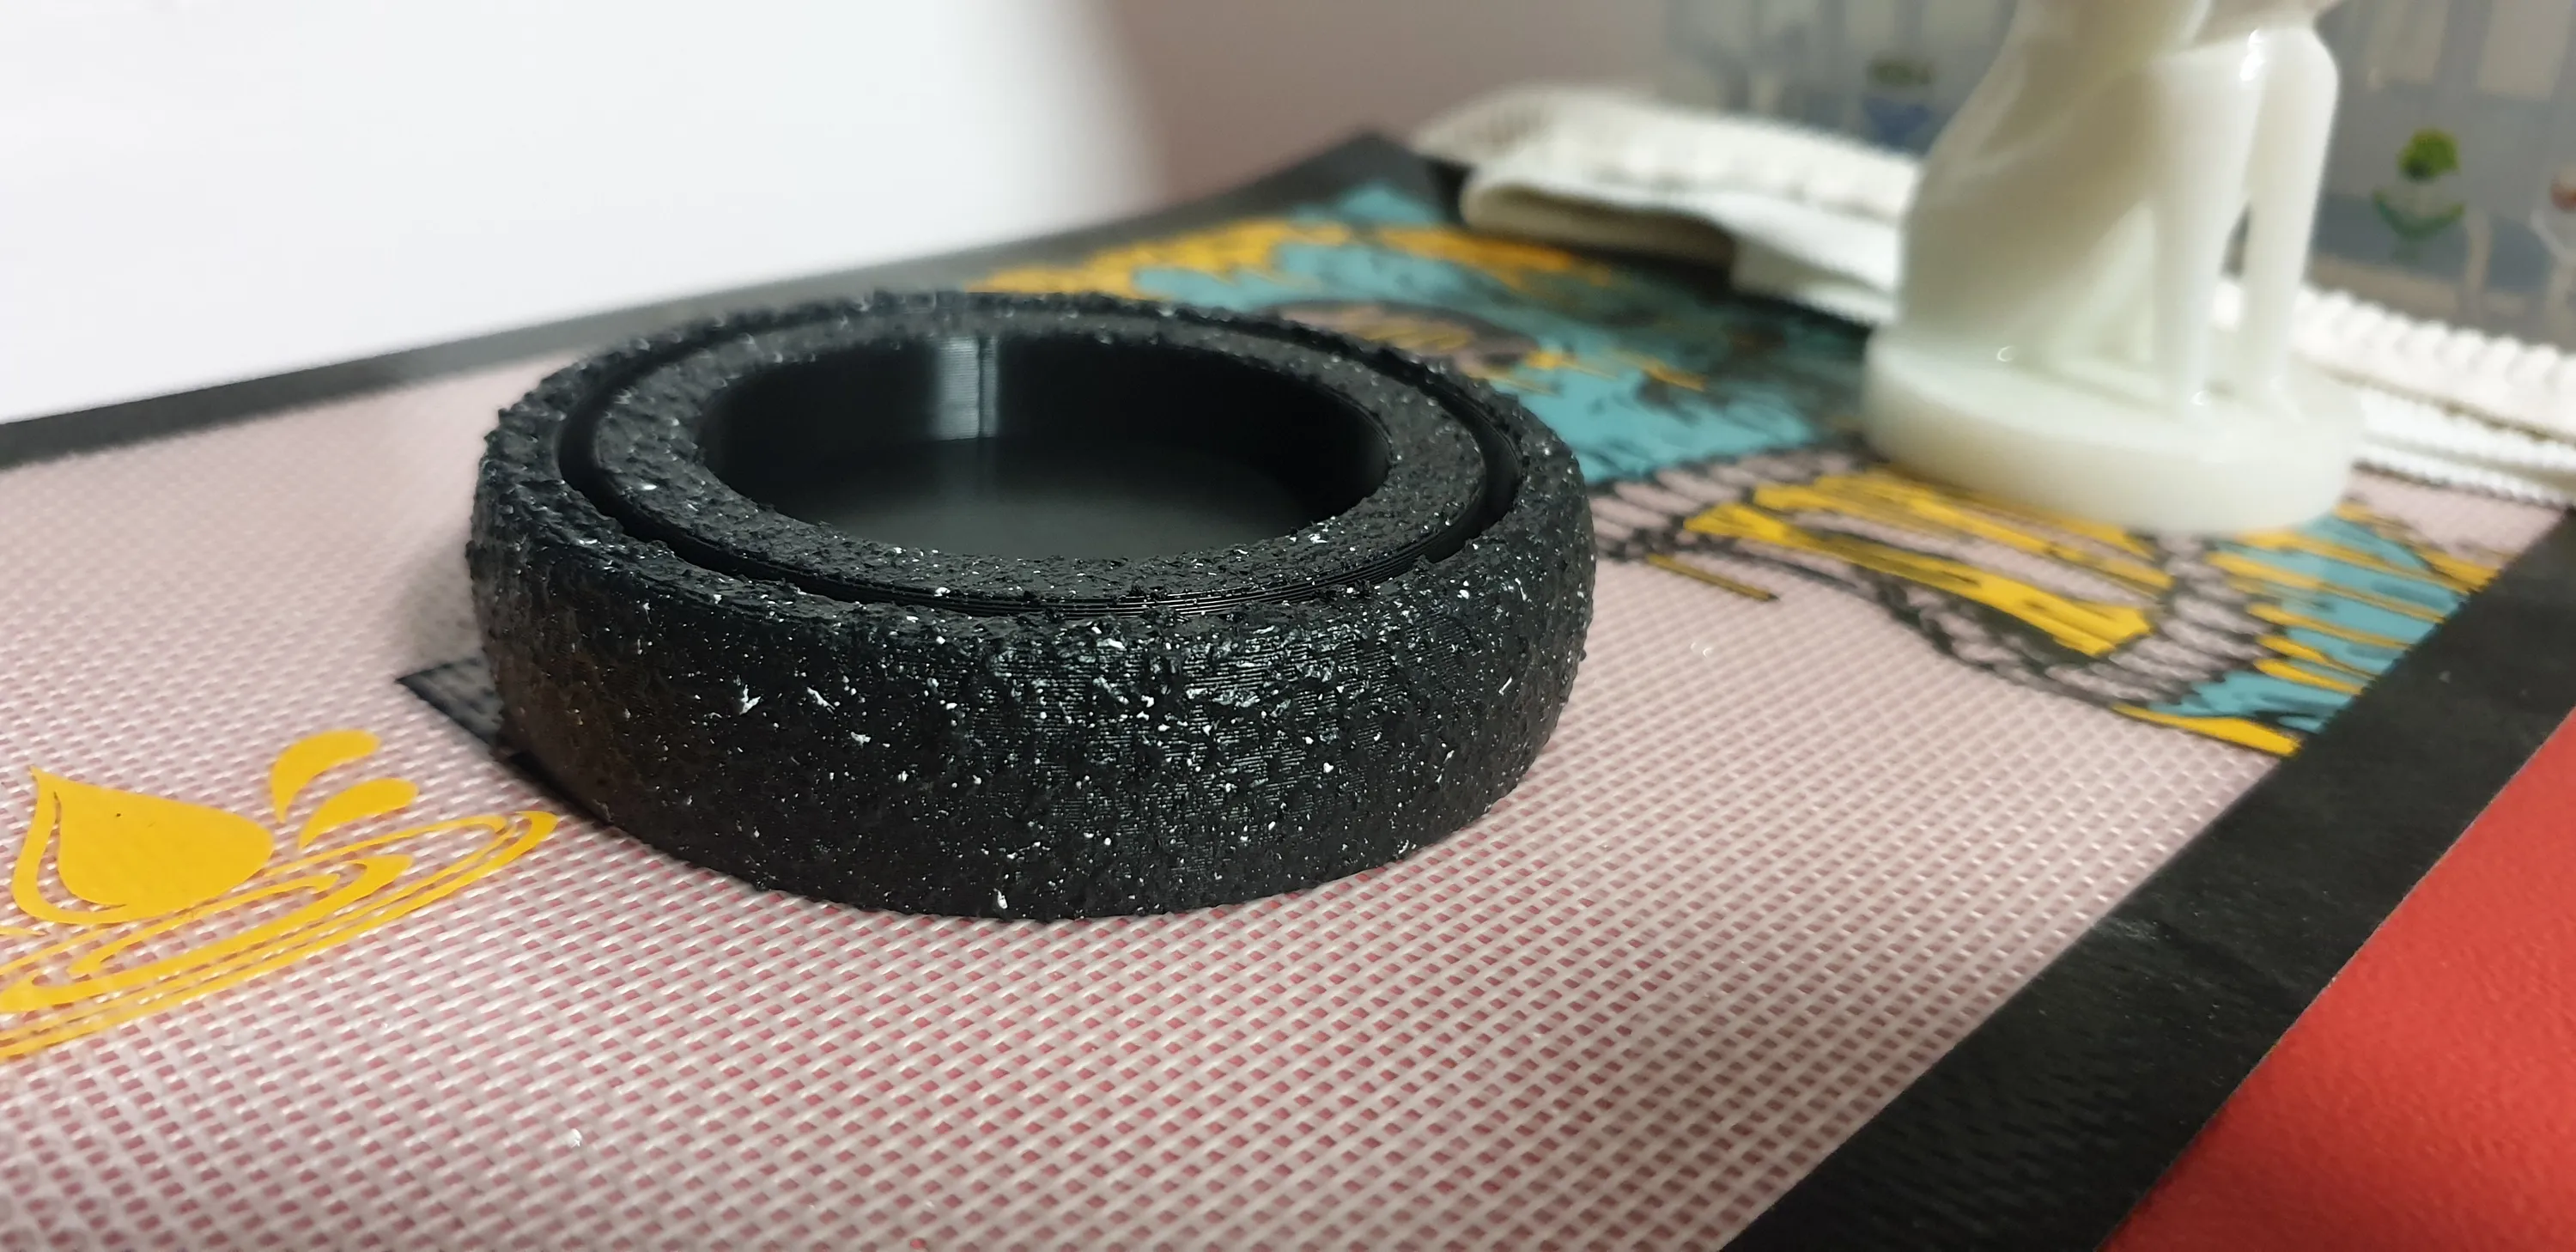
I found a glass dome online and printed a base to replace to glass base that came with the dome.
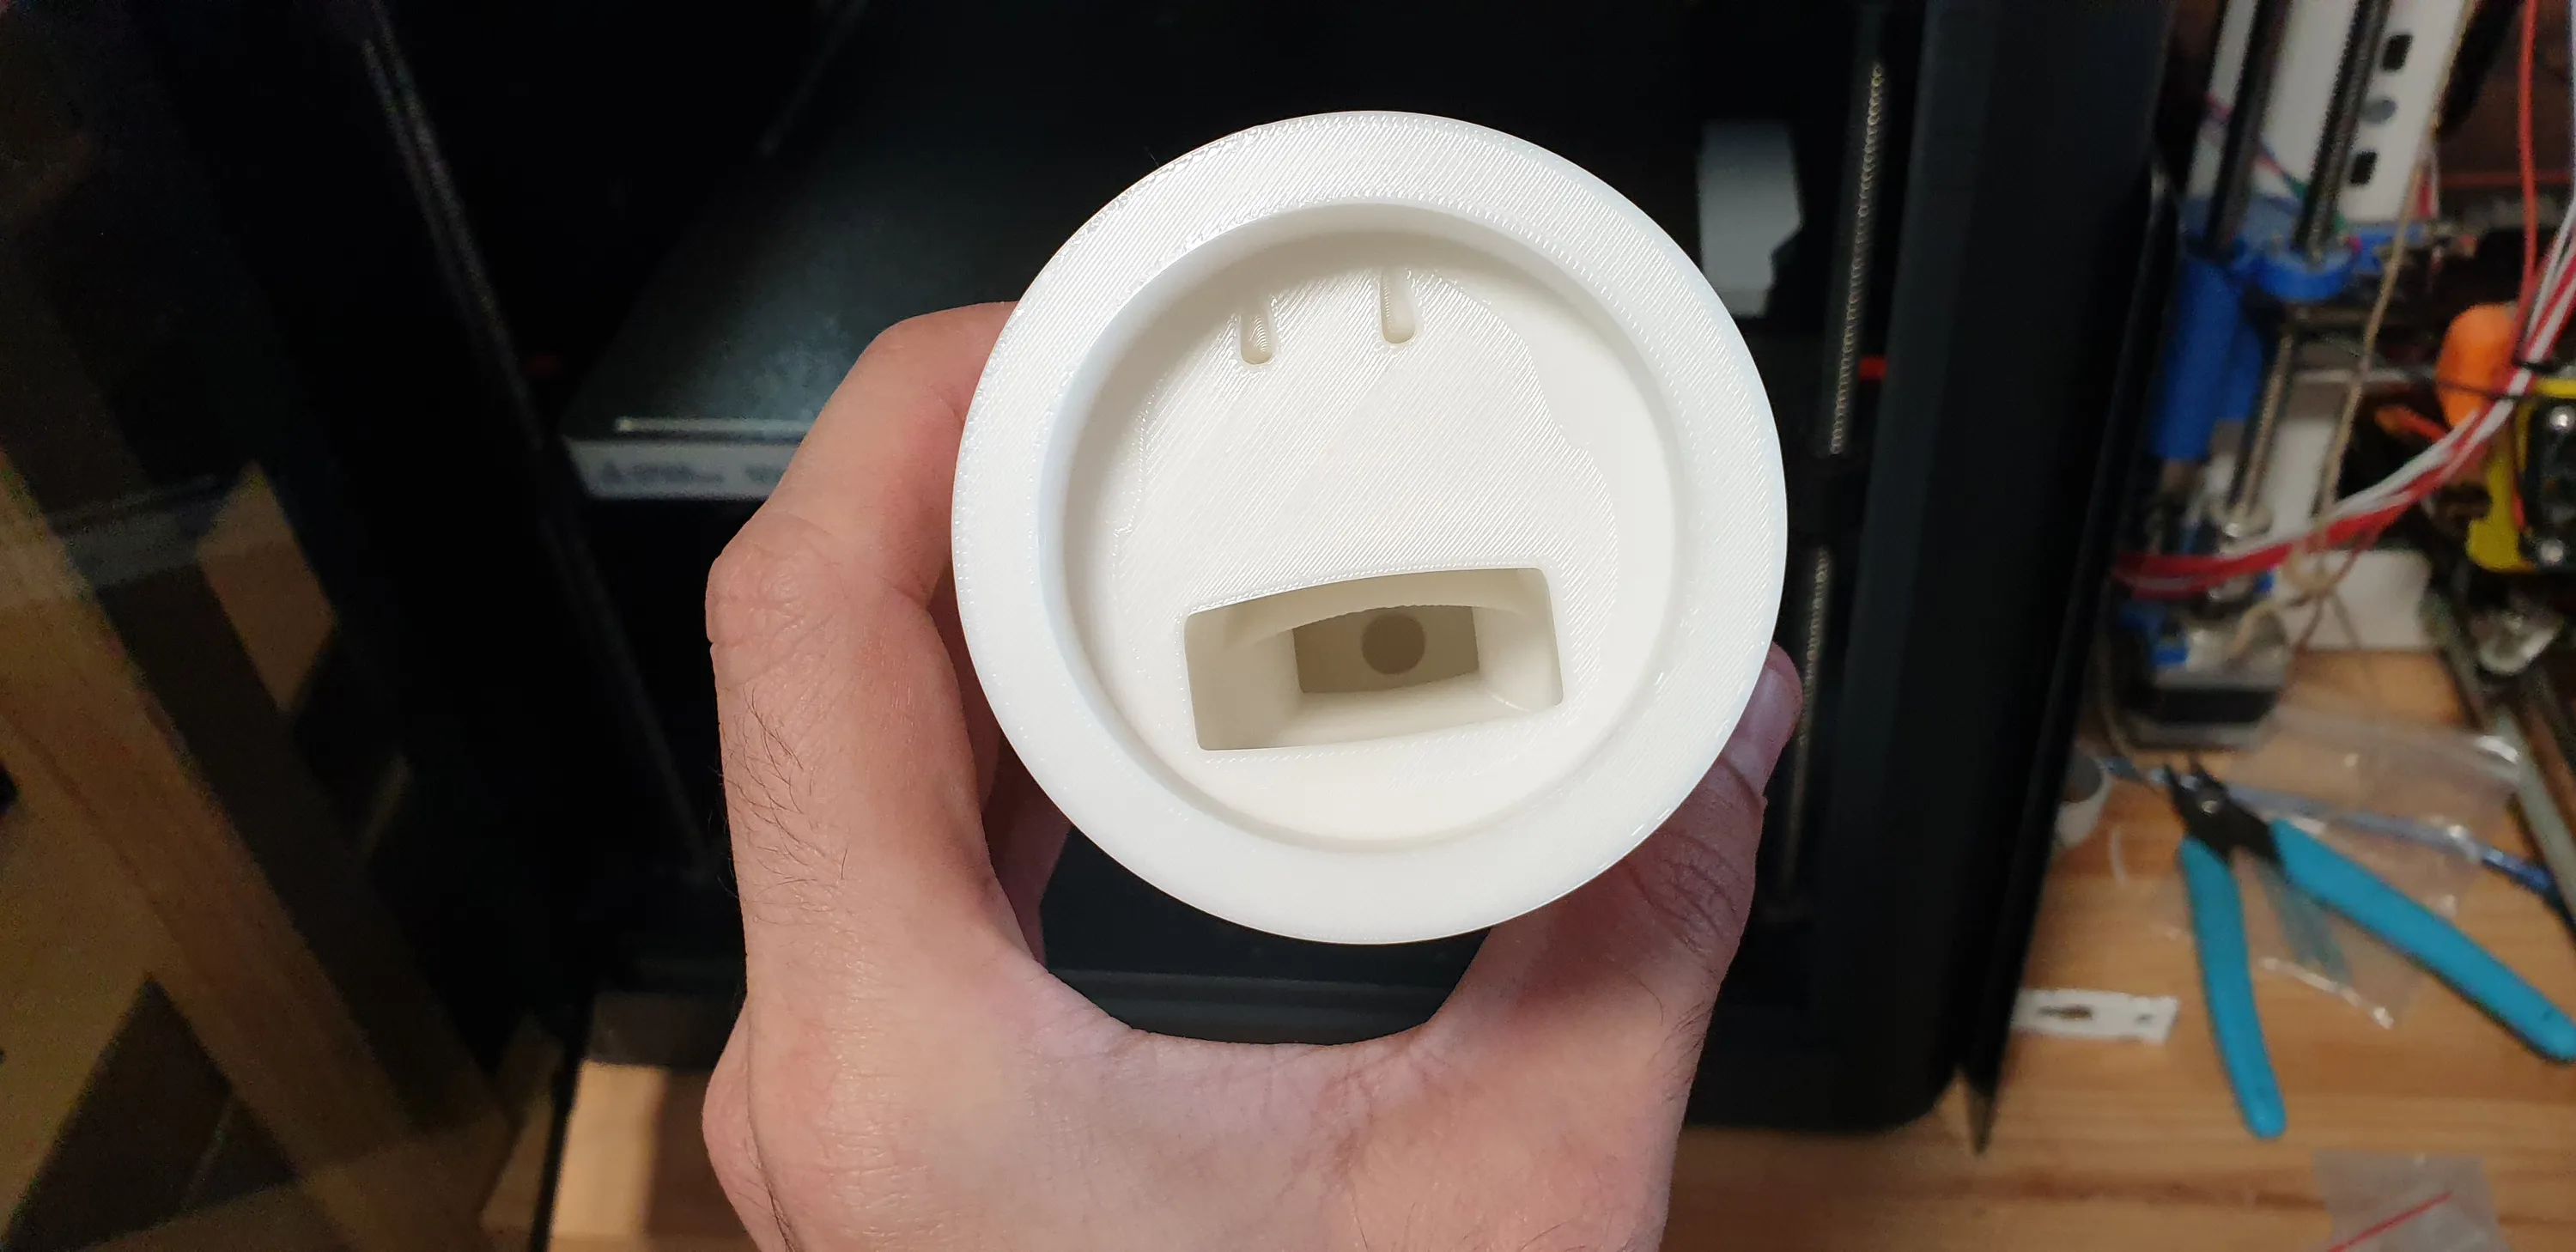
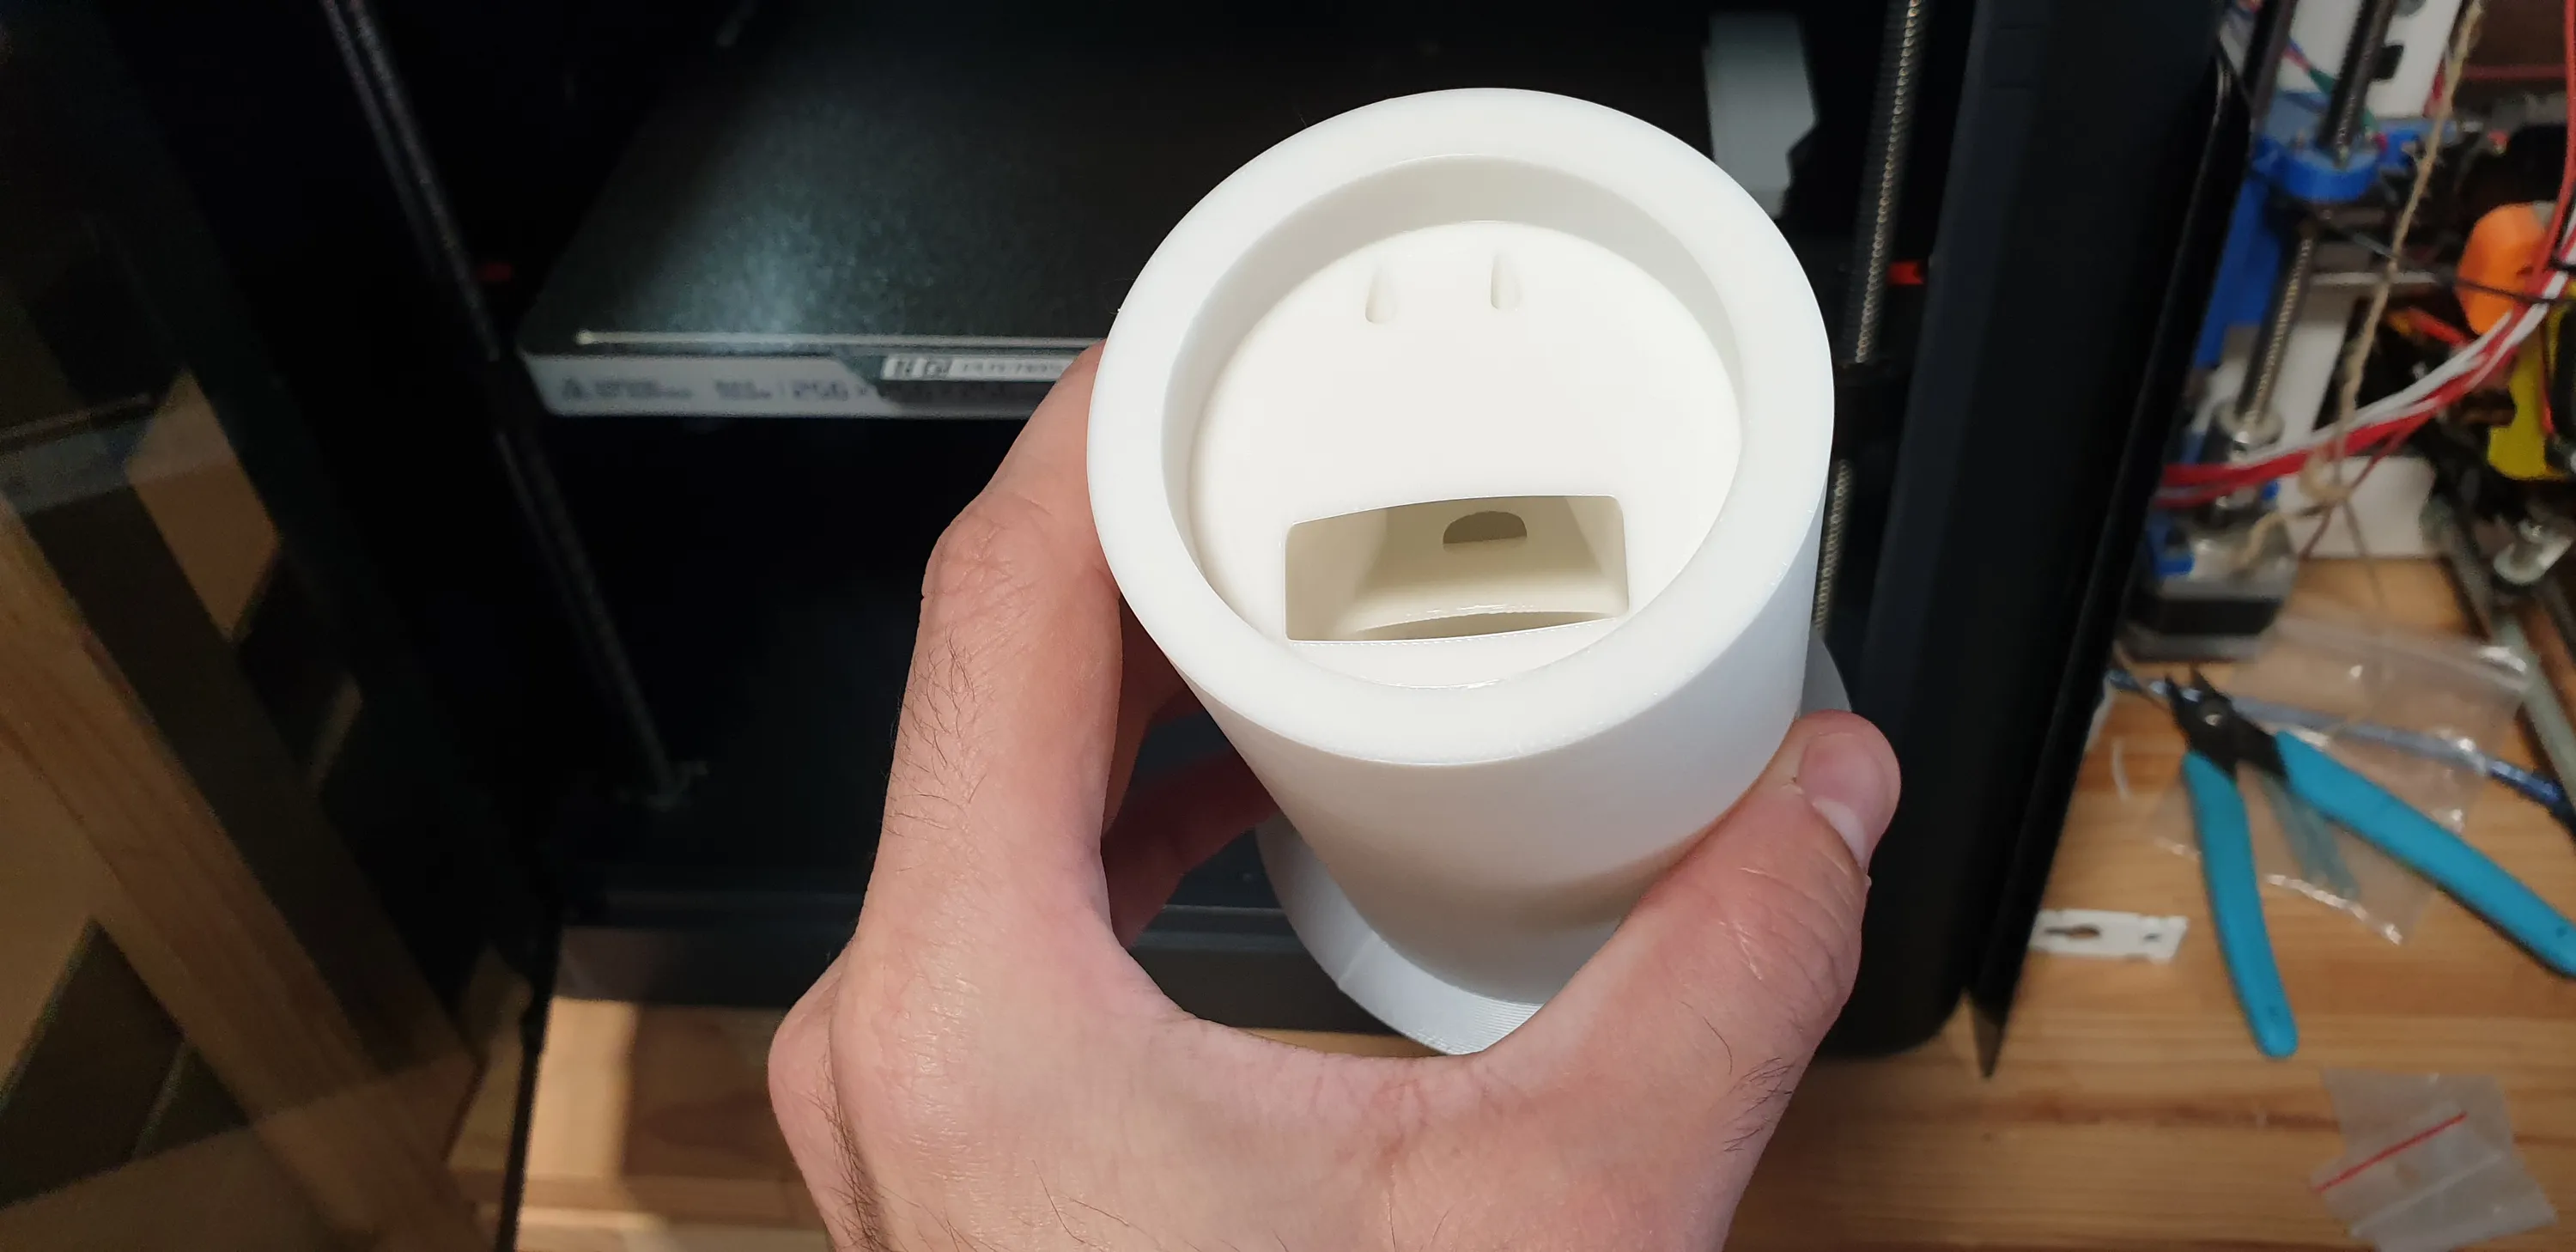
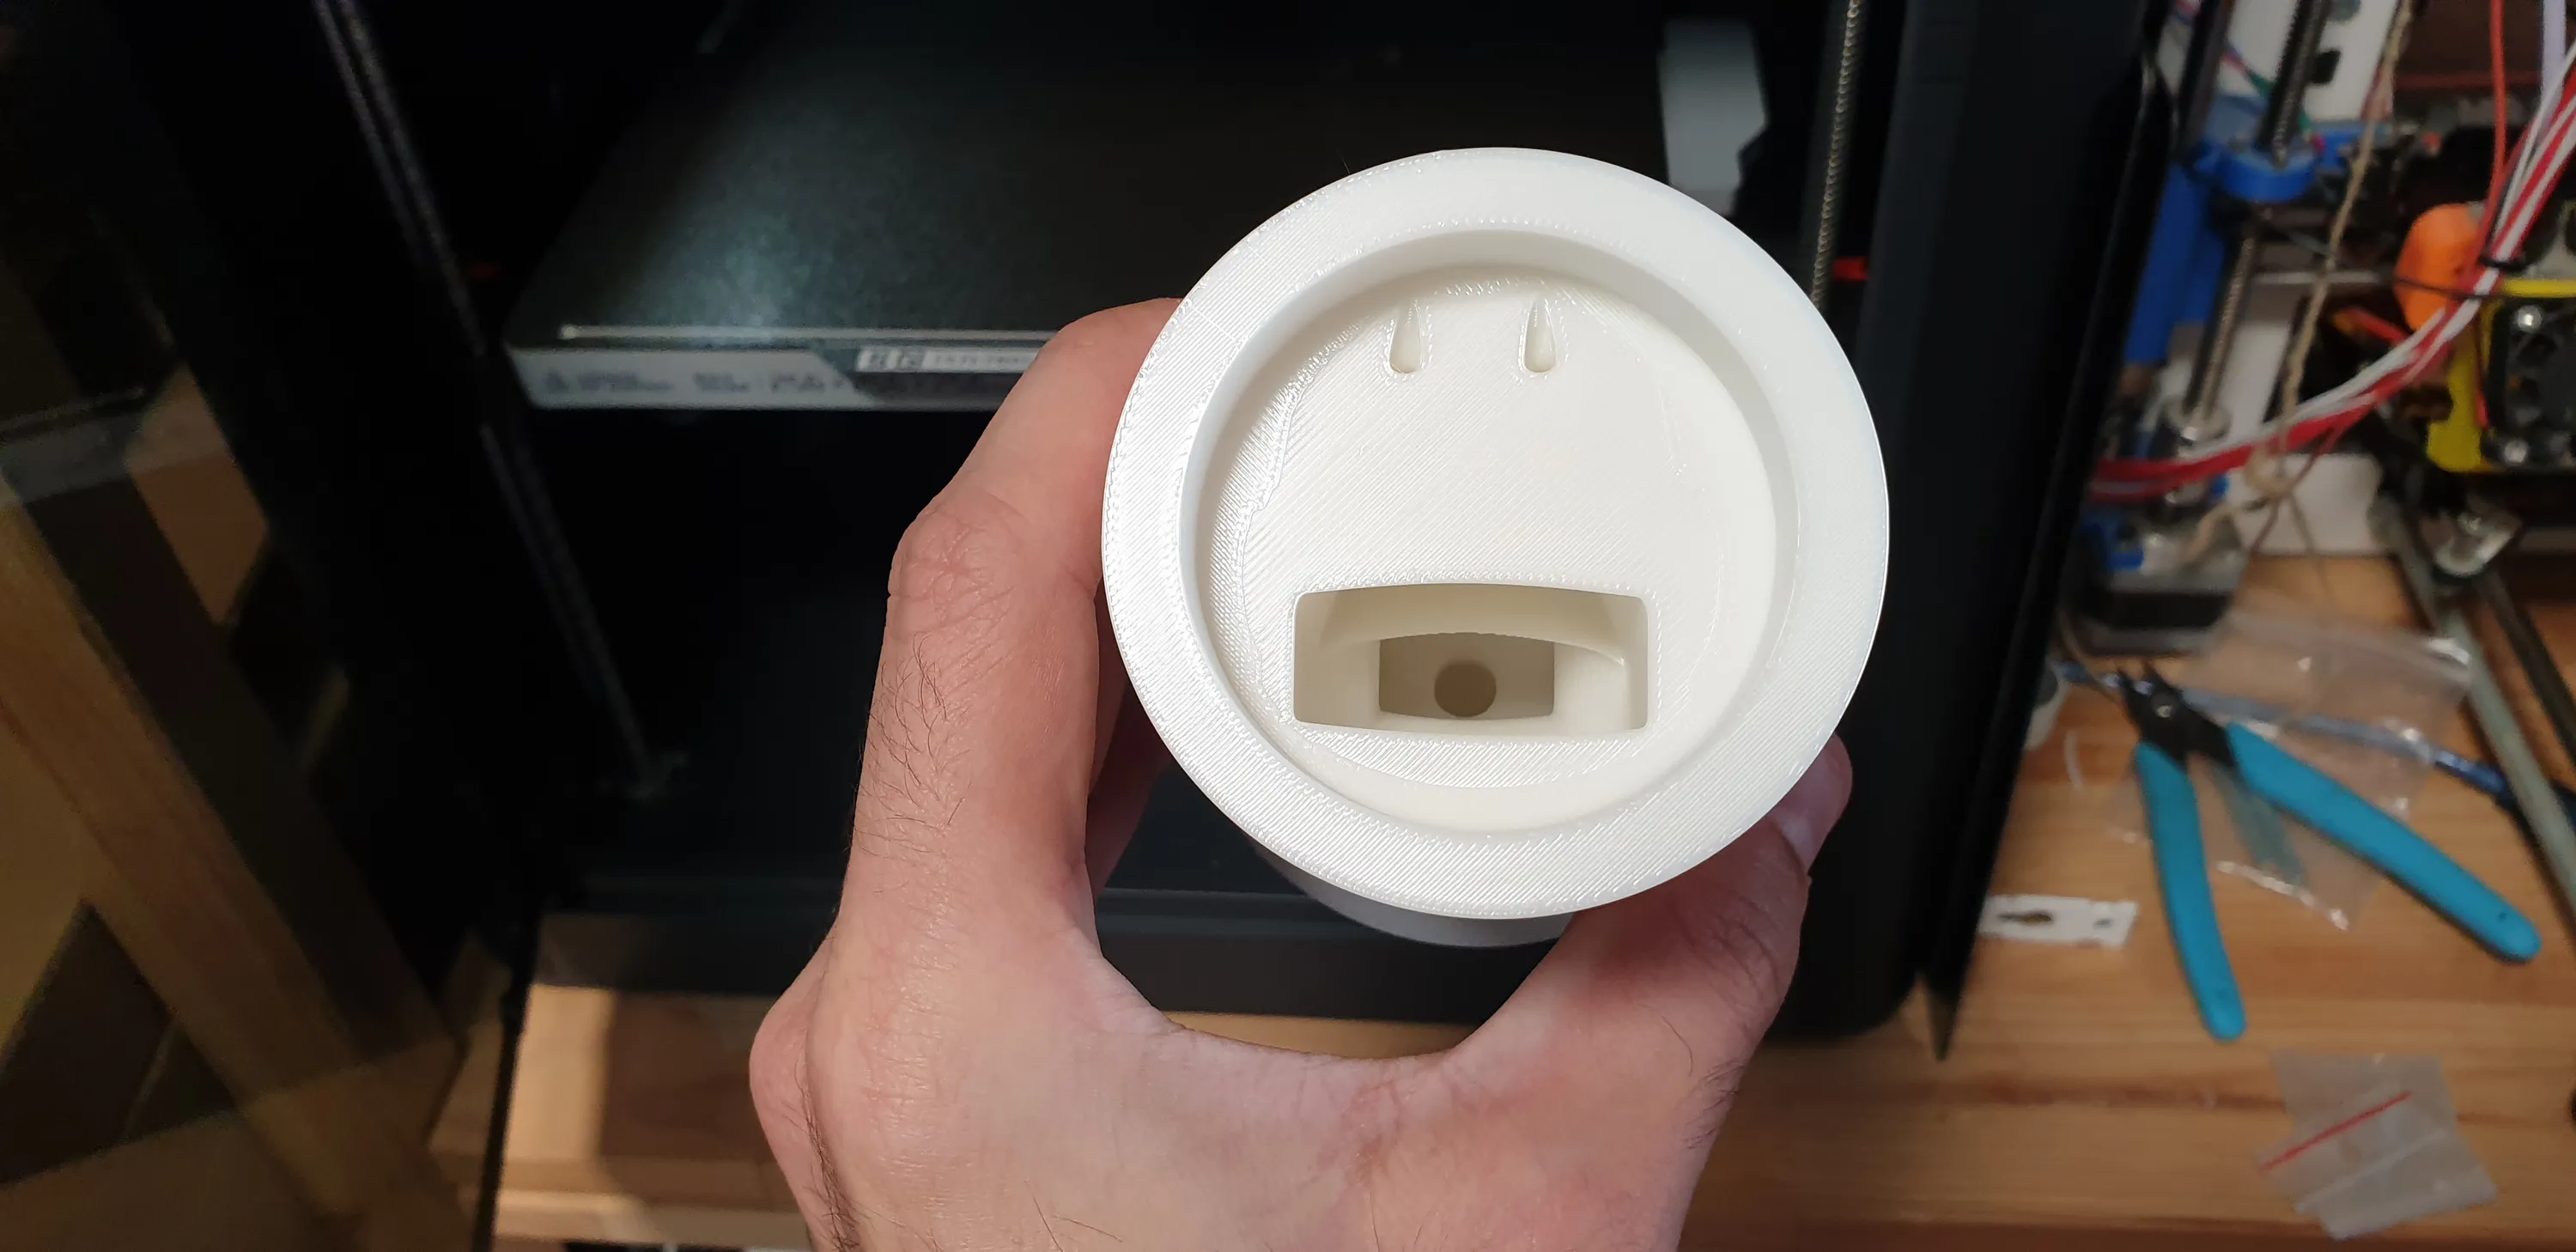
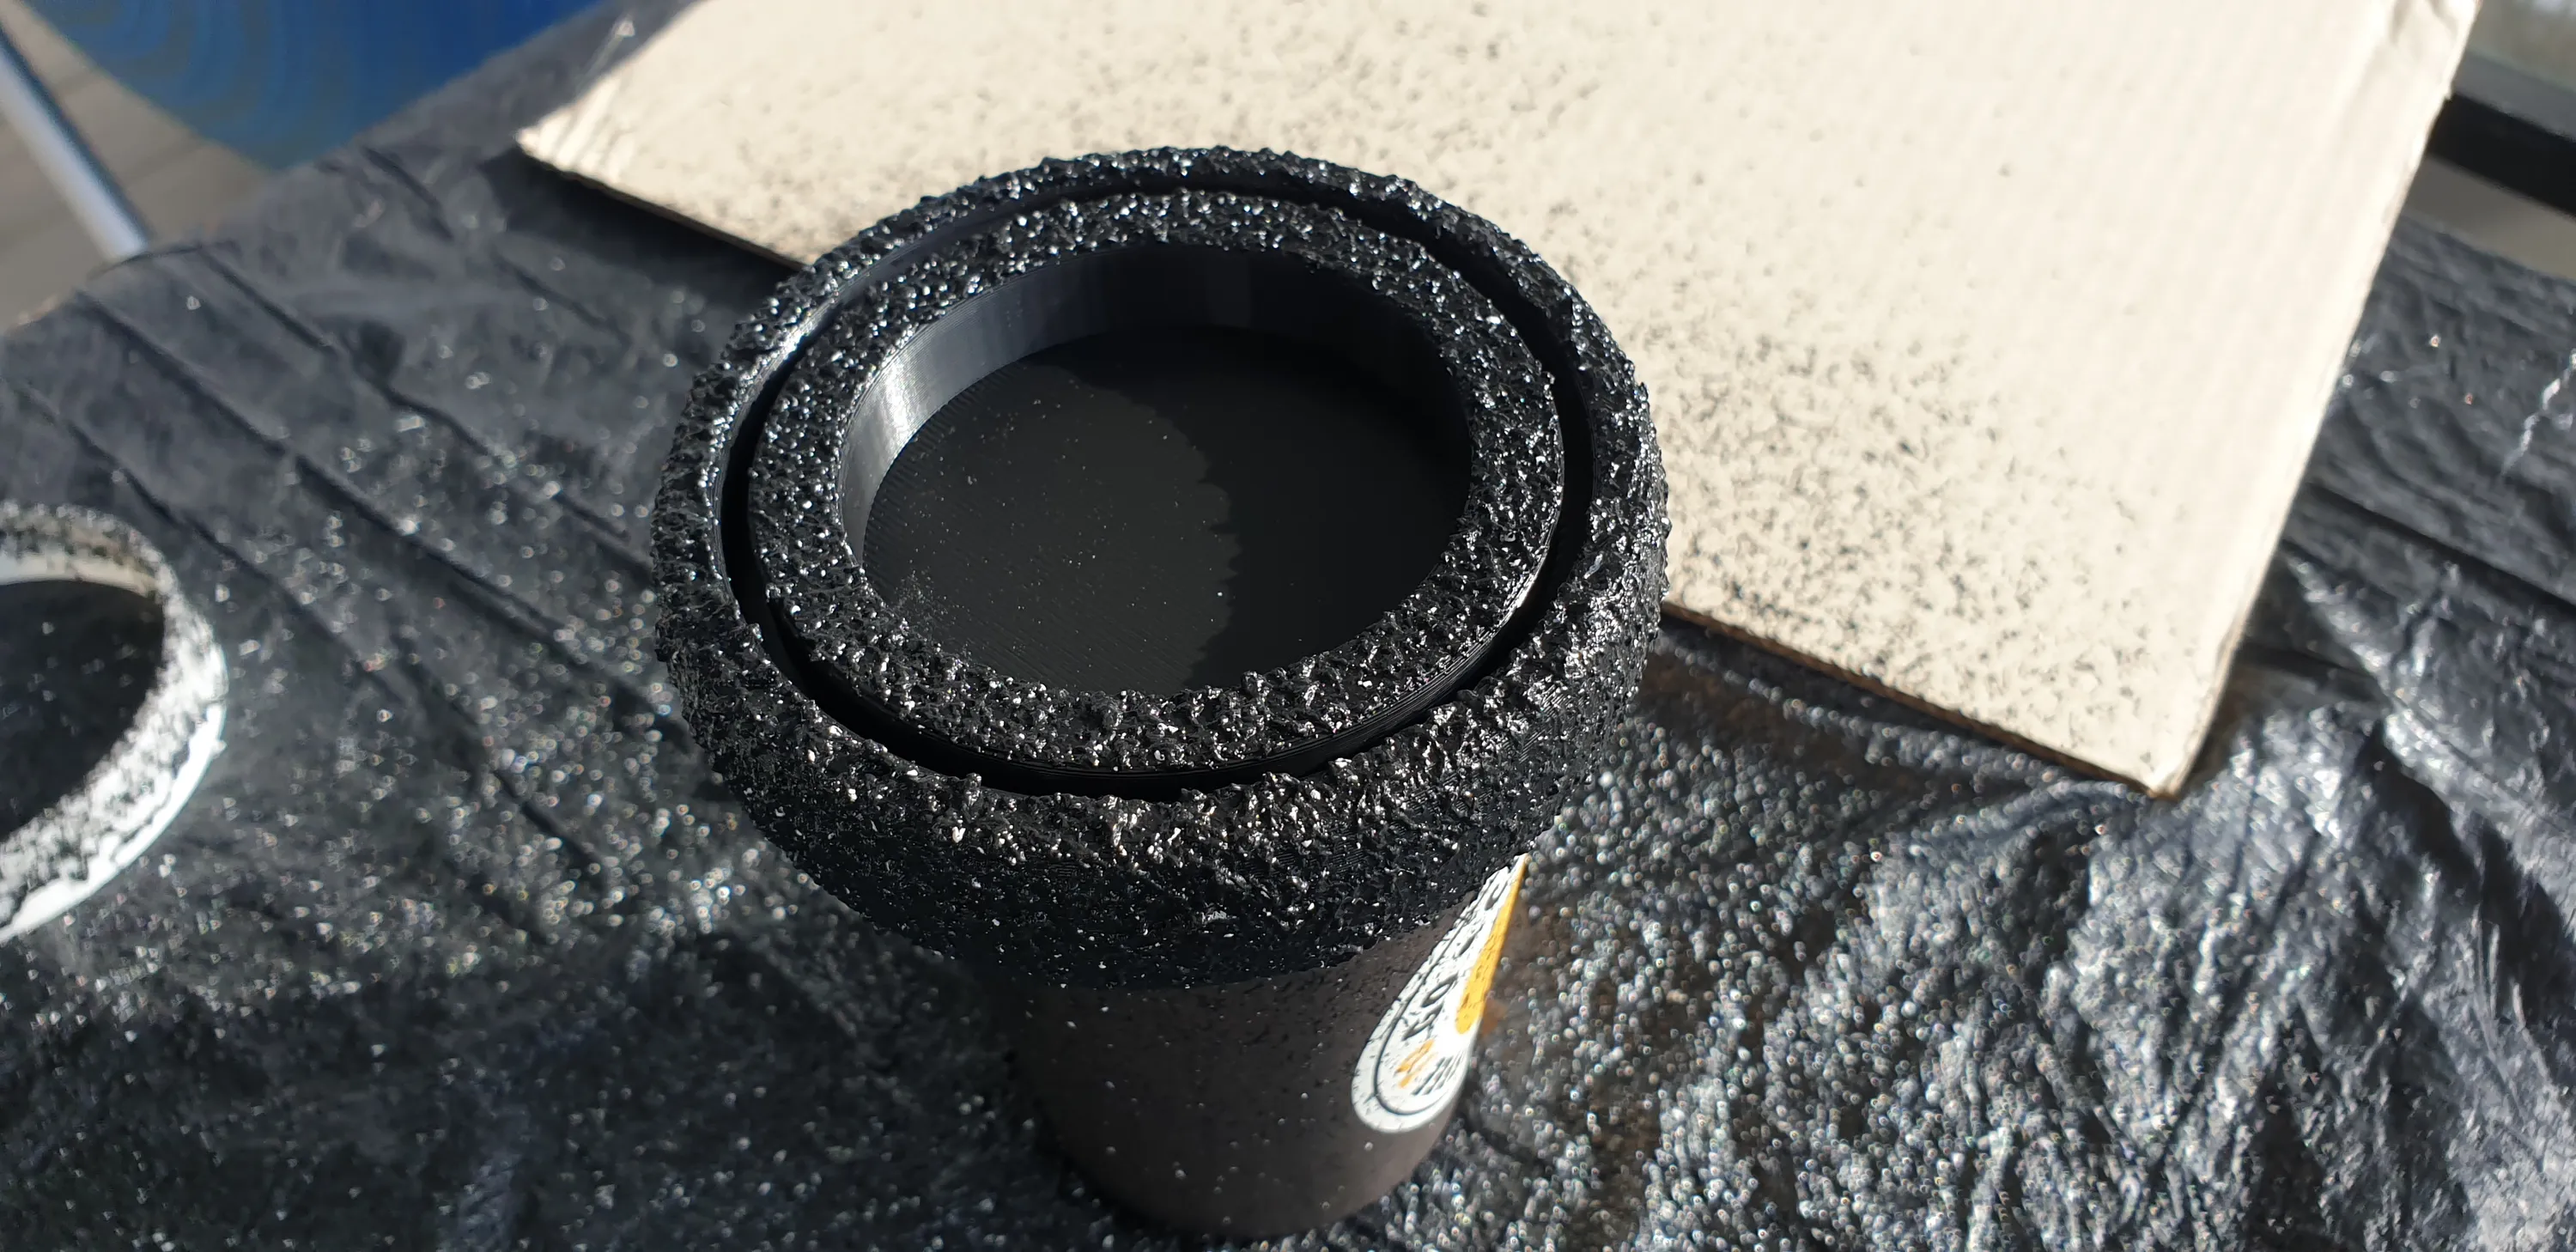
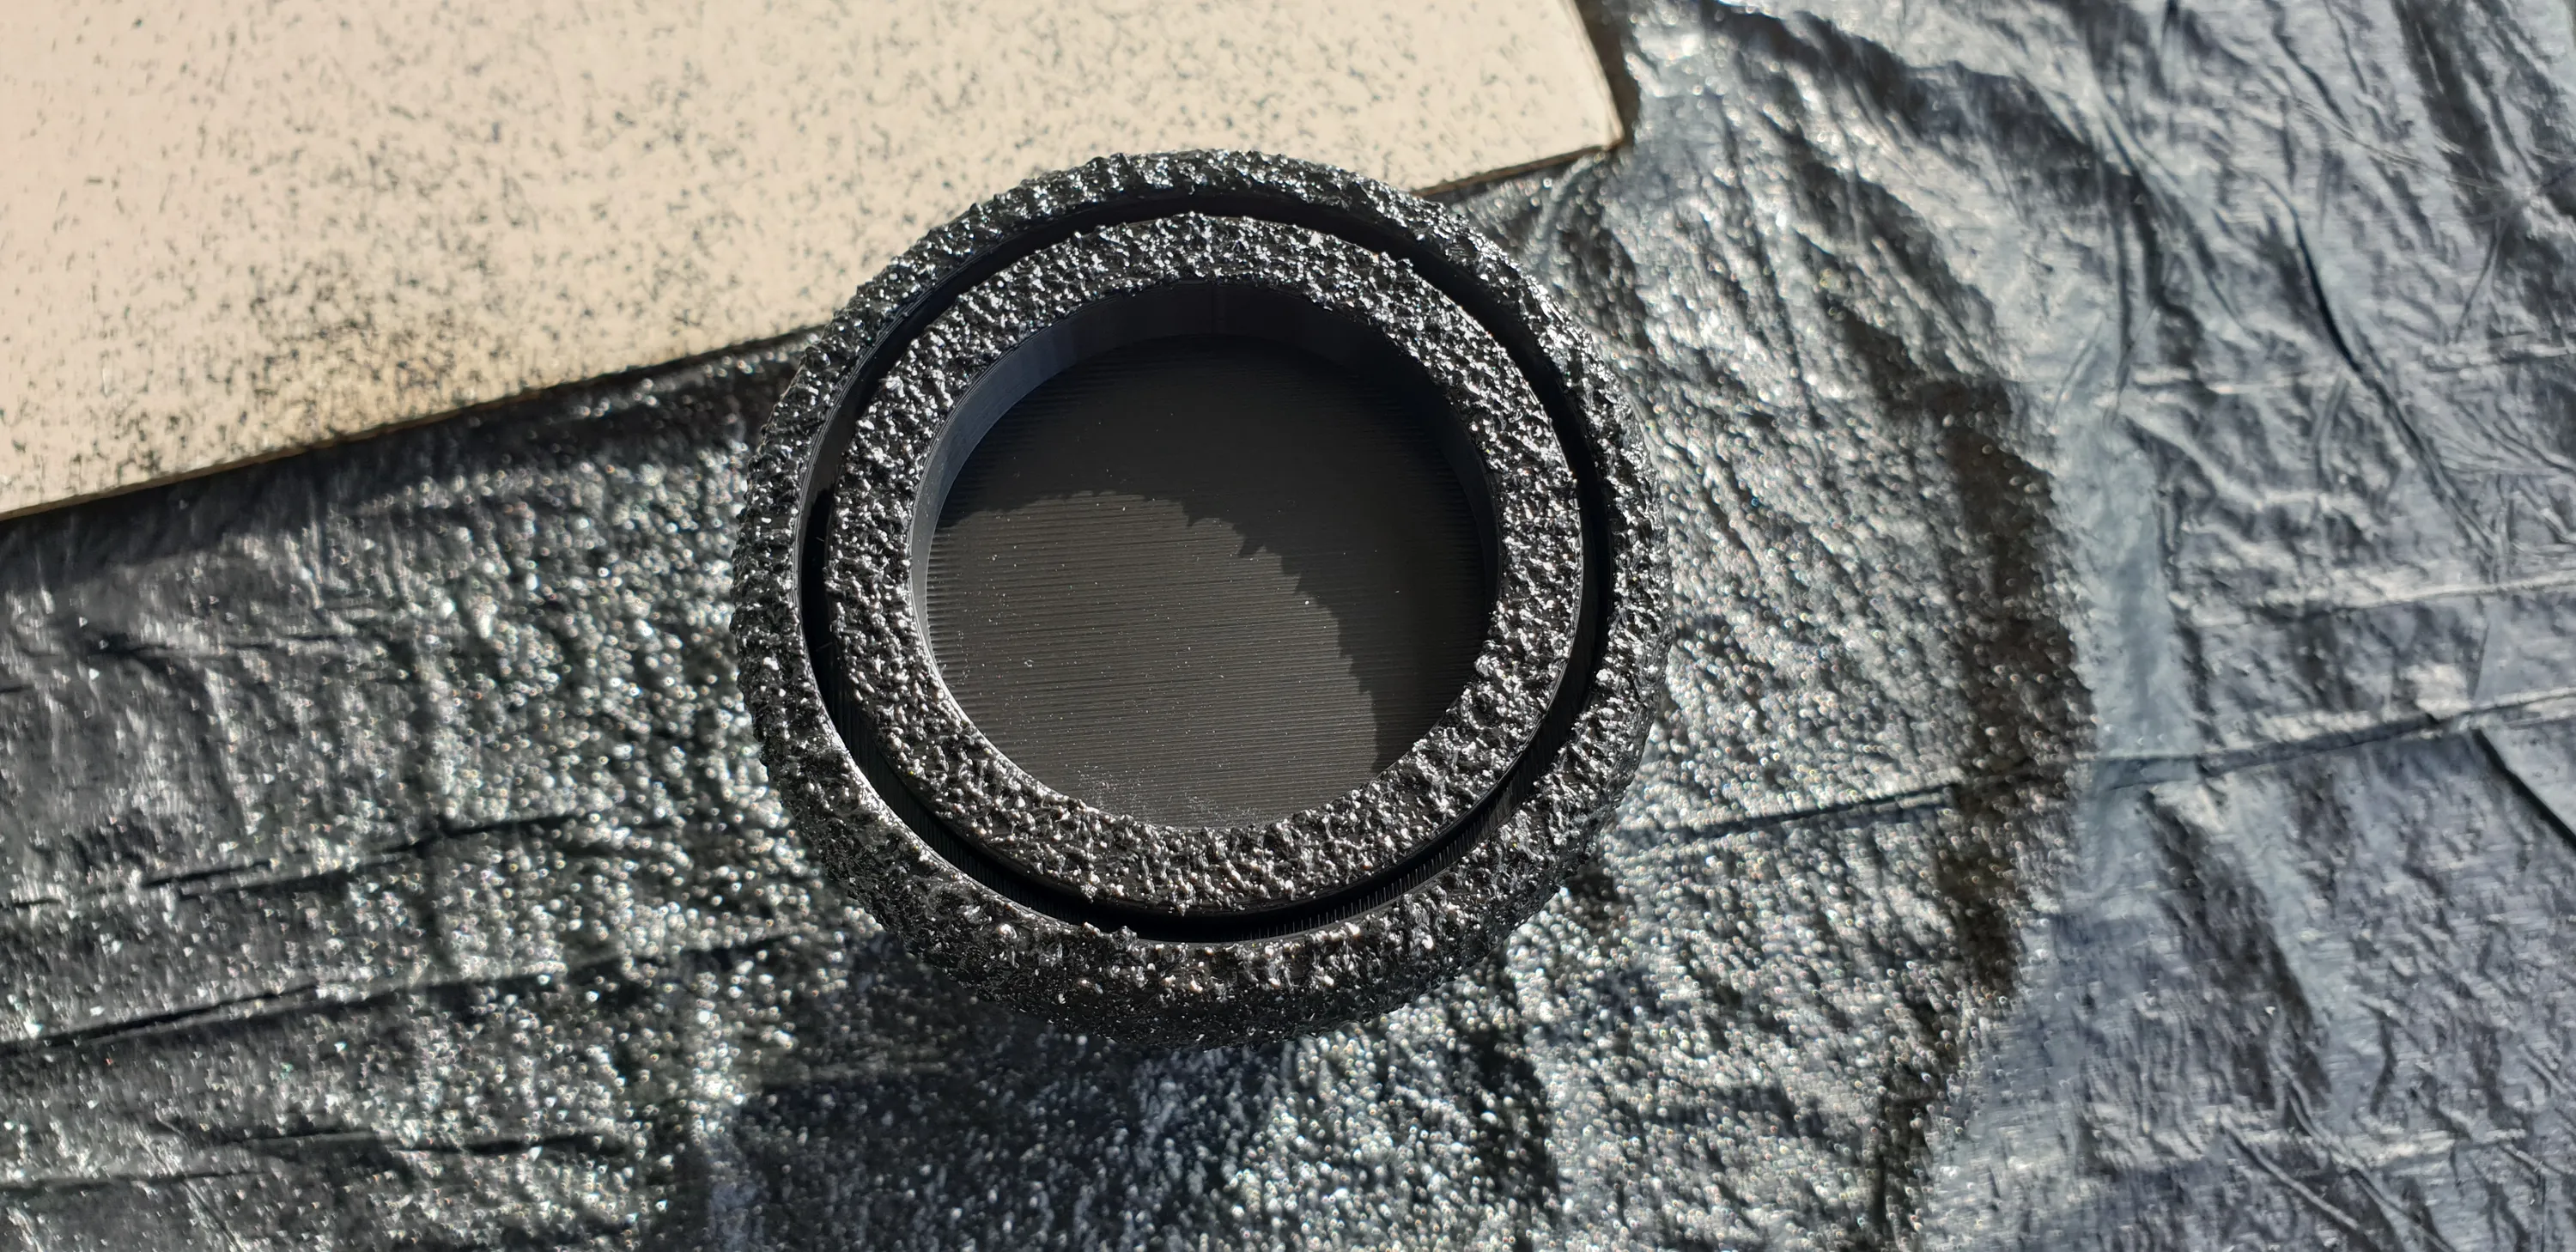
The base had hole that fits the base of the statue and a groove to catch the glass dome so it looks better and doesn’t move.
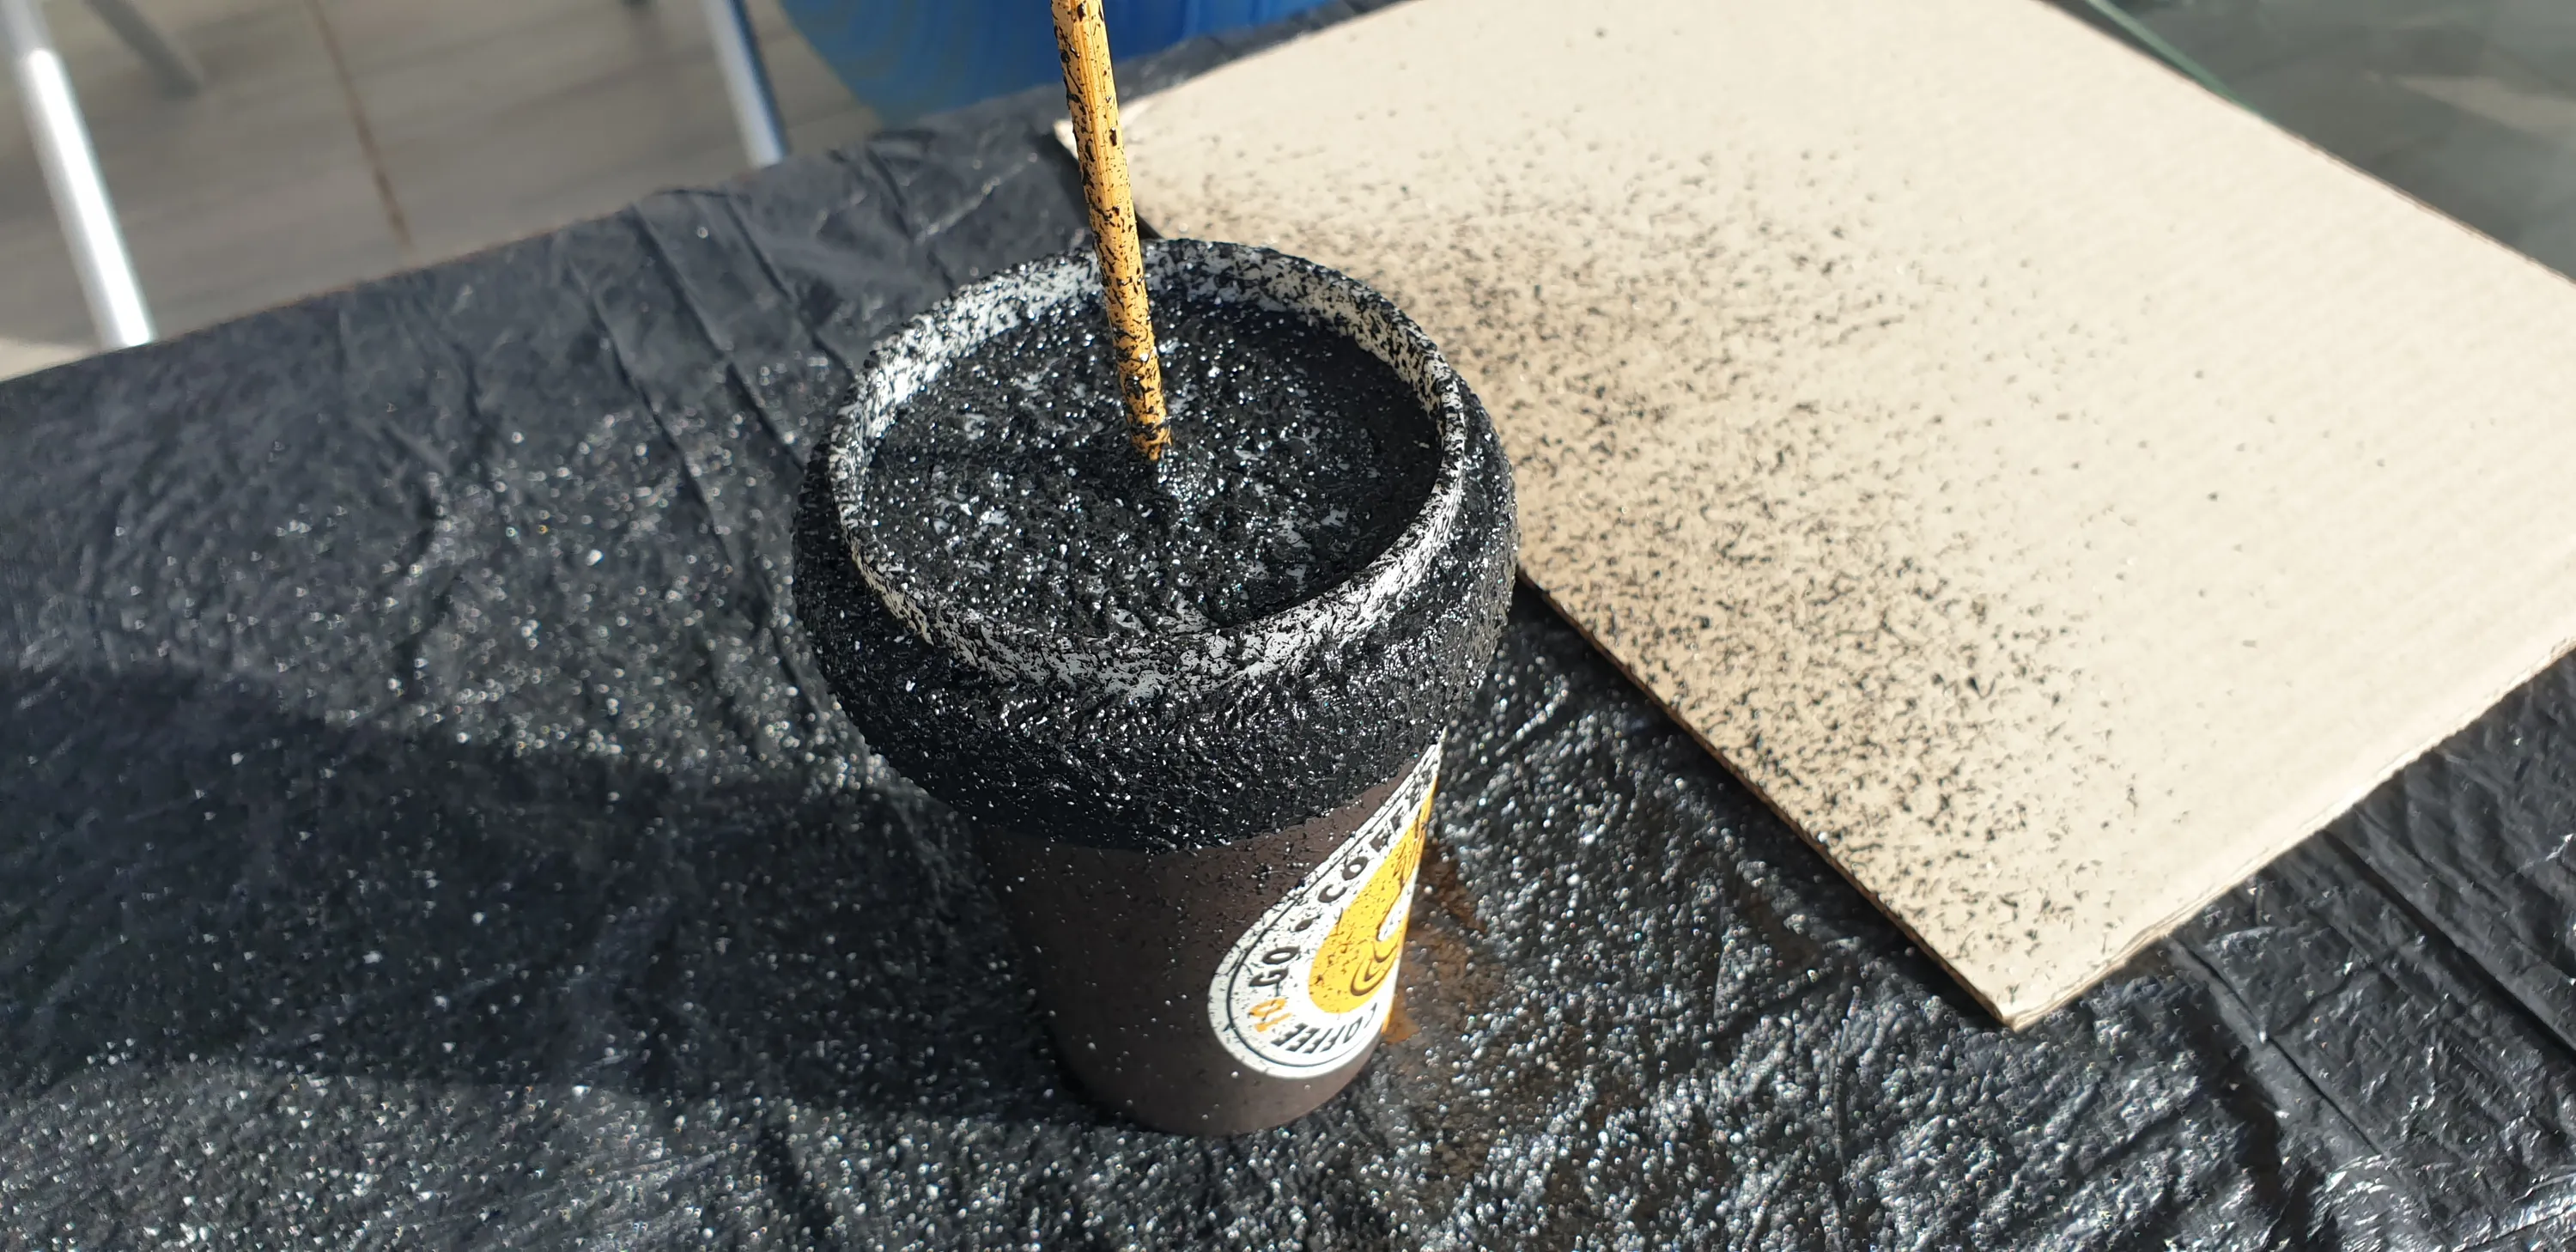
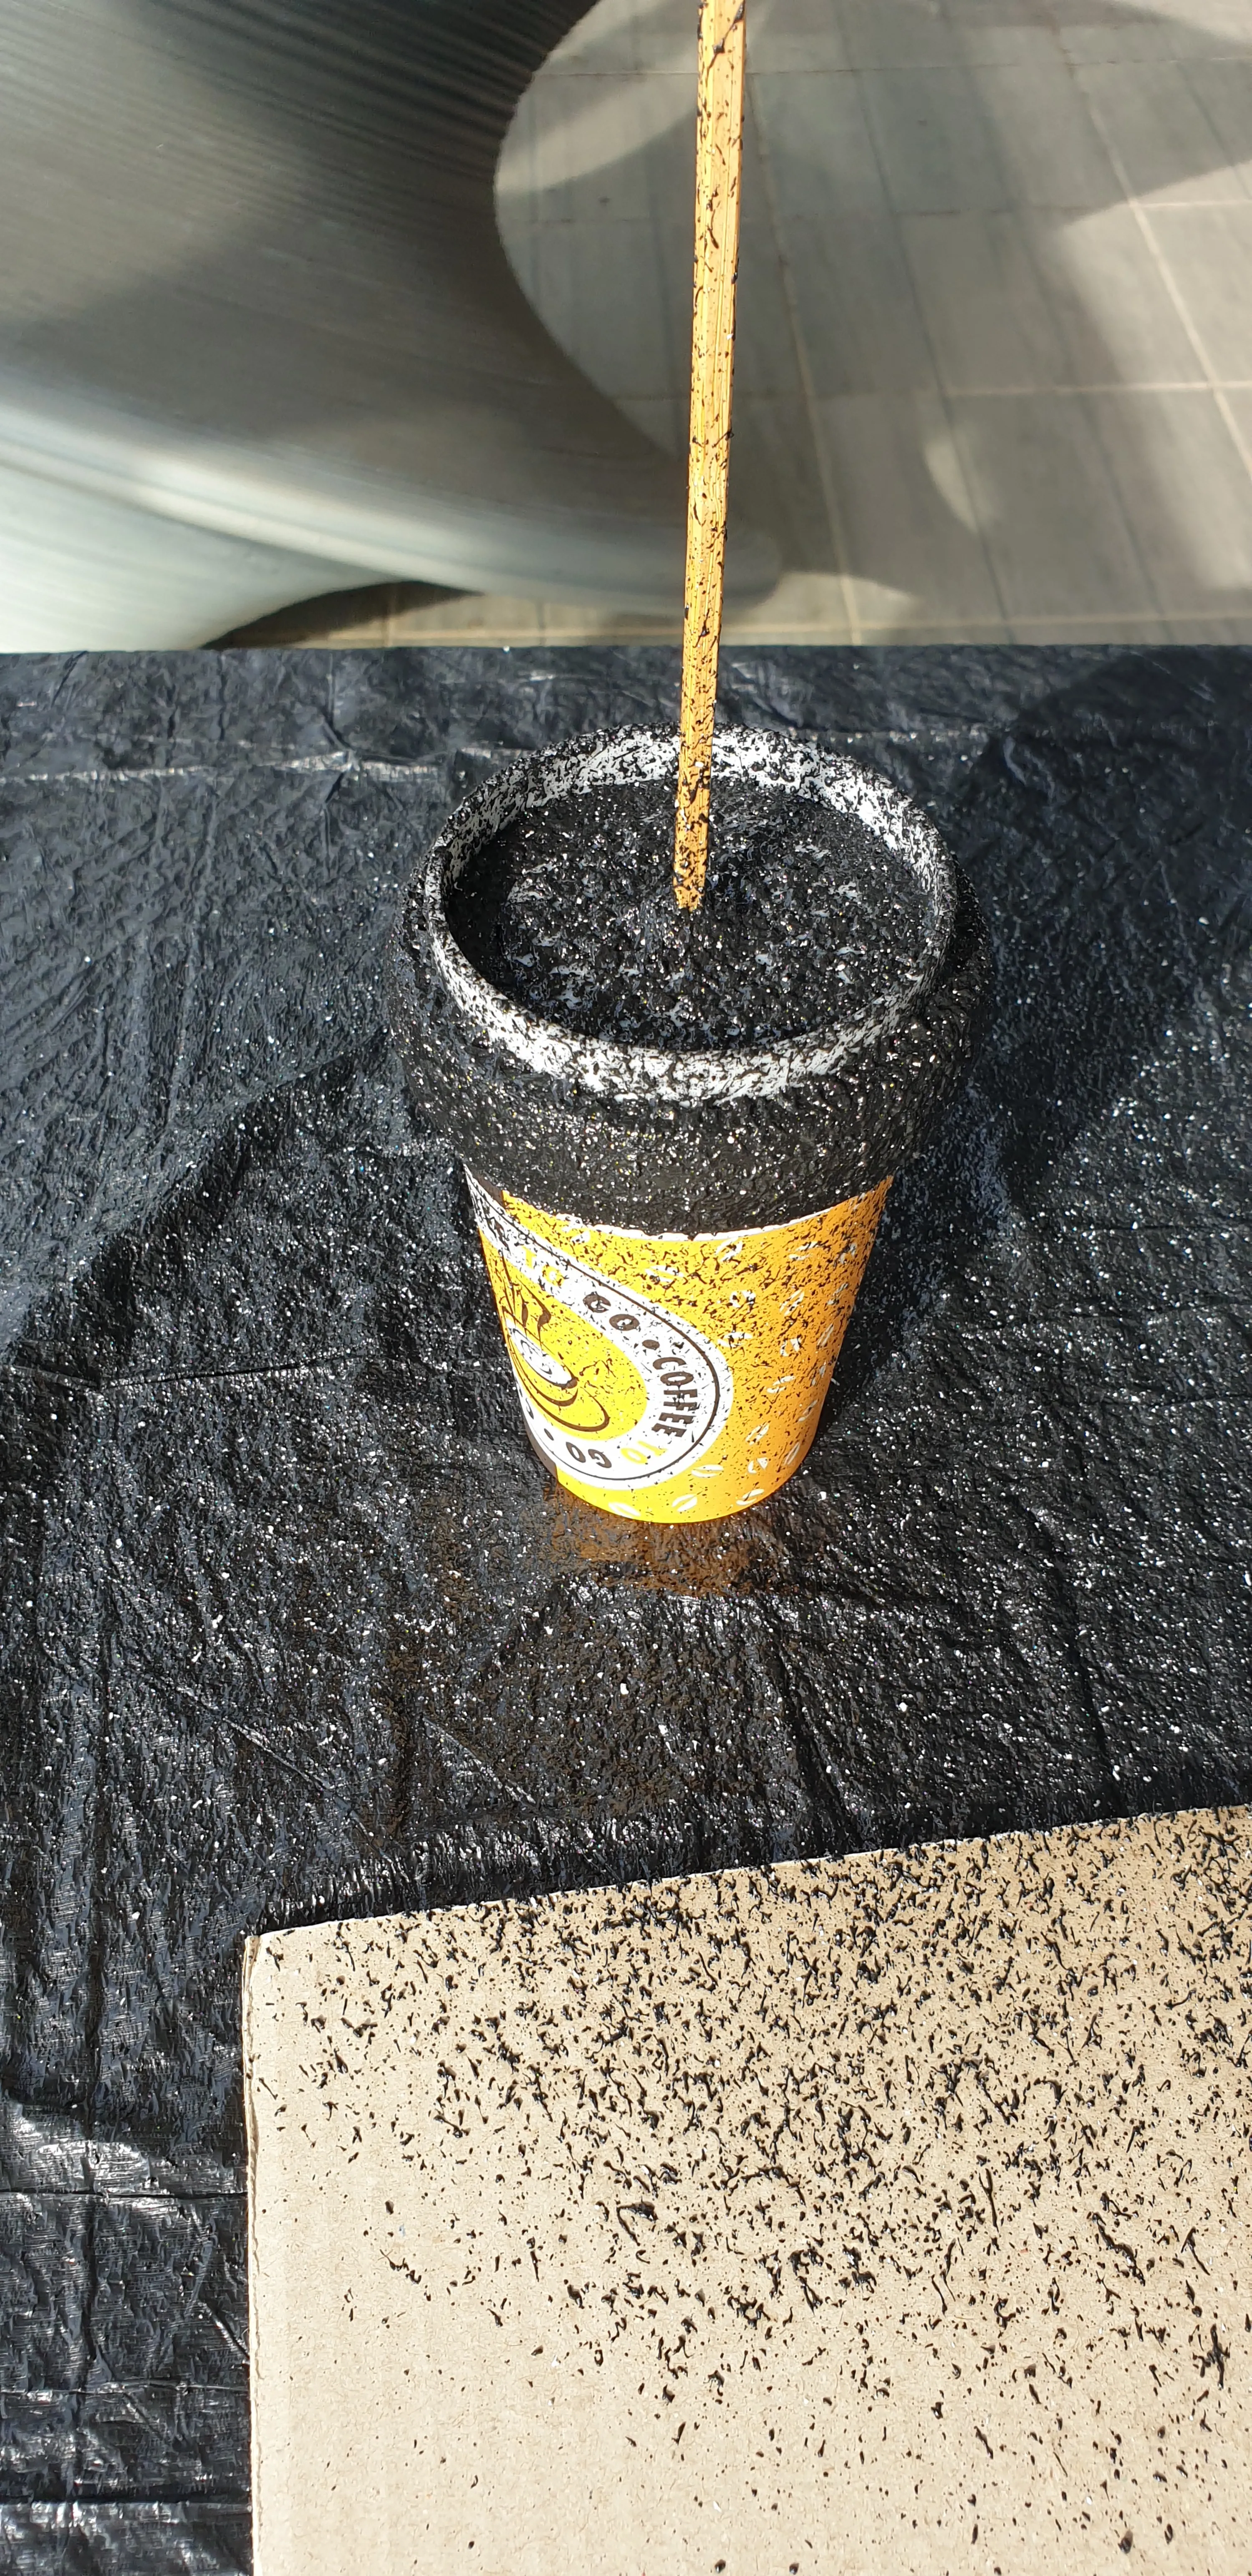
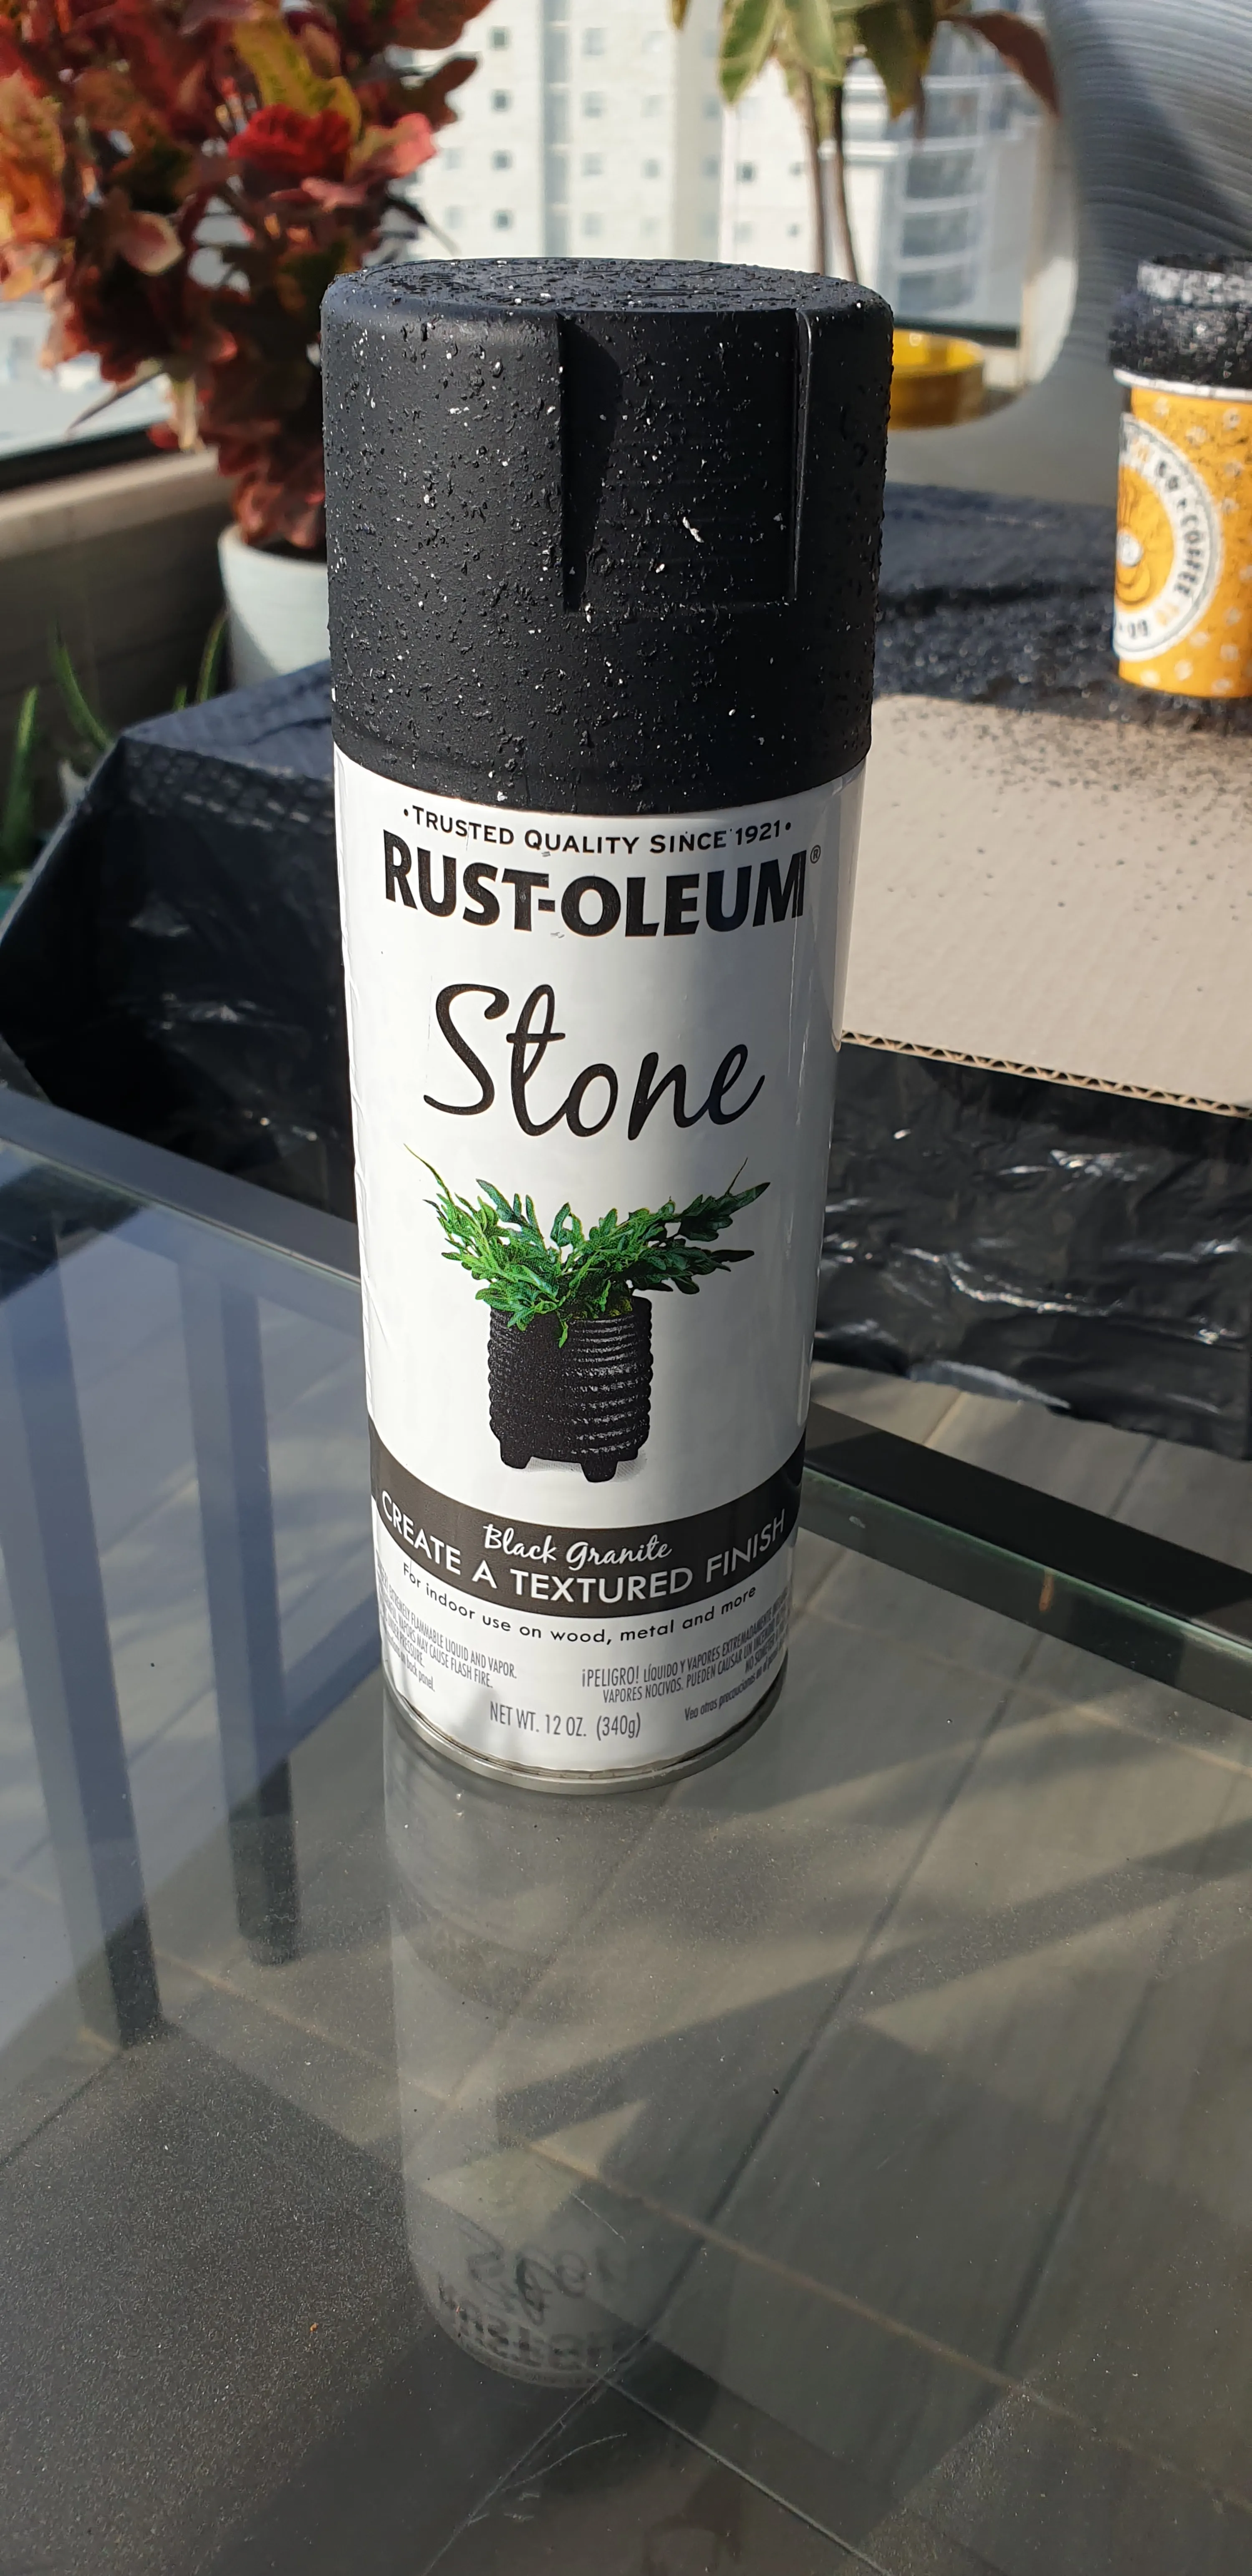
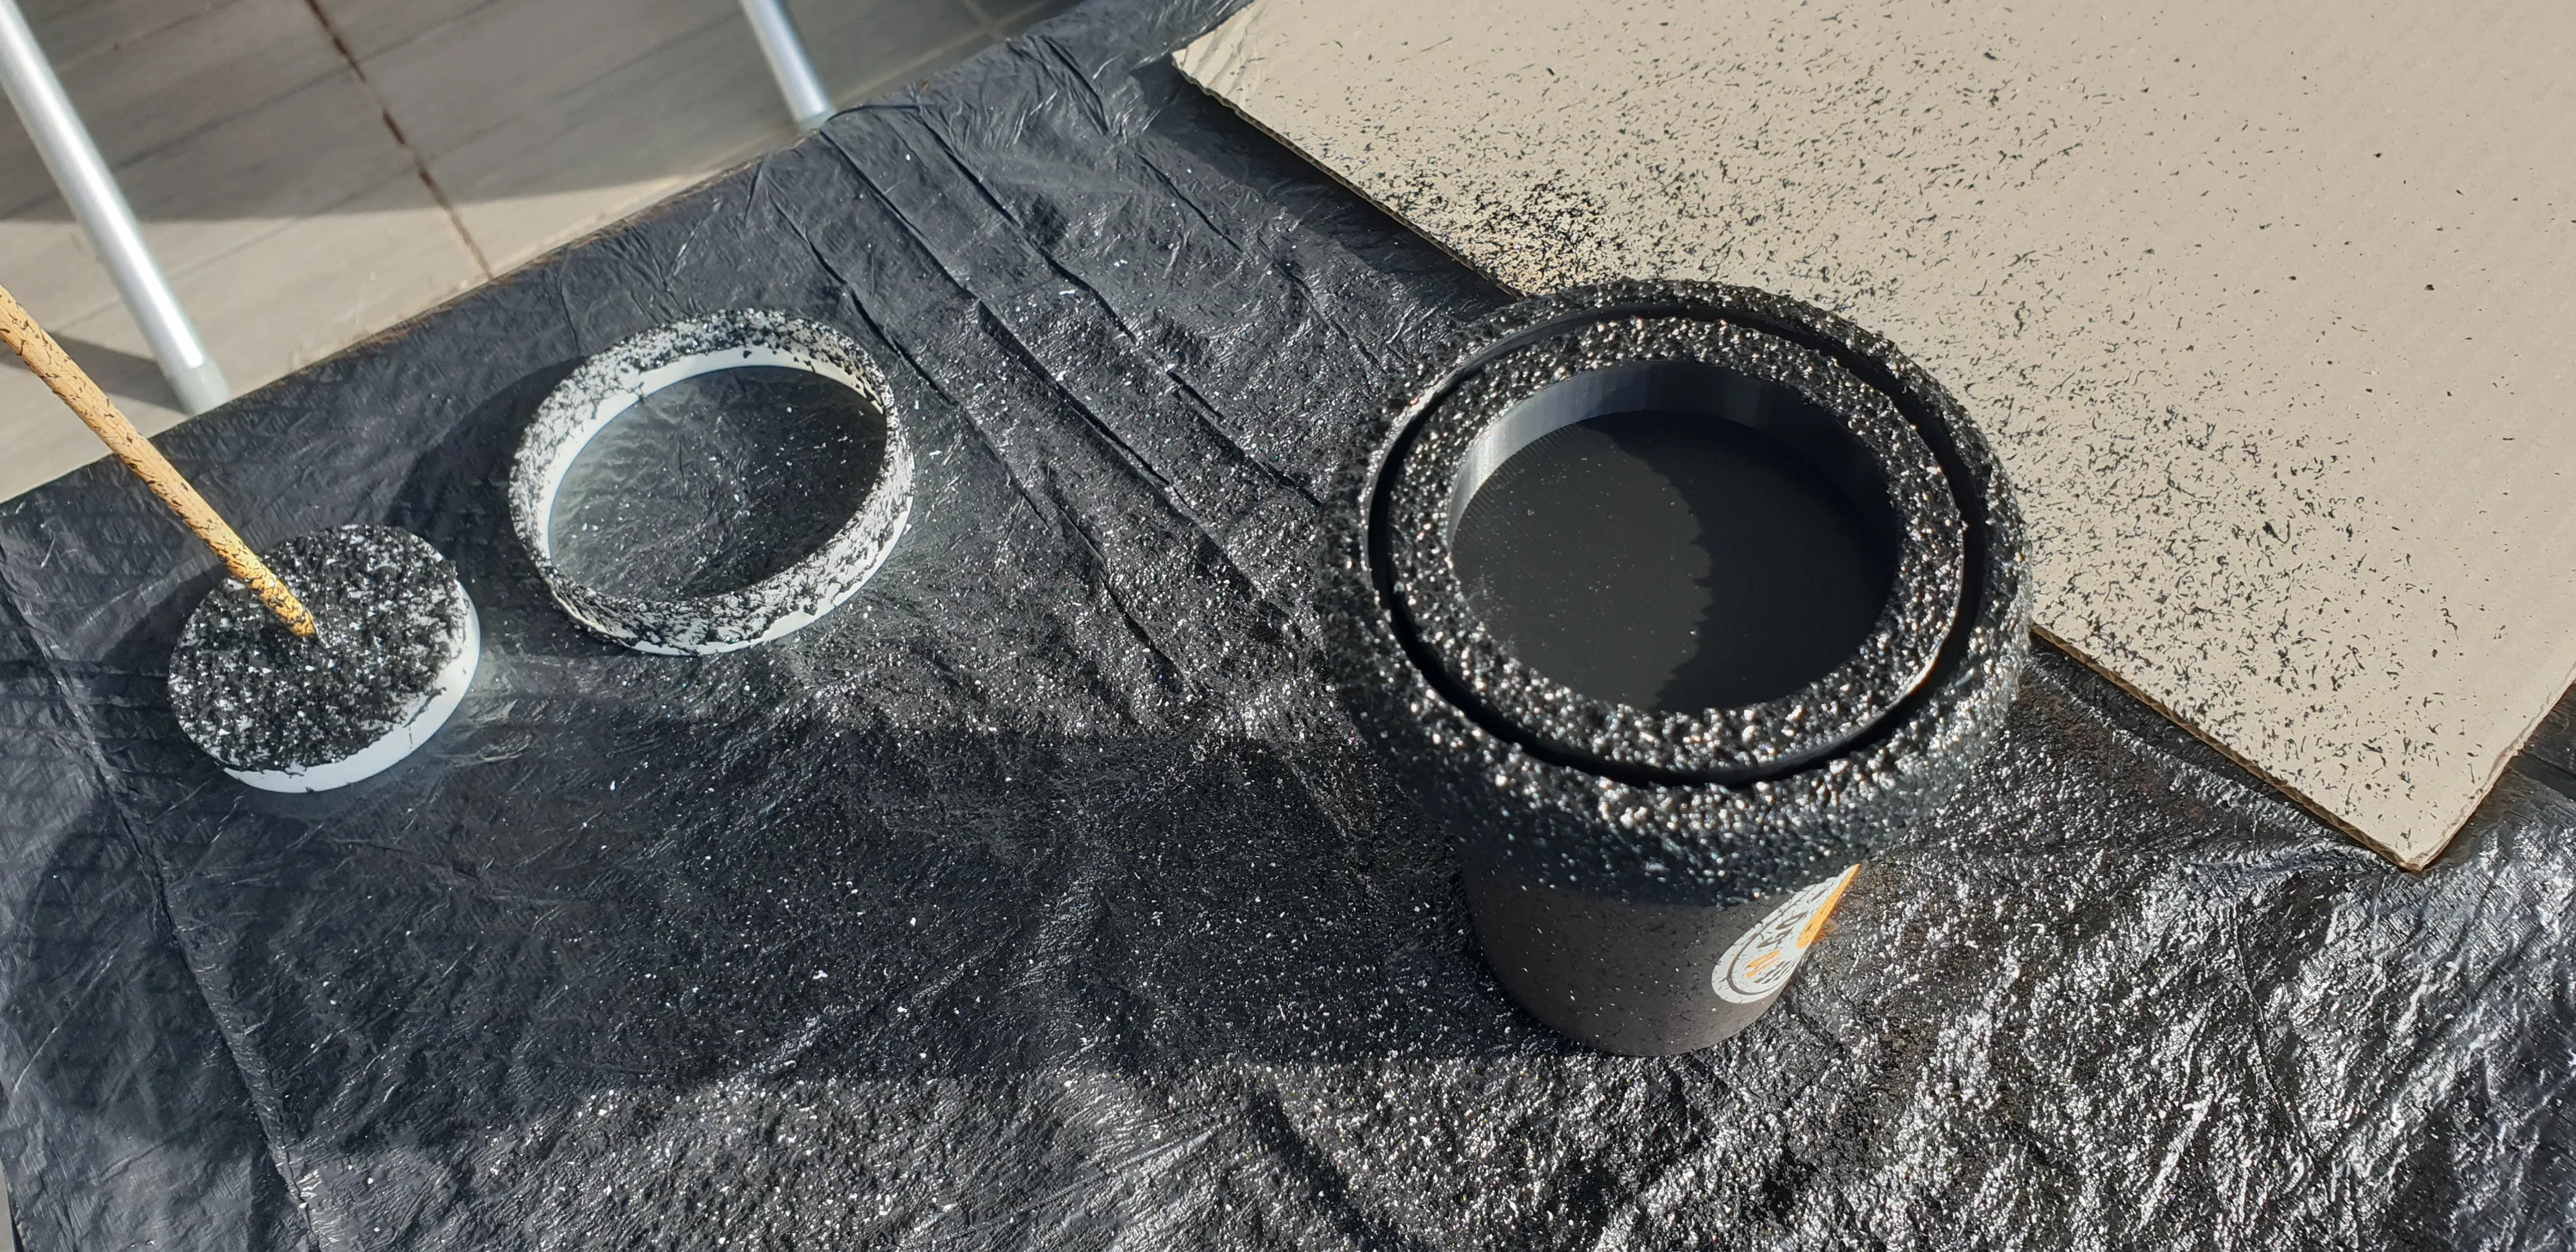
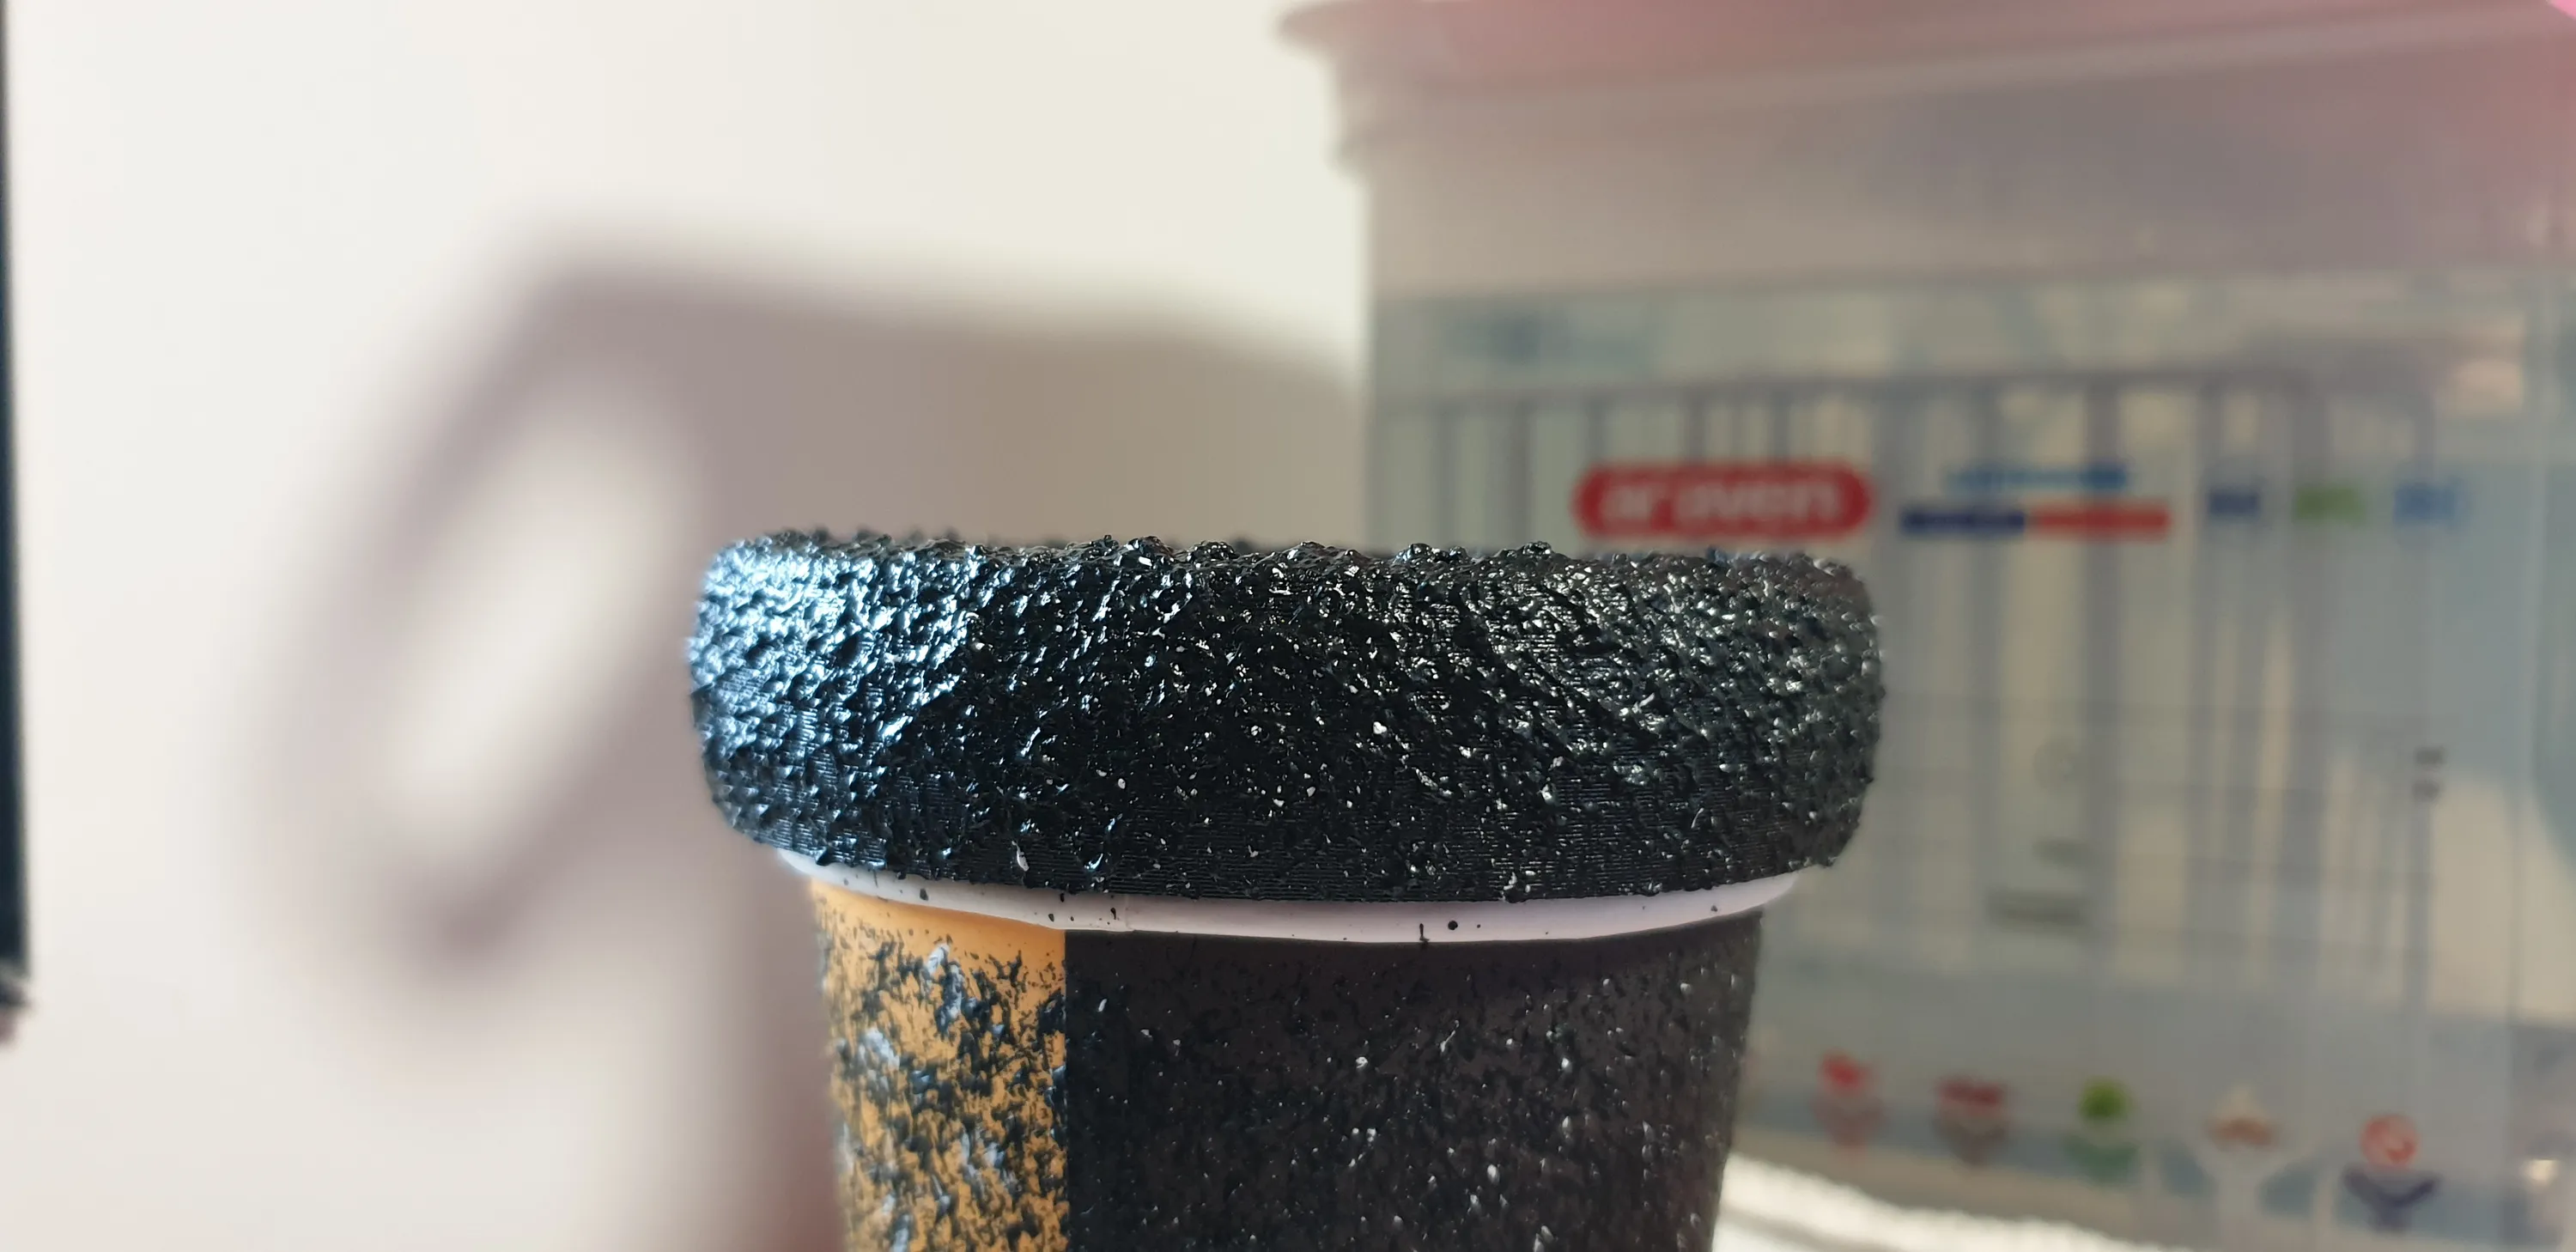
All the outer surfaces of the base were painted with stone textured spray paint. In order to mask the parts I didn’t want to paint, I printed inserts instead fighting masking tape. It worked out very well.
I glued an anti-slip sheet to give it a more premium feel and appearance.
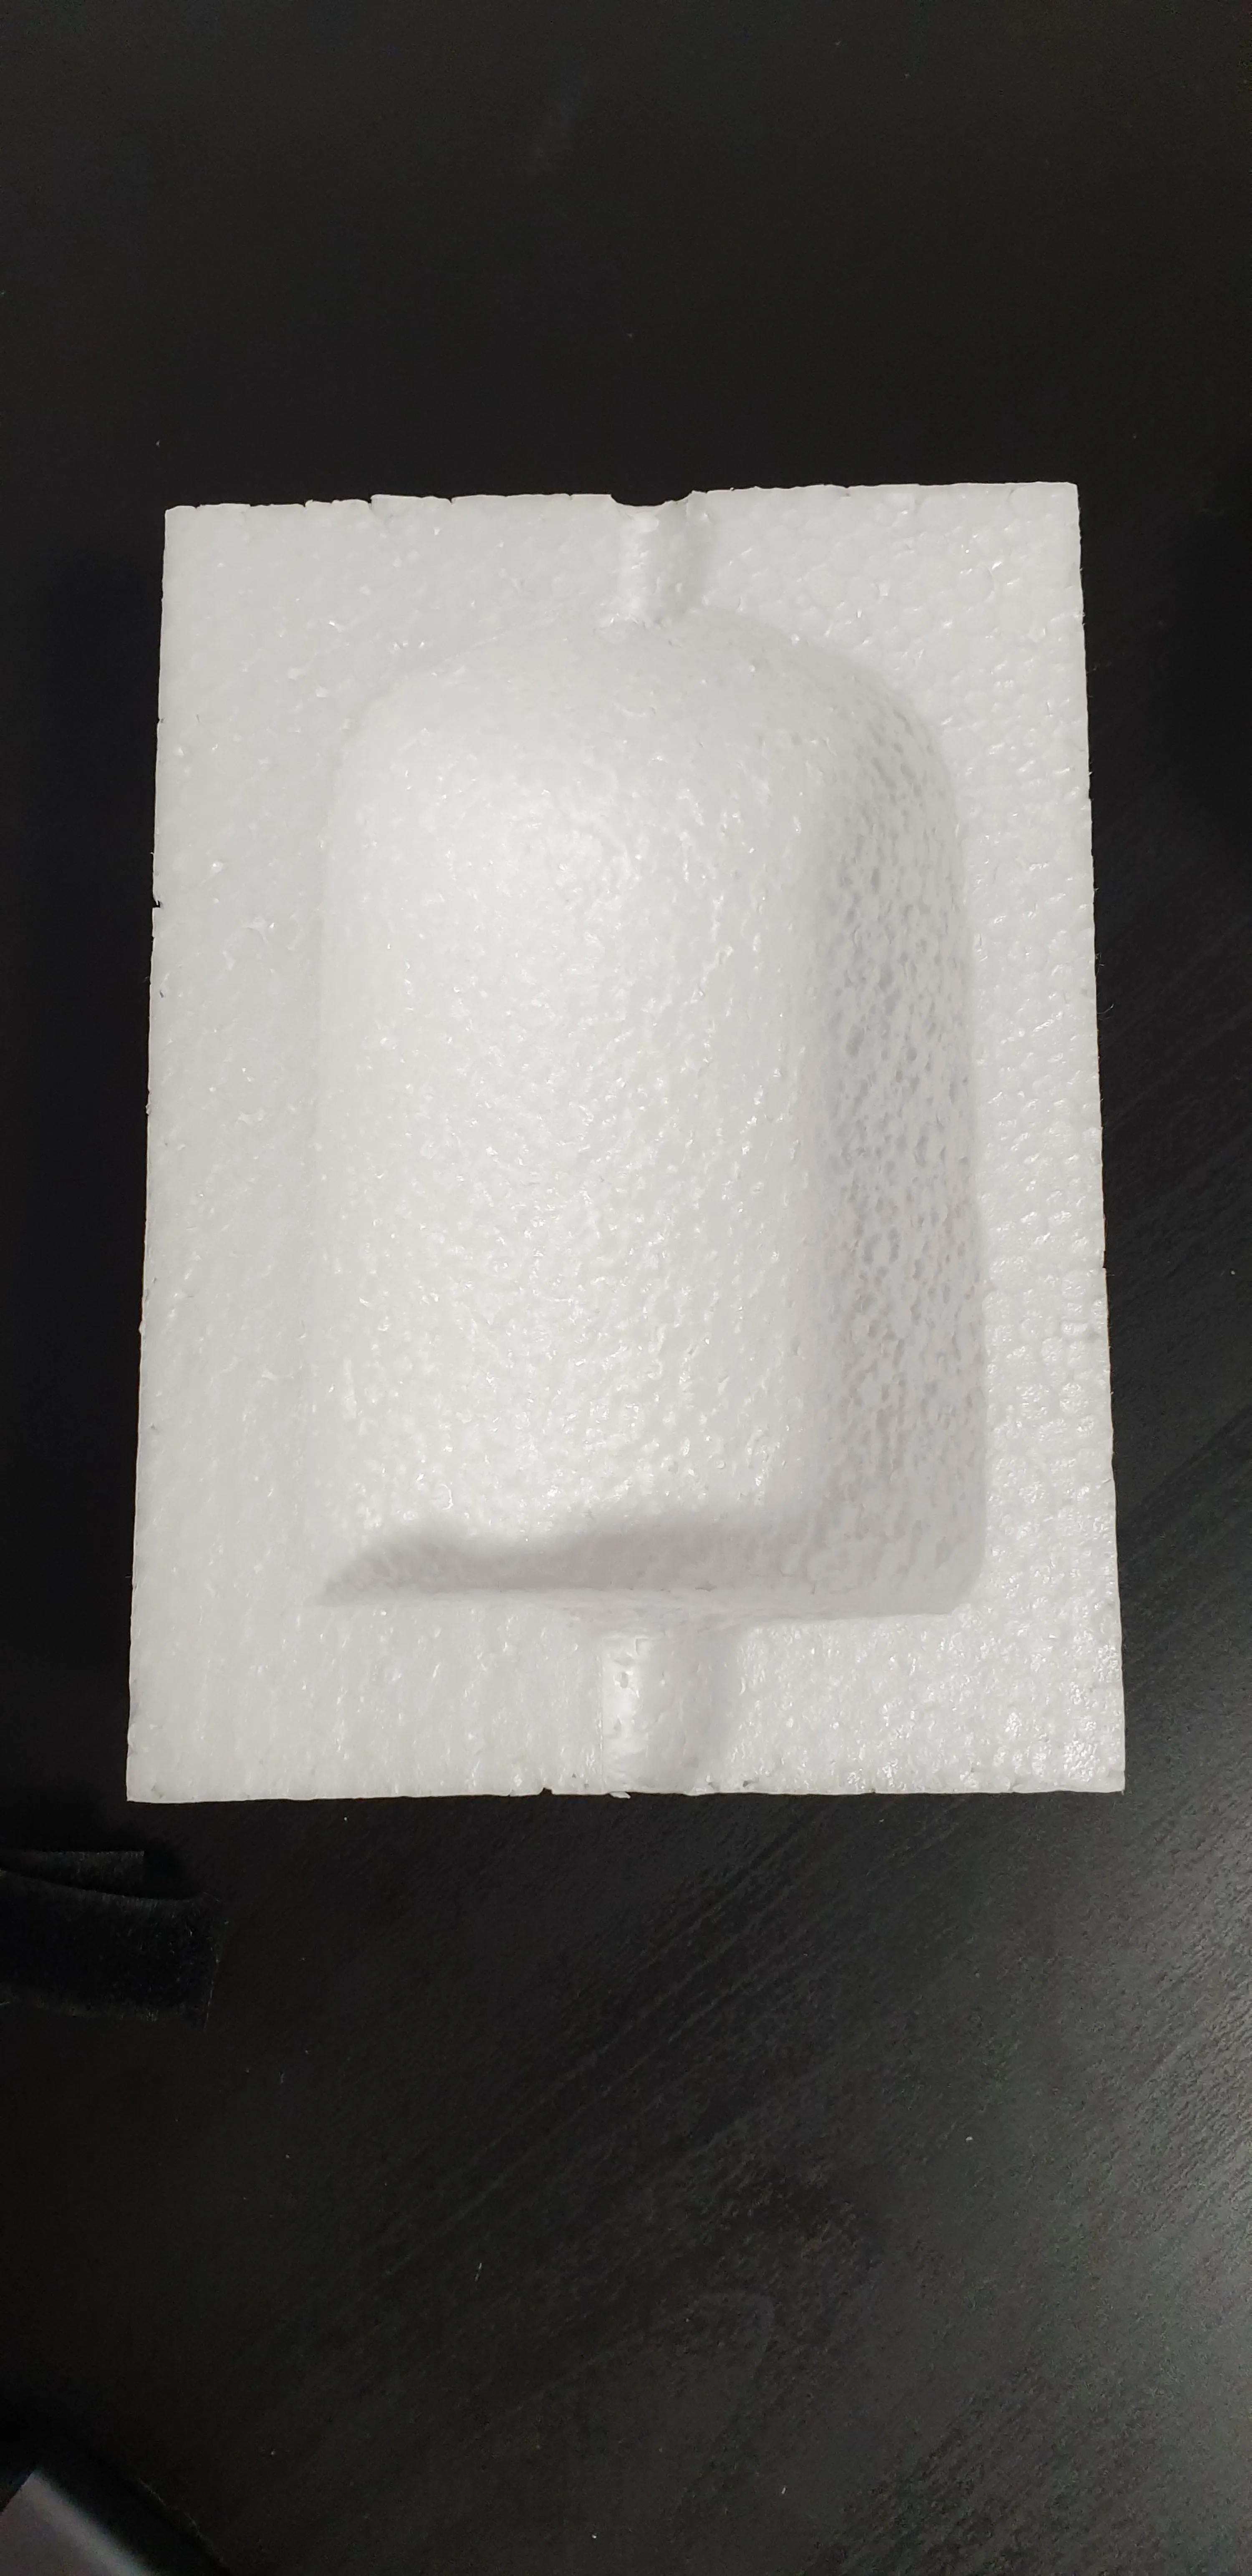
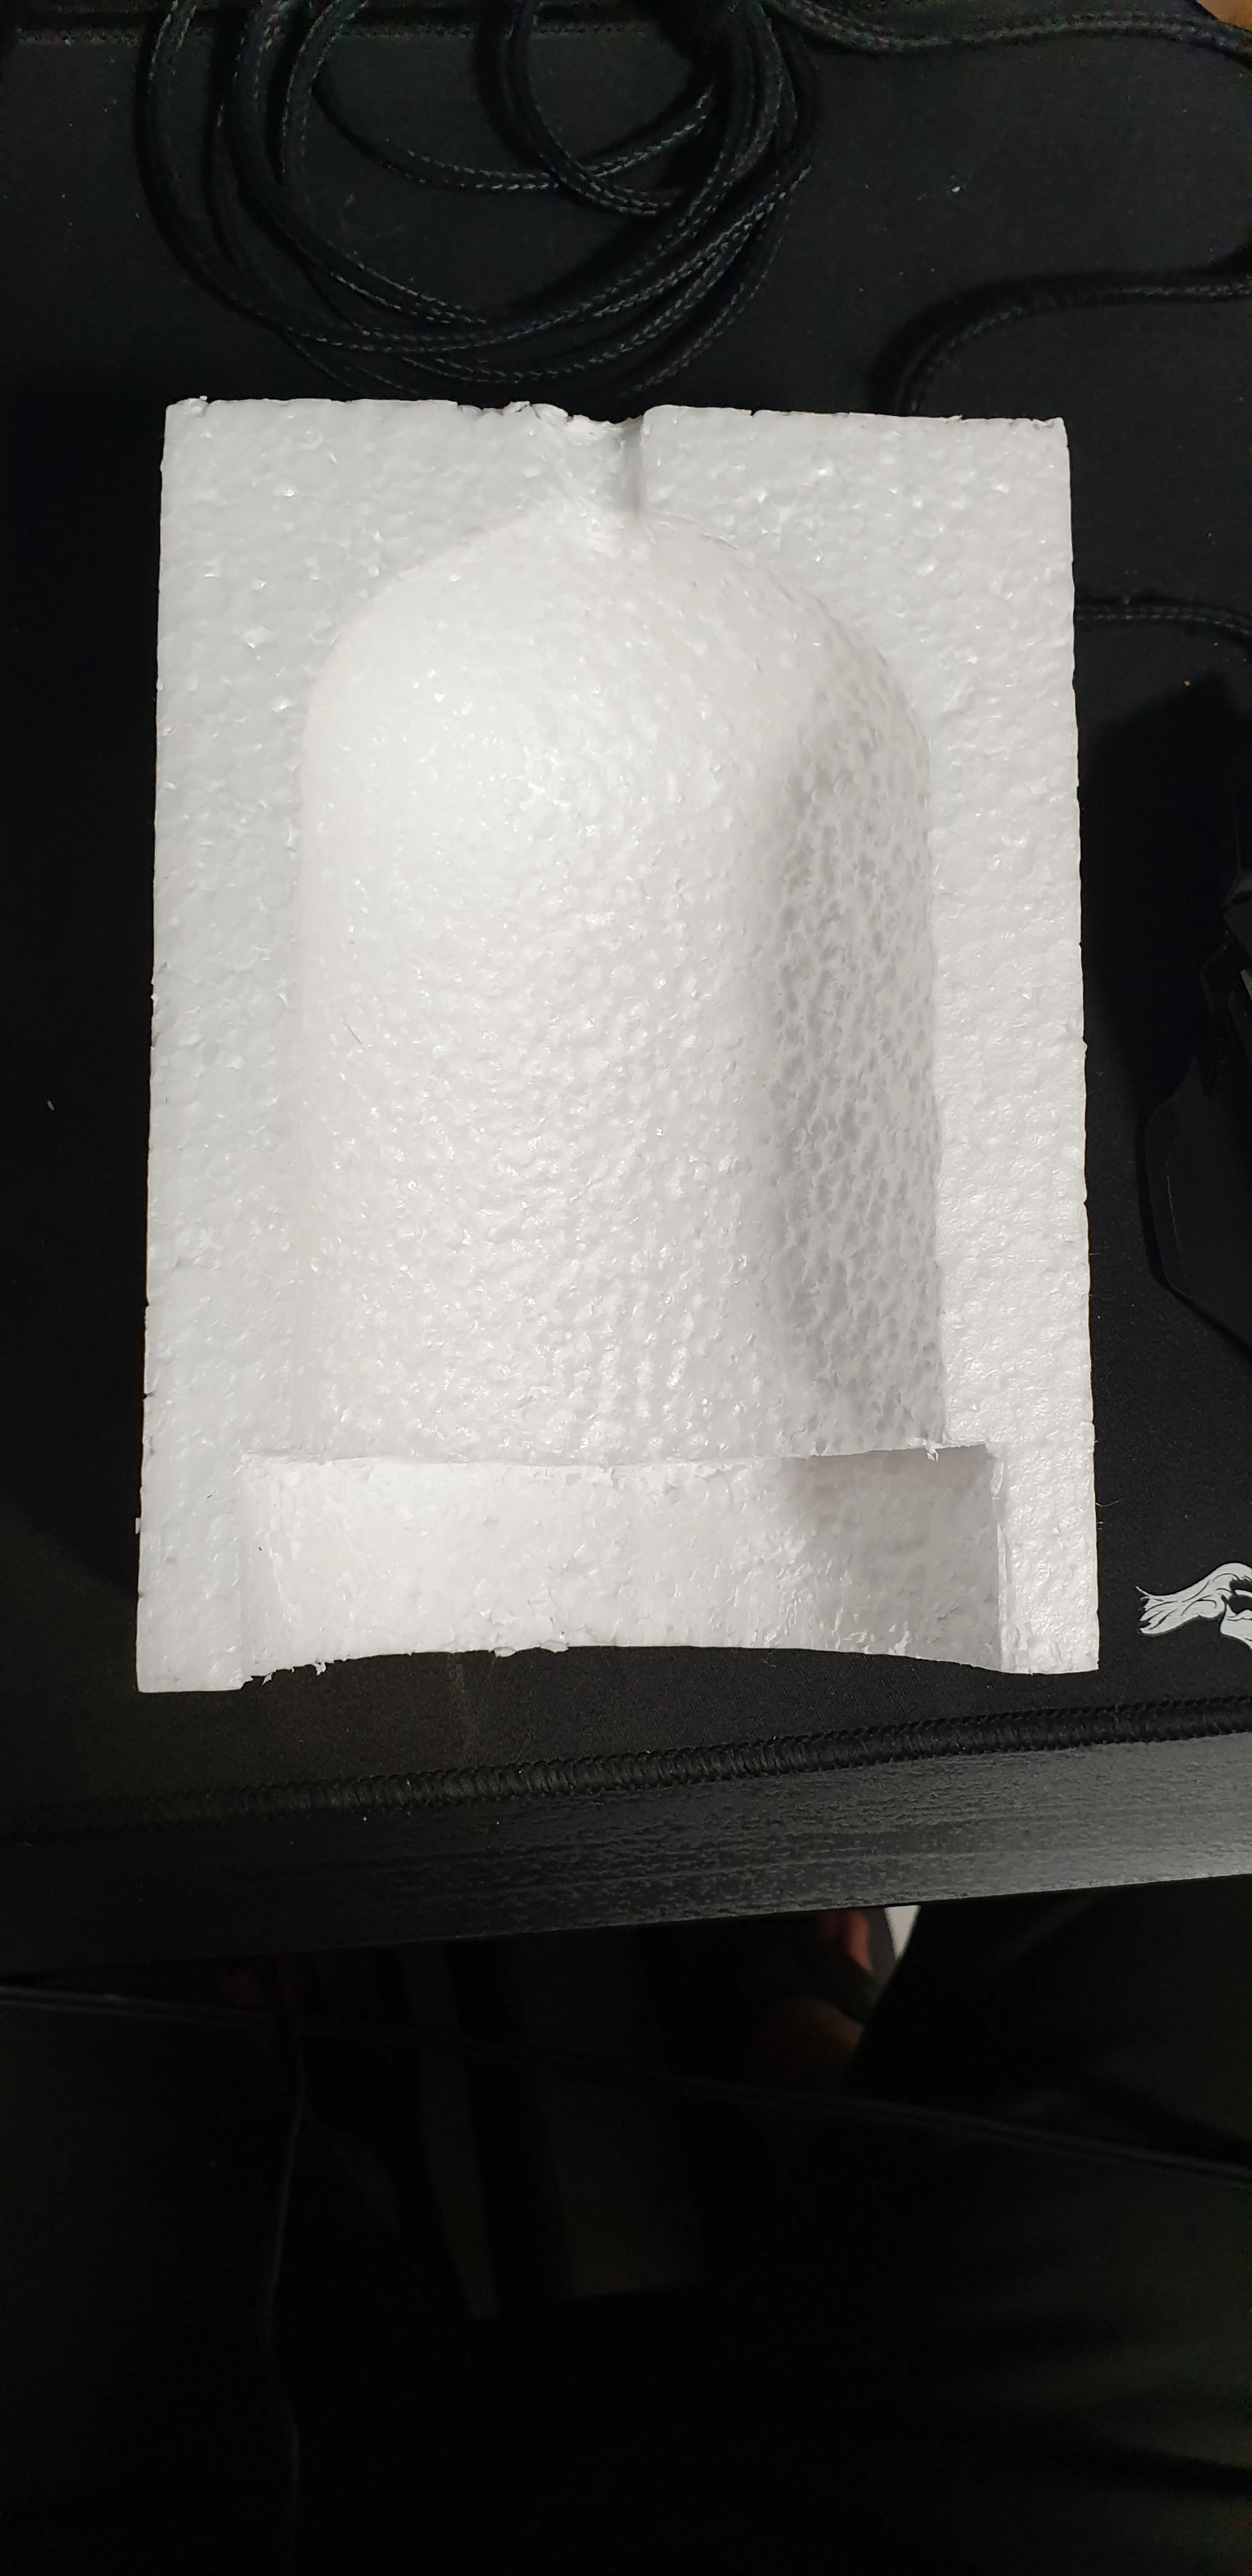
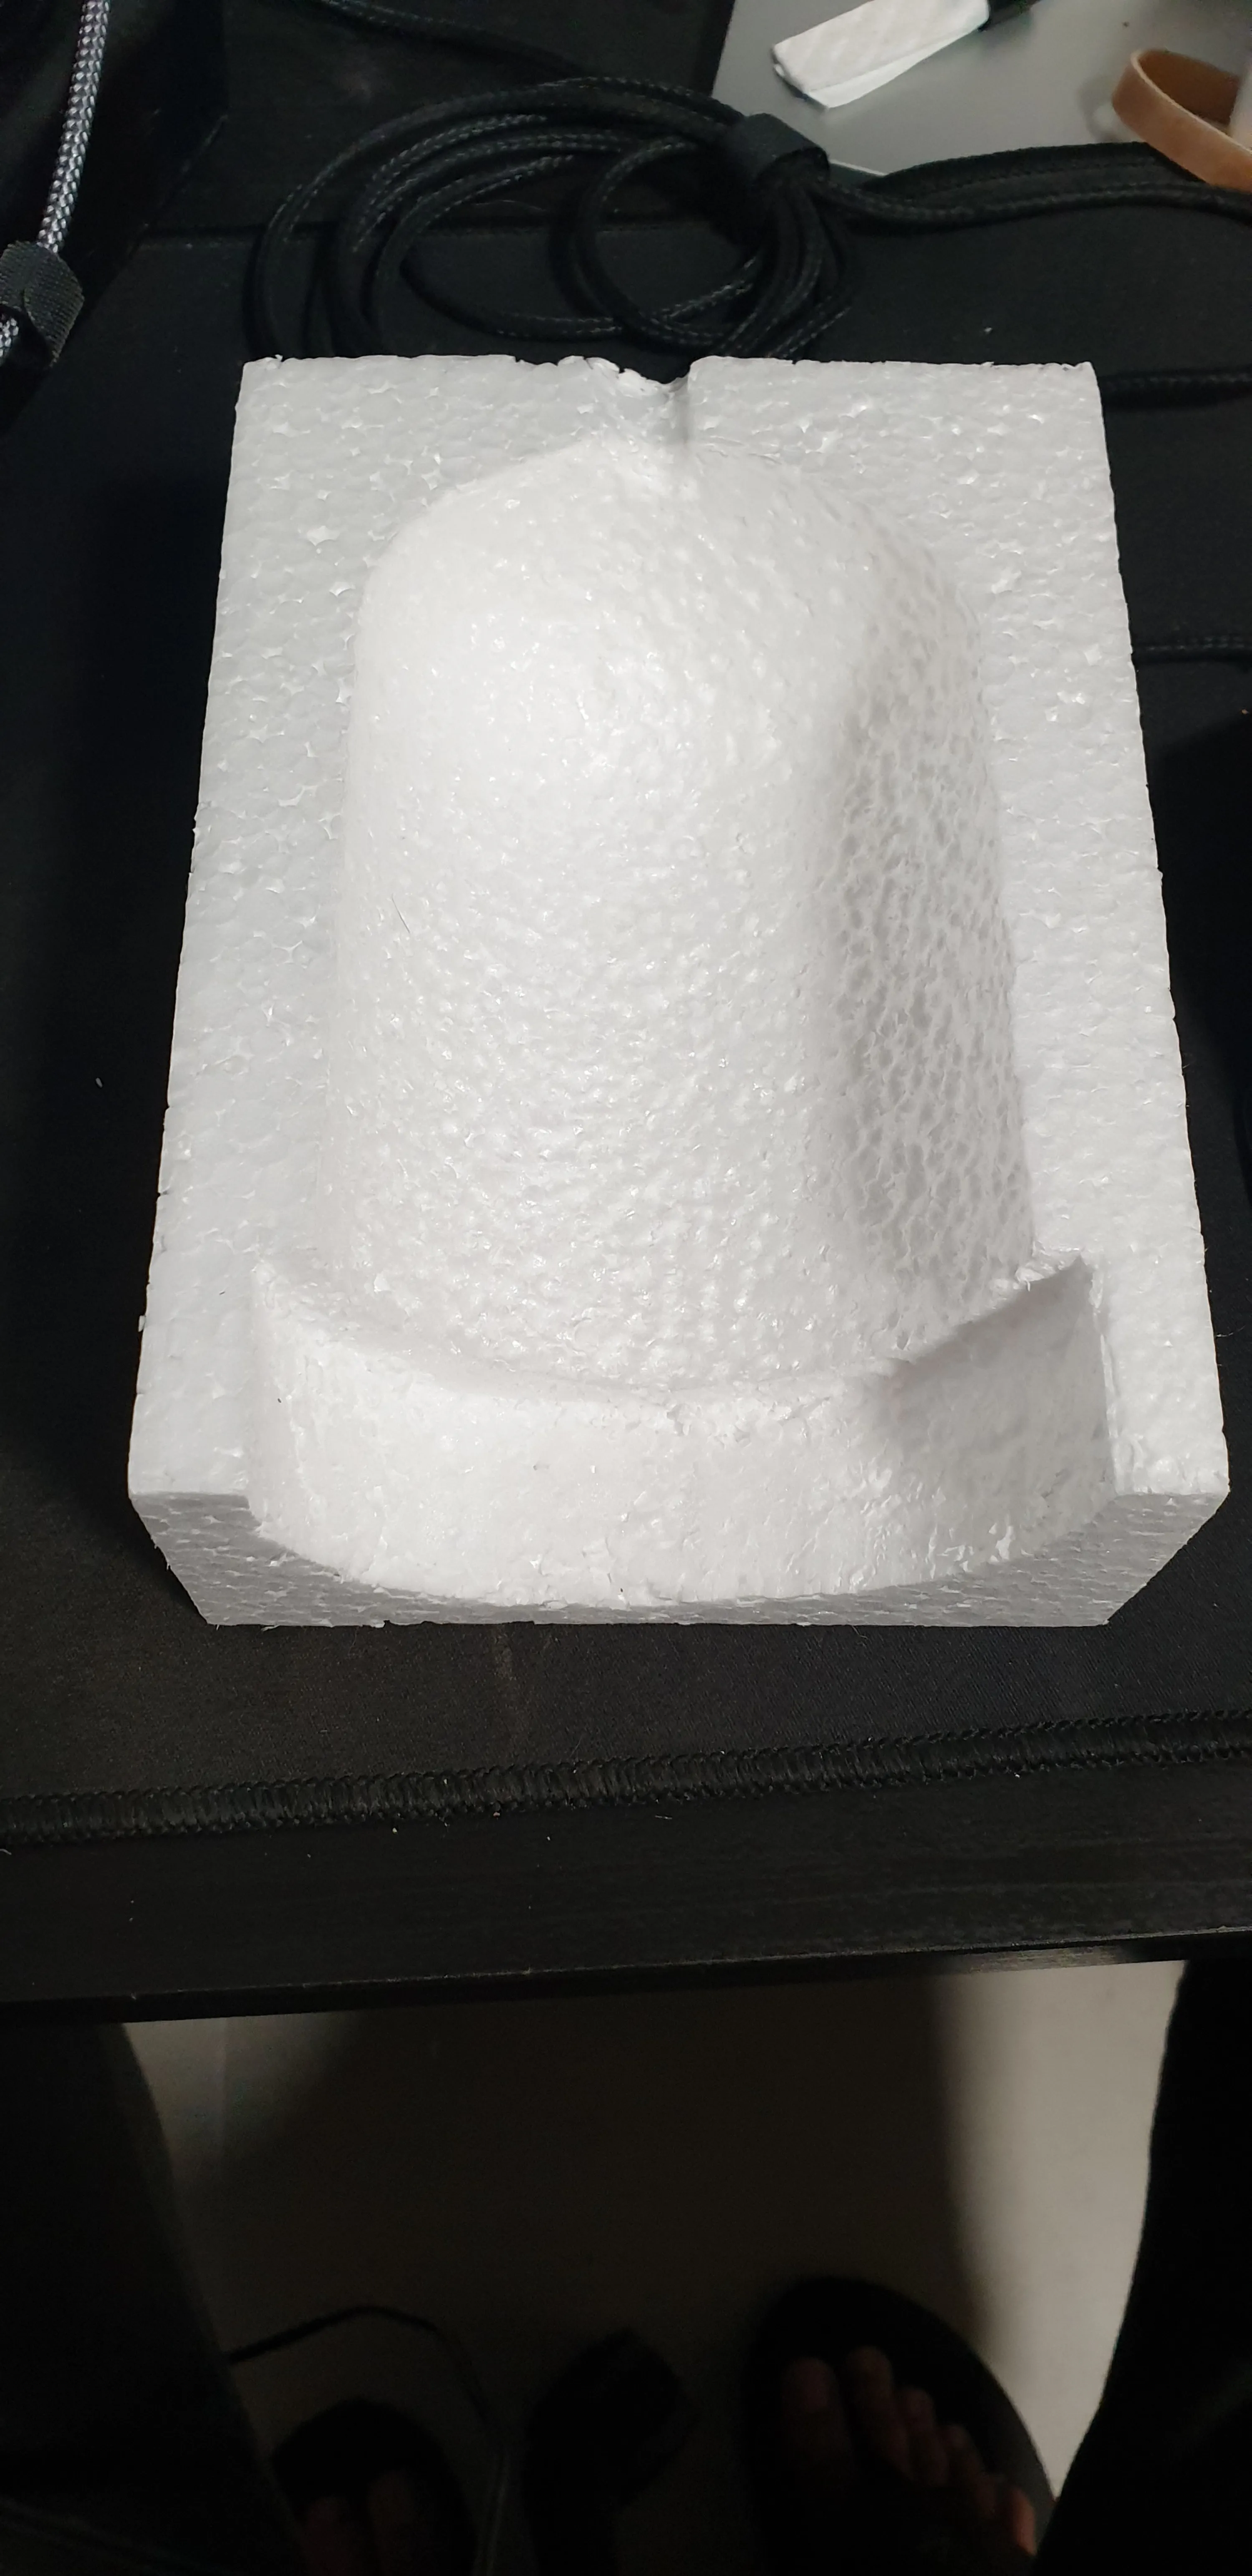
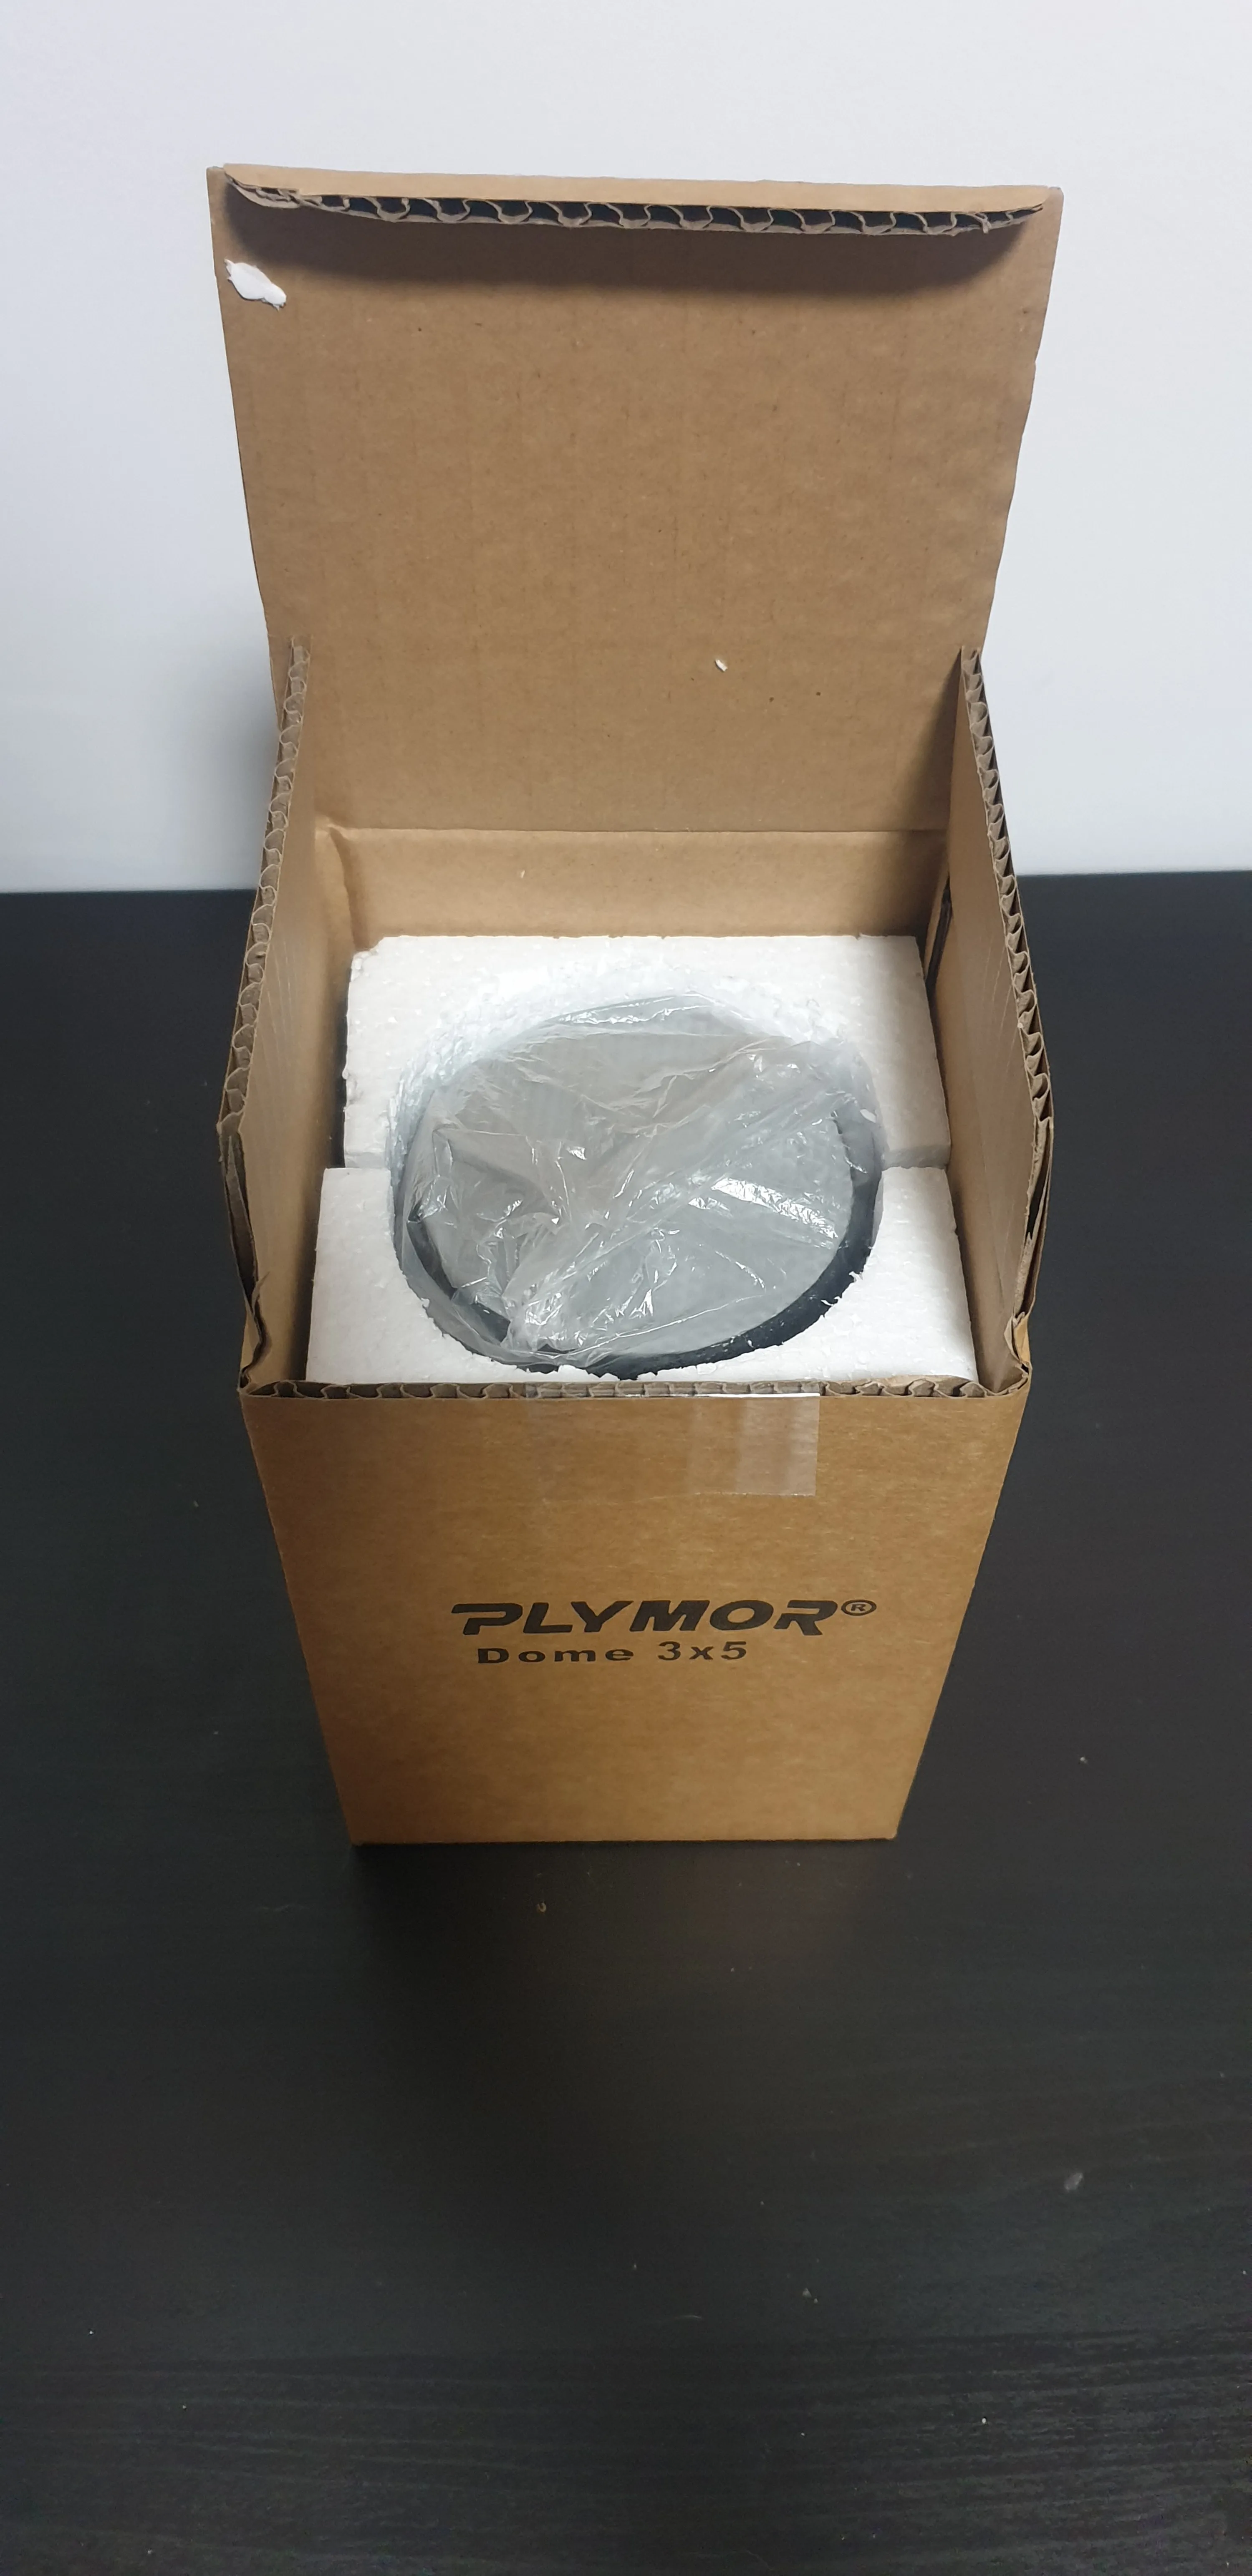
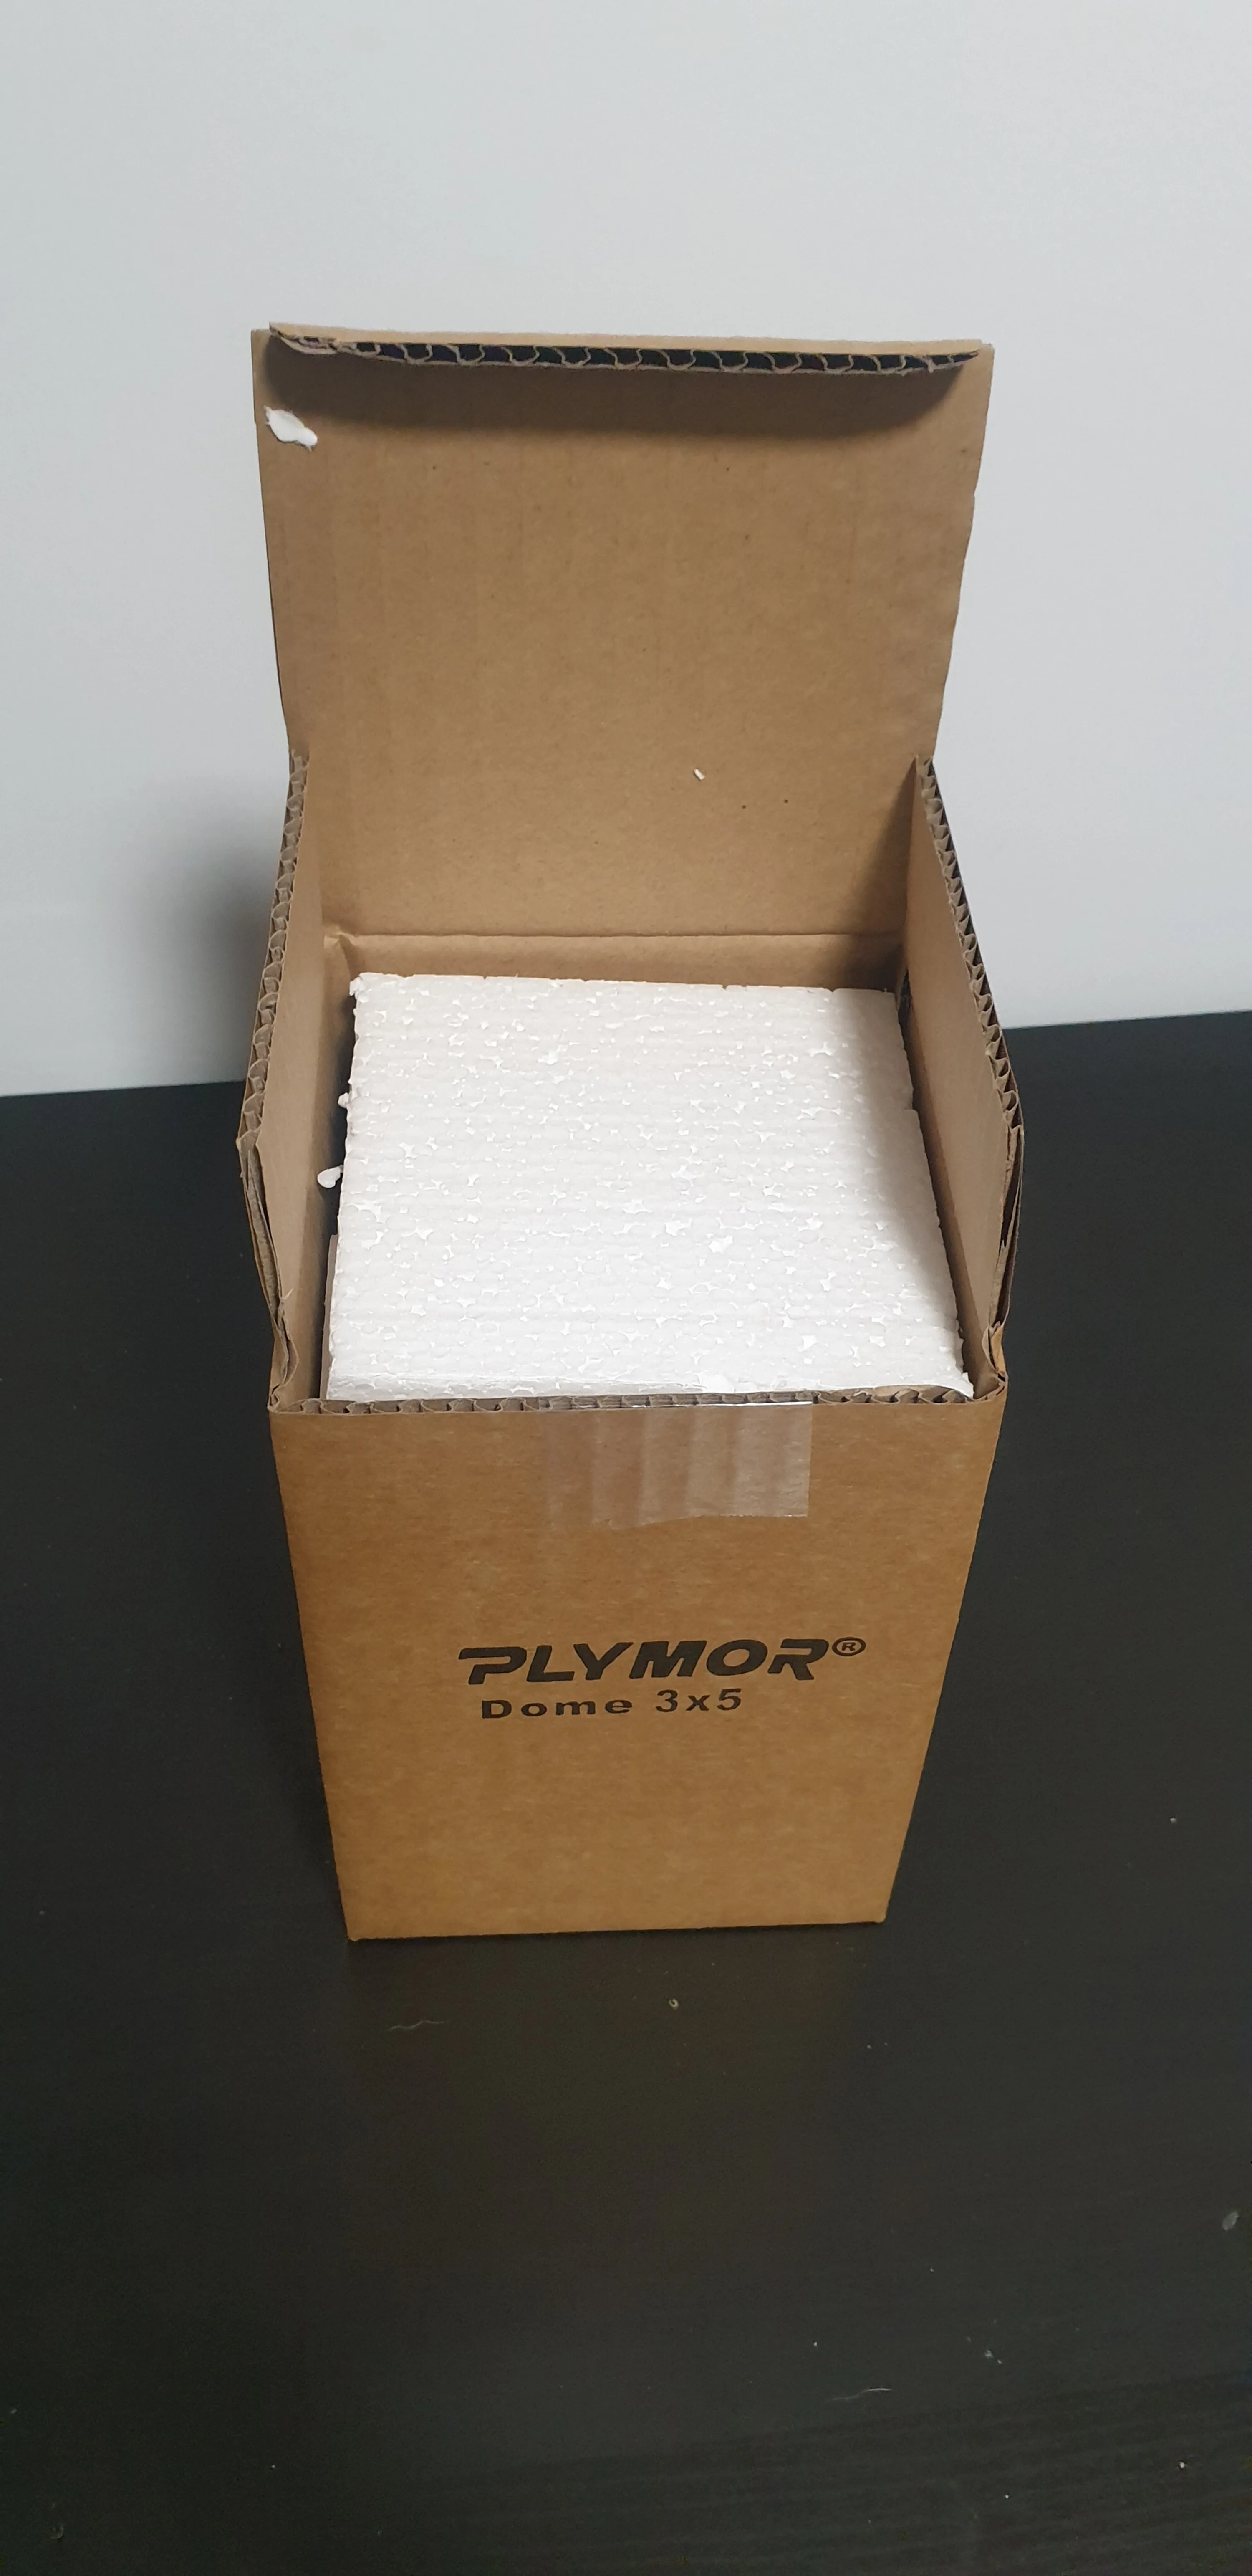
Packing
I used the glass dome’s packaging to repackage what I made. I cut the styrofoam to make room for the new base and repacked everything to make it look like it came that way.