Add Wireless Charging to Your Smartphone


Today more and more smartphones support wireless charging, whether it’s out-of-the-box or via an available hardware upgrade (special back cover). But there is no reason why all other USB charged devices shouldn’t enjoy the luxury of wireless charging.
Here I’ll show you how to add wireless charging capabilities to your smartphone (demonstrated on a Samsung Galaxy S II) or practically any USB charged device (of course I can’t guarantee that it’ll work on any device but I see no reason it shouldn’t, unless there’s some other patent or technology preventing it).
Background and Clarifications
*** FOLLOW THESE INSTRUCTIONS AT YOUR OWN RISK *** Take safety precautions and do not do anything you are not certain of. I cannot be held responsible to any damage you may cause to your device or to yourself!
There are a few projects similar to this one on the net. I’ve drawn ideas from everywhere and incorporated some of my own.
The whole concept and basic design is based on Palm’s technology. The Touchstone is a Palm charging dock meant for the Palm Pre smartphone, which supports wireless charging via a separately sold back cover.
There are a few wireless charging technologies made by different manufacturers that all rely on the same physical concept but they are not cross-compatible, you cannot mix coils and docks (I’ve tried).
Gather the Components
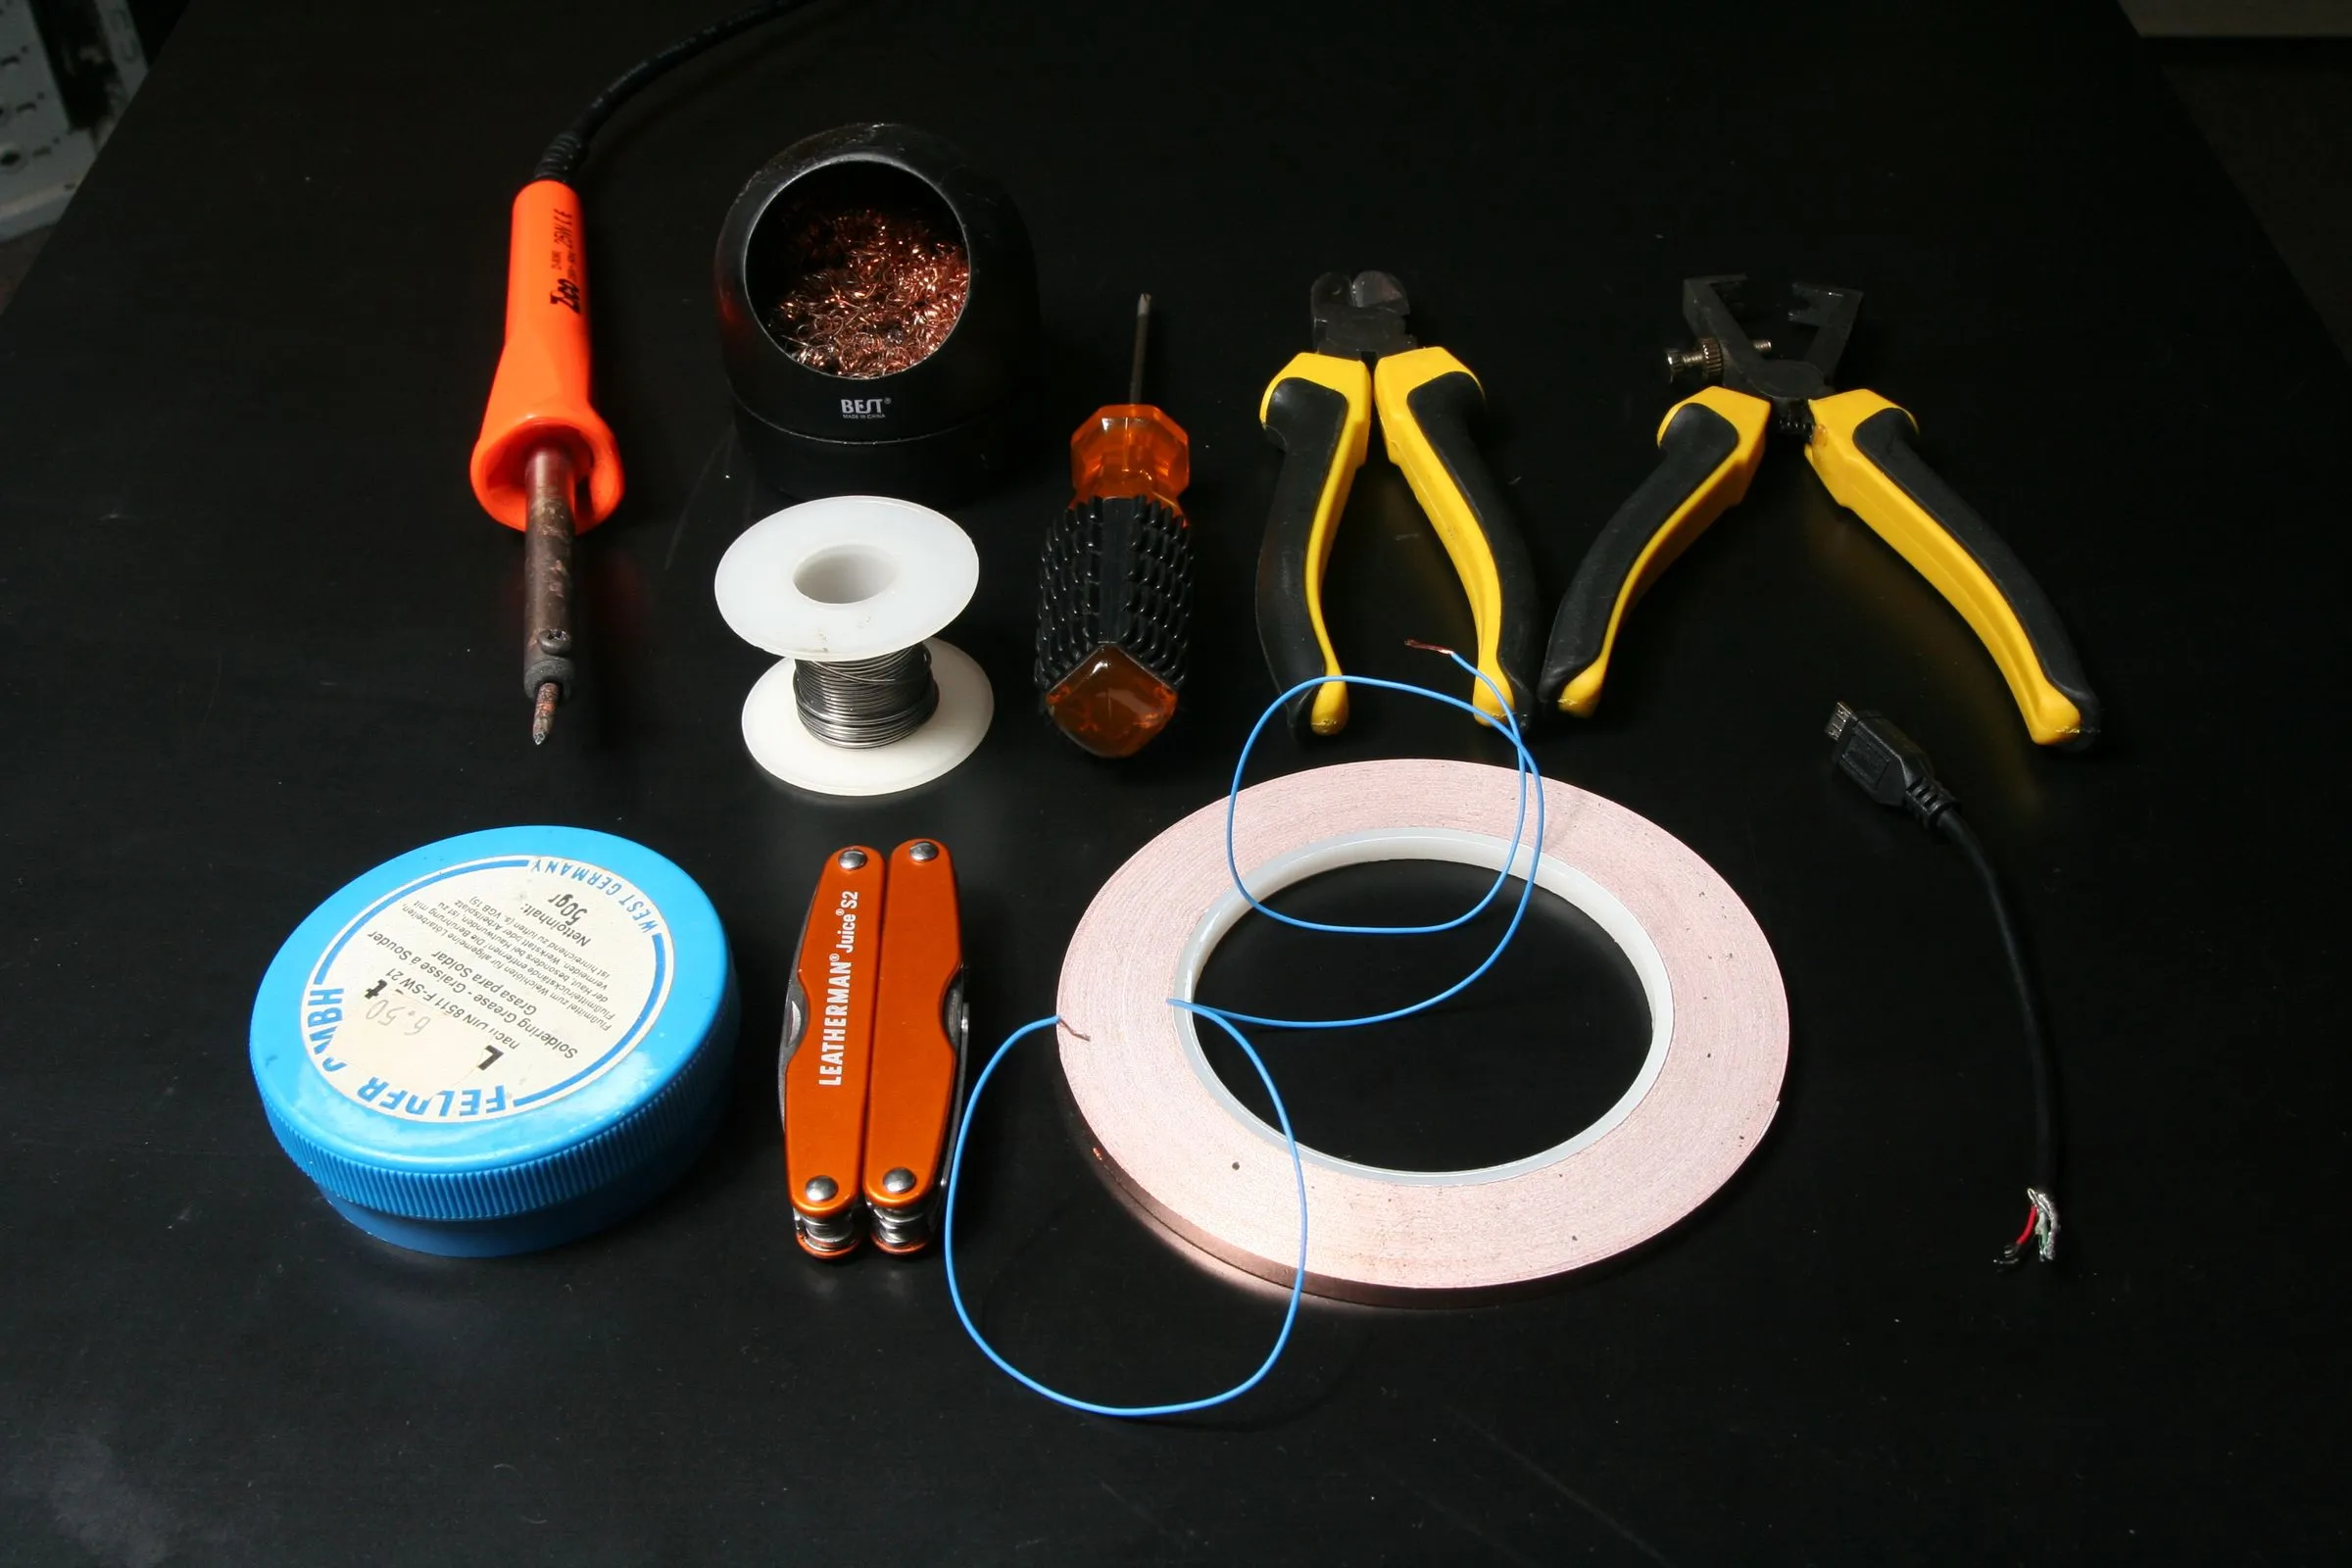
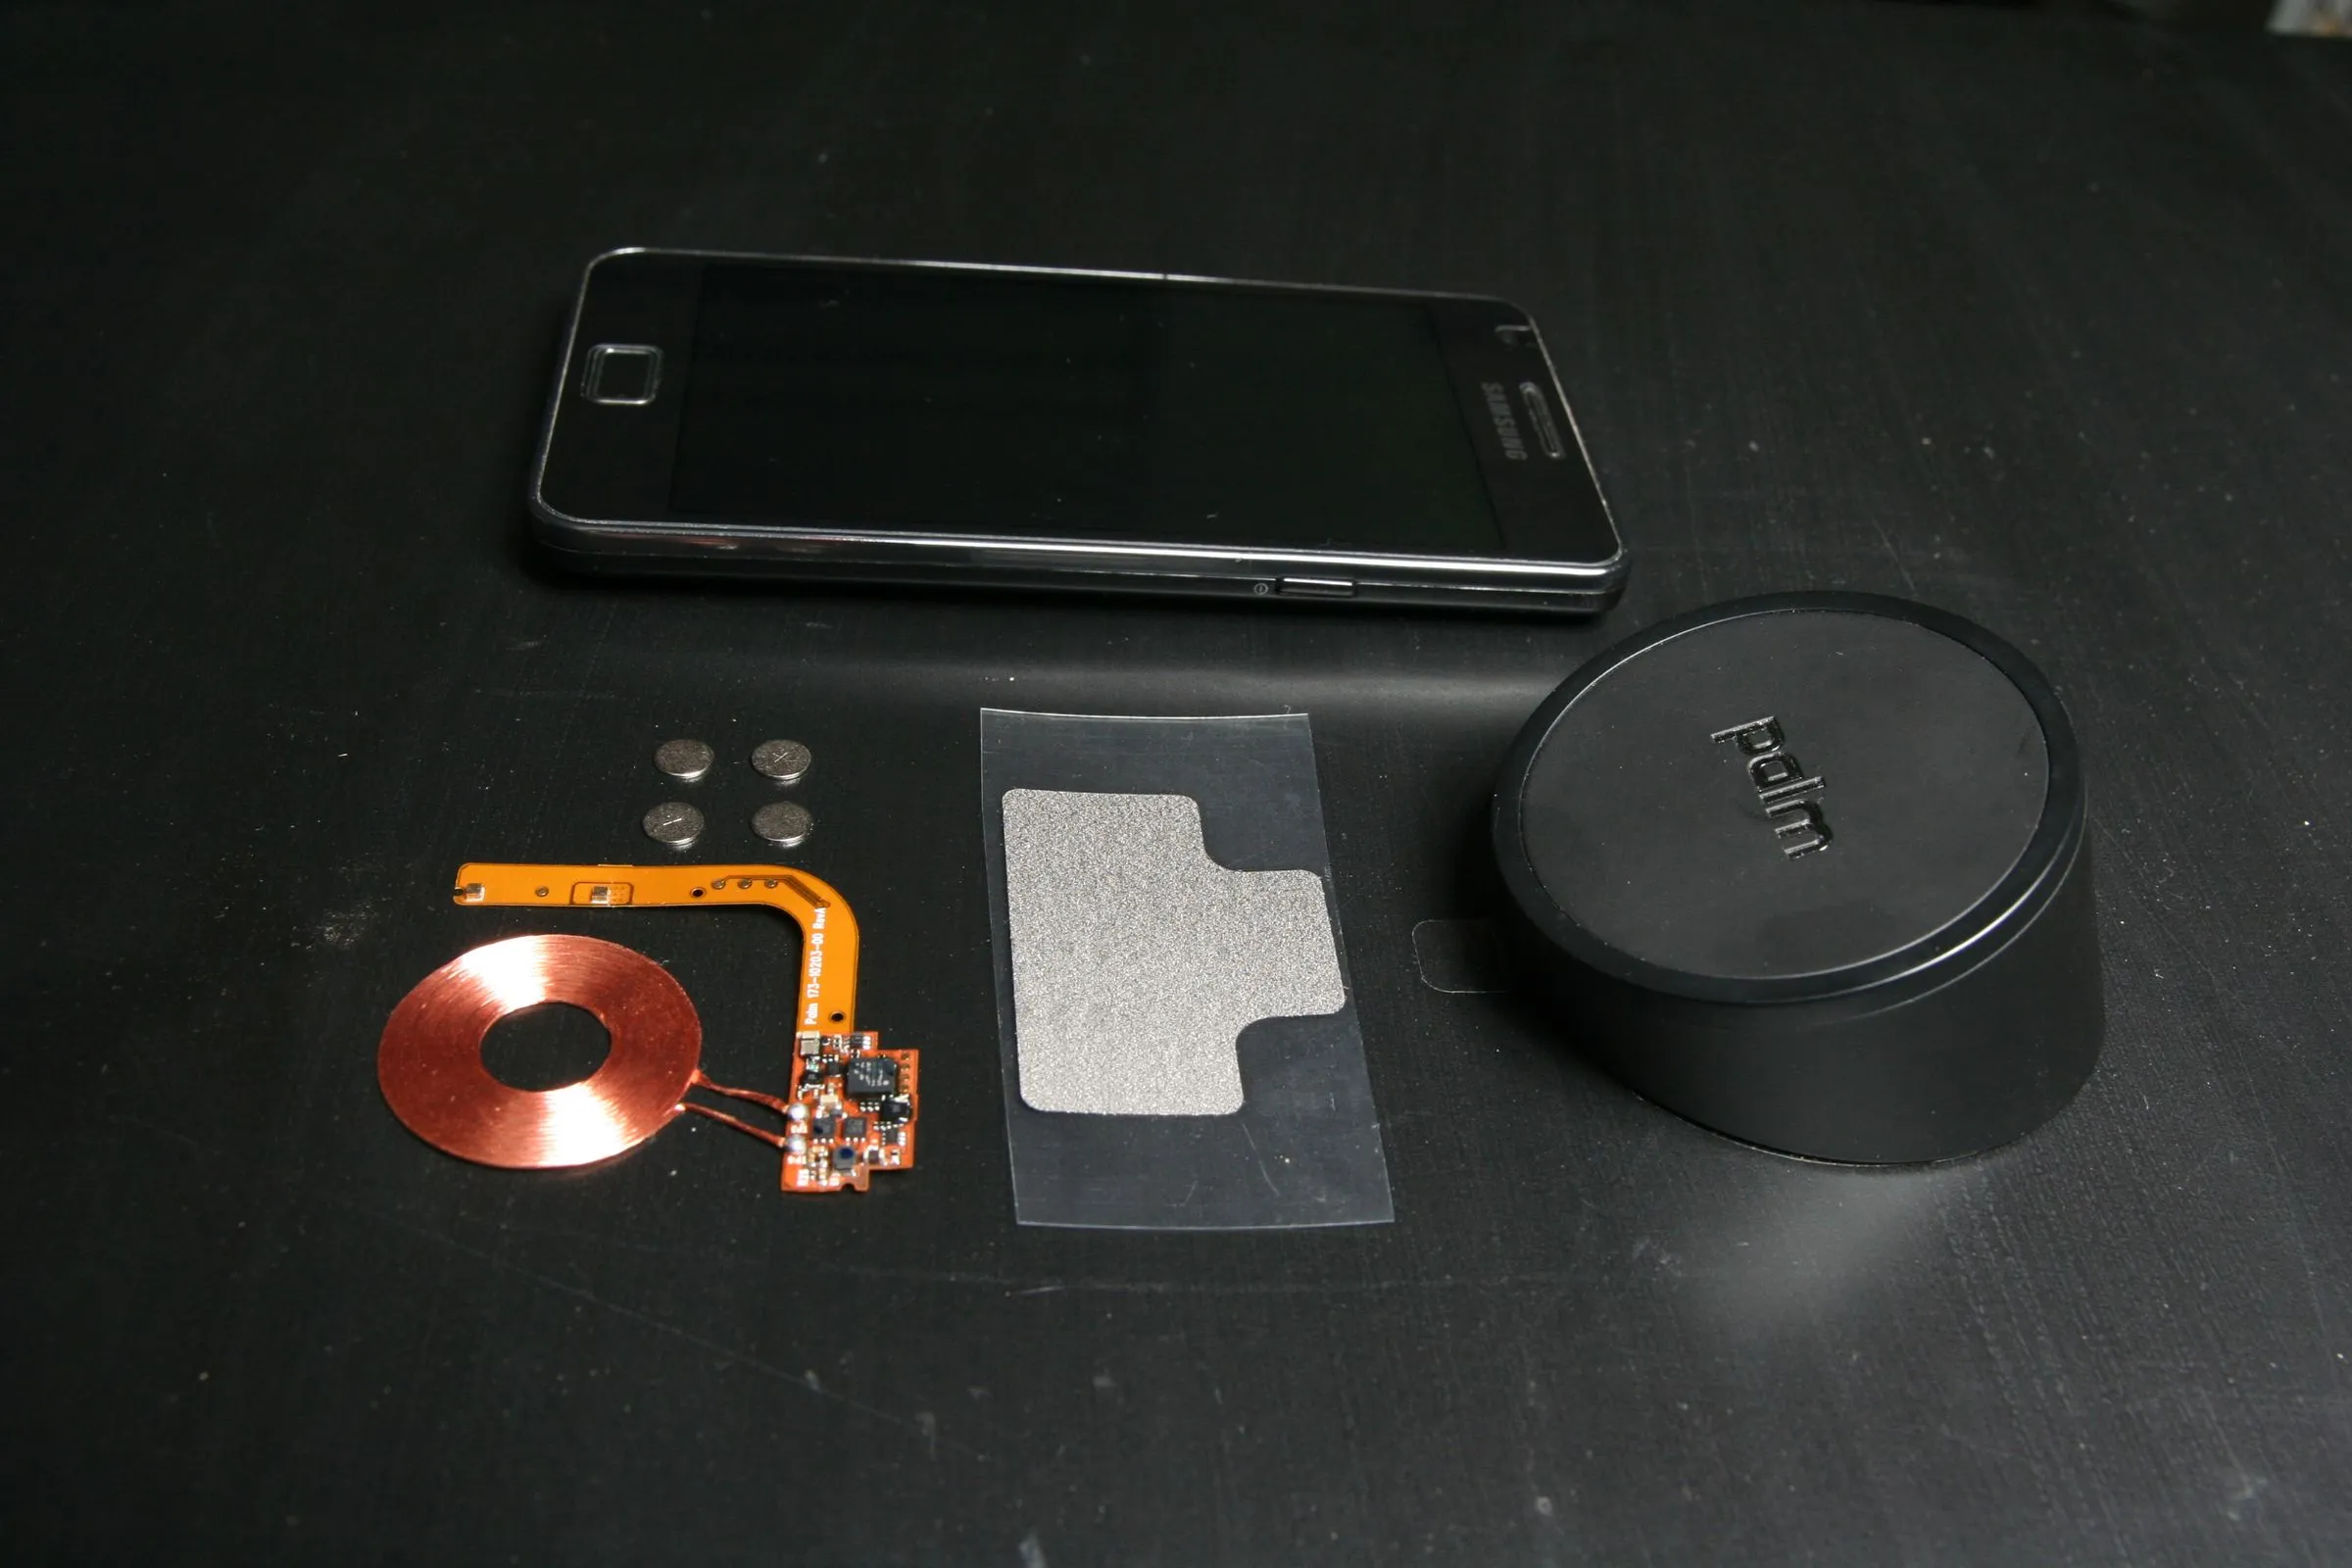
The components and tools needed for the job:
- Palm Touchstone
- charging coil
- Adhesive copper foil
- Small piece of thin gauge wire
-
1000mA USB charger
- Case/back cover
- Soldering iron and accessories
- Multimeter
- Screwdriver
- Insulating tape
- Wire stripper and cutter
See That Everything Works and Make Mods If Necessary
Before you start dissecting your phone make sure the components you got work. Plug the touchstone to the charger and place the coil on top of it. You should get between 5.2V and 5.5V between the contact points.
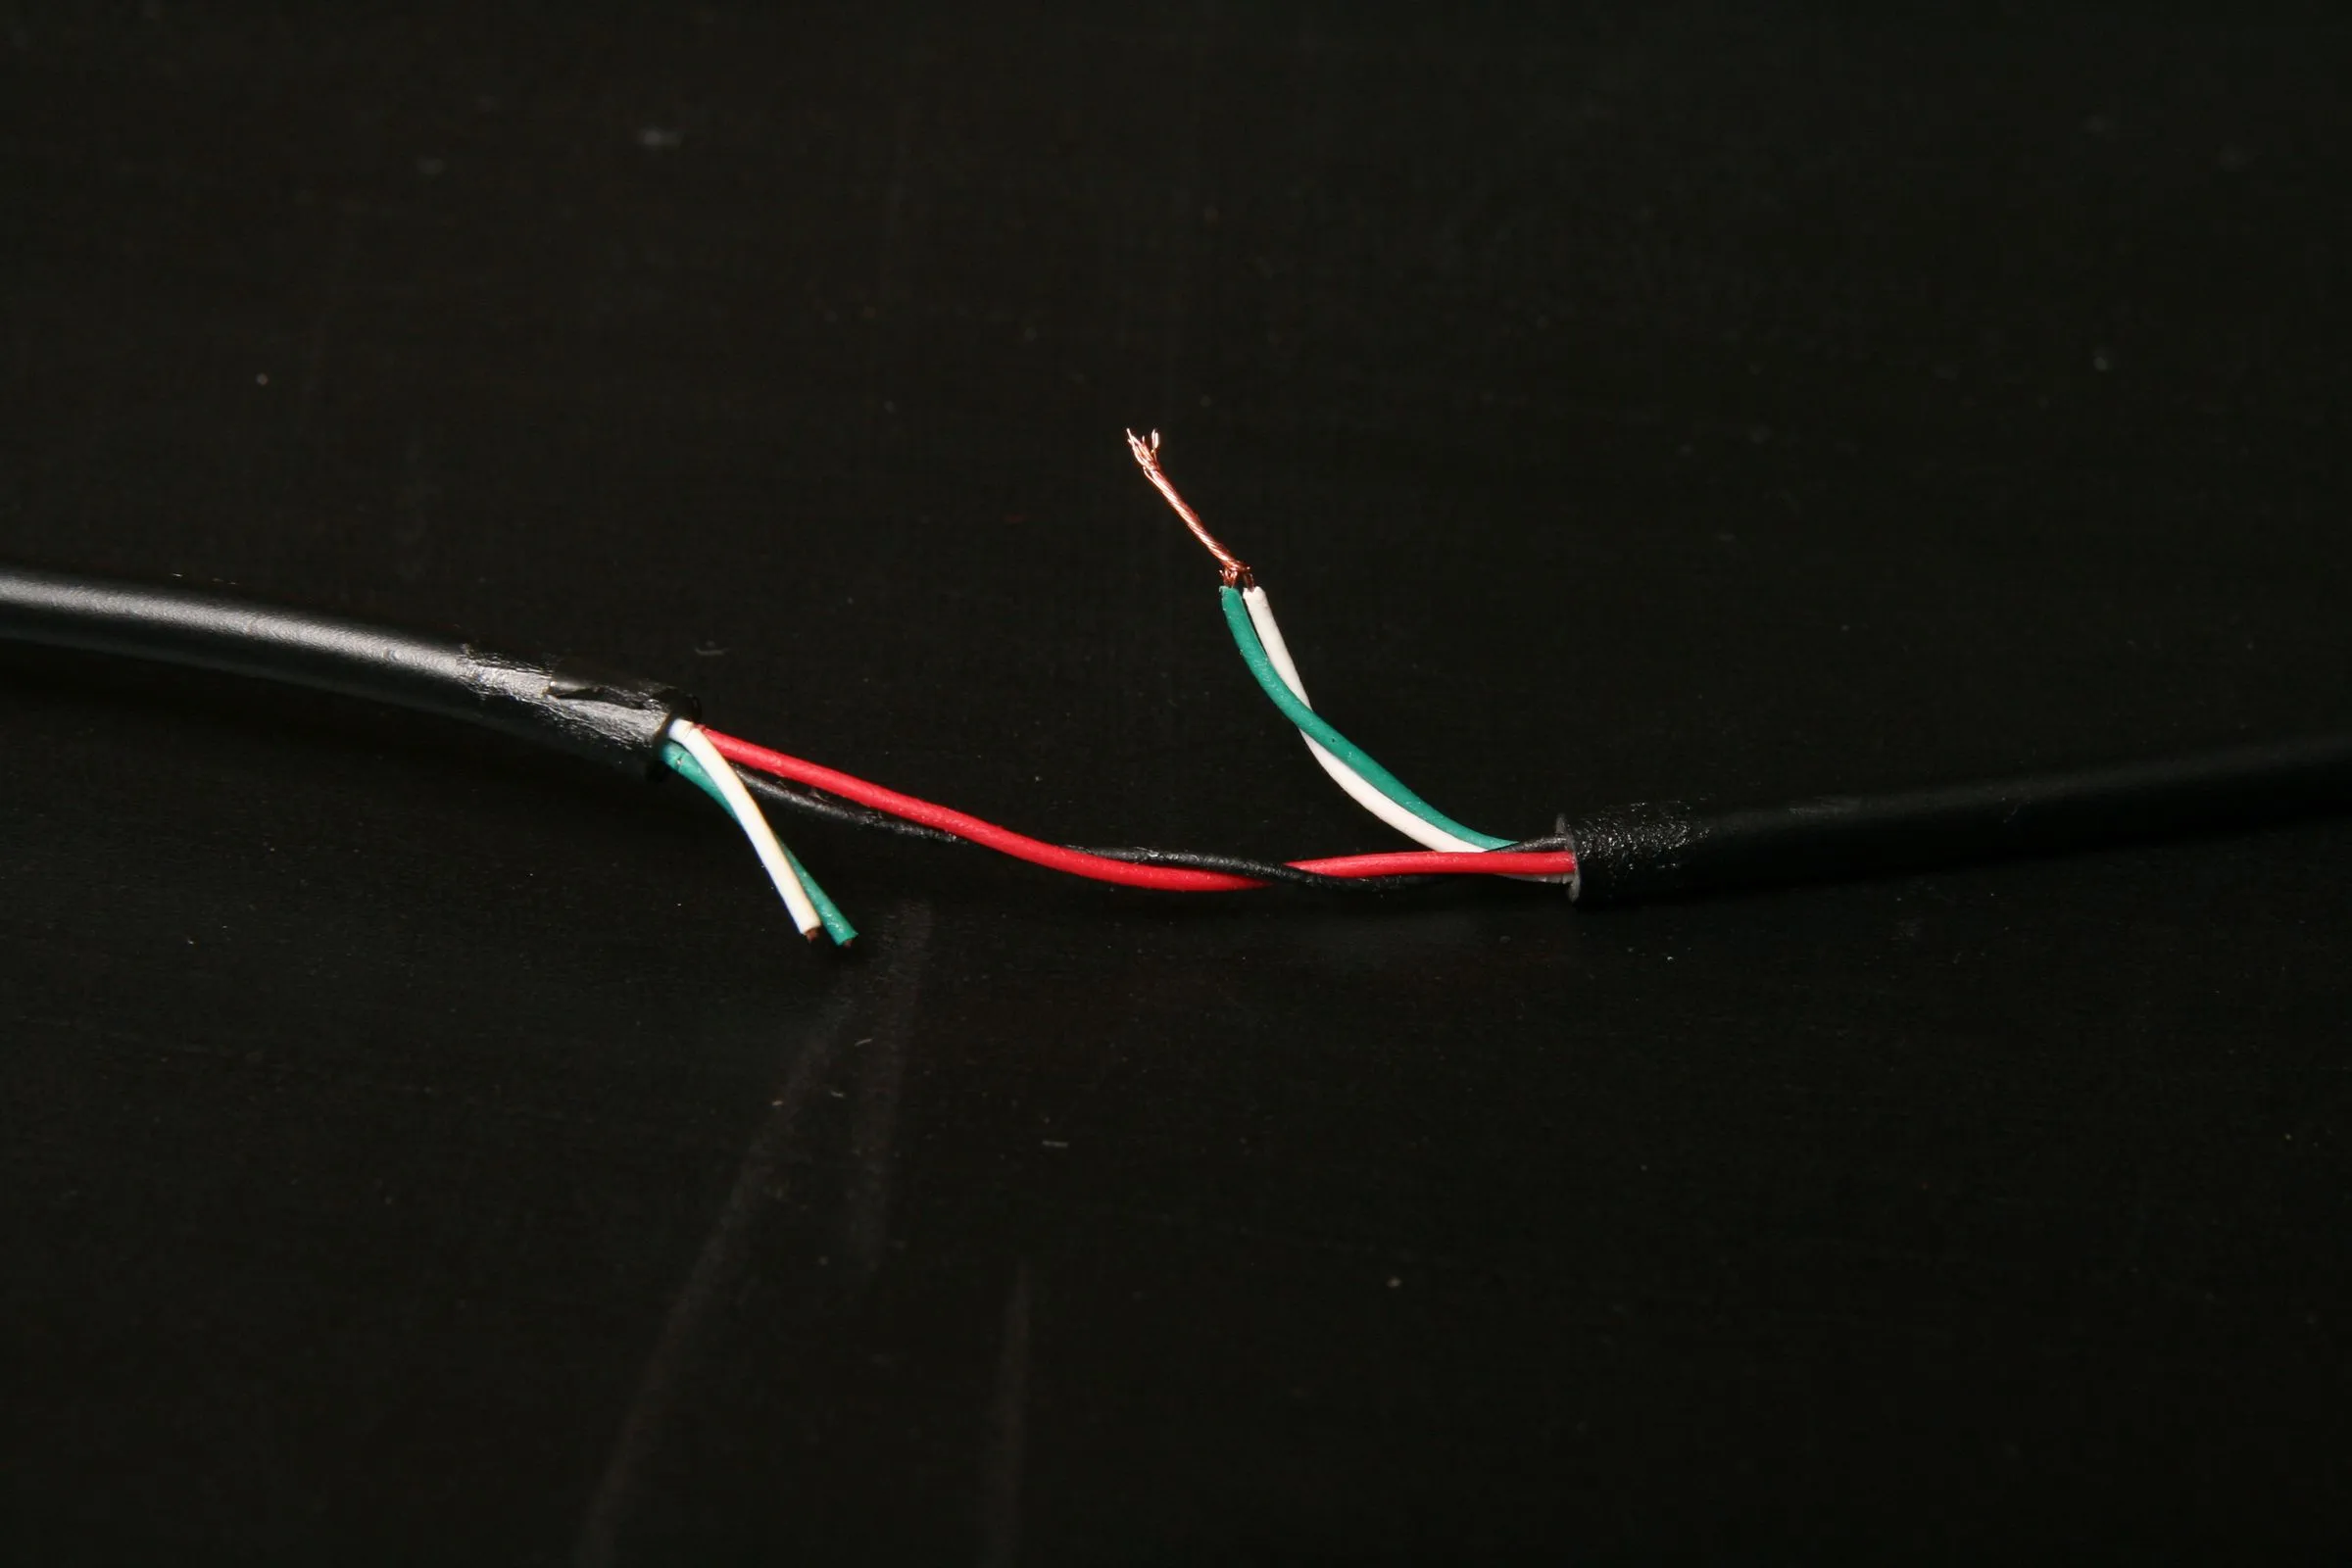
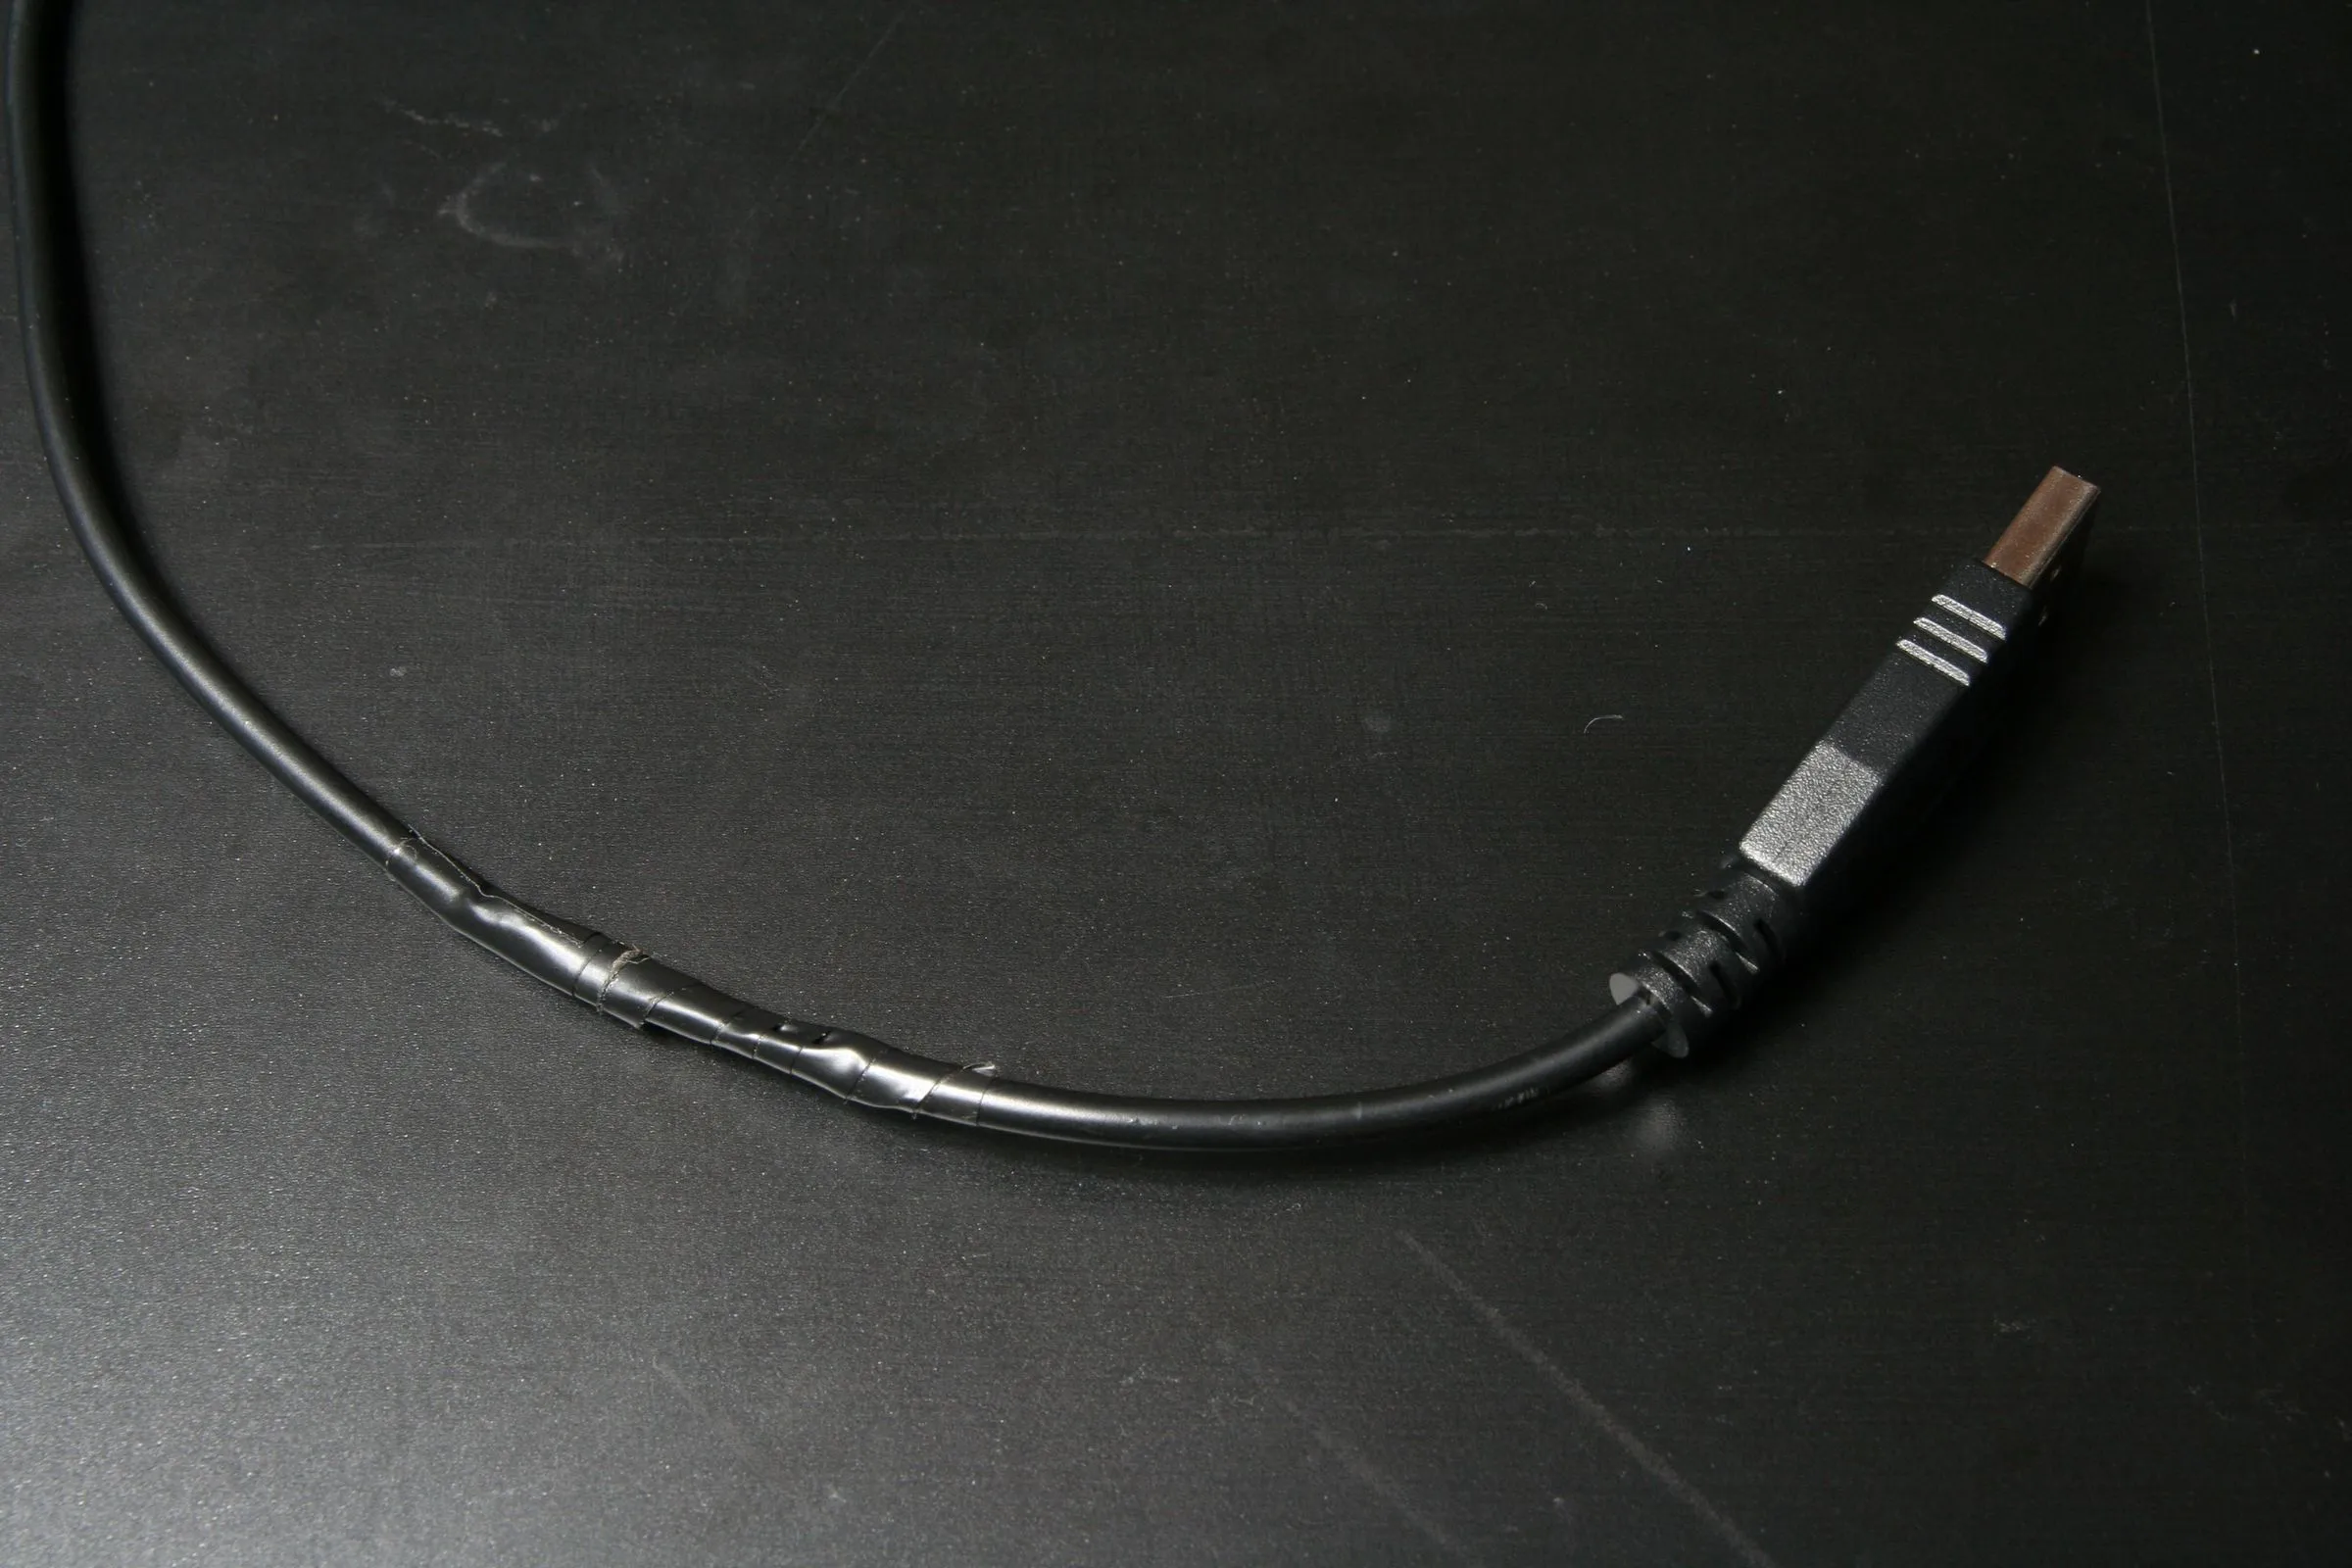
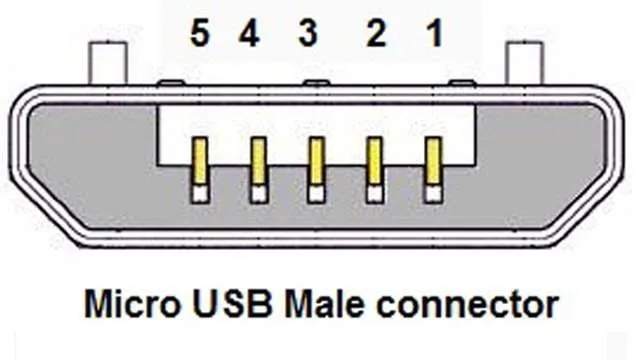
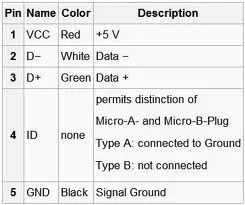
The touchstone only works with “fast charge” capable chargers. the indicator is a short between the 2 and 3 pins of the USB cable (the data pins). Sacrifice a USB cable, cut the green and white wires, twist and solder them together on the touchstone side only.
Know Your Device
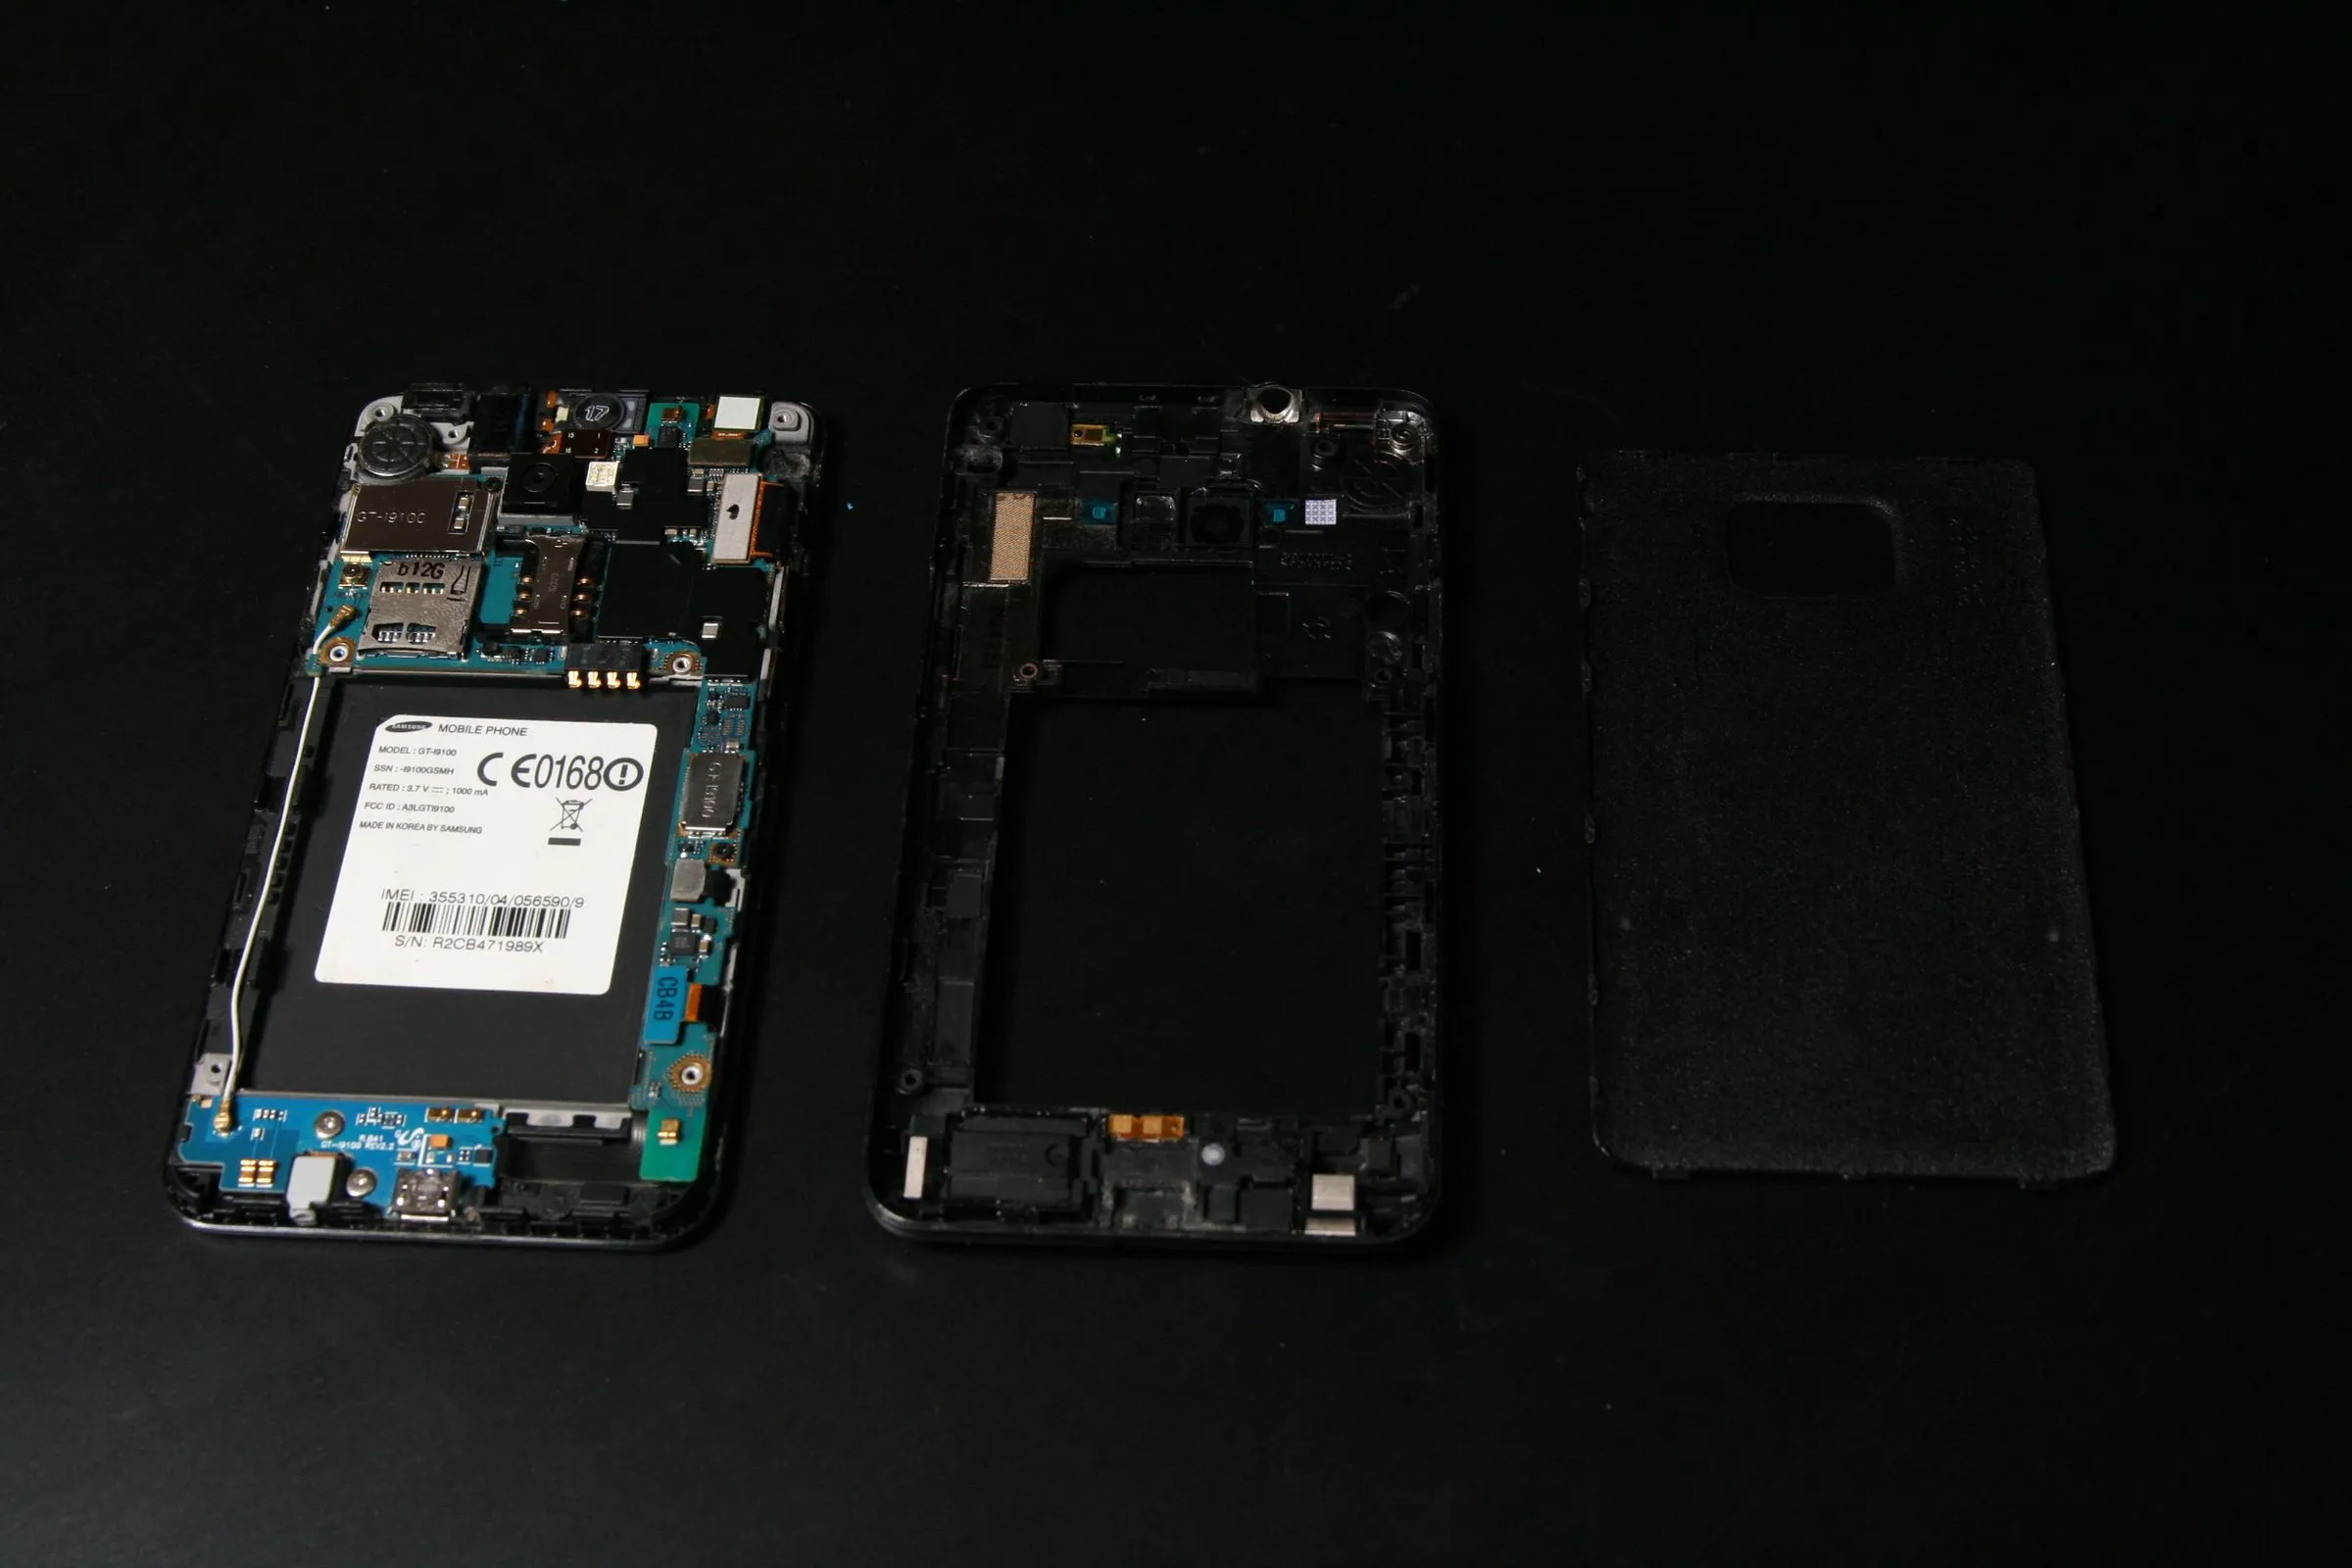
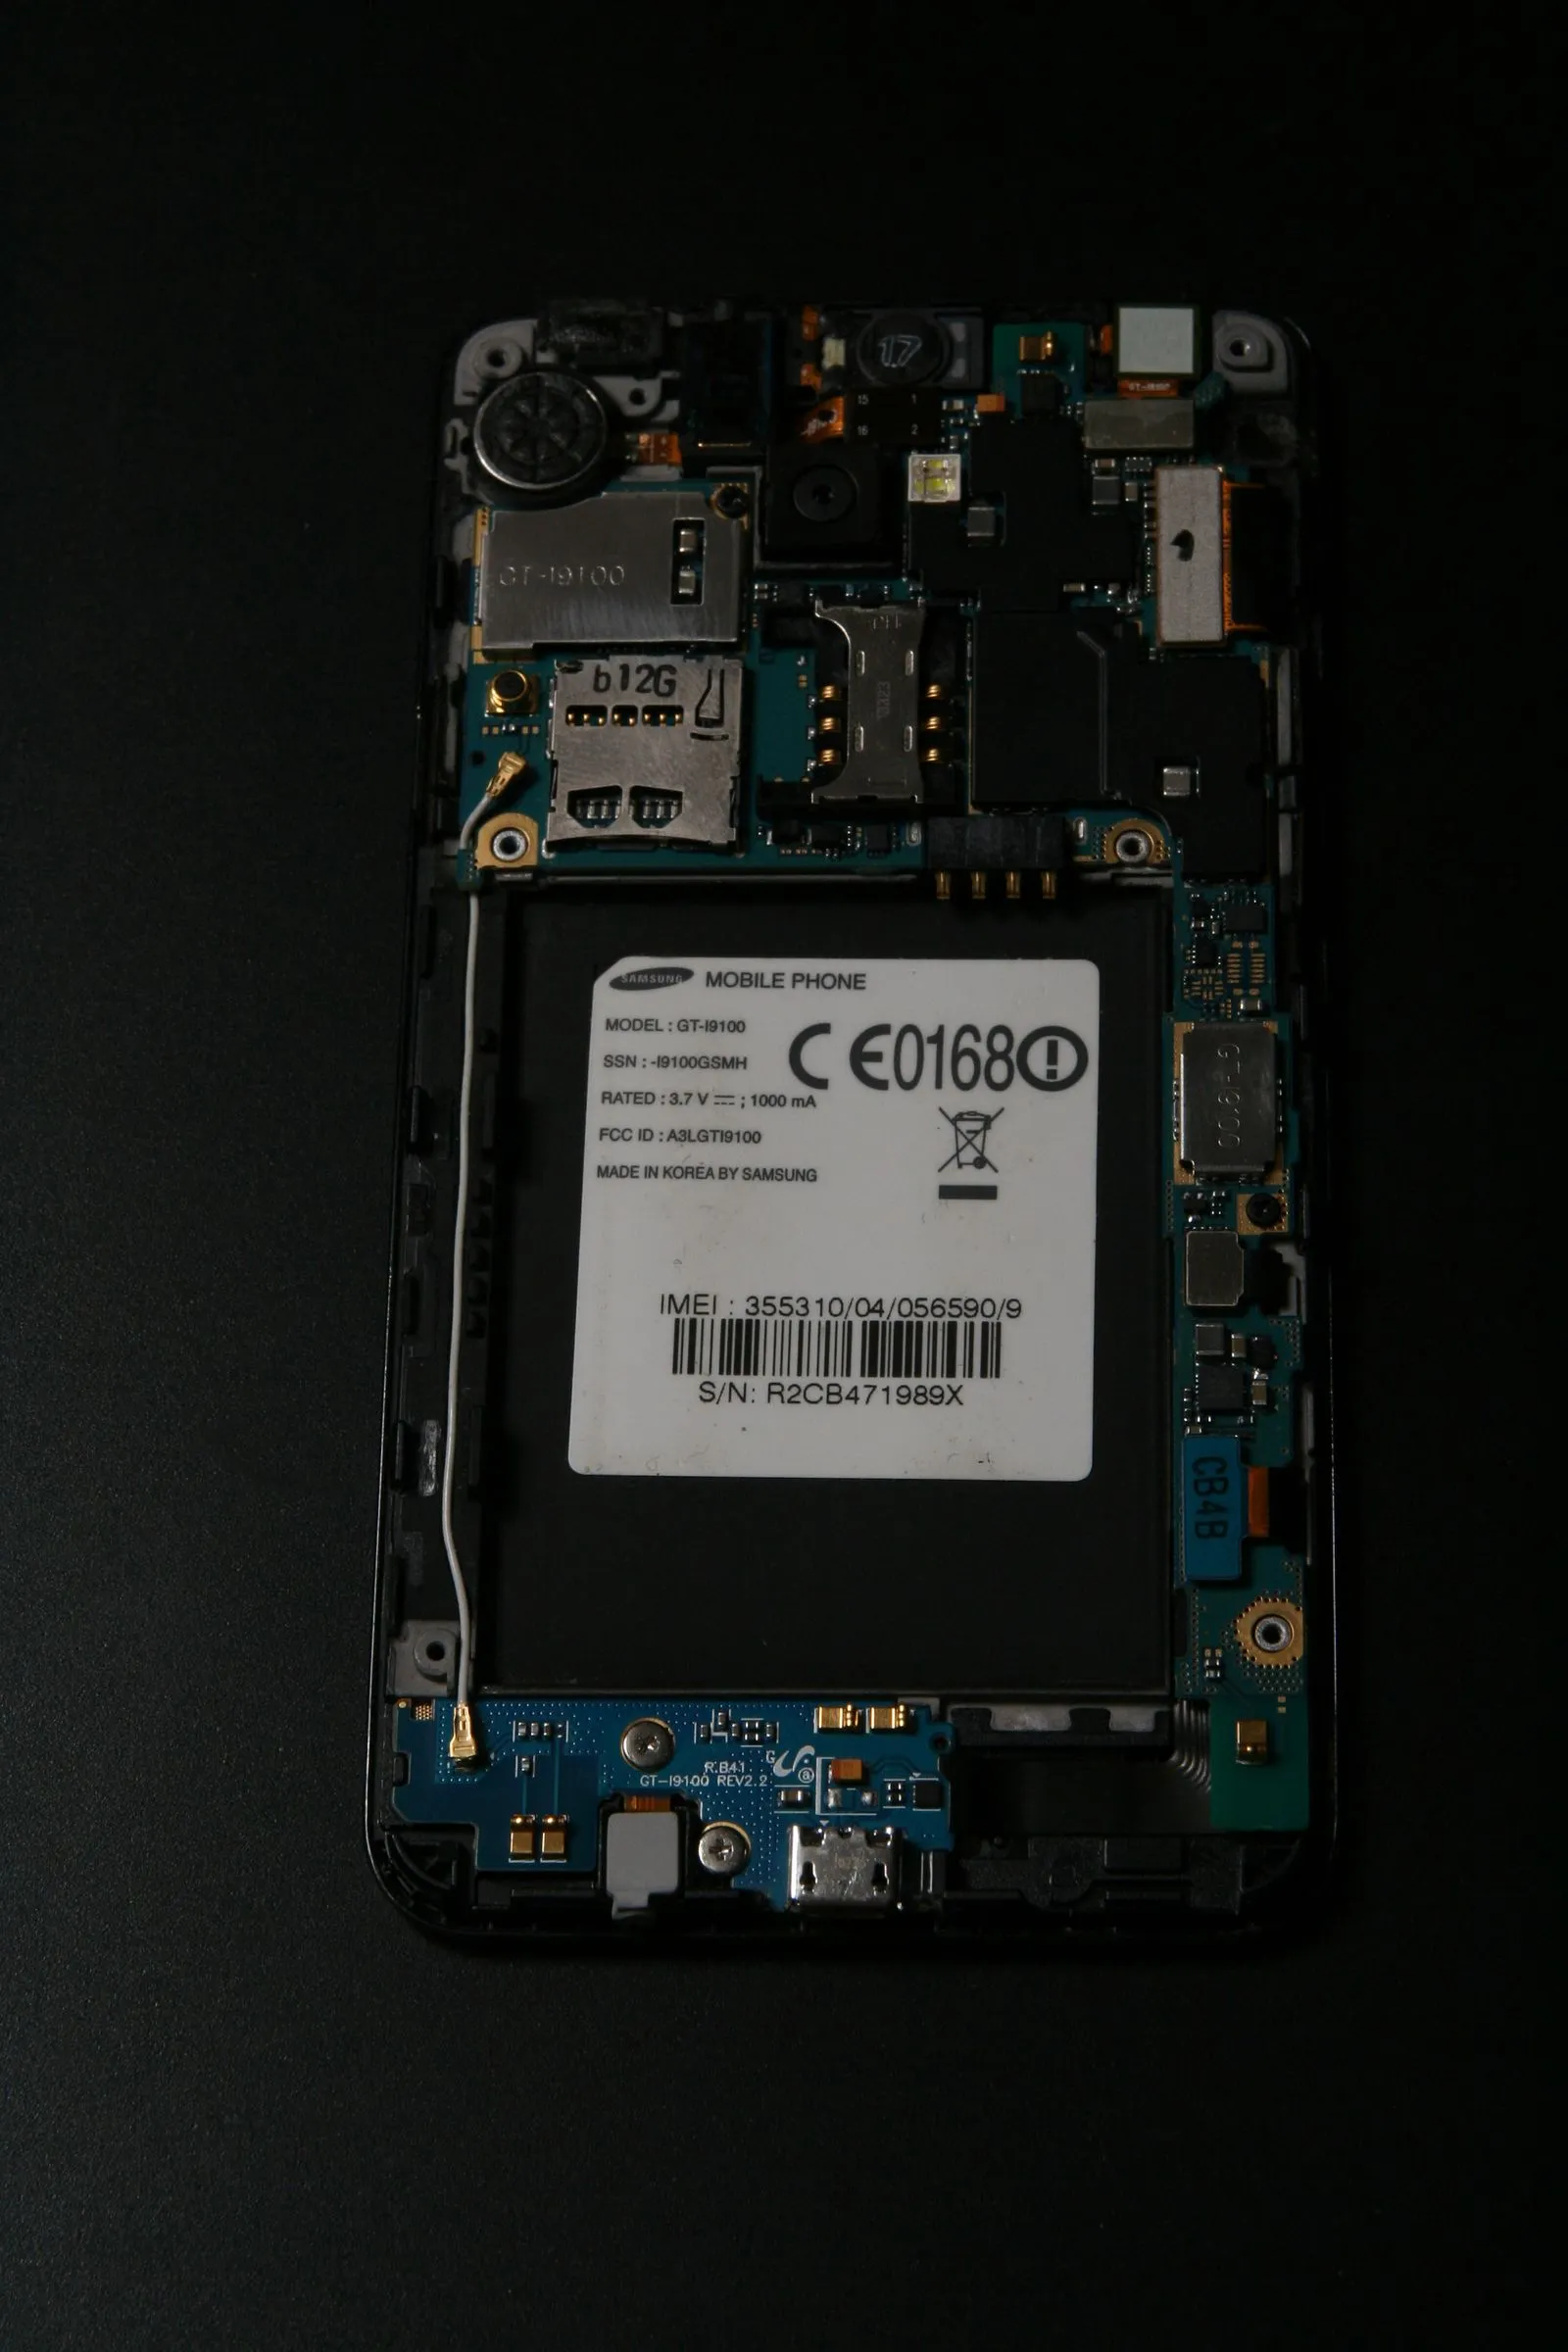
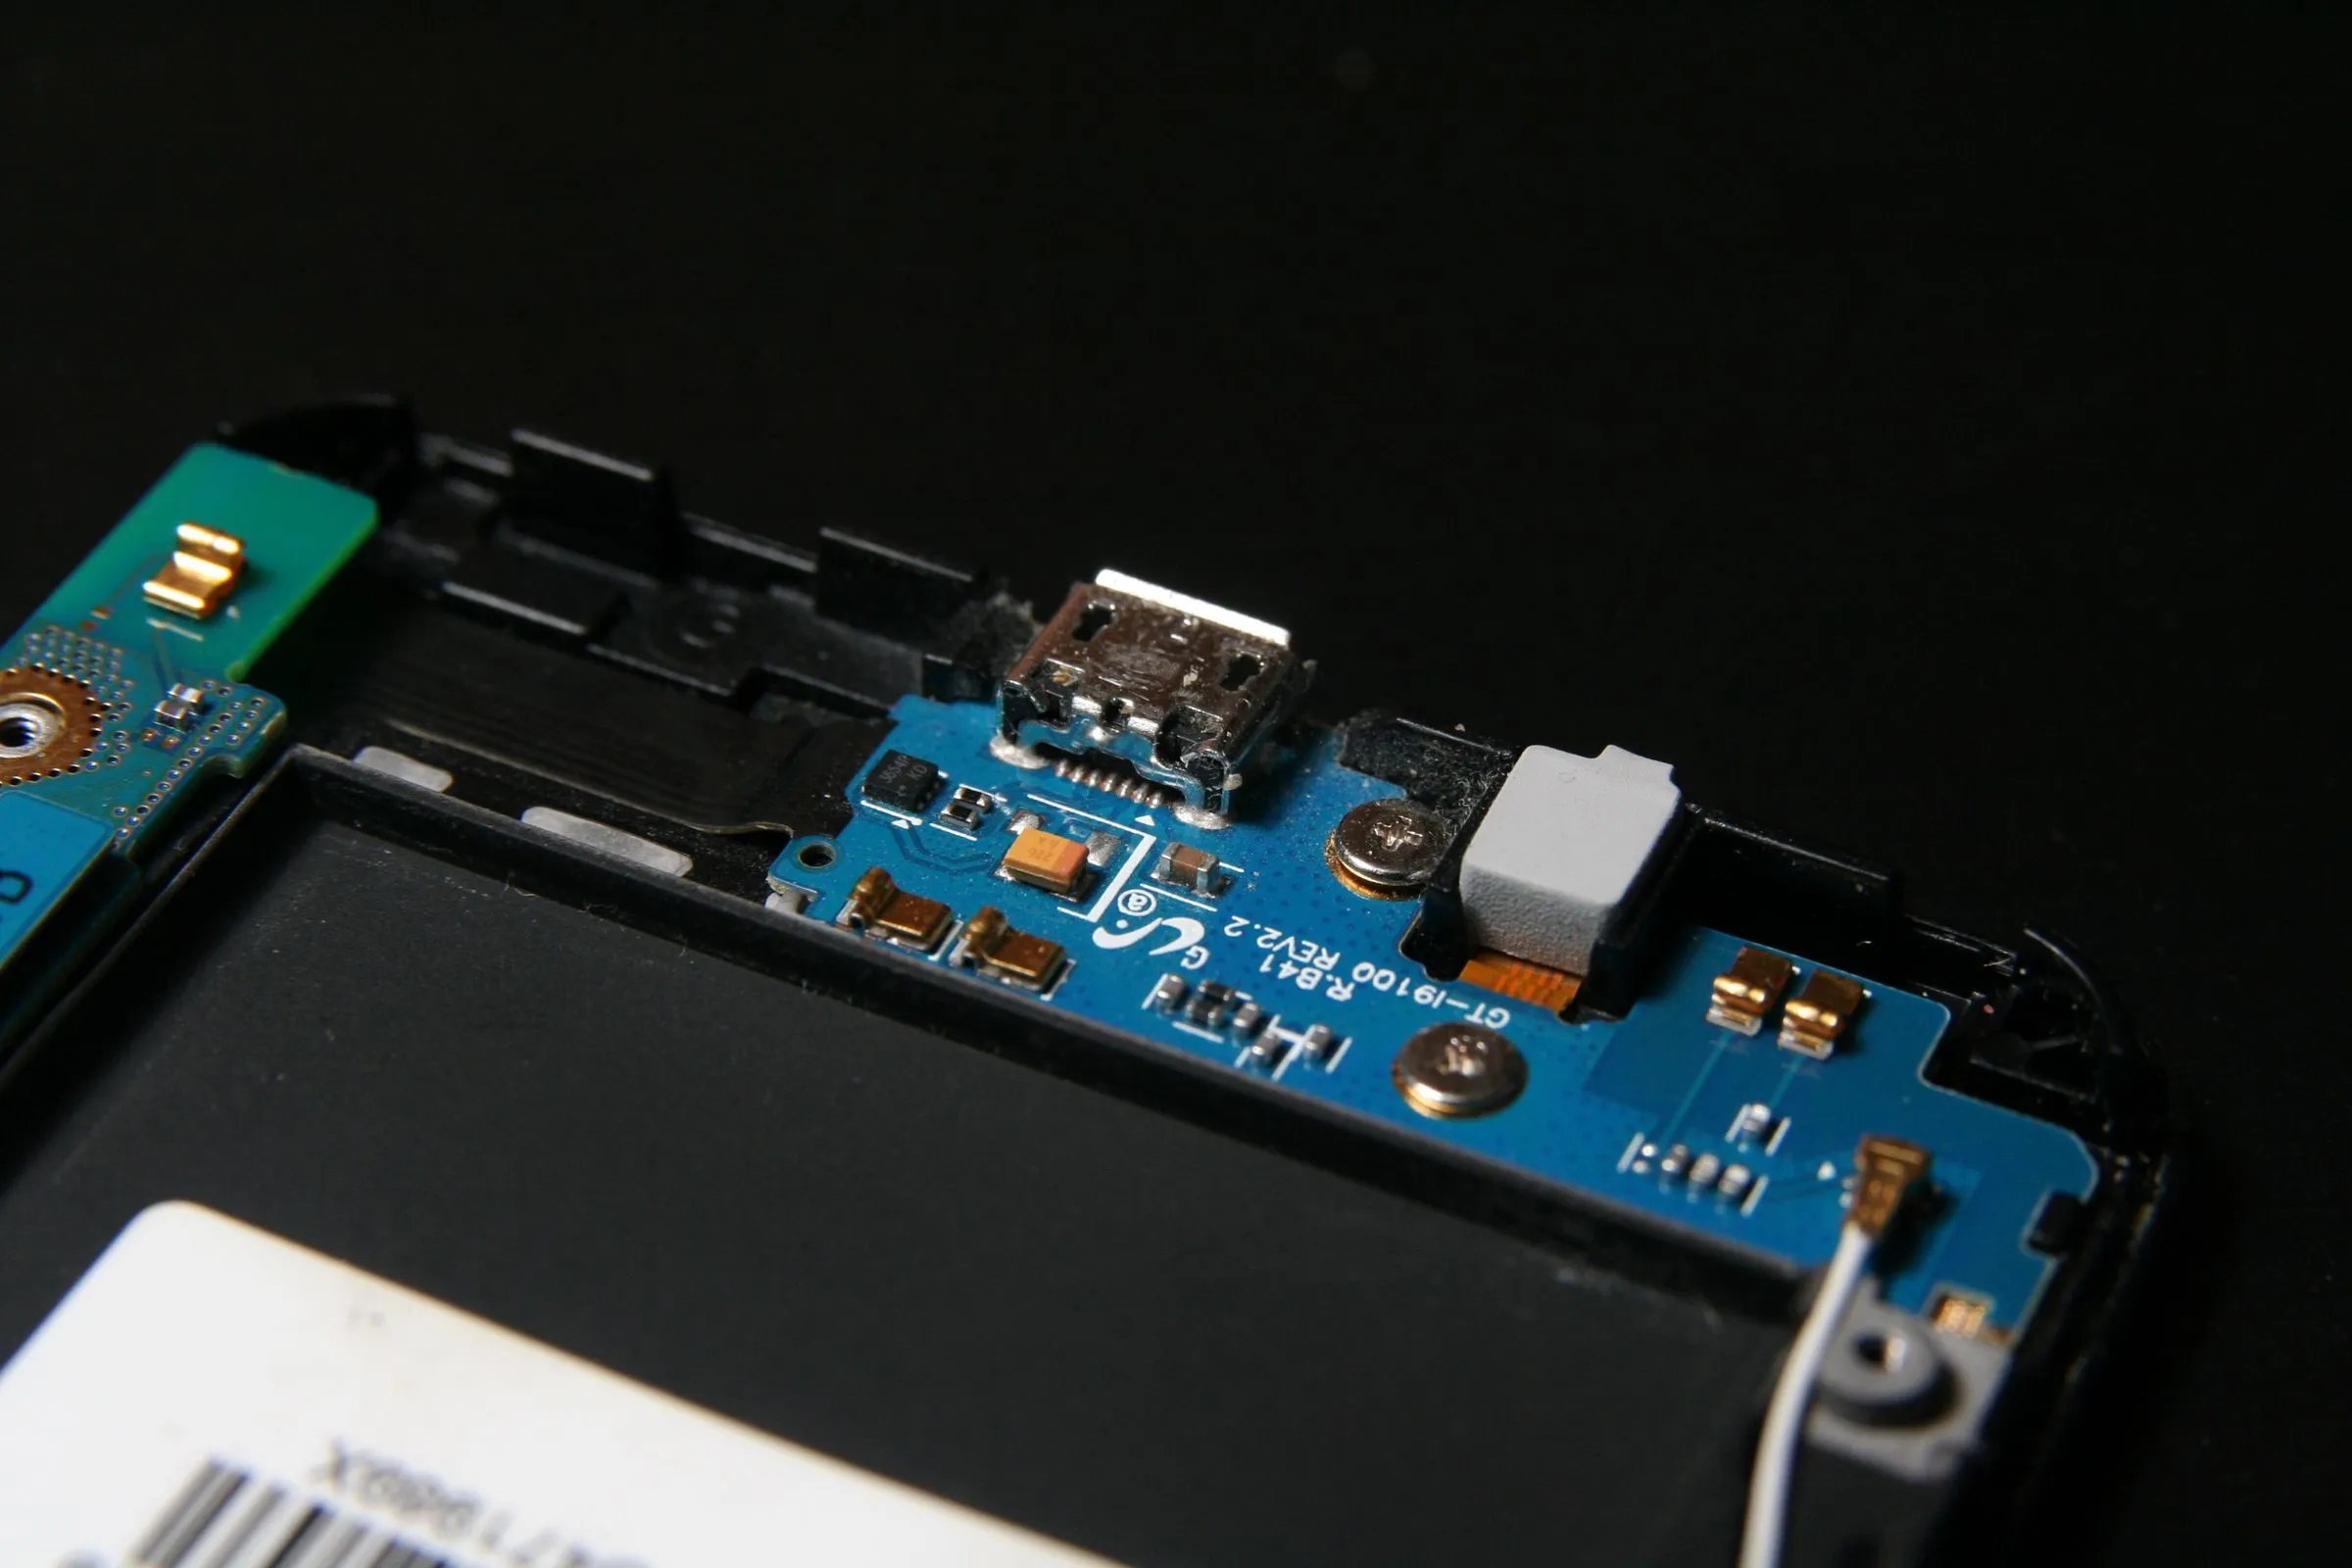
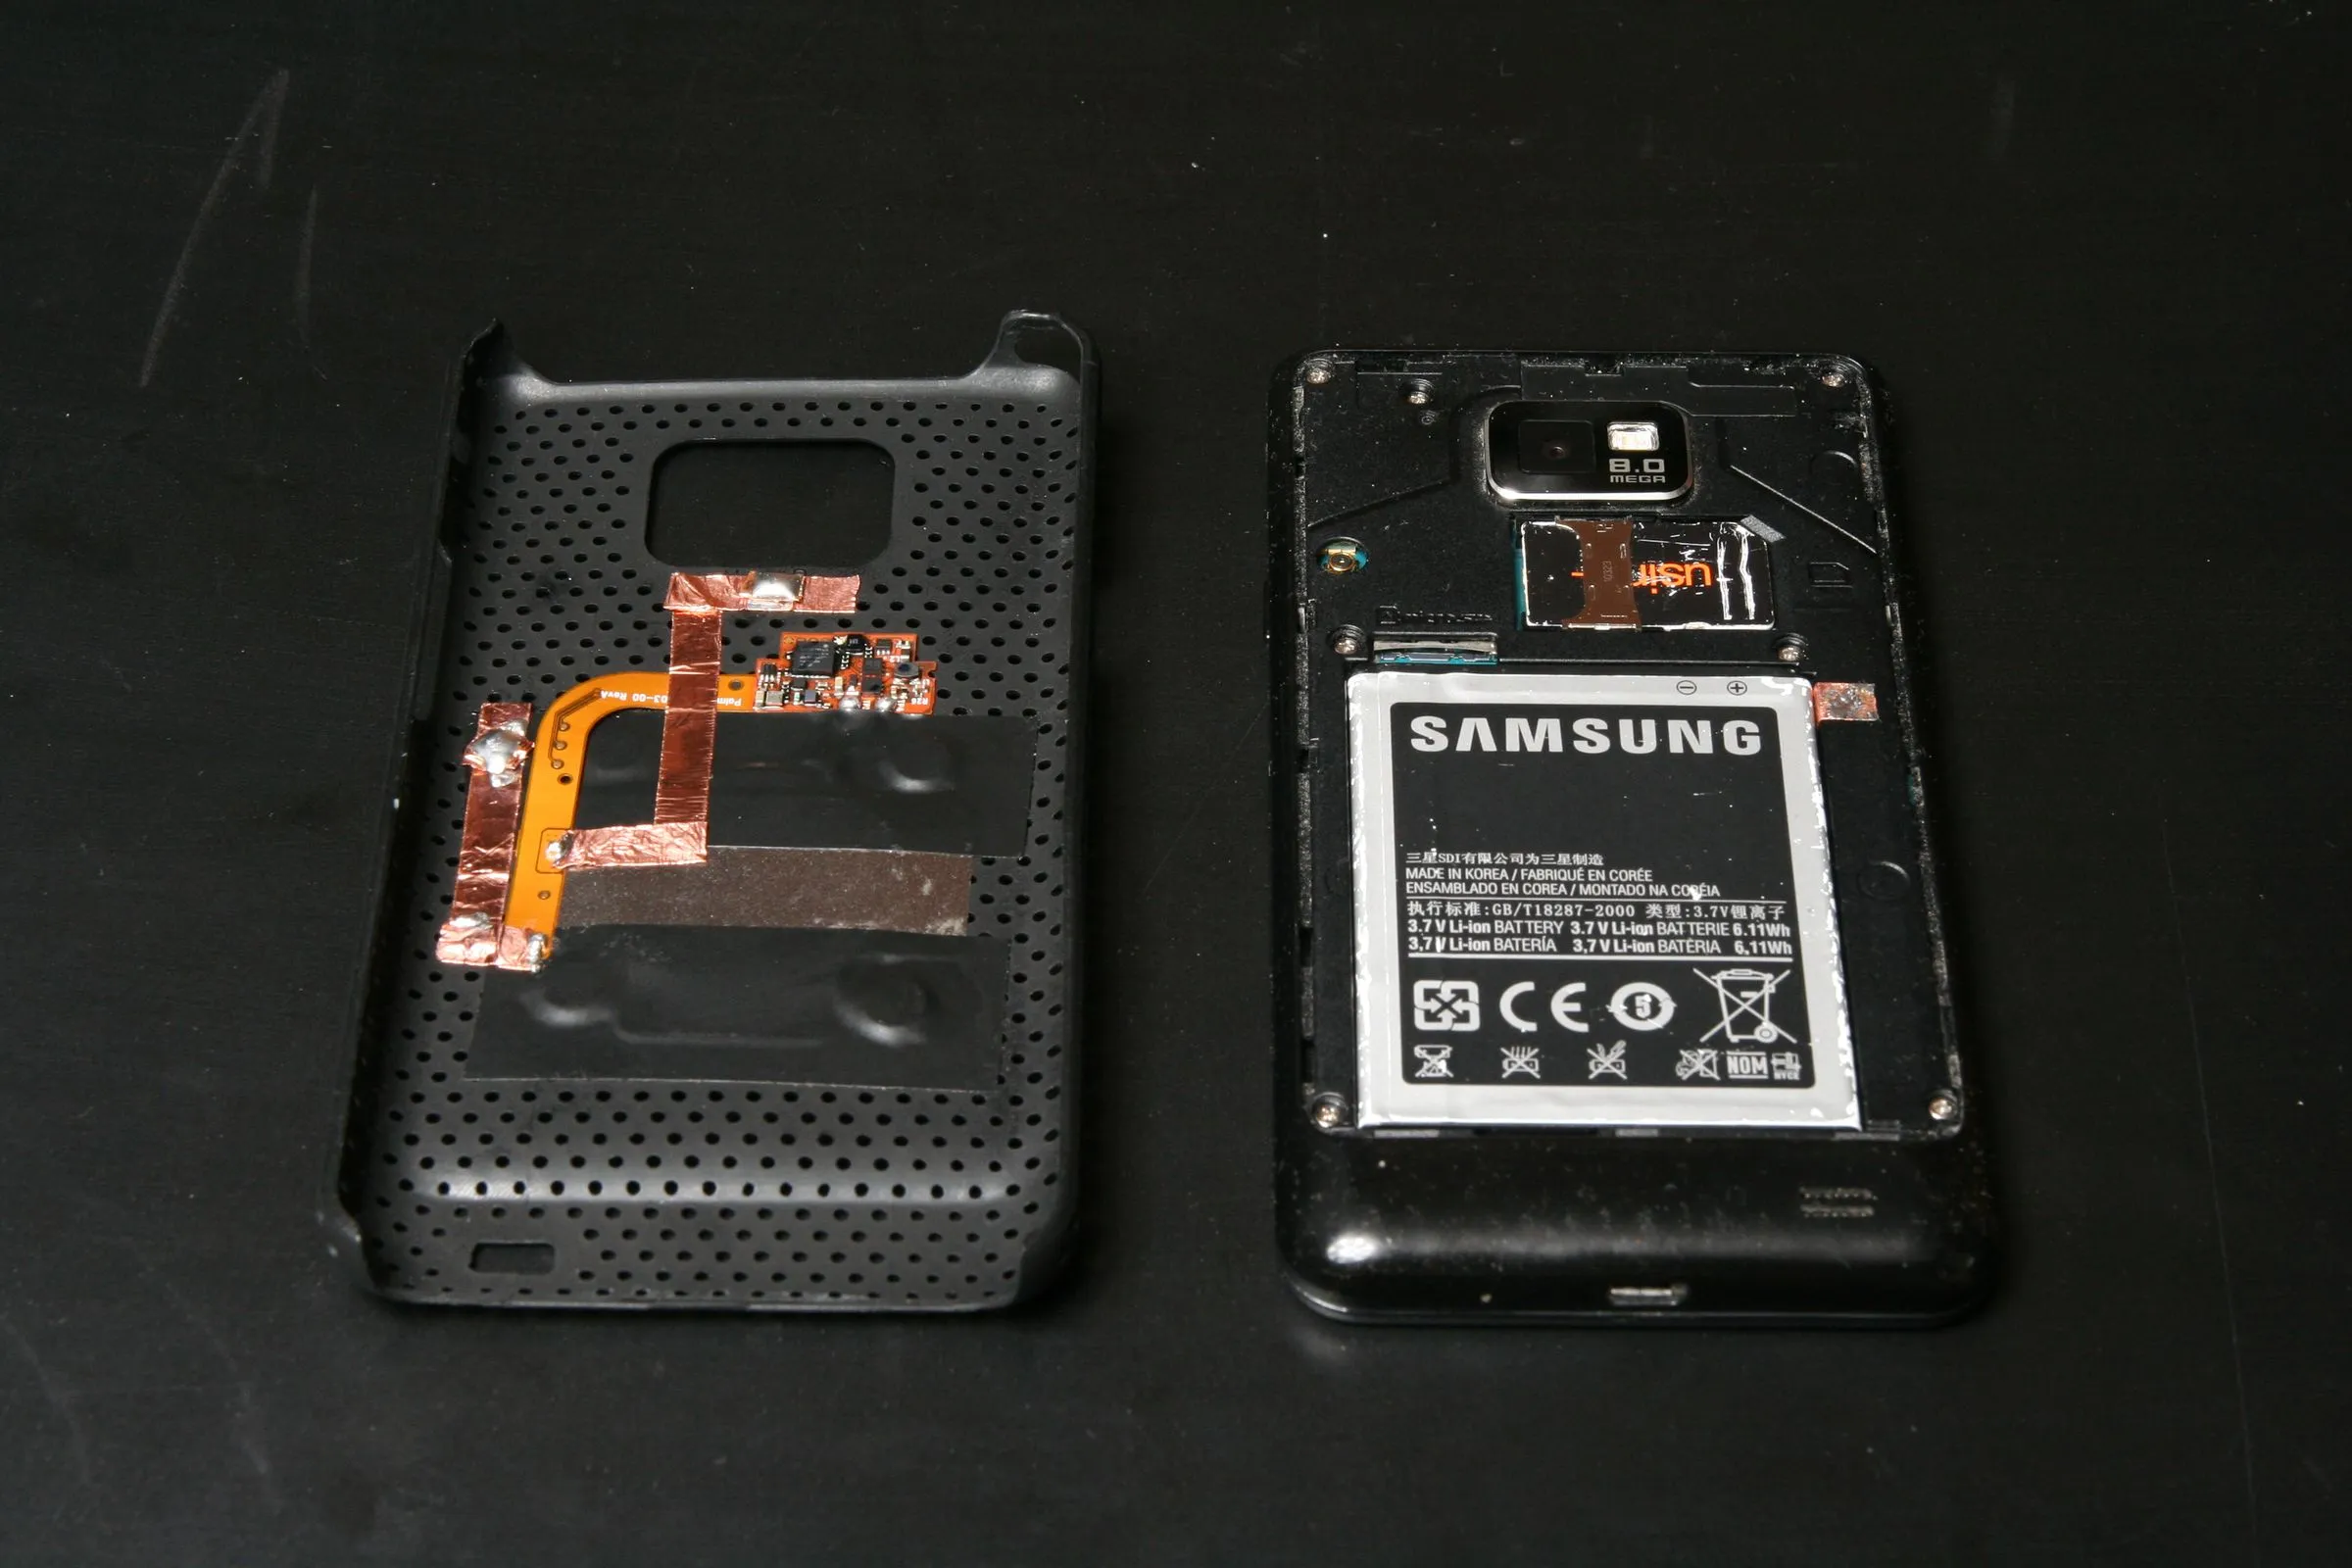
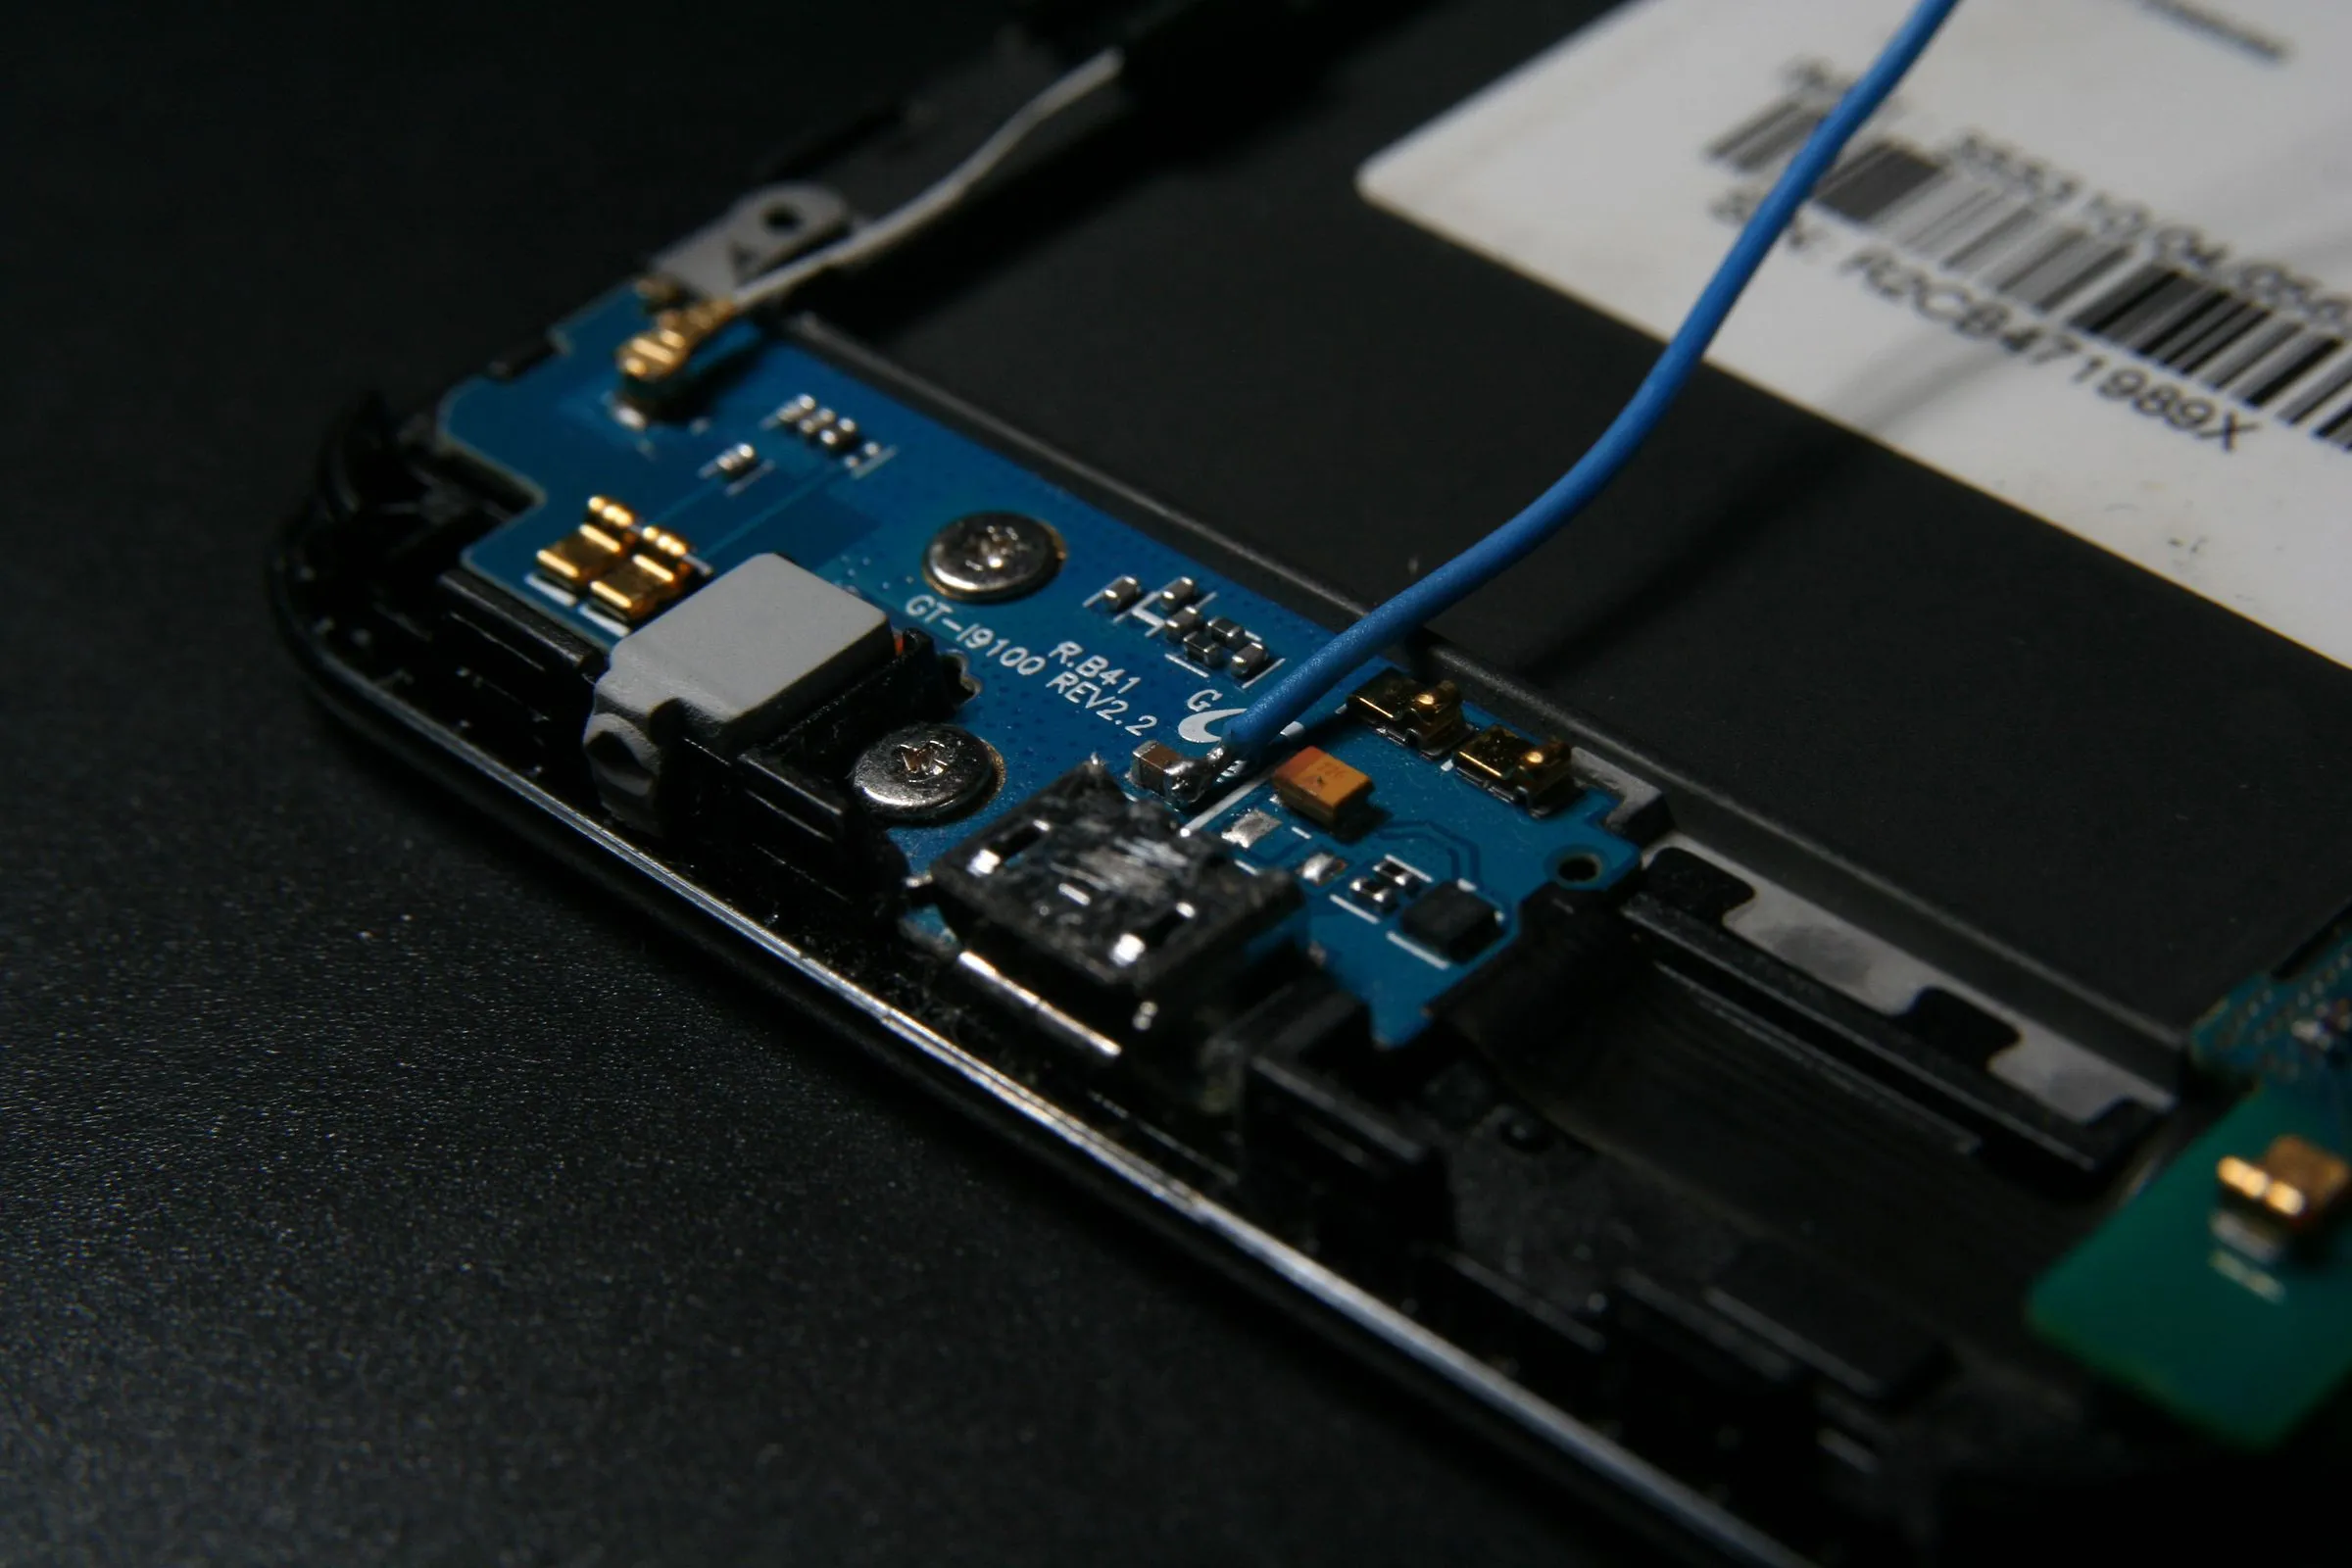
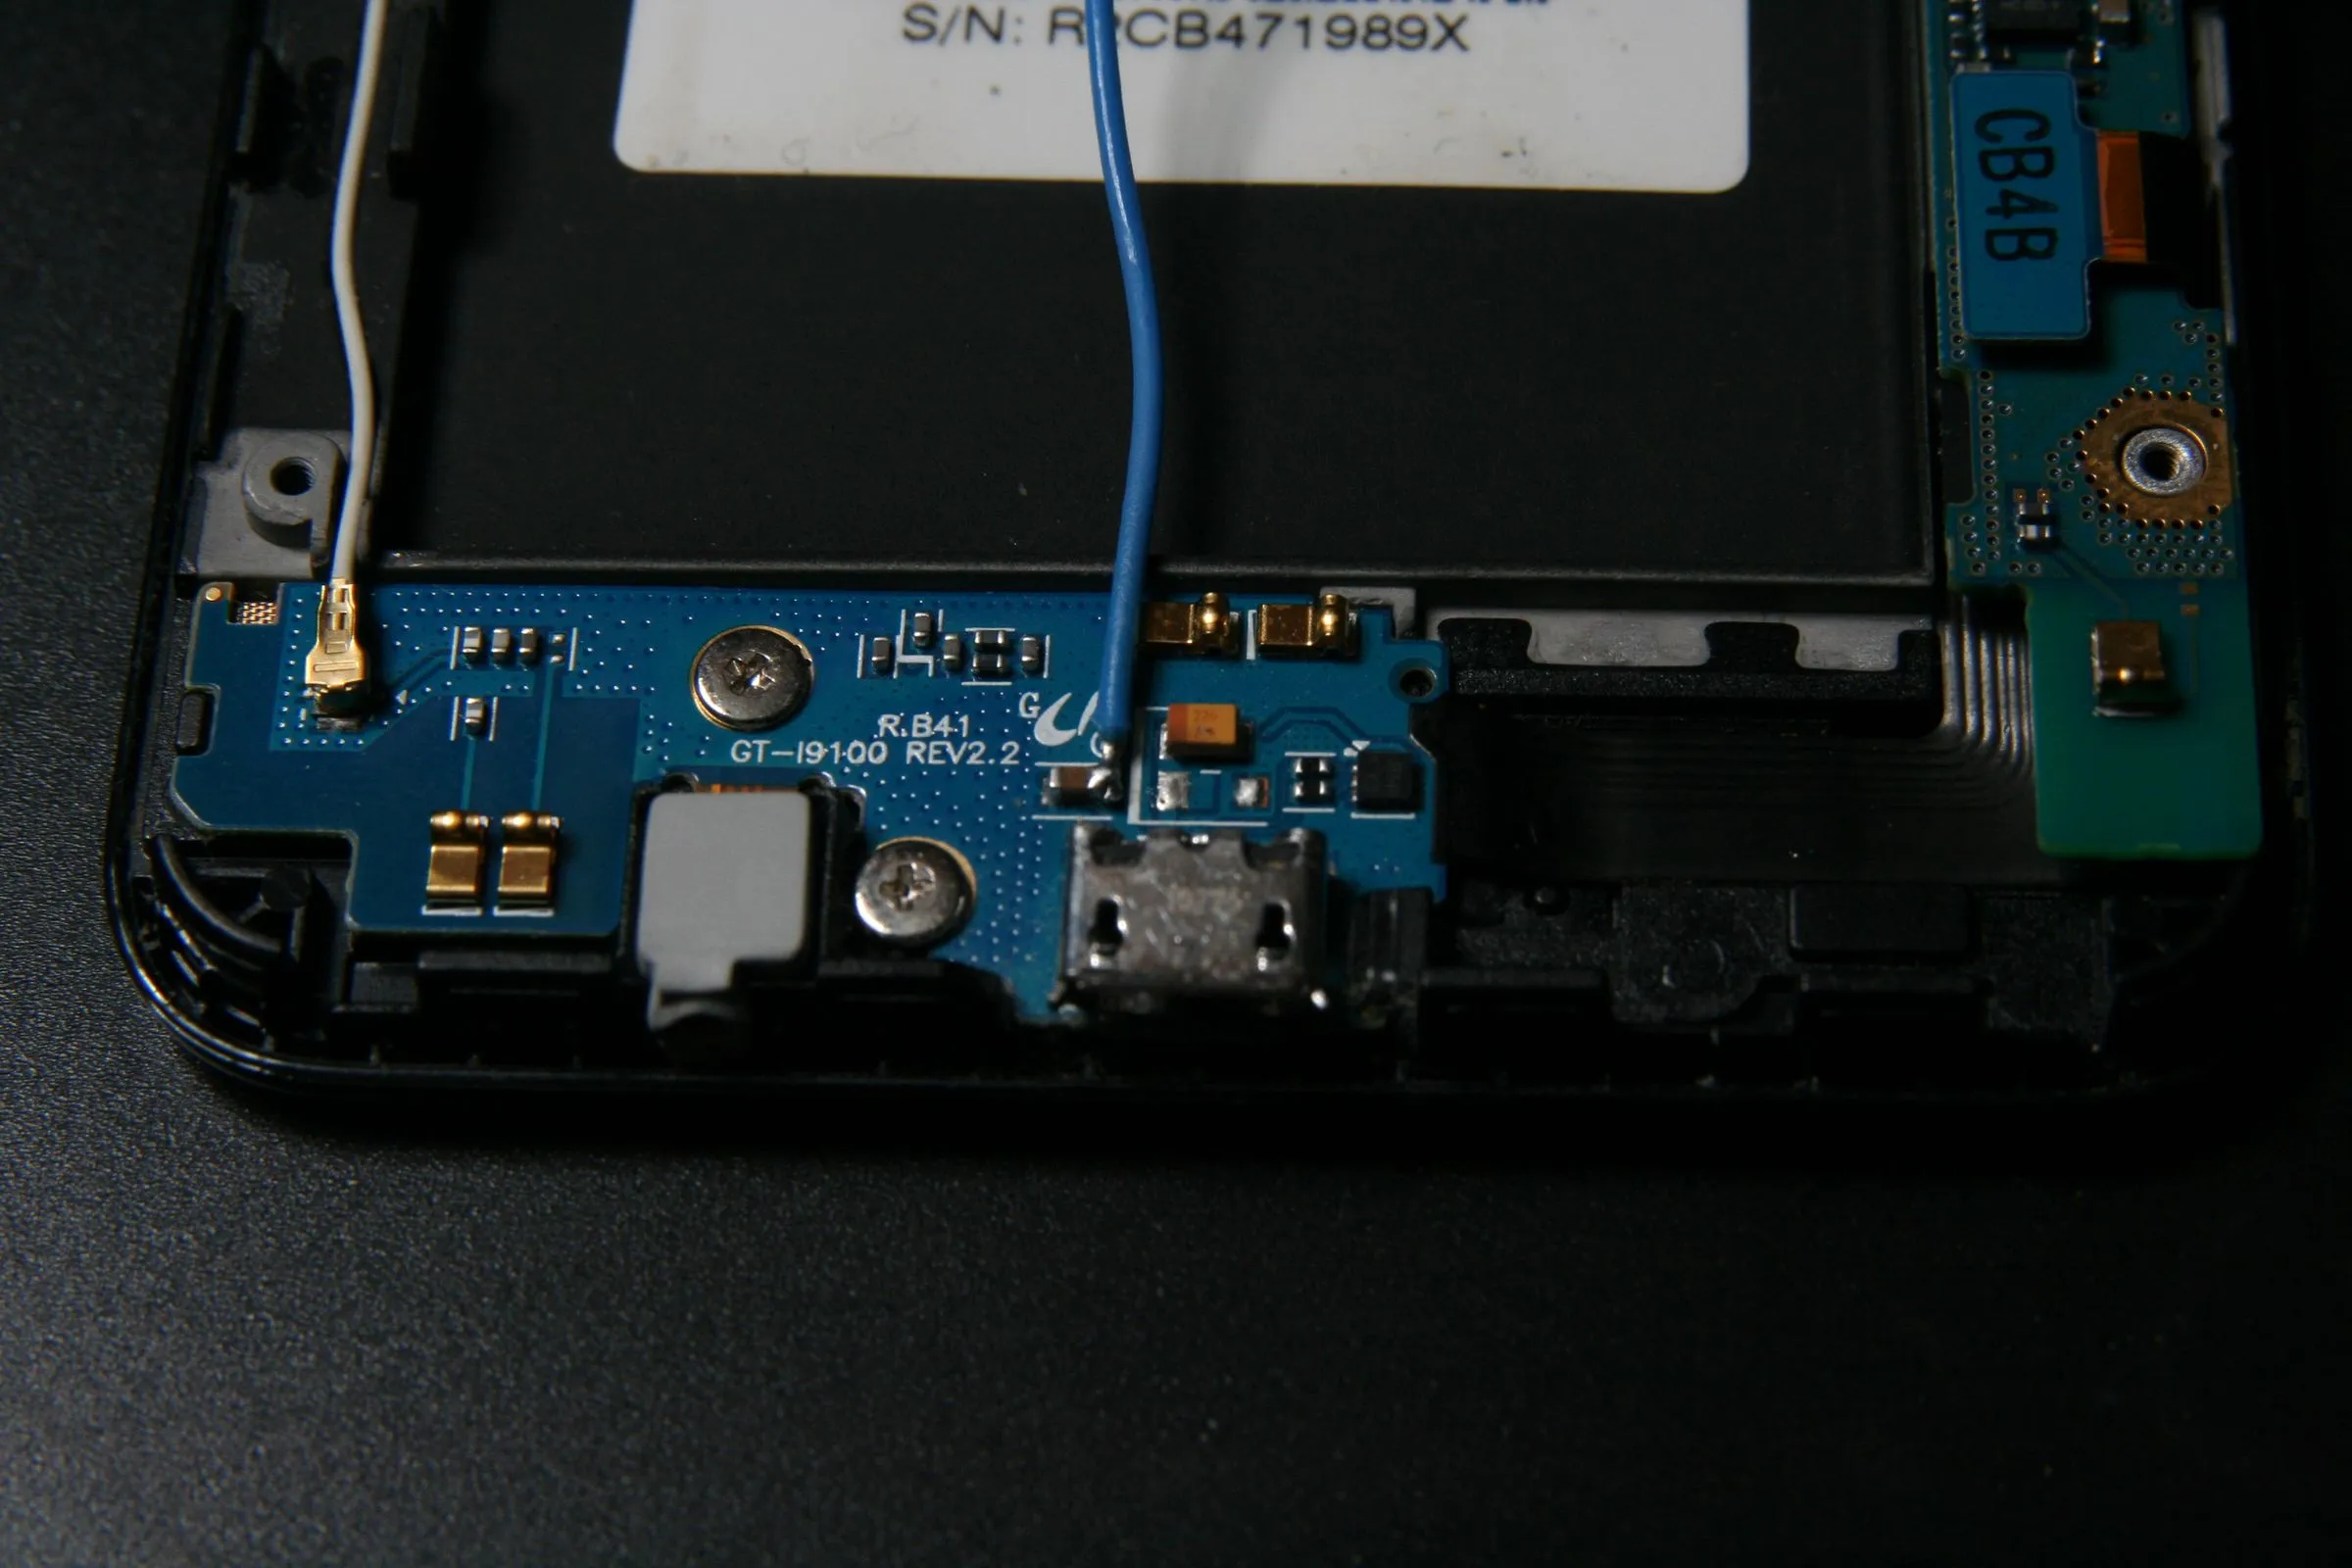
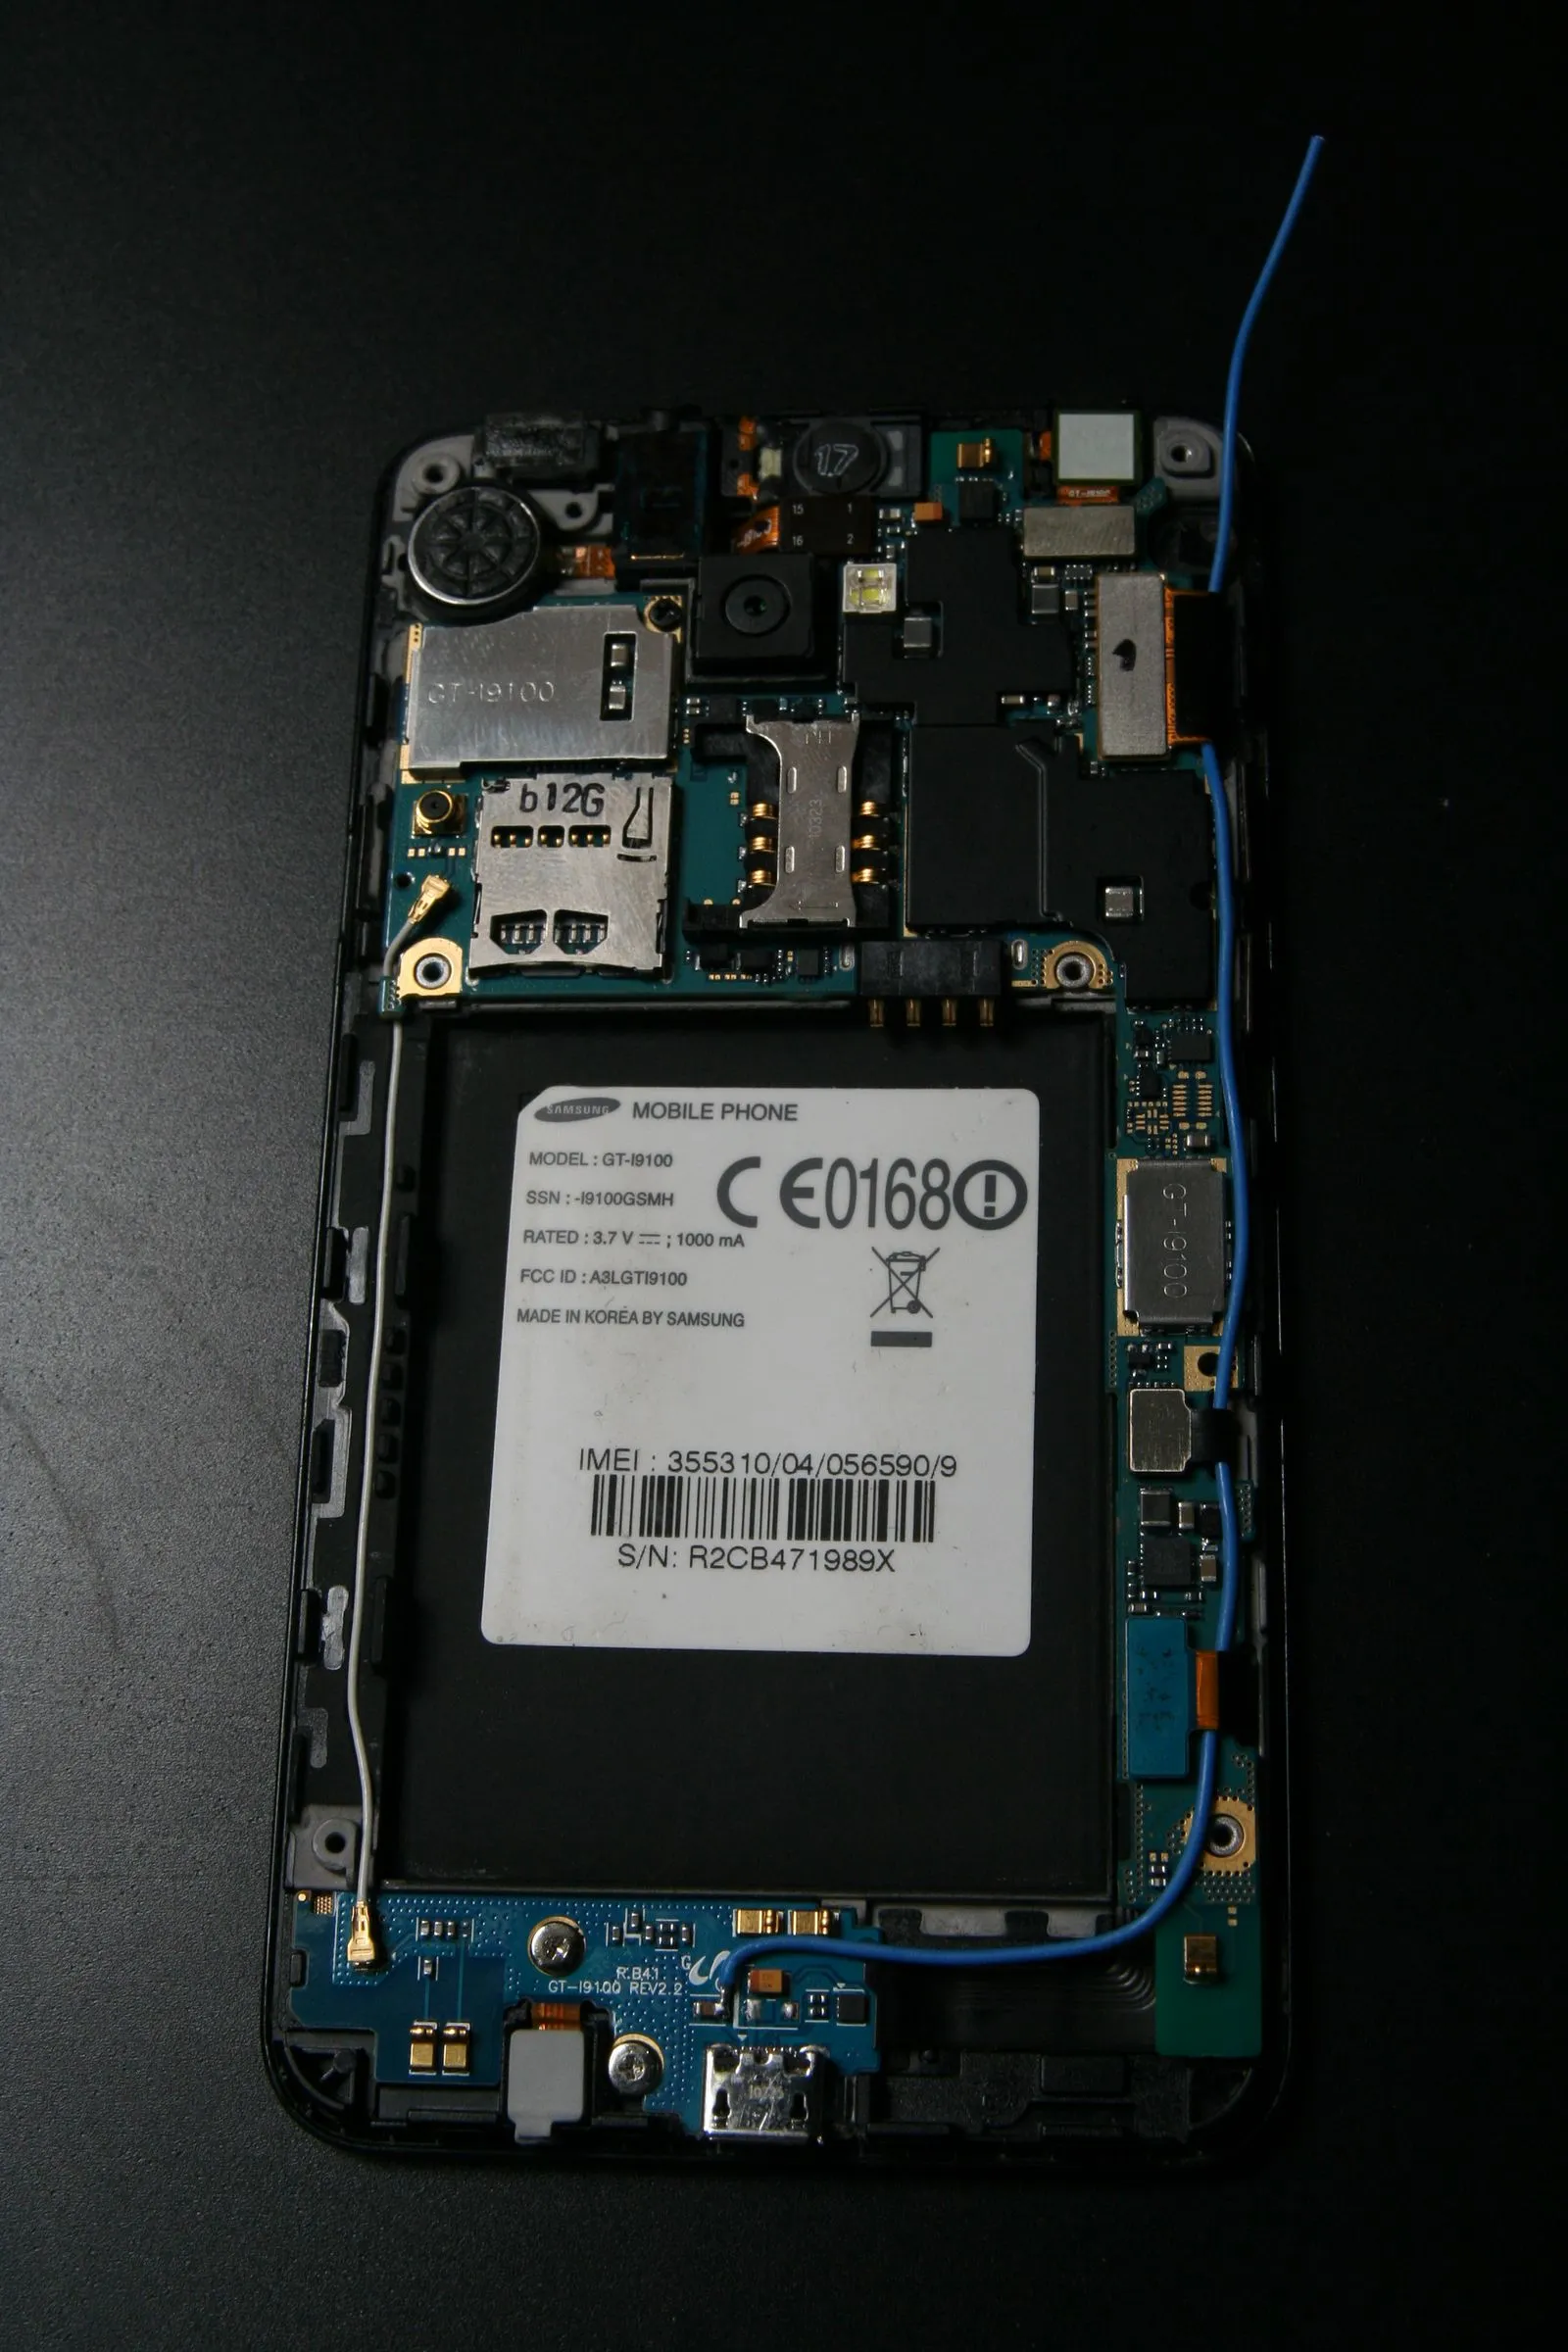
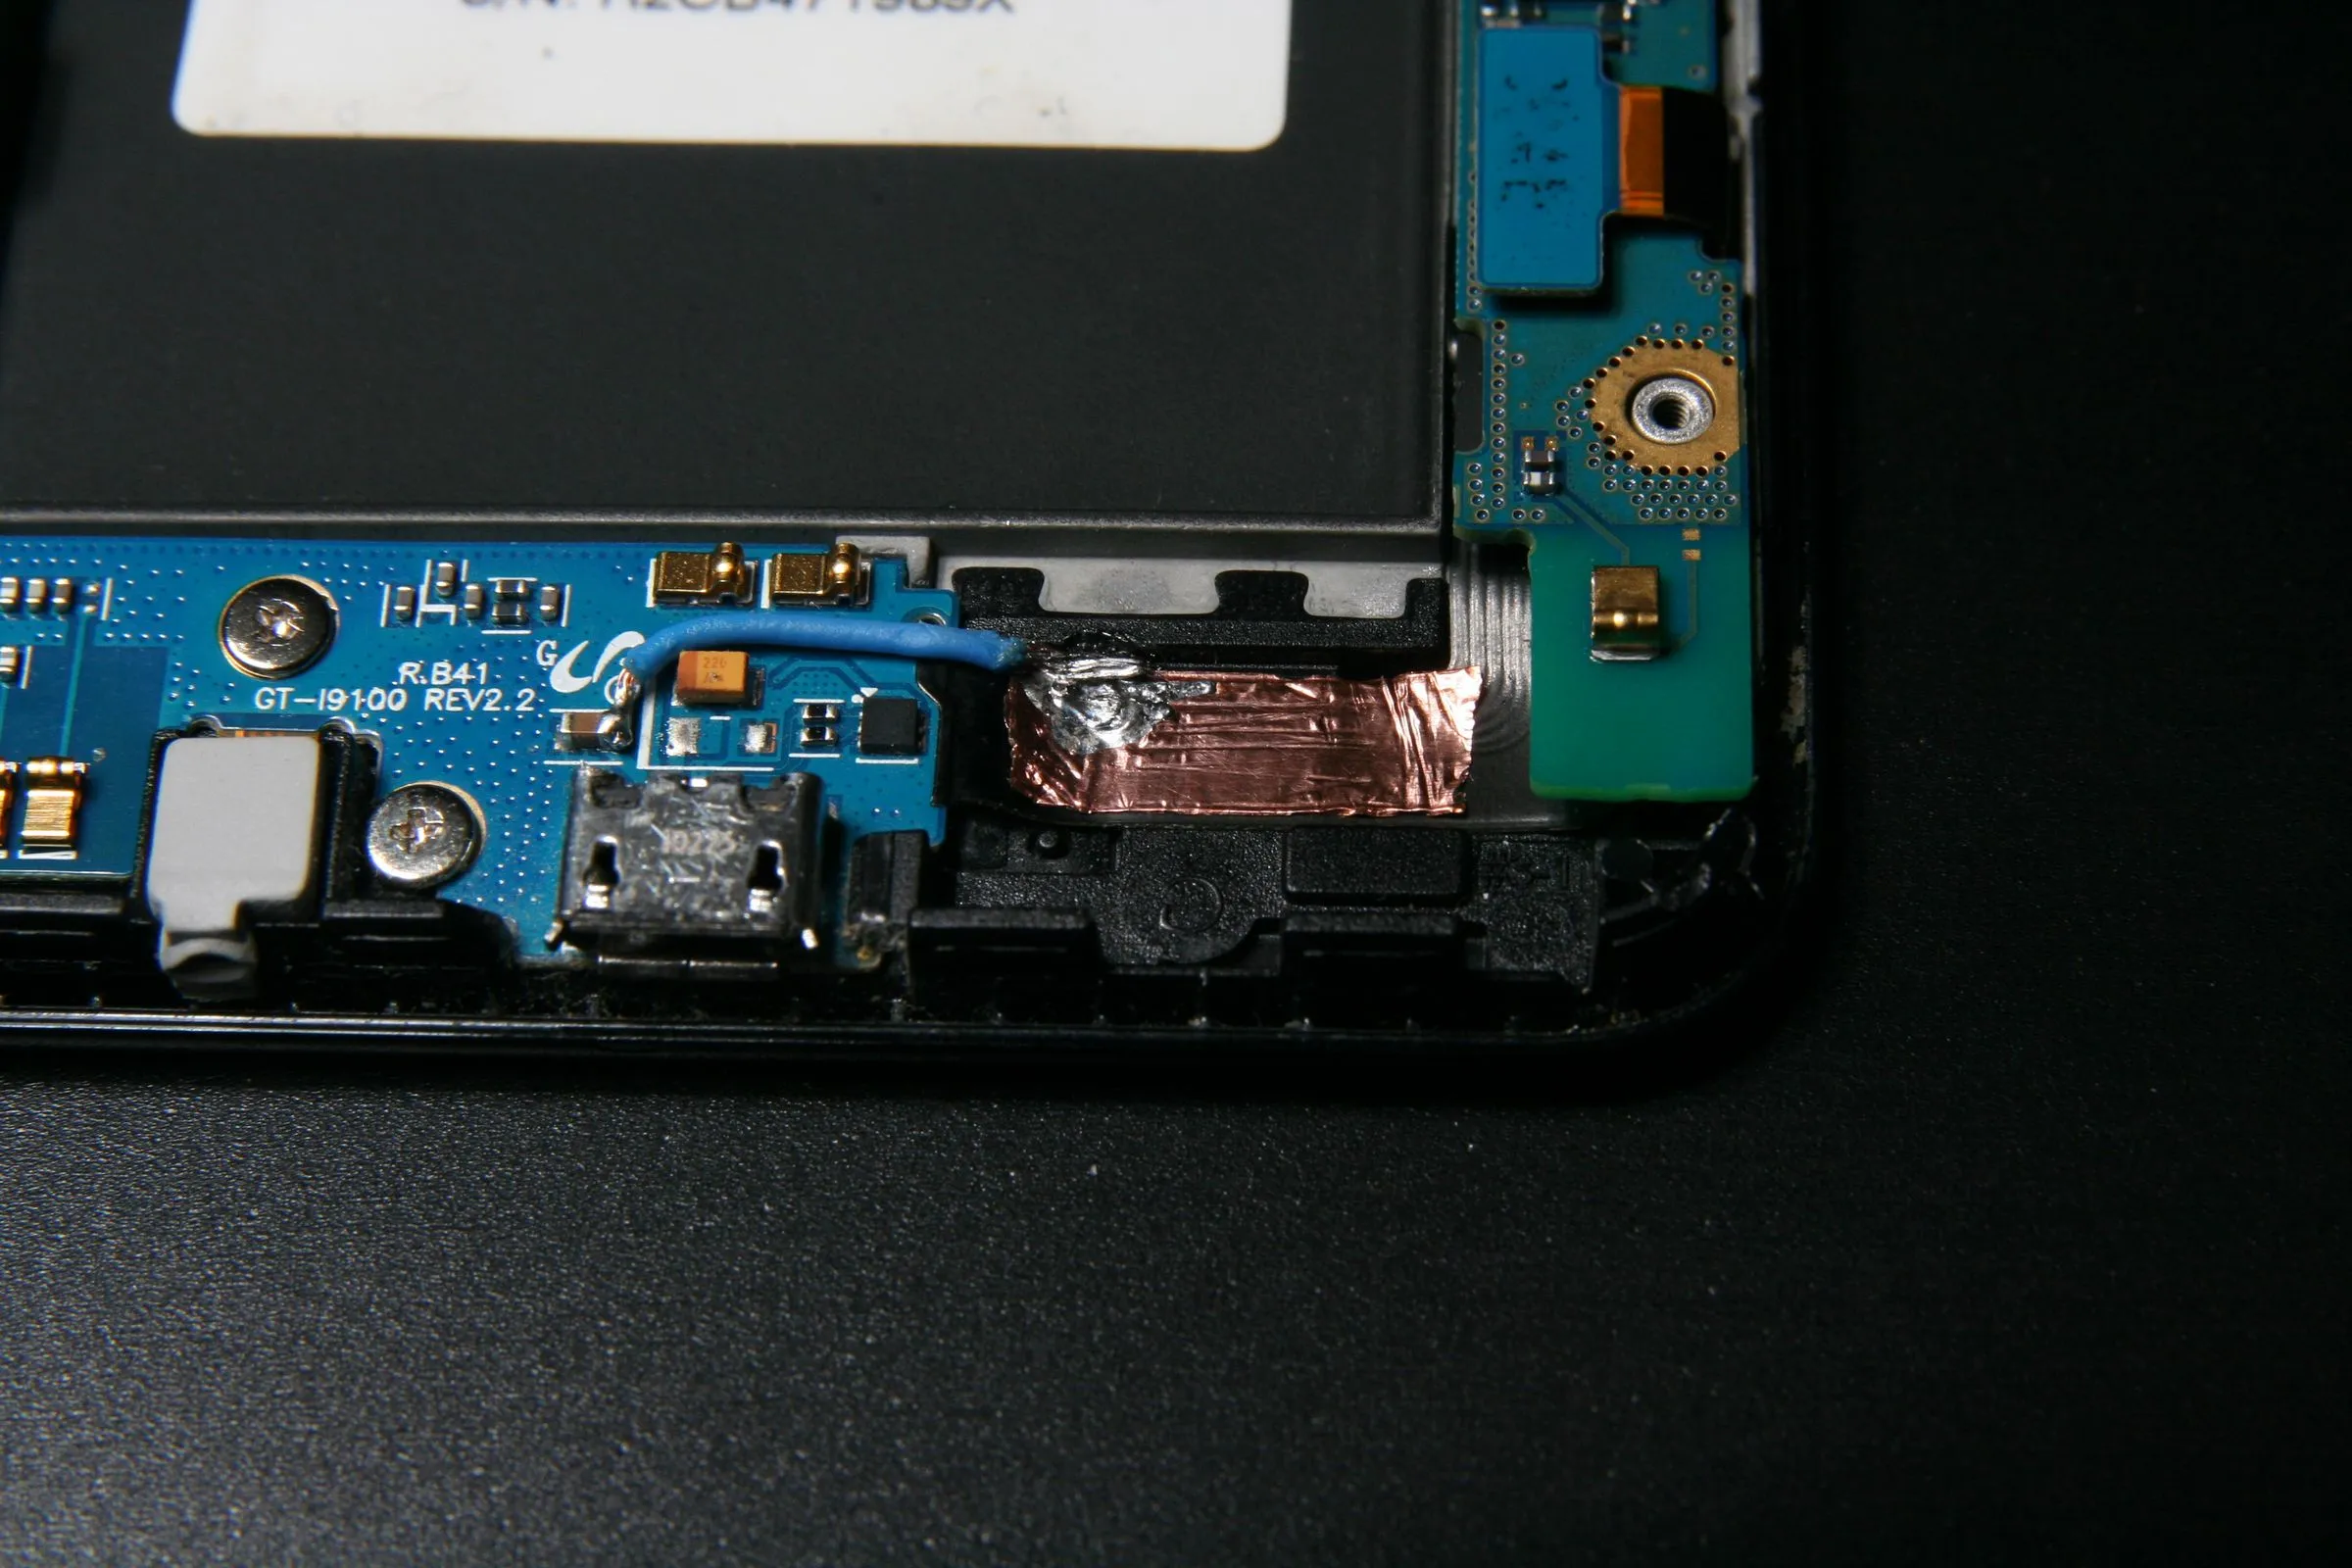
Disassemble your device carefully and identify the +5V lead on the USB port. follow it to a comfortably solderable spot. don’t worry about ground, very piece of metal in there is grounded.
In the galaxy S II, disassembly was 7 screws and a pry tool. Finding a solderable spot was more challenging. I used a capacitor identified with a multimeter and some help from google.
Choose Your Weapon
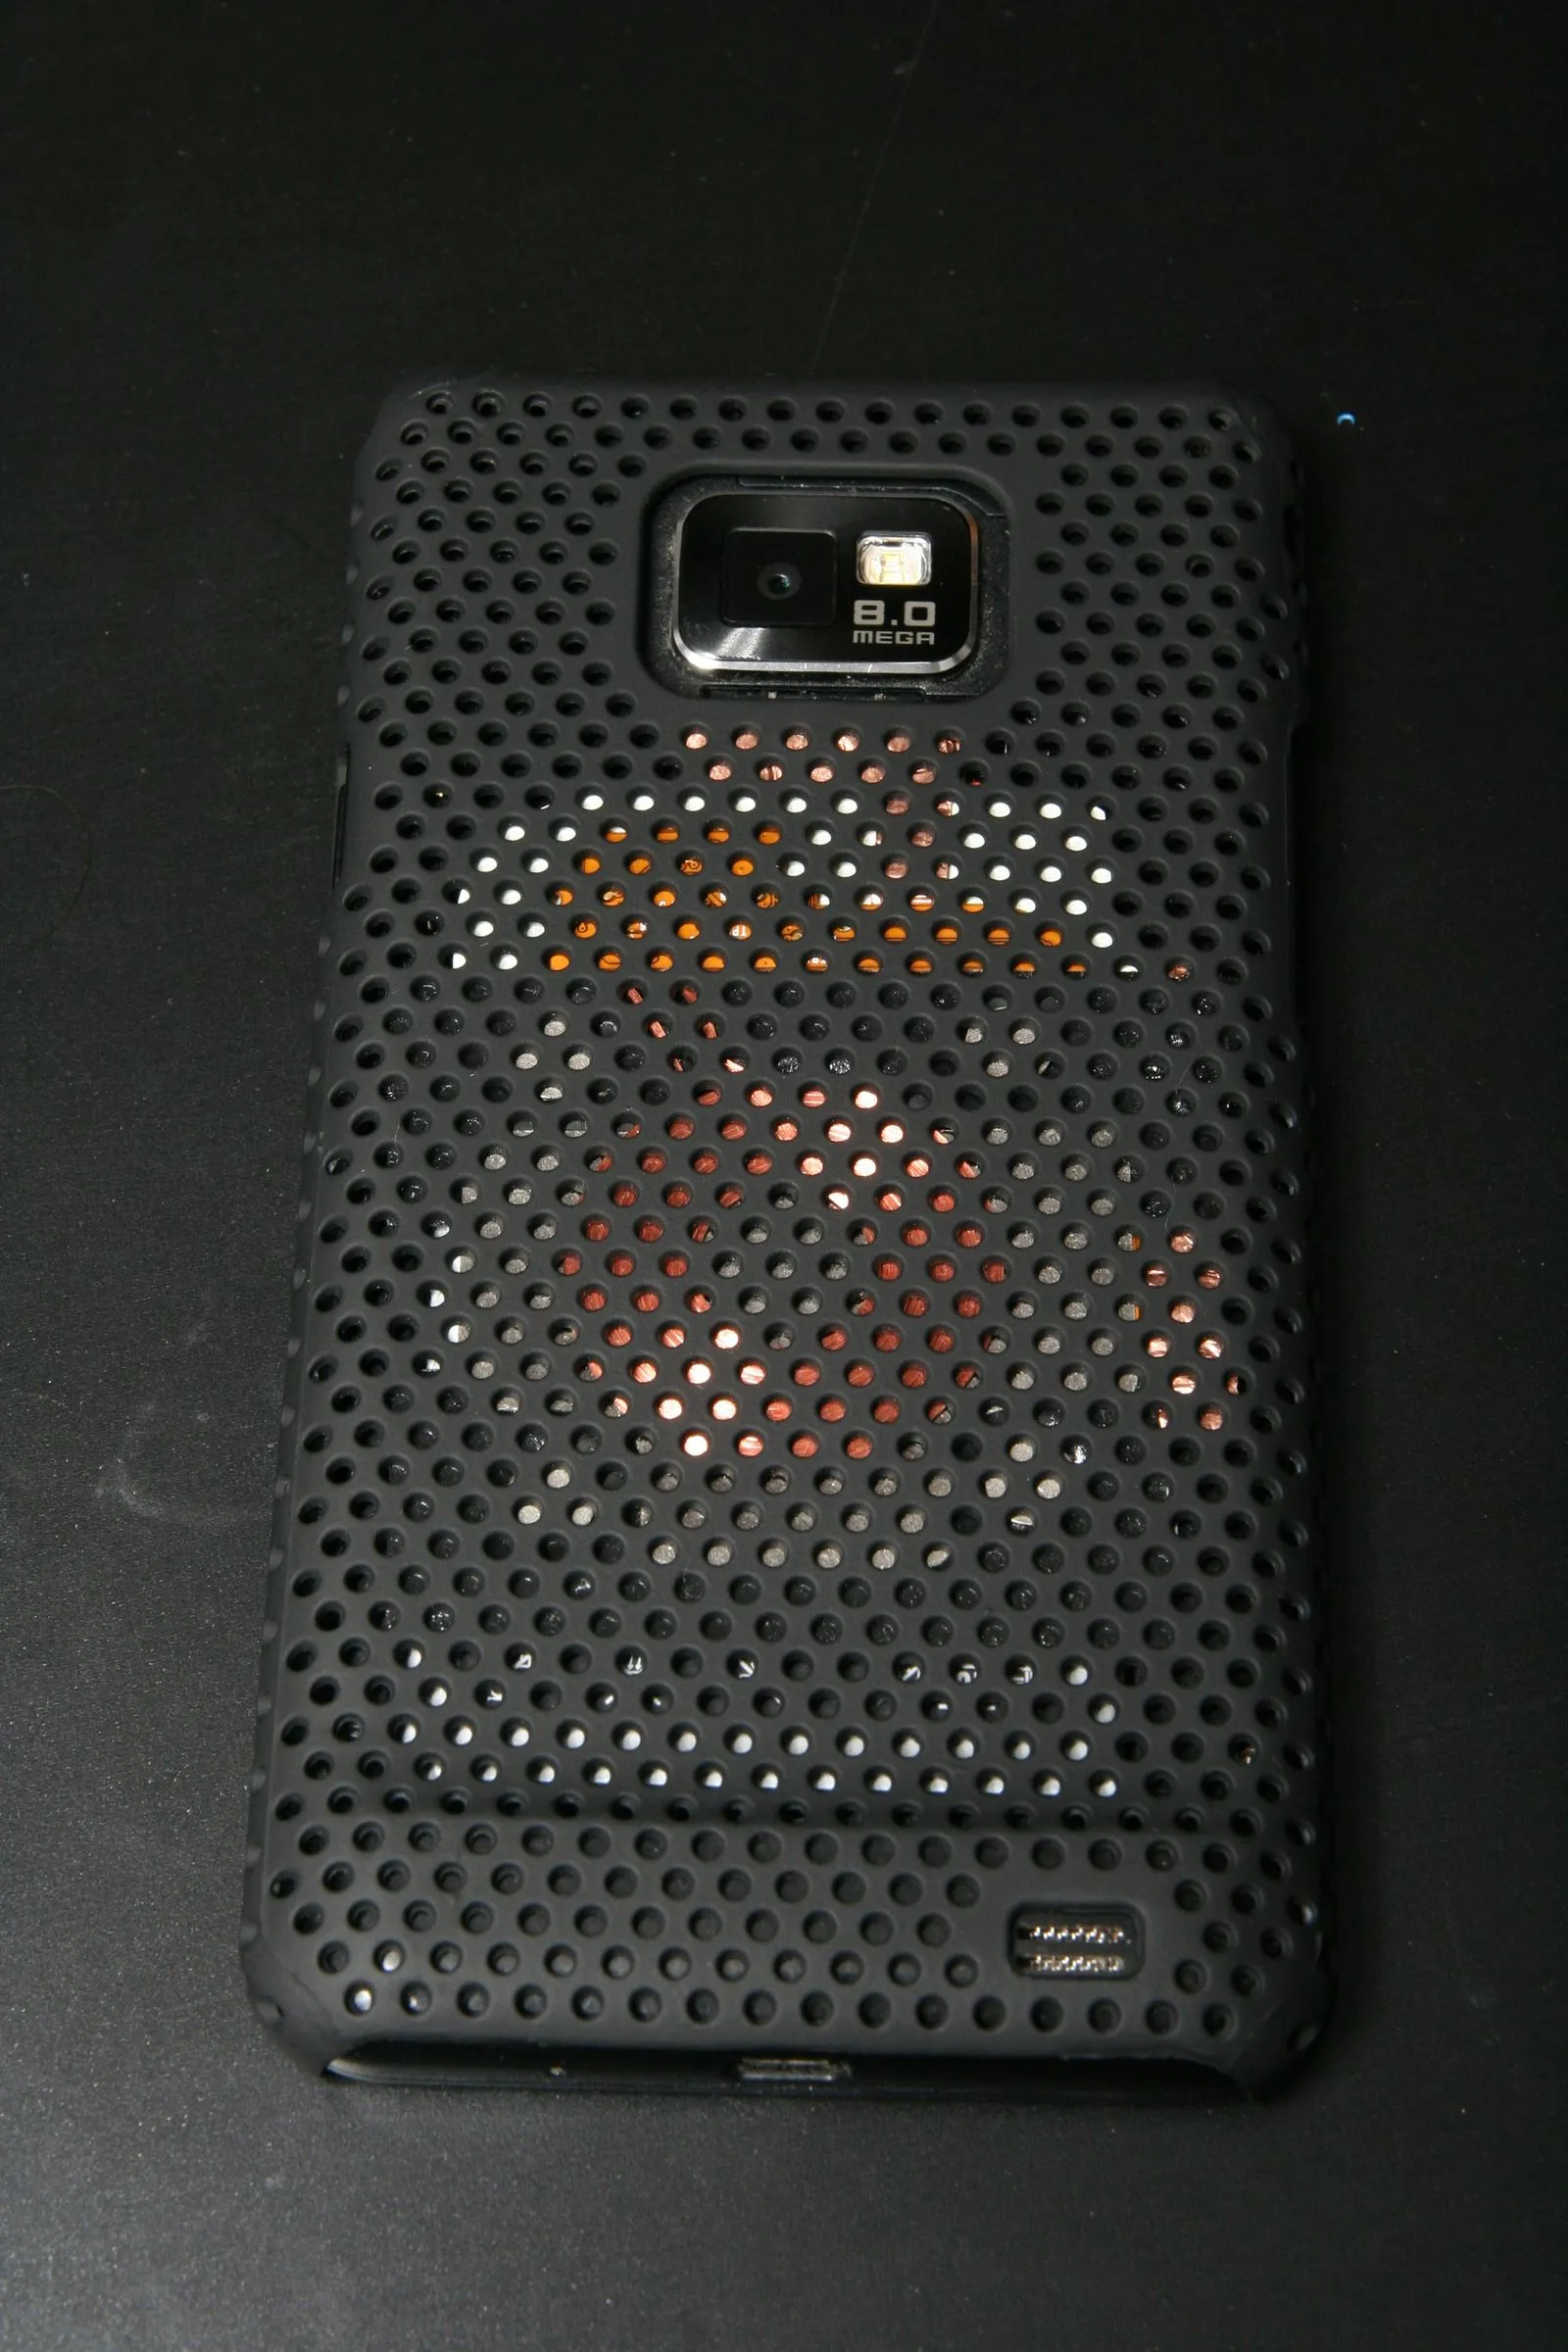
The choice of conductive material is crucial. Not for performance but for your device to close properly. I recommend adhesive copper foil. Note that the adhesive is non-conductive, so overlapping pieces alone won’t close a circuit. Either use one long continuous piece, or use multiple pieces soldered together.
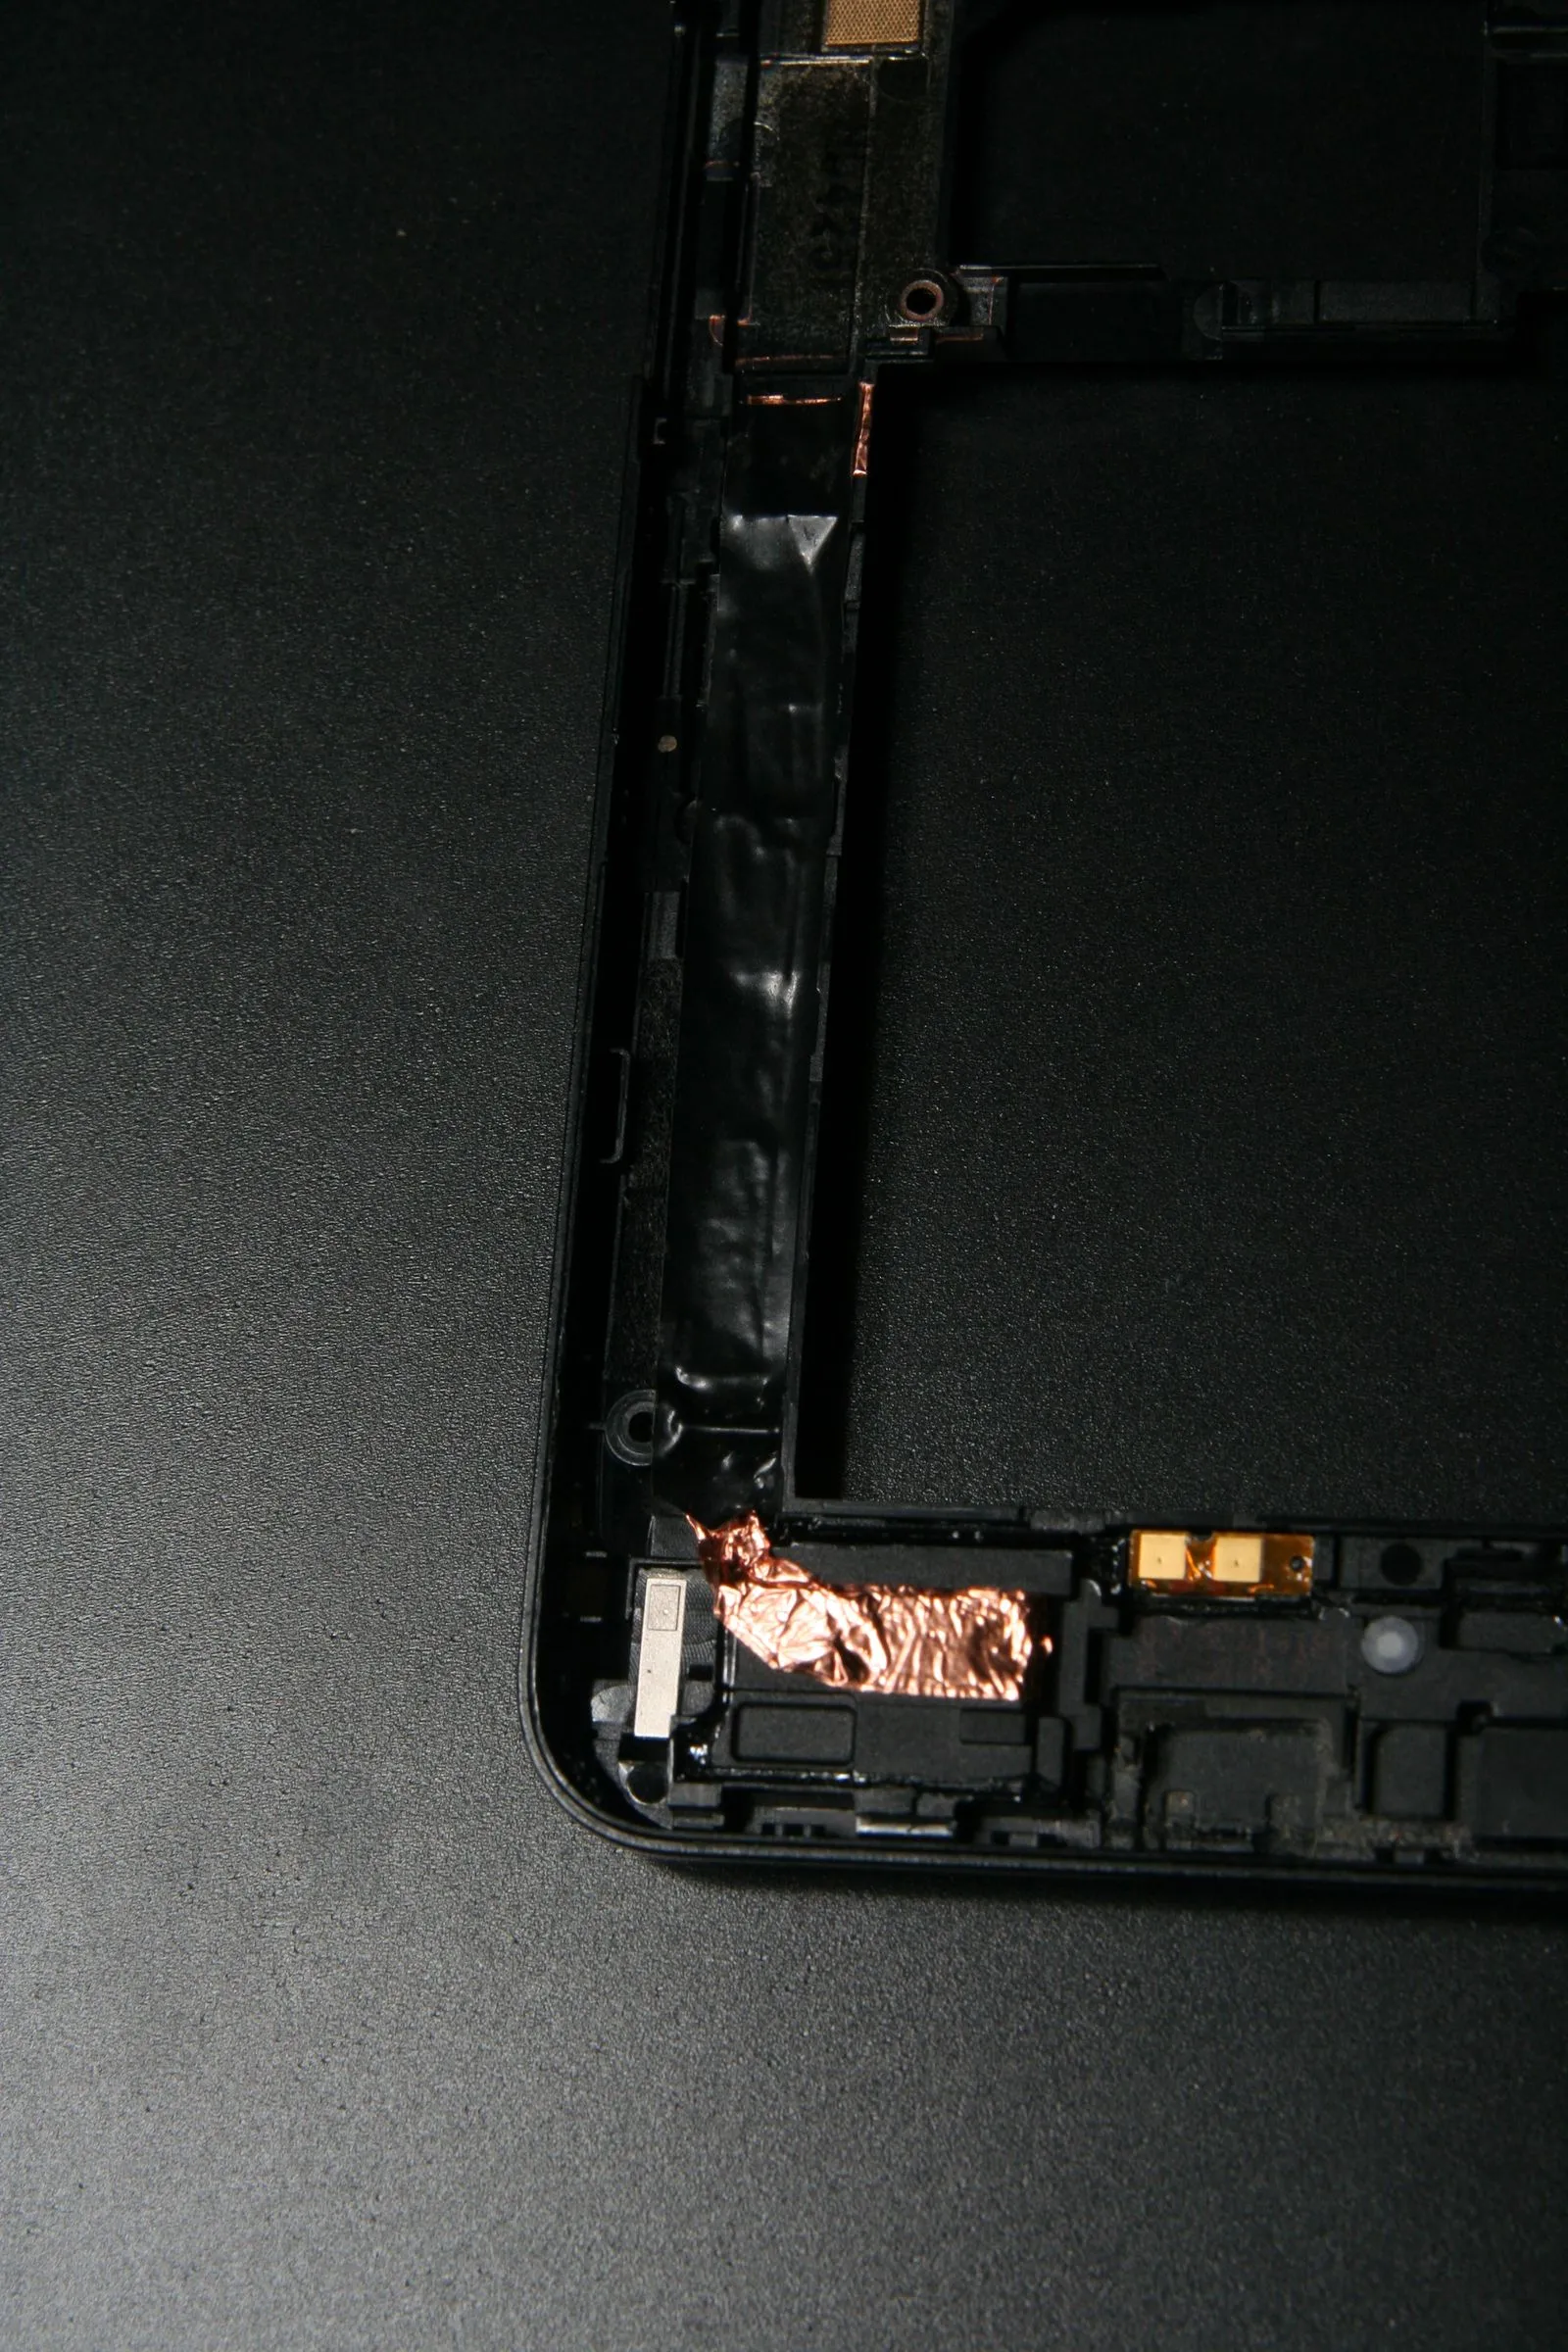
Copper foil has no insulation. Use insulating tape cut to shape to cover what needs covering.
Start Taping (or Wiring)
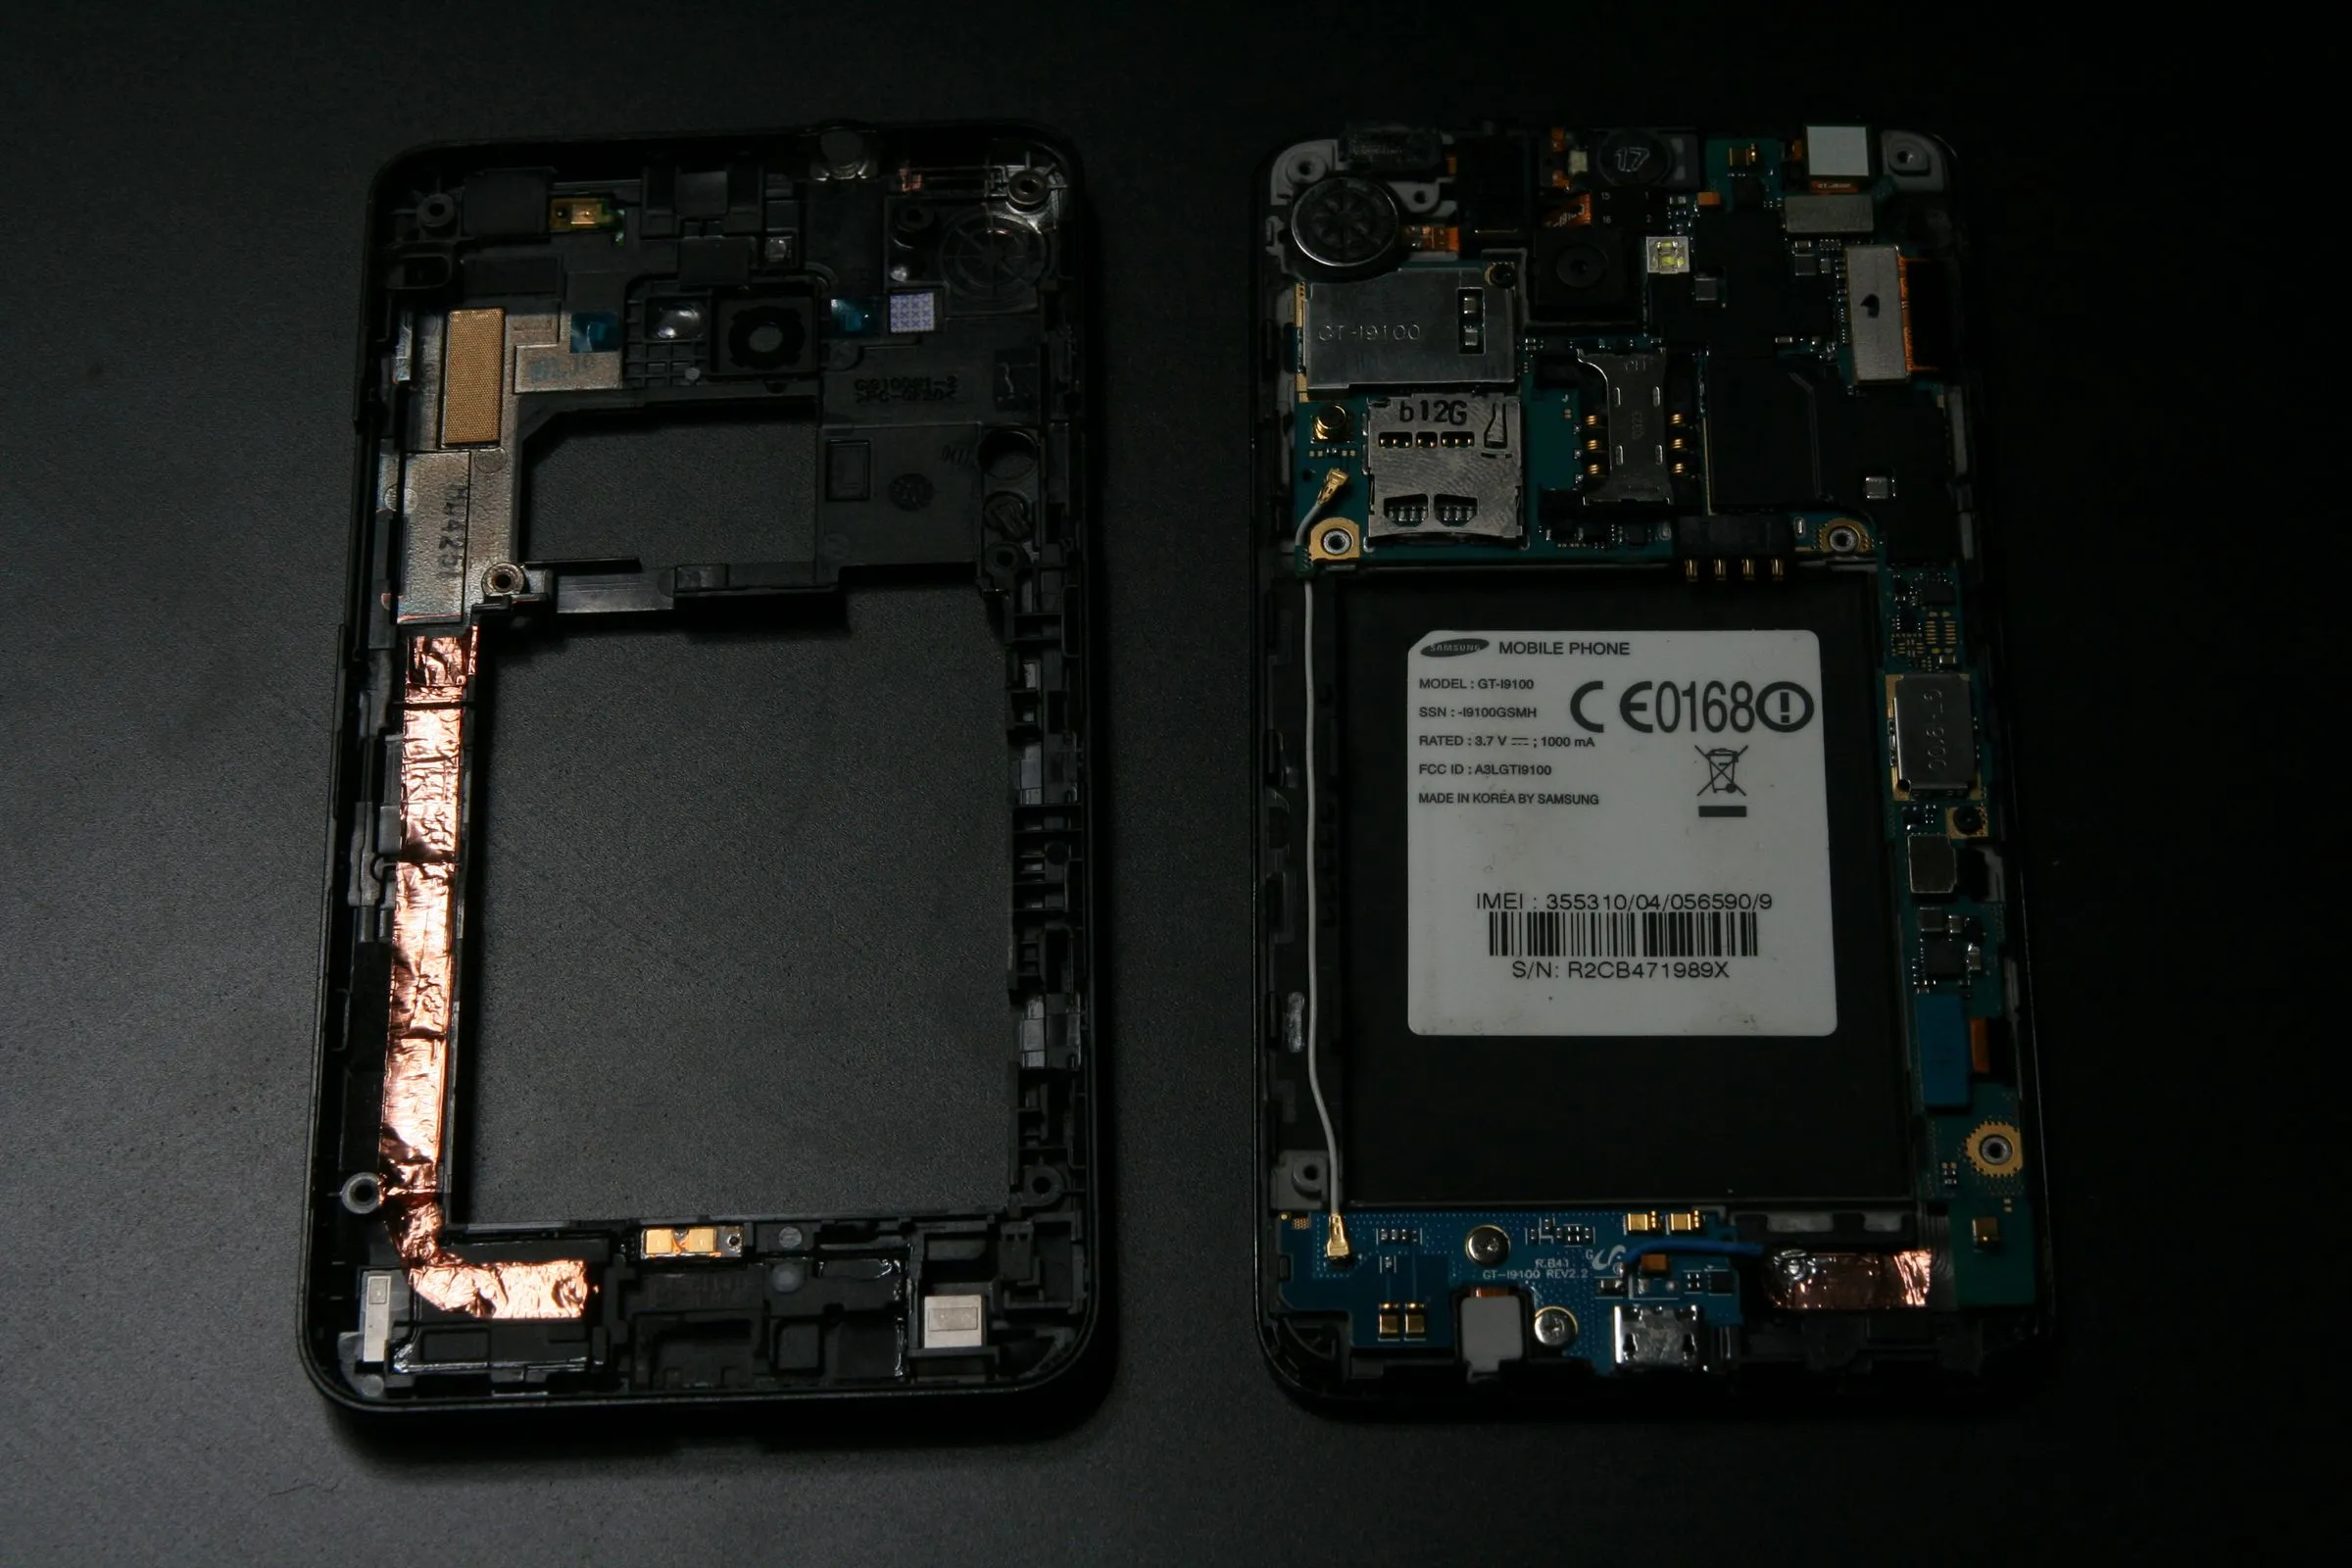
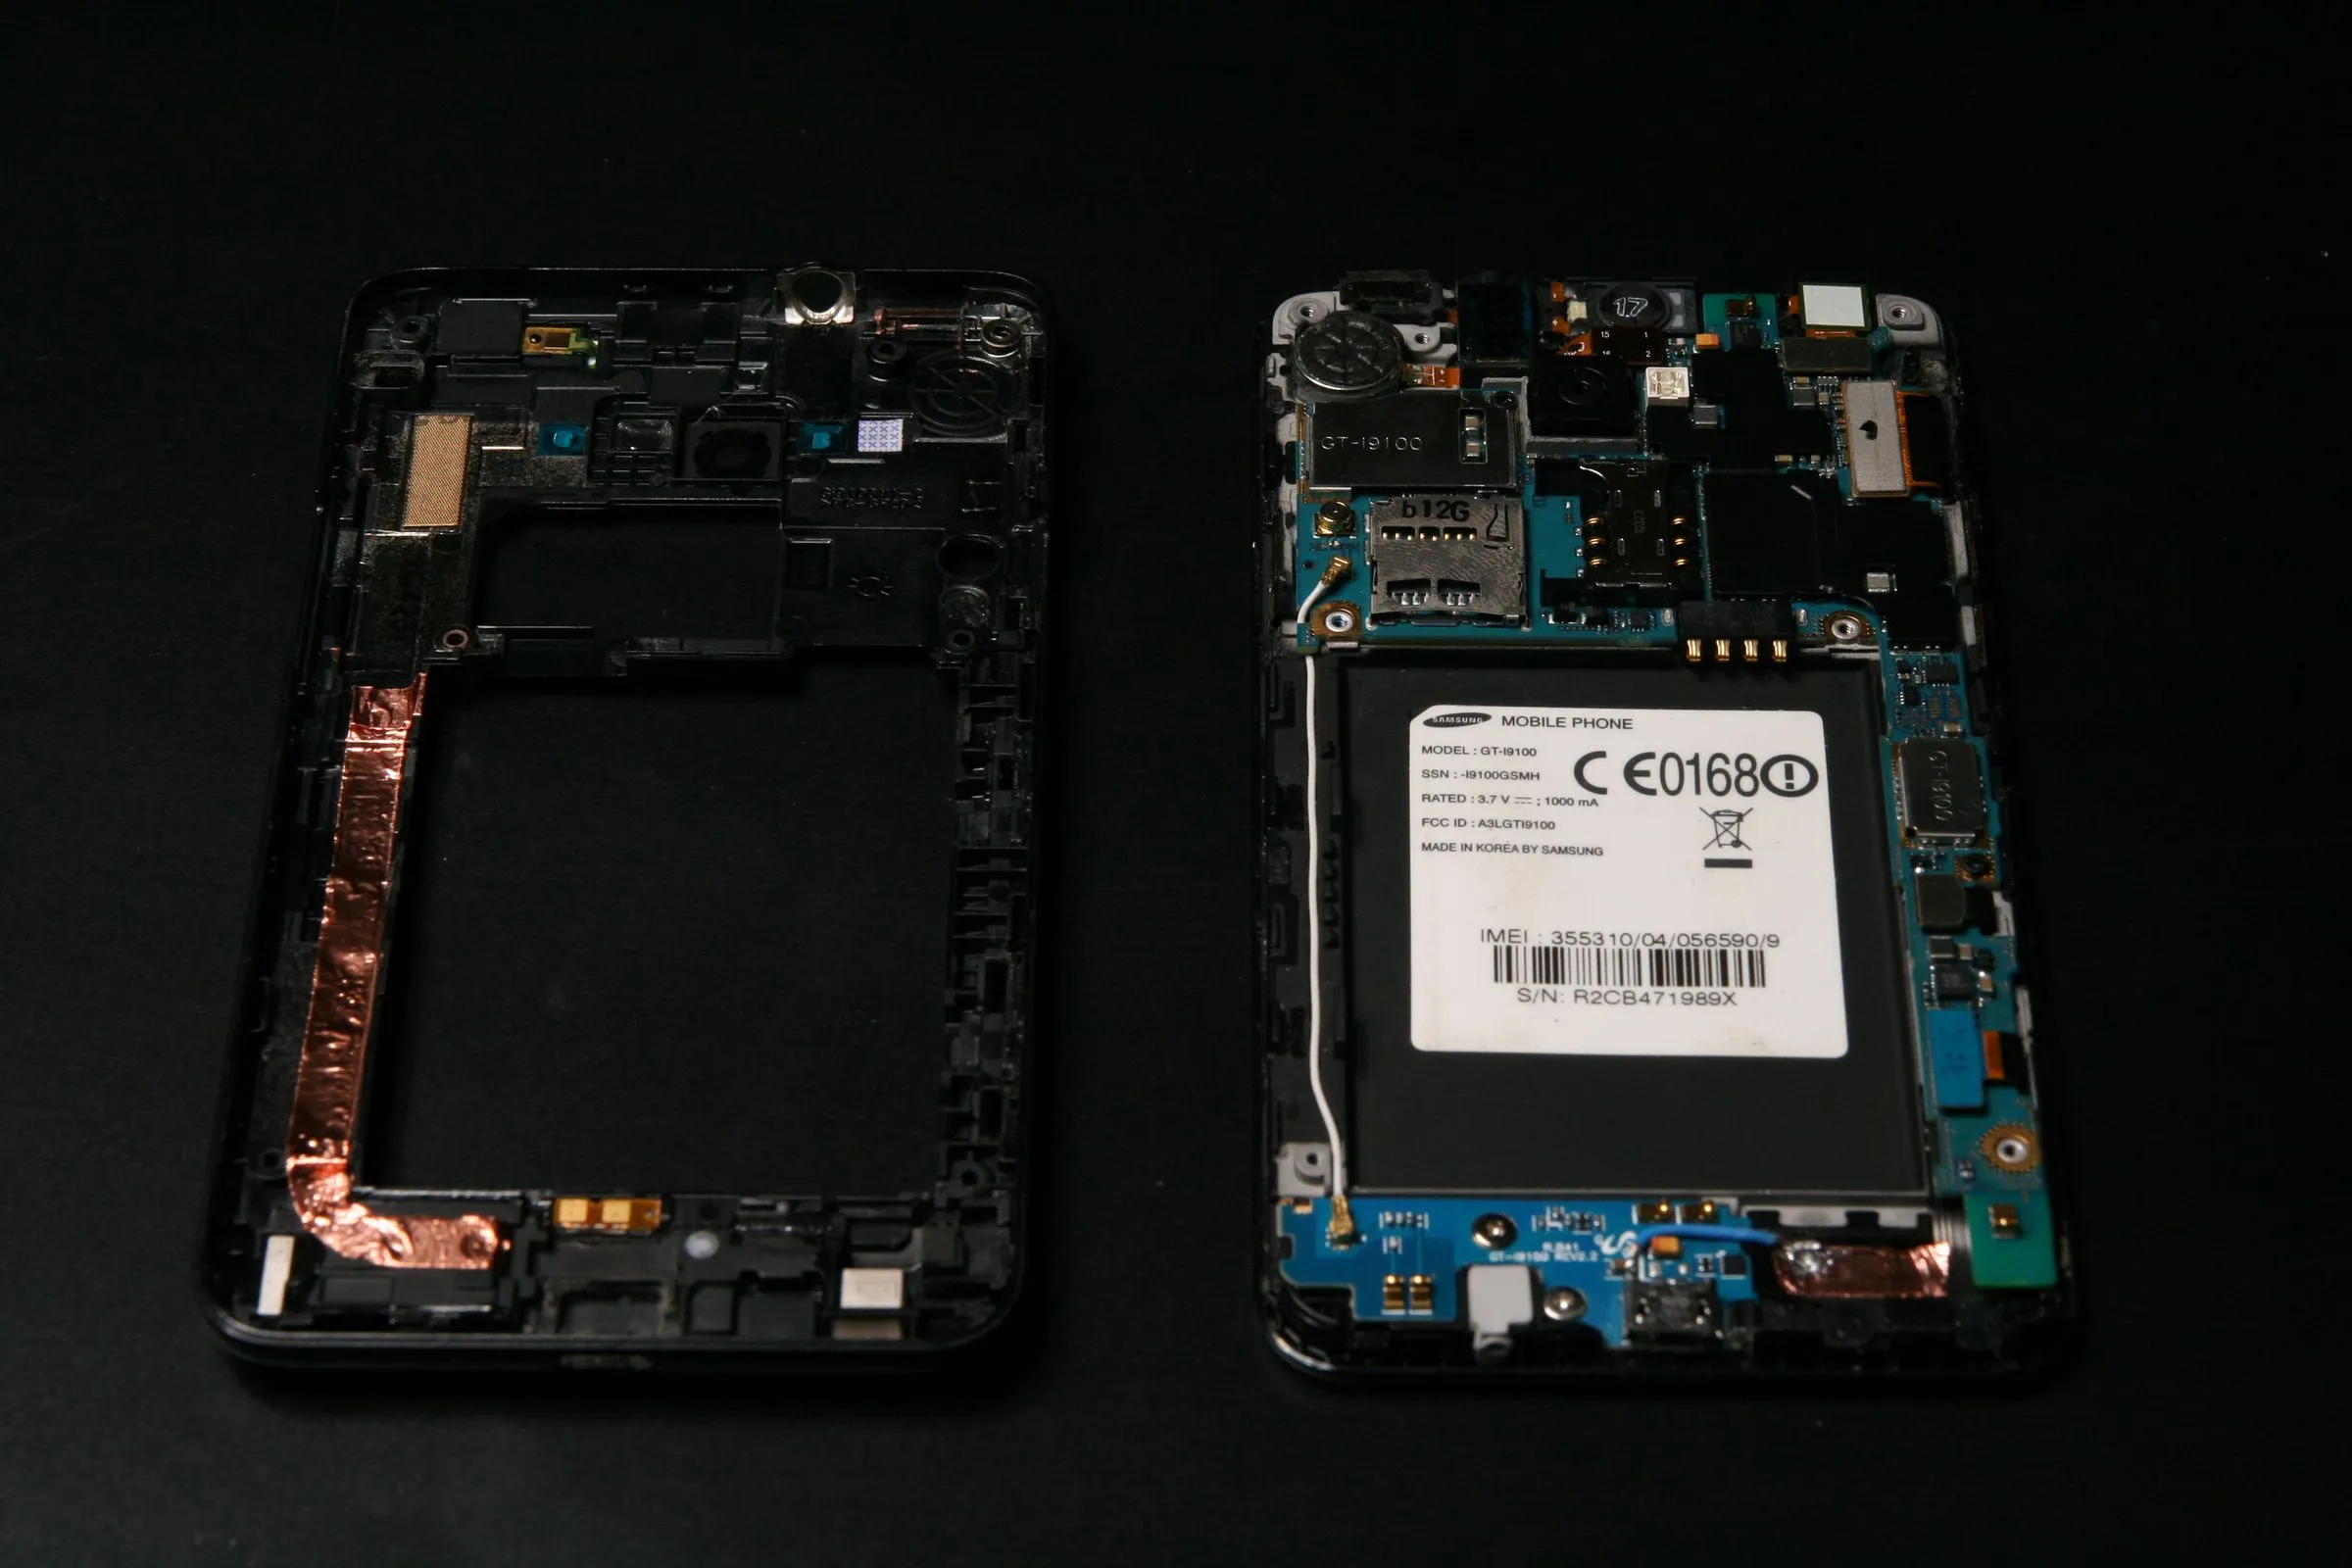
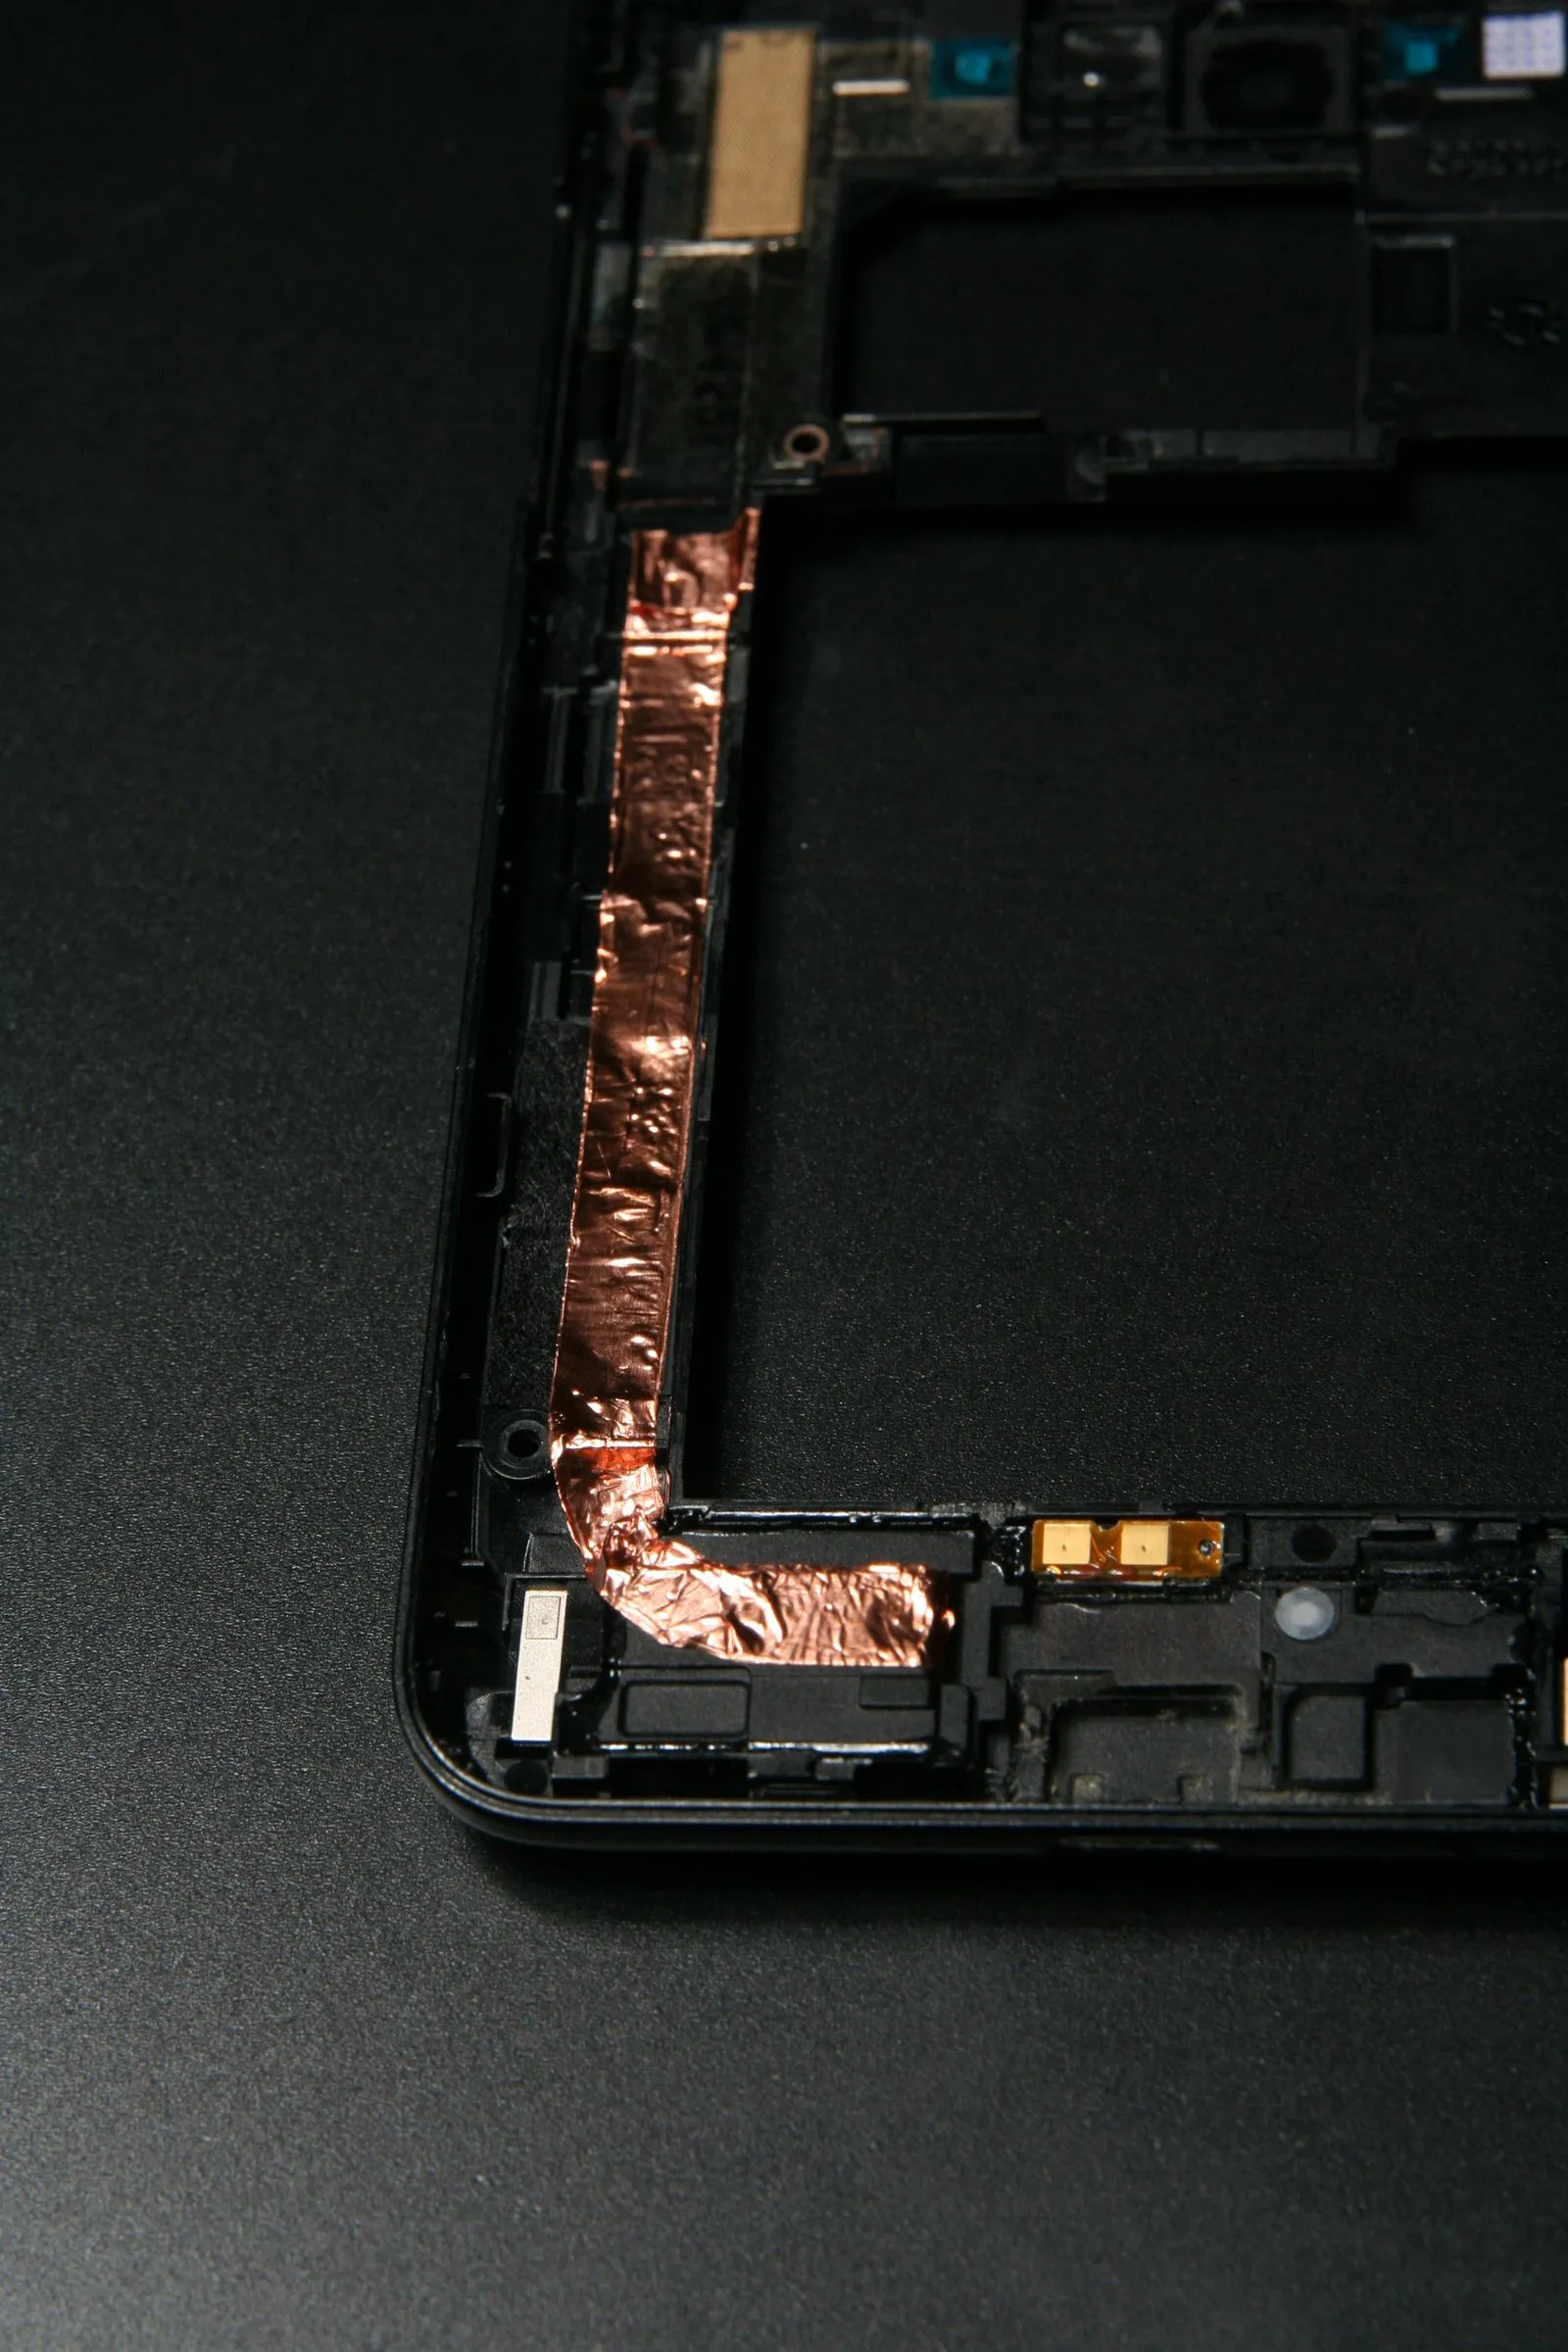
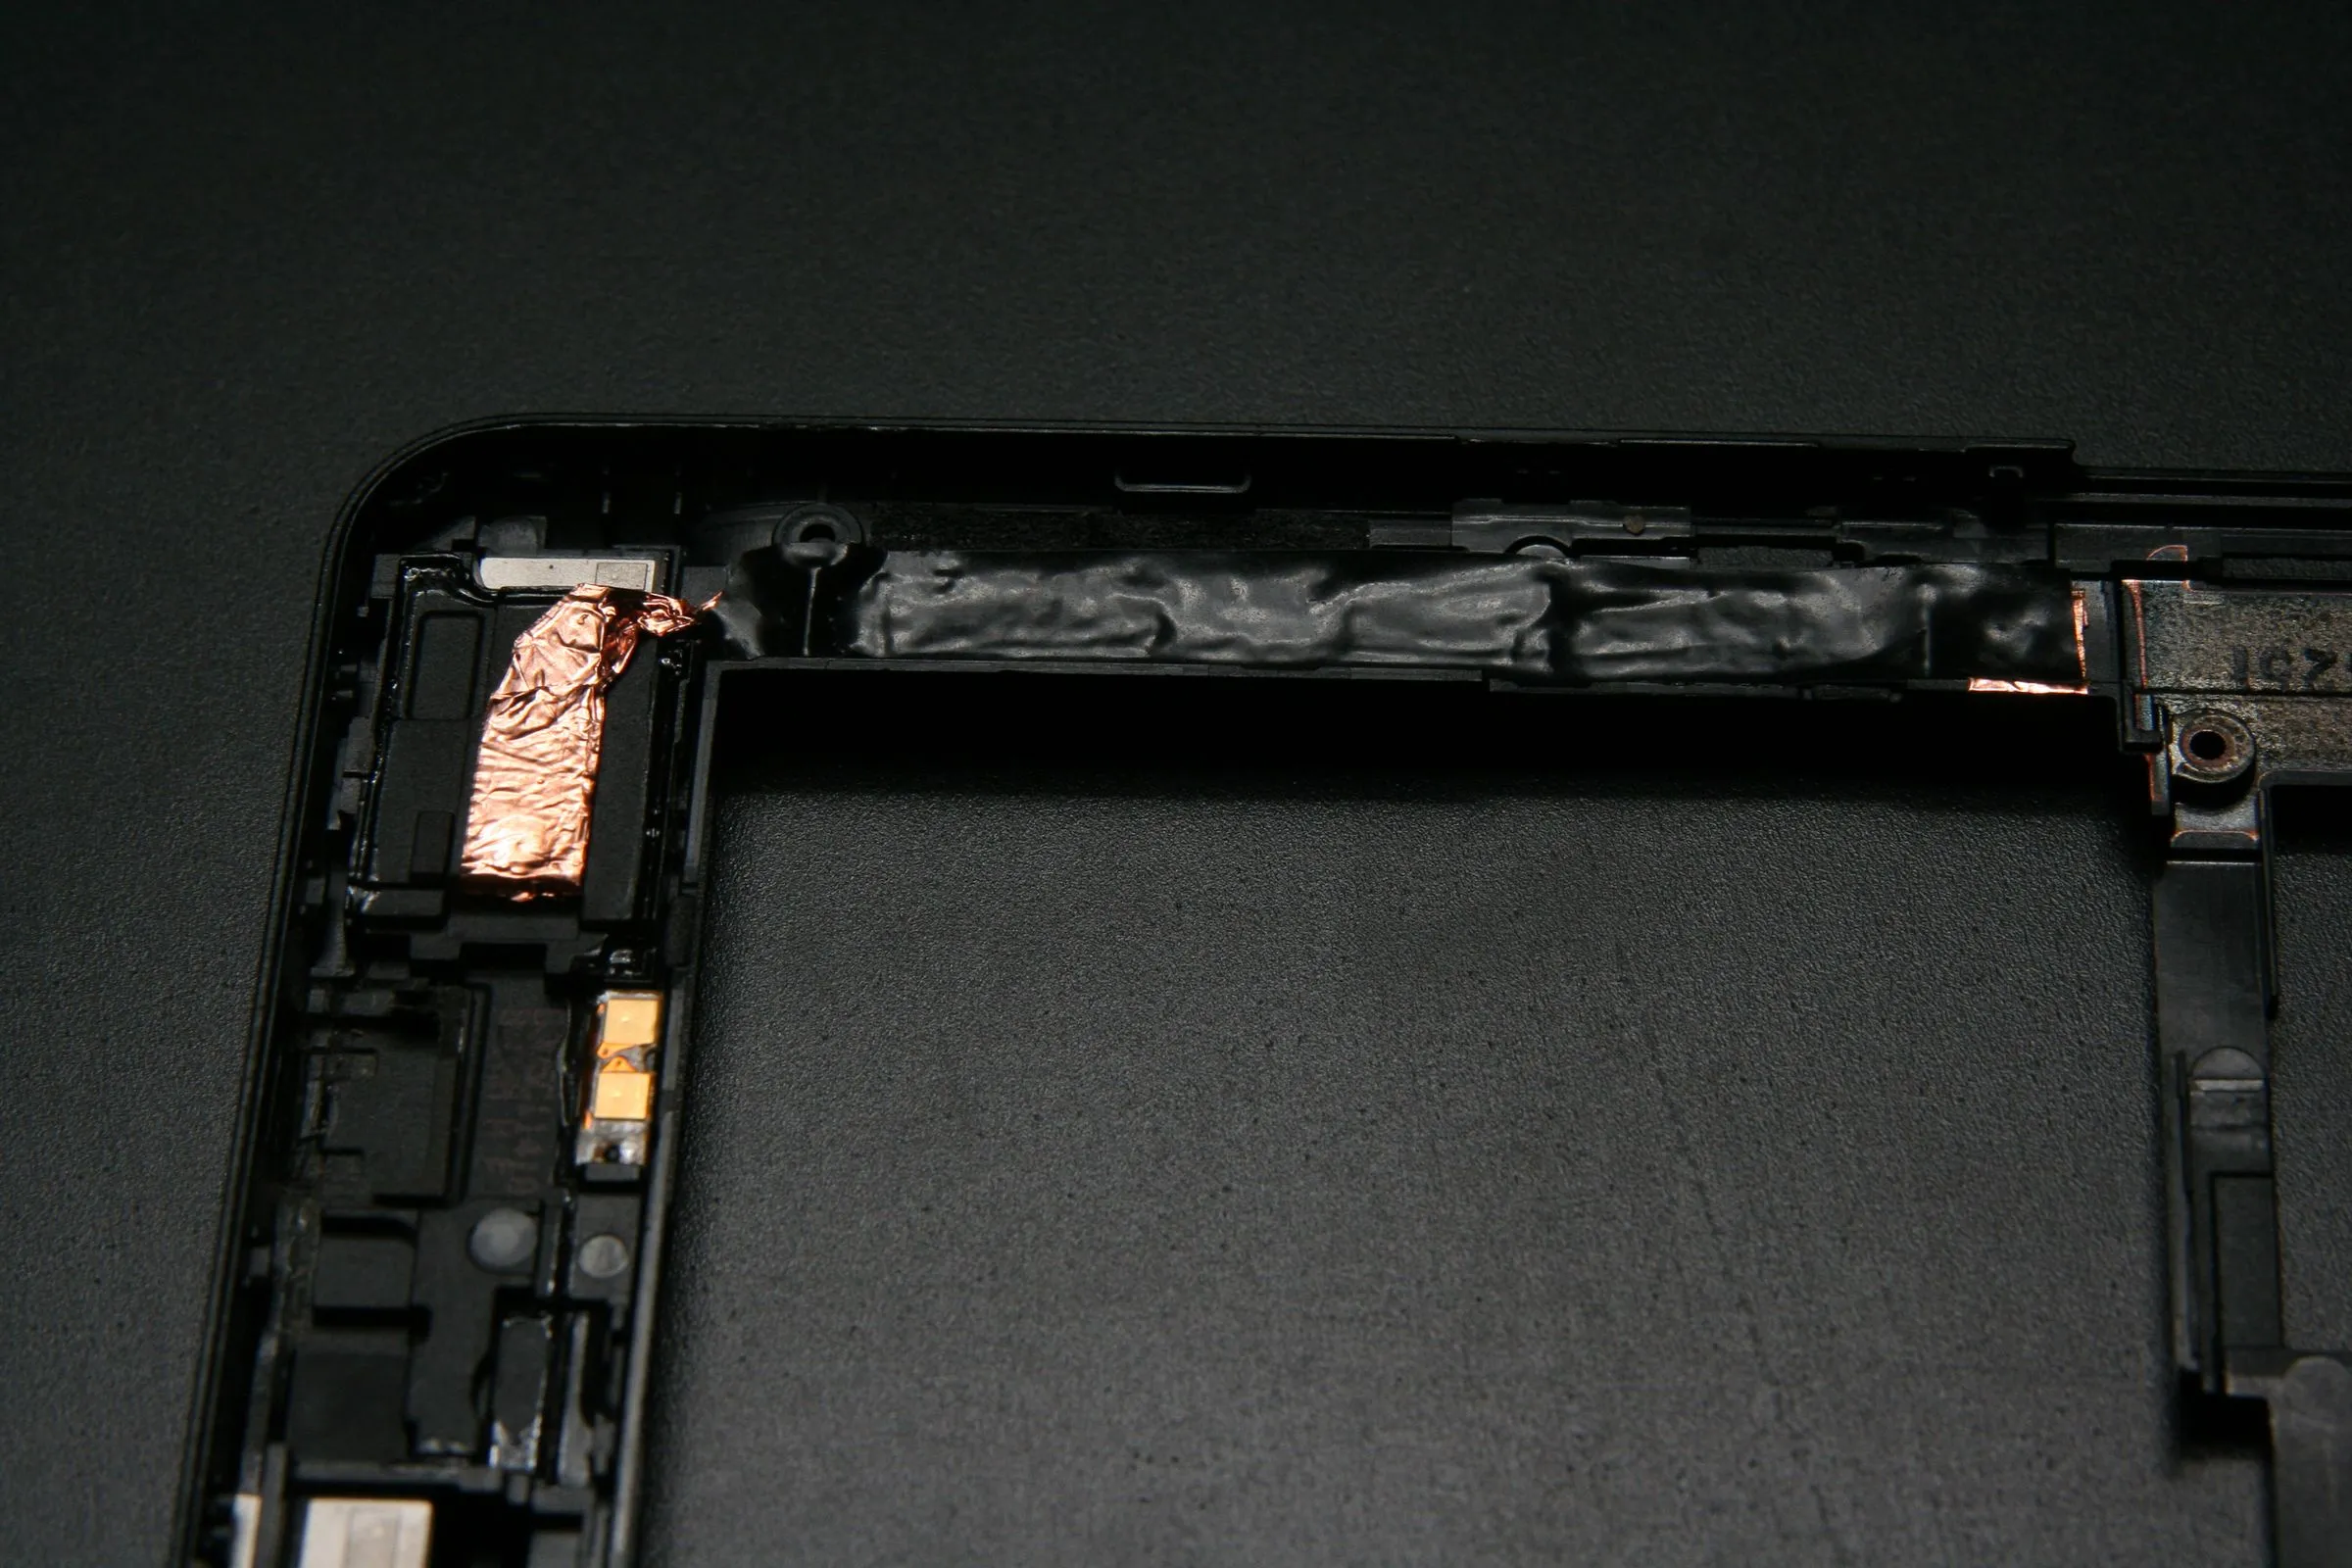

My system has 3 separate parts that together connect the leads. On the device itself, on the back housing, and on the back cover, so all separate parts stay separate and the phone looks unaltered from the outside.
Plan A - Fitting the Coil Under the Back Cover
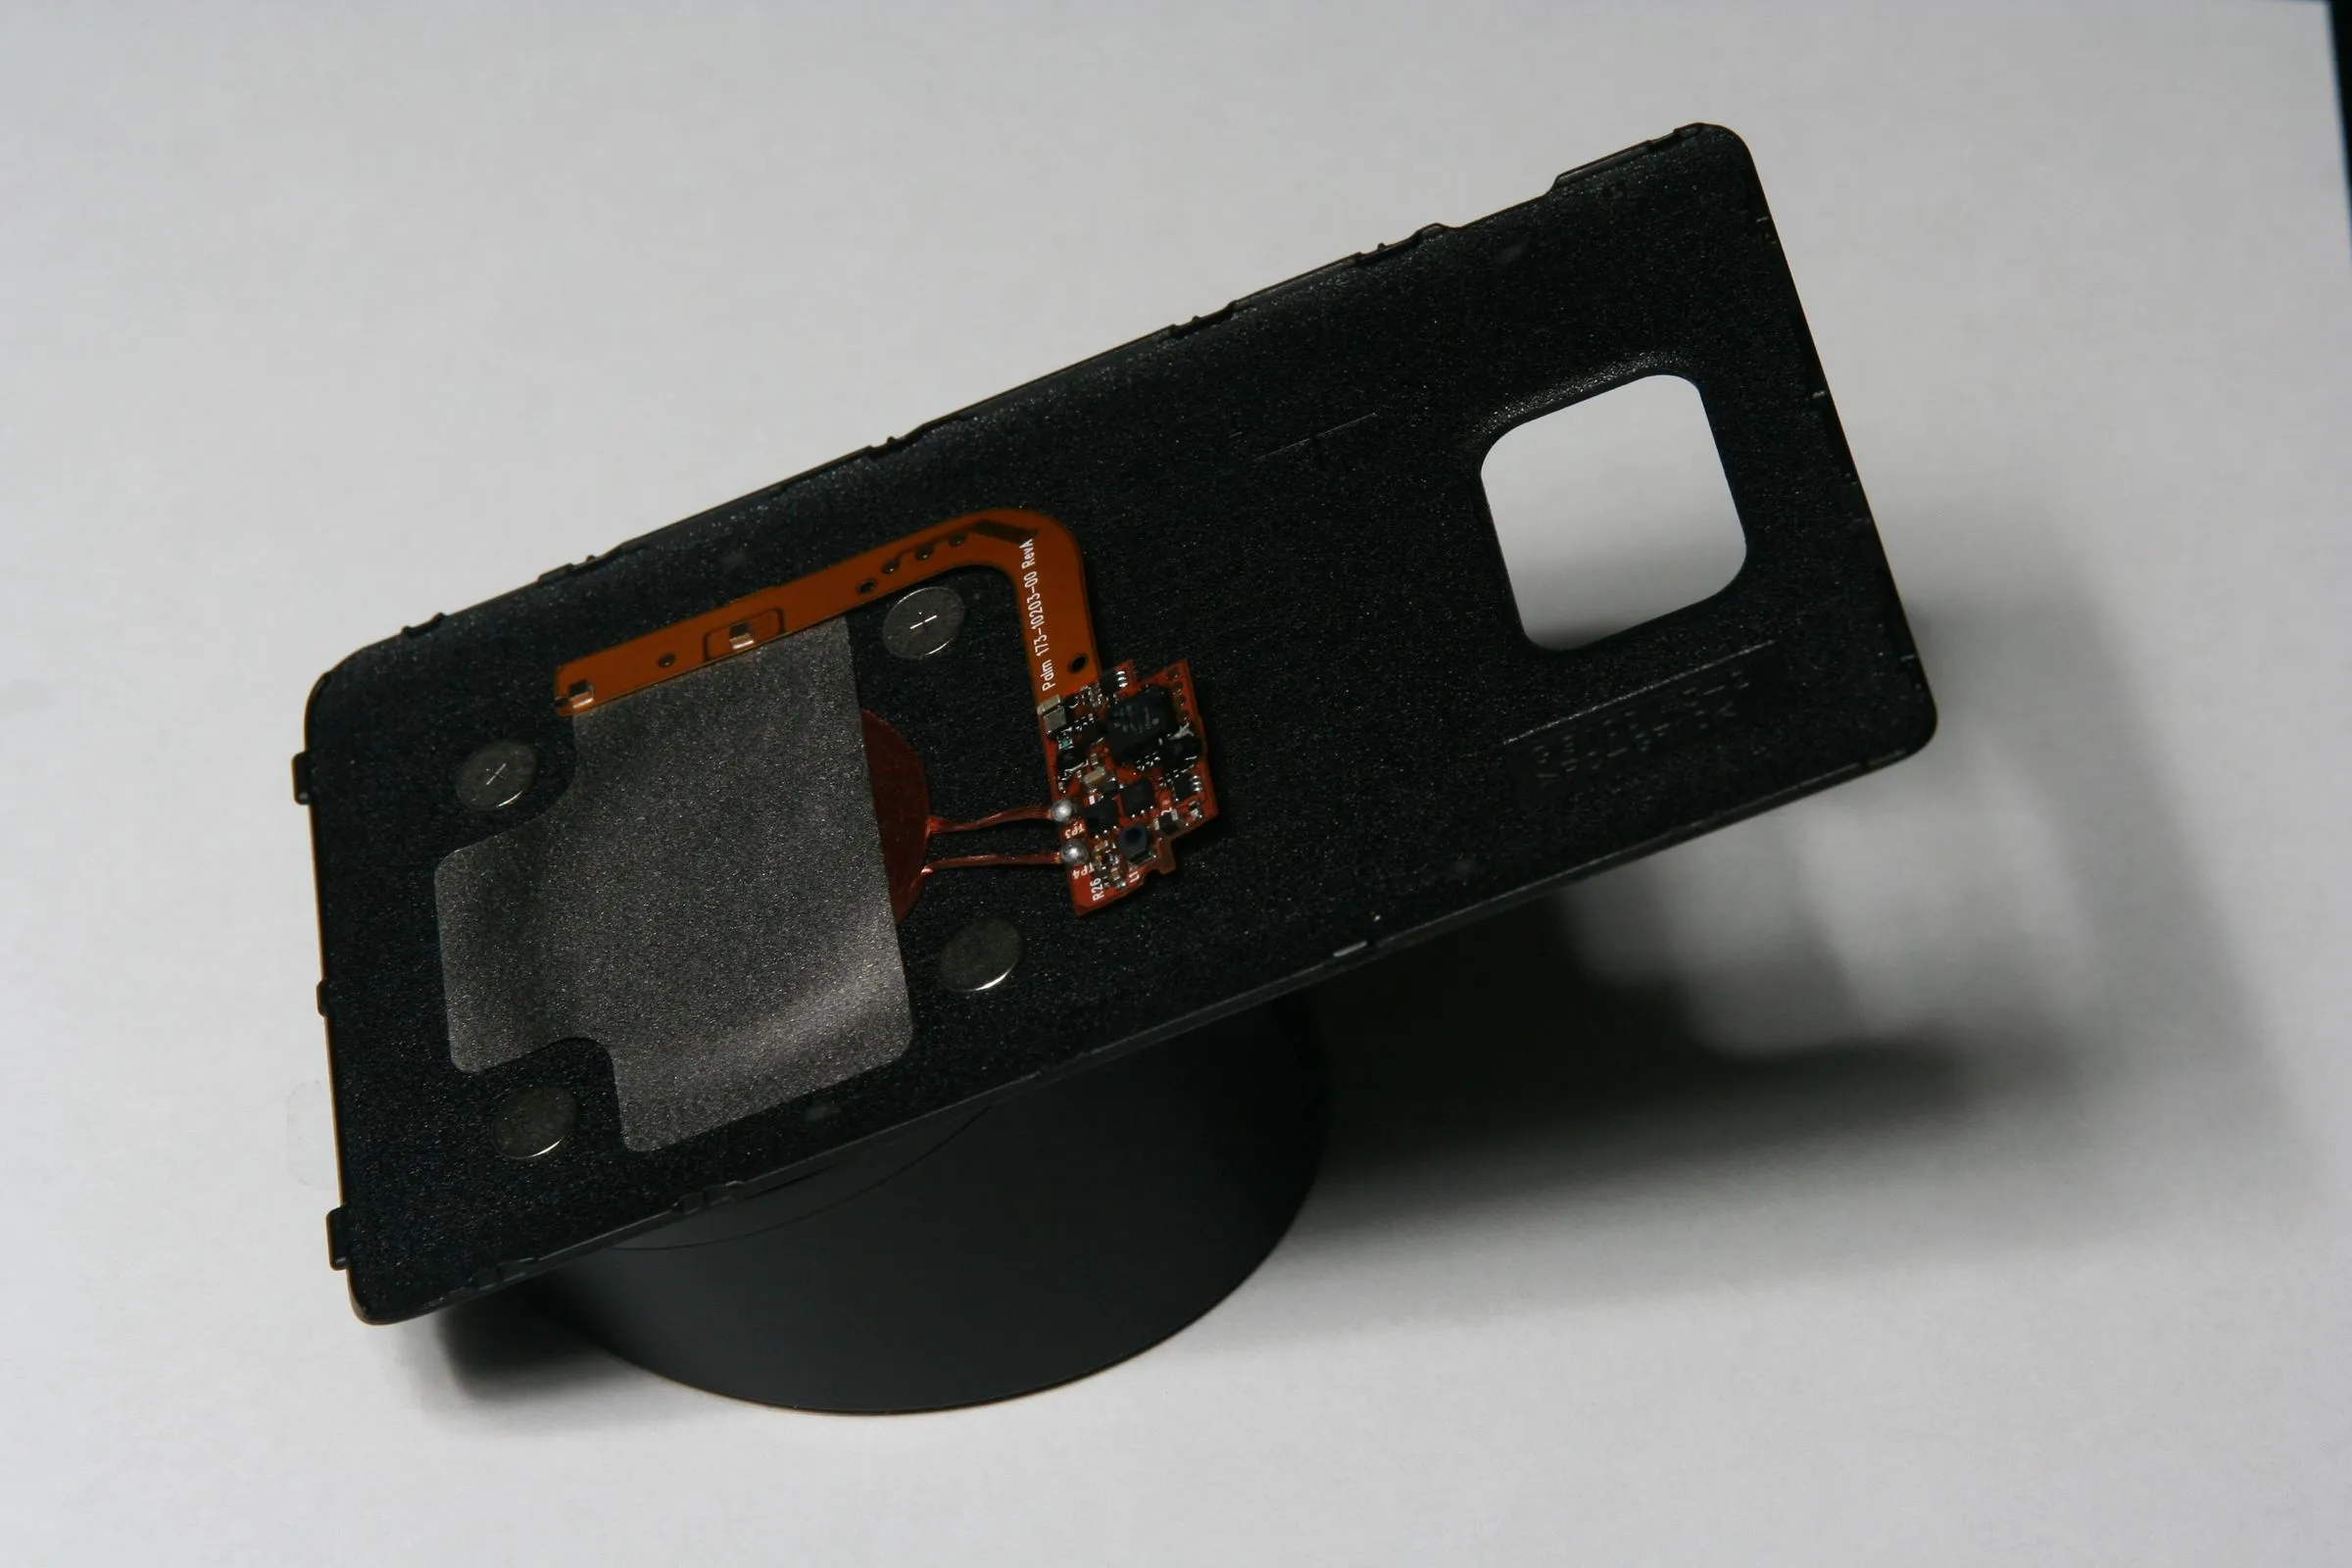
Plan A implies there’s a plan B. There is. There is just no space between the battery and the cover, not even for the coil’s circuitry.
To align the metal discs: Place the cover and coil on the magnetic dock, position the discs at the four corners, They’ll jump into place. Move the cover until everything is aligned, then hold with insulating tape.
Plan B - Discarding the Battery Cover and Using a Simple Case
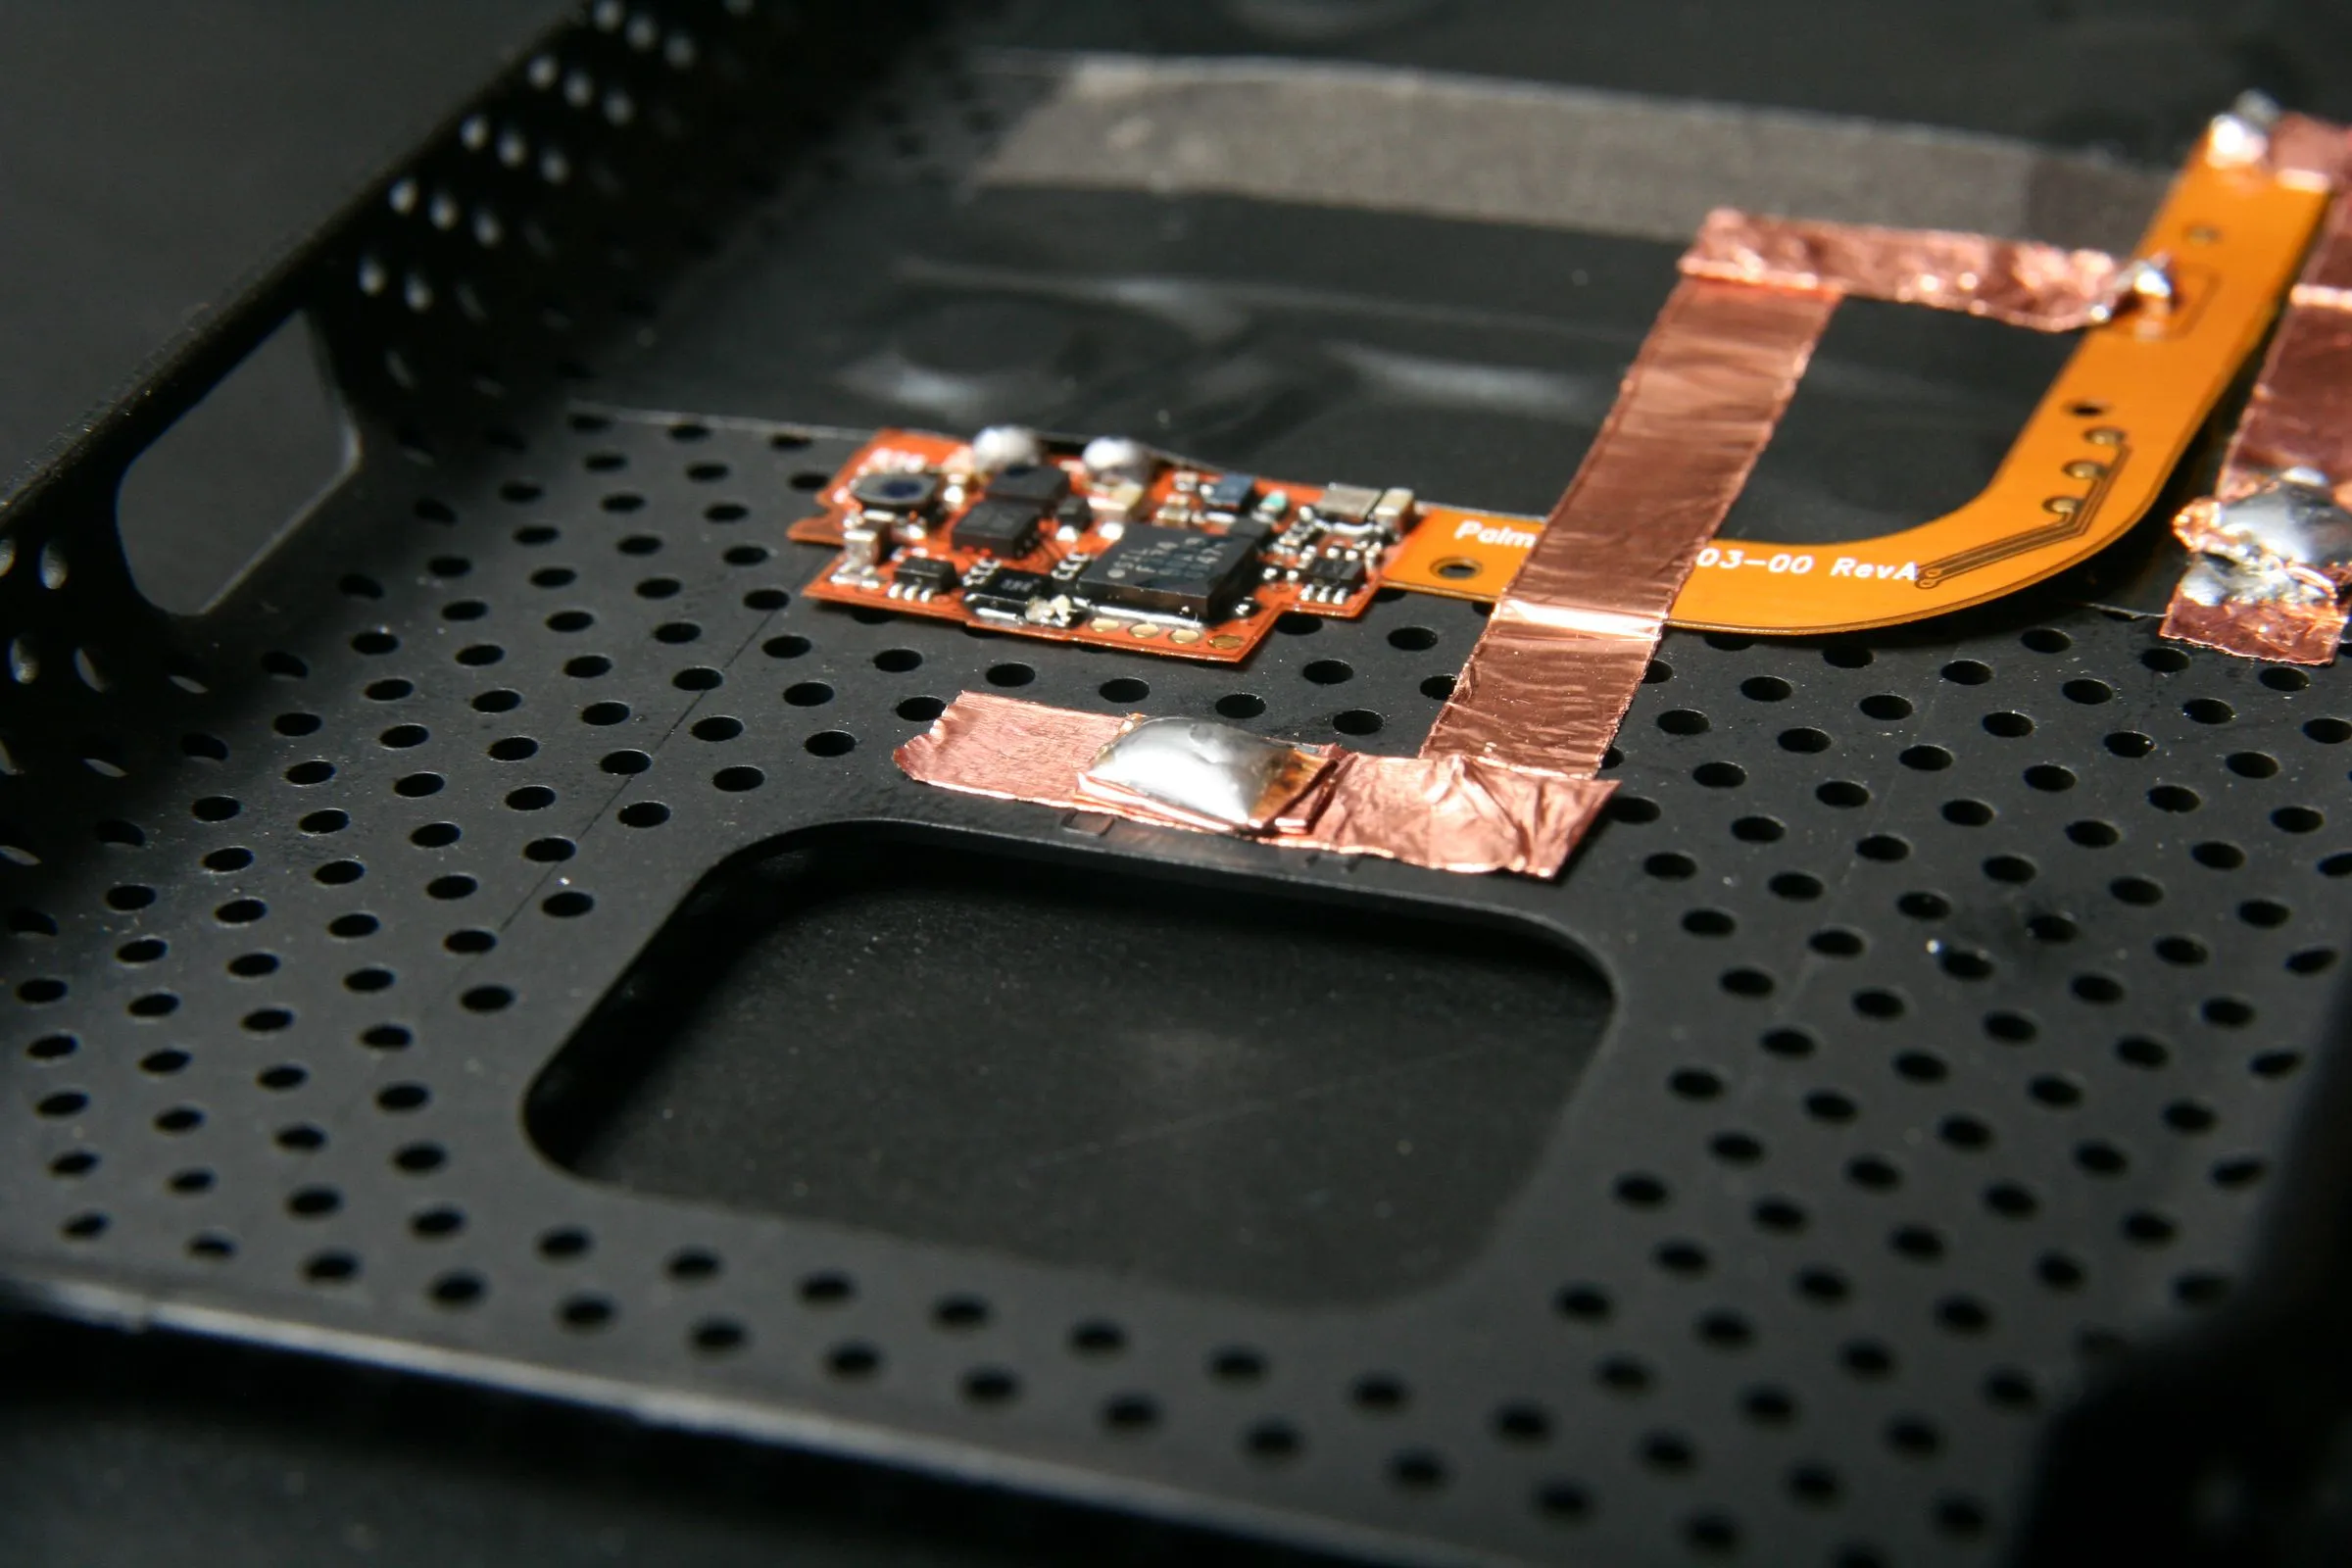
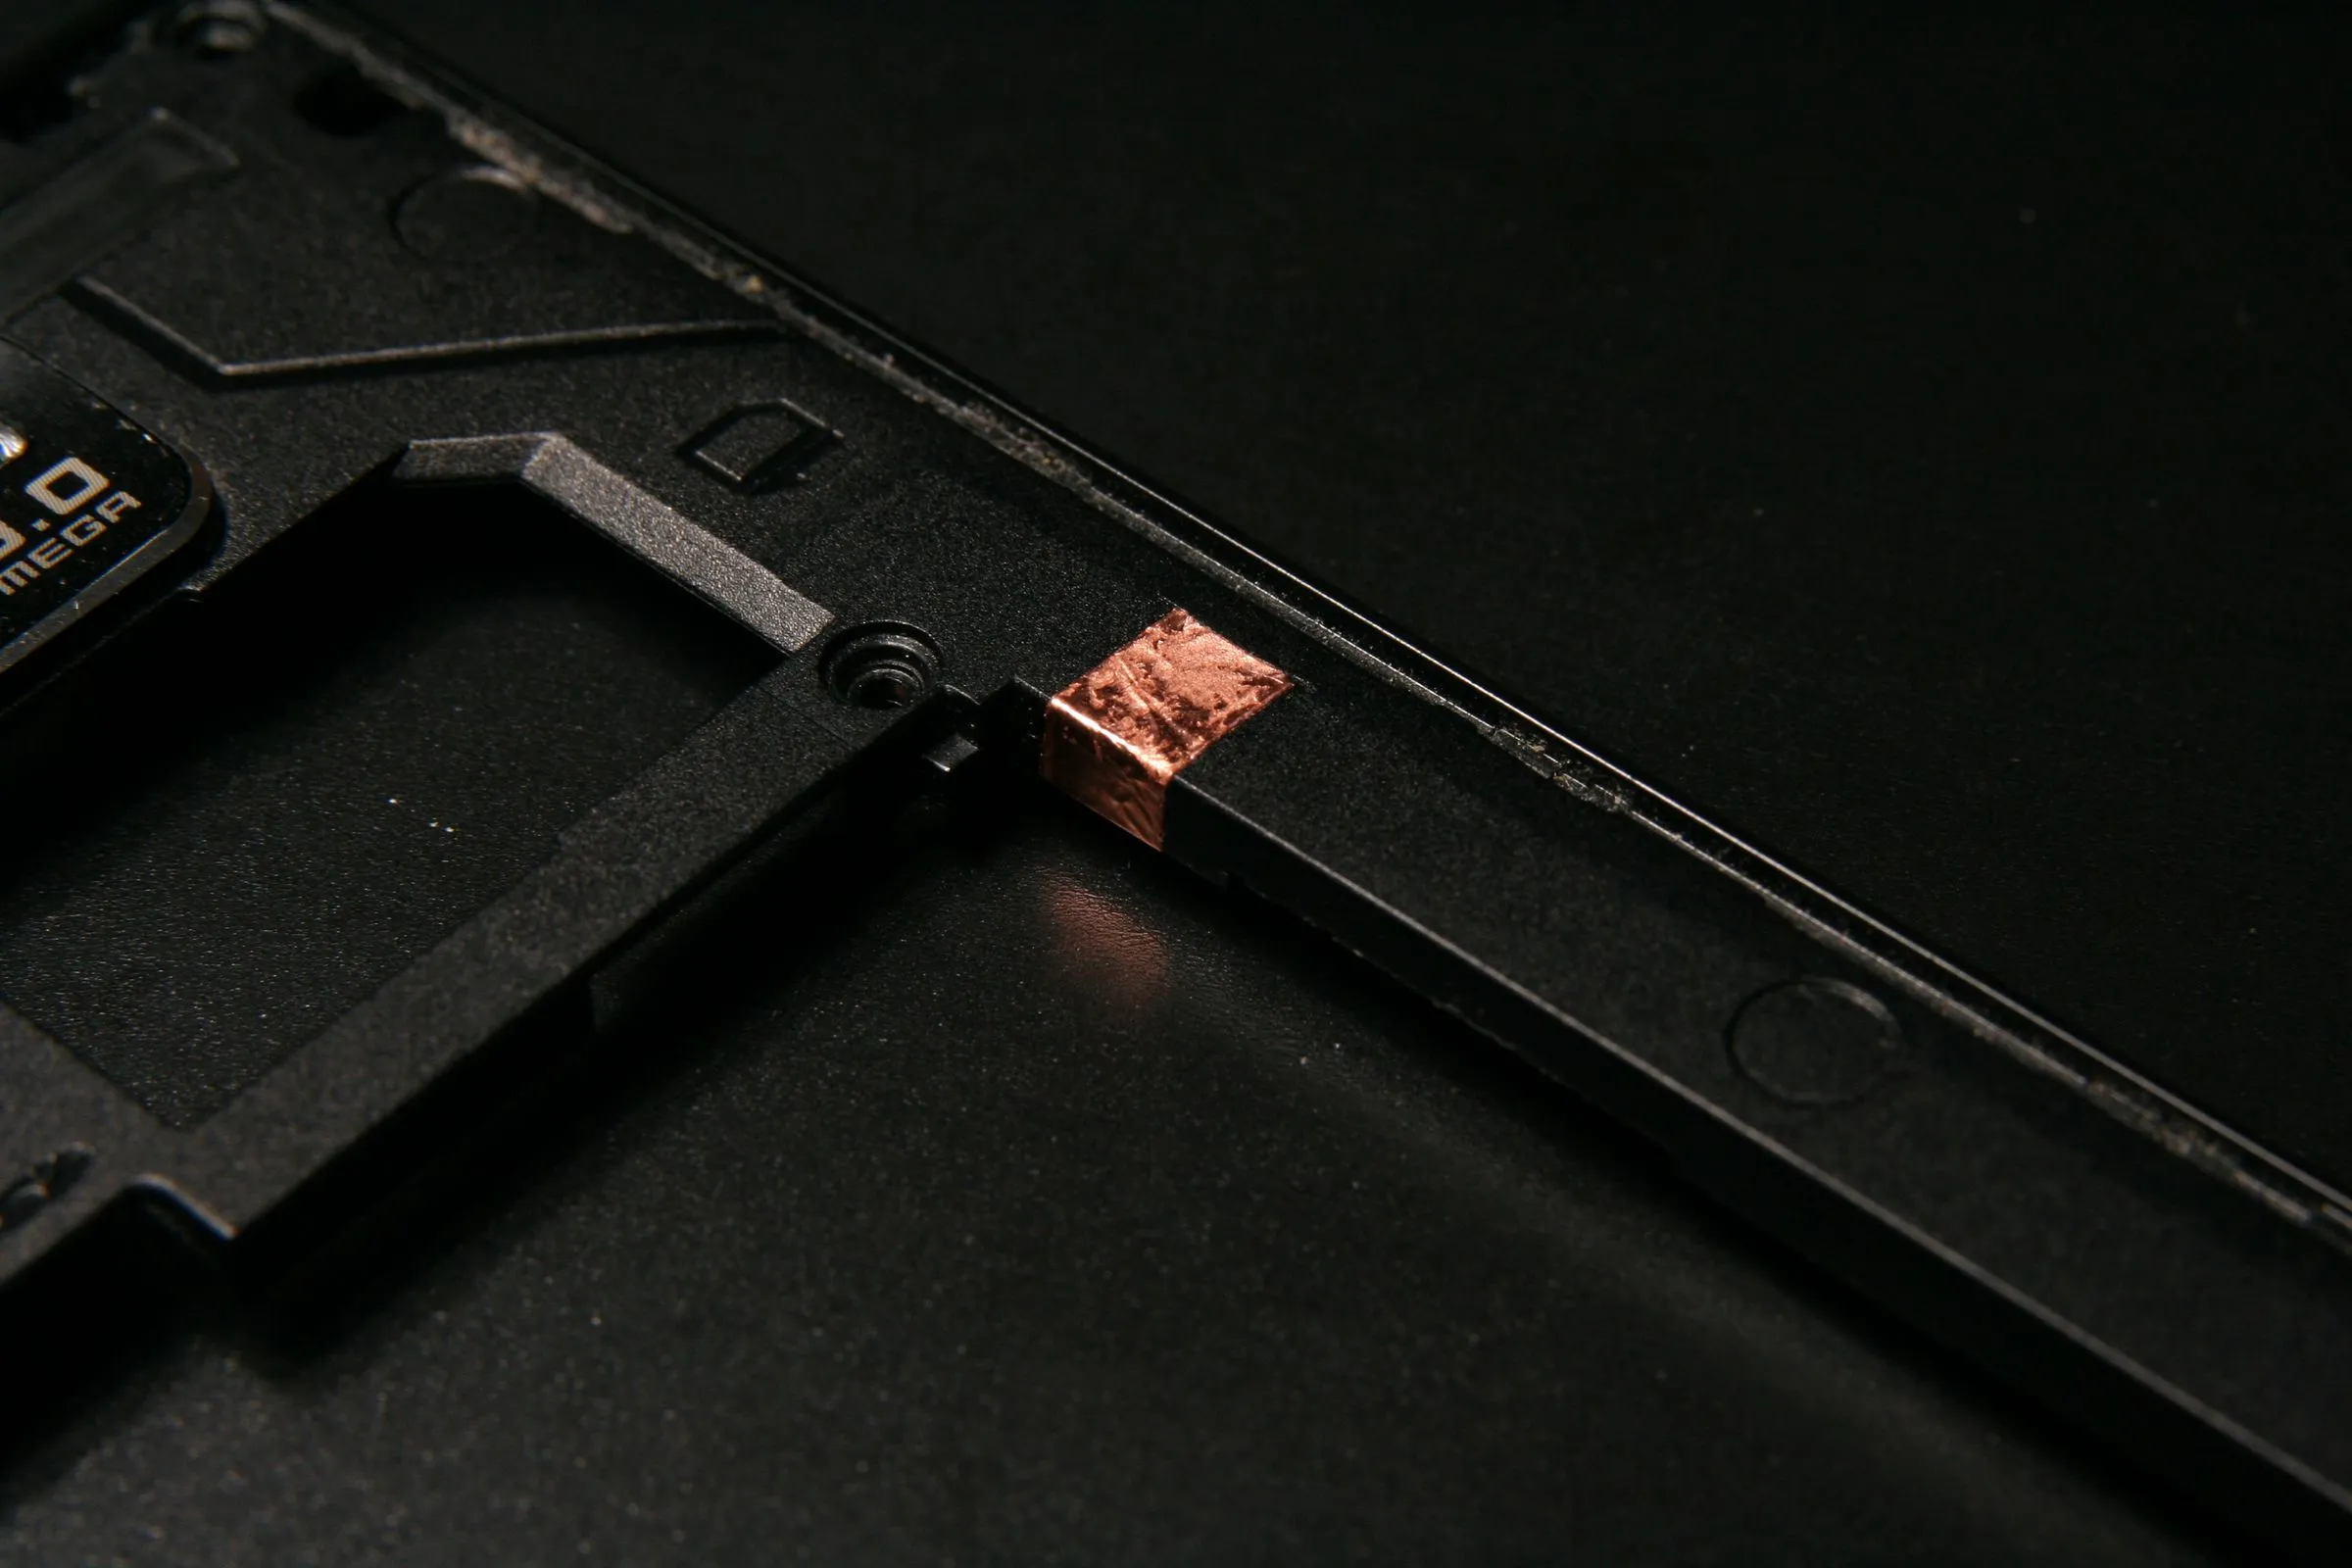
Plan A went up in smoke. Plan B is using a plastic case without the battery cover. Everything from plan A is held with tape so I just peeled it off and moved it to the case. The case has more space between it and the phone, so I folded copper foil and soldered it to the contact point to fill the gap.
Close Everything Up and Troubleshoot
Close everything and try to charge. If not working: check contacts with a continuity meter; if charging sign turns on and off, try a different charger; if wiring passes over components with contact points, check they still make contact.