
The part that holds the shower head in my shower broke a long time ago. let’s fix it.


The obvious solution is to buy a new part, but no one sells just this part – you need to buy the whole thing with the shower head and everything.
That’s stupid of course, The shower head along with all the other parts besides the broken one are perfectly fine.
I guess this time skill will fix it instead of money.
Is it even fixable?
First off, I need to take the part off and inspect it, see how it’s held on and whether it’s 3d printable or not.


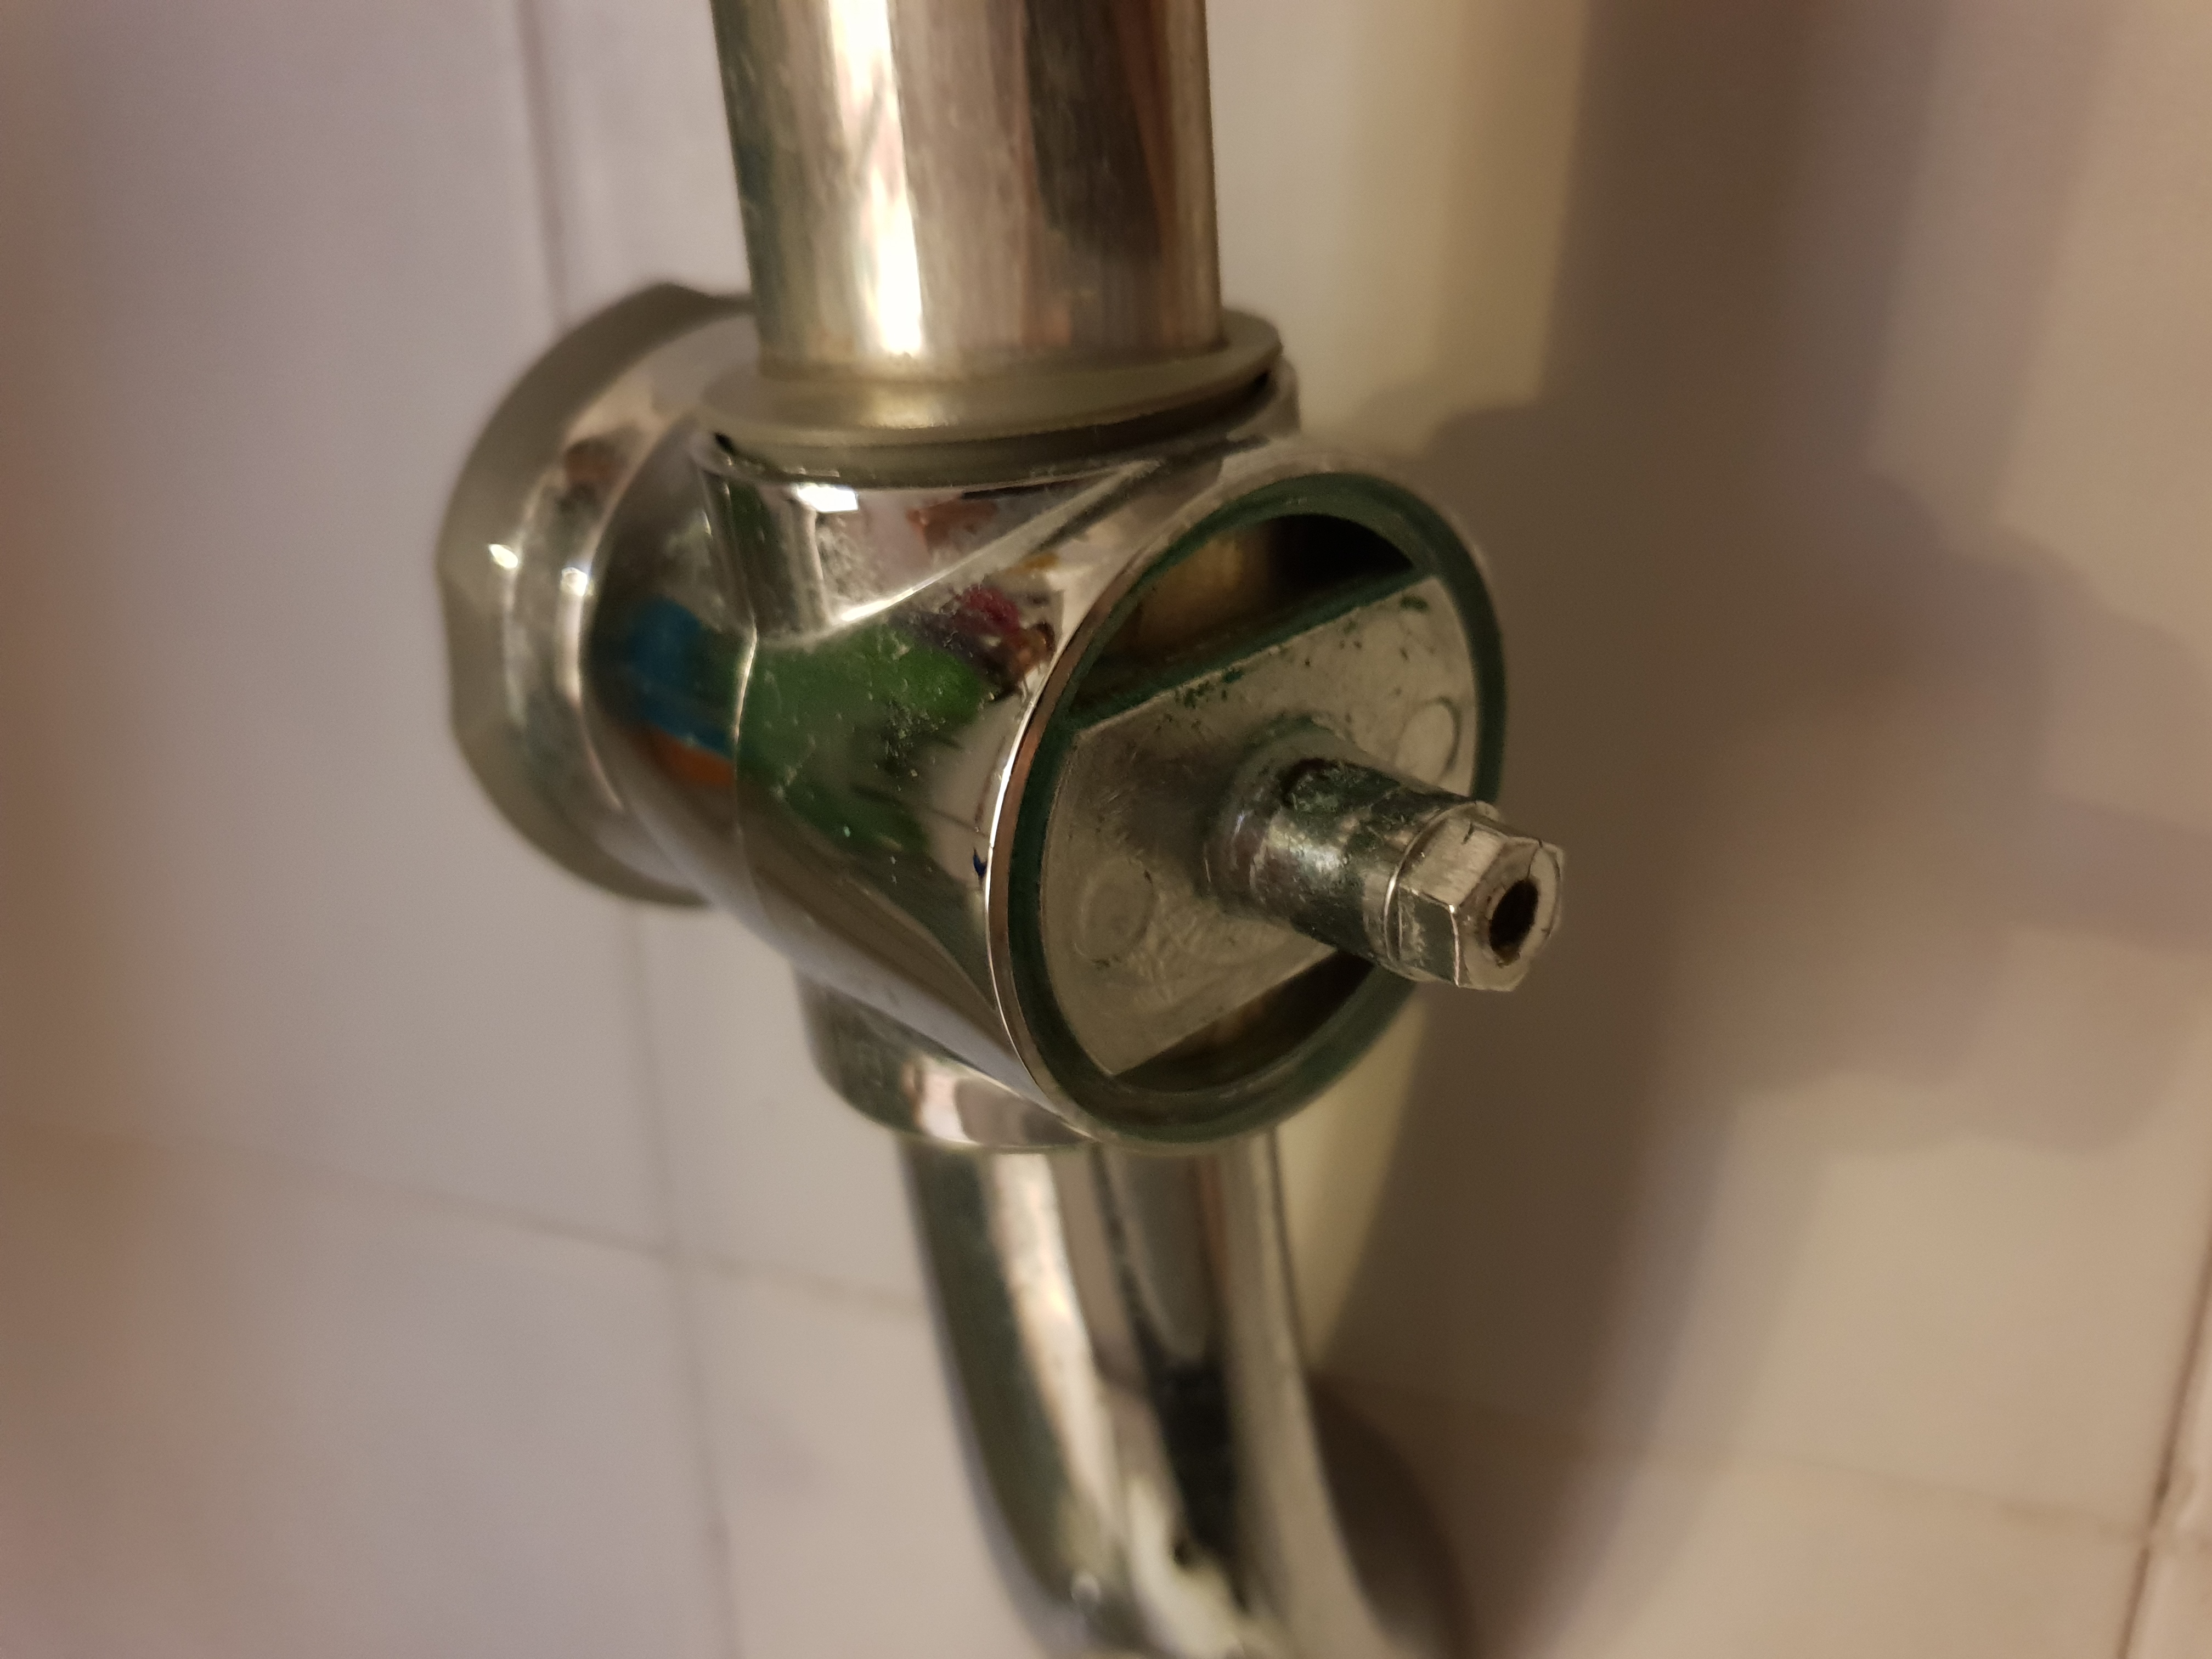
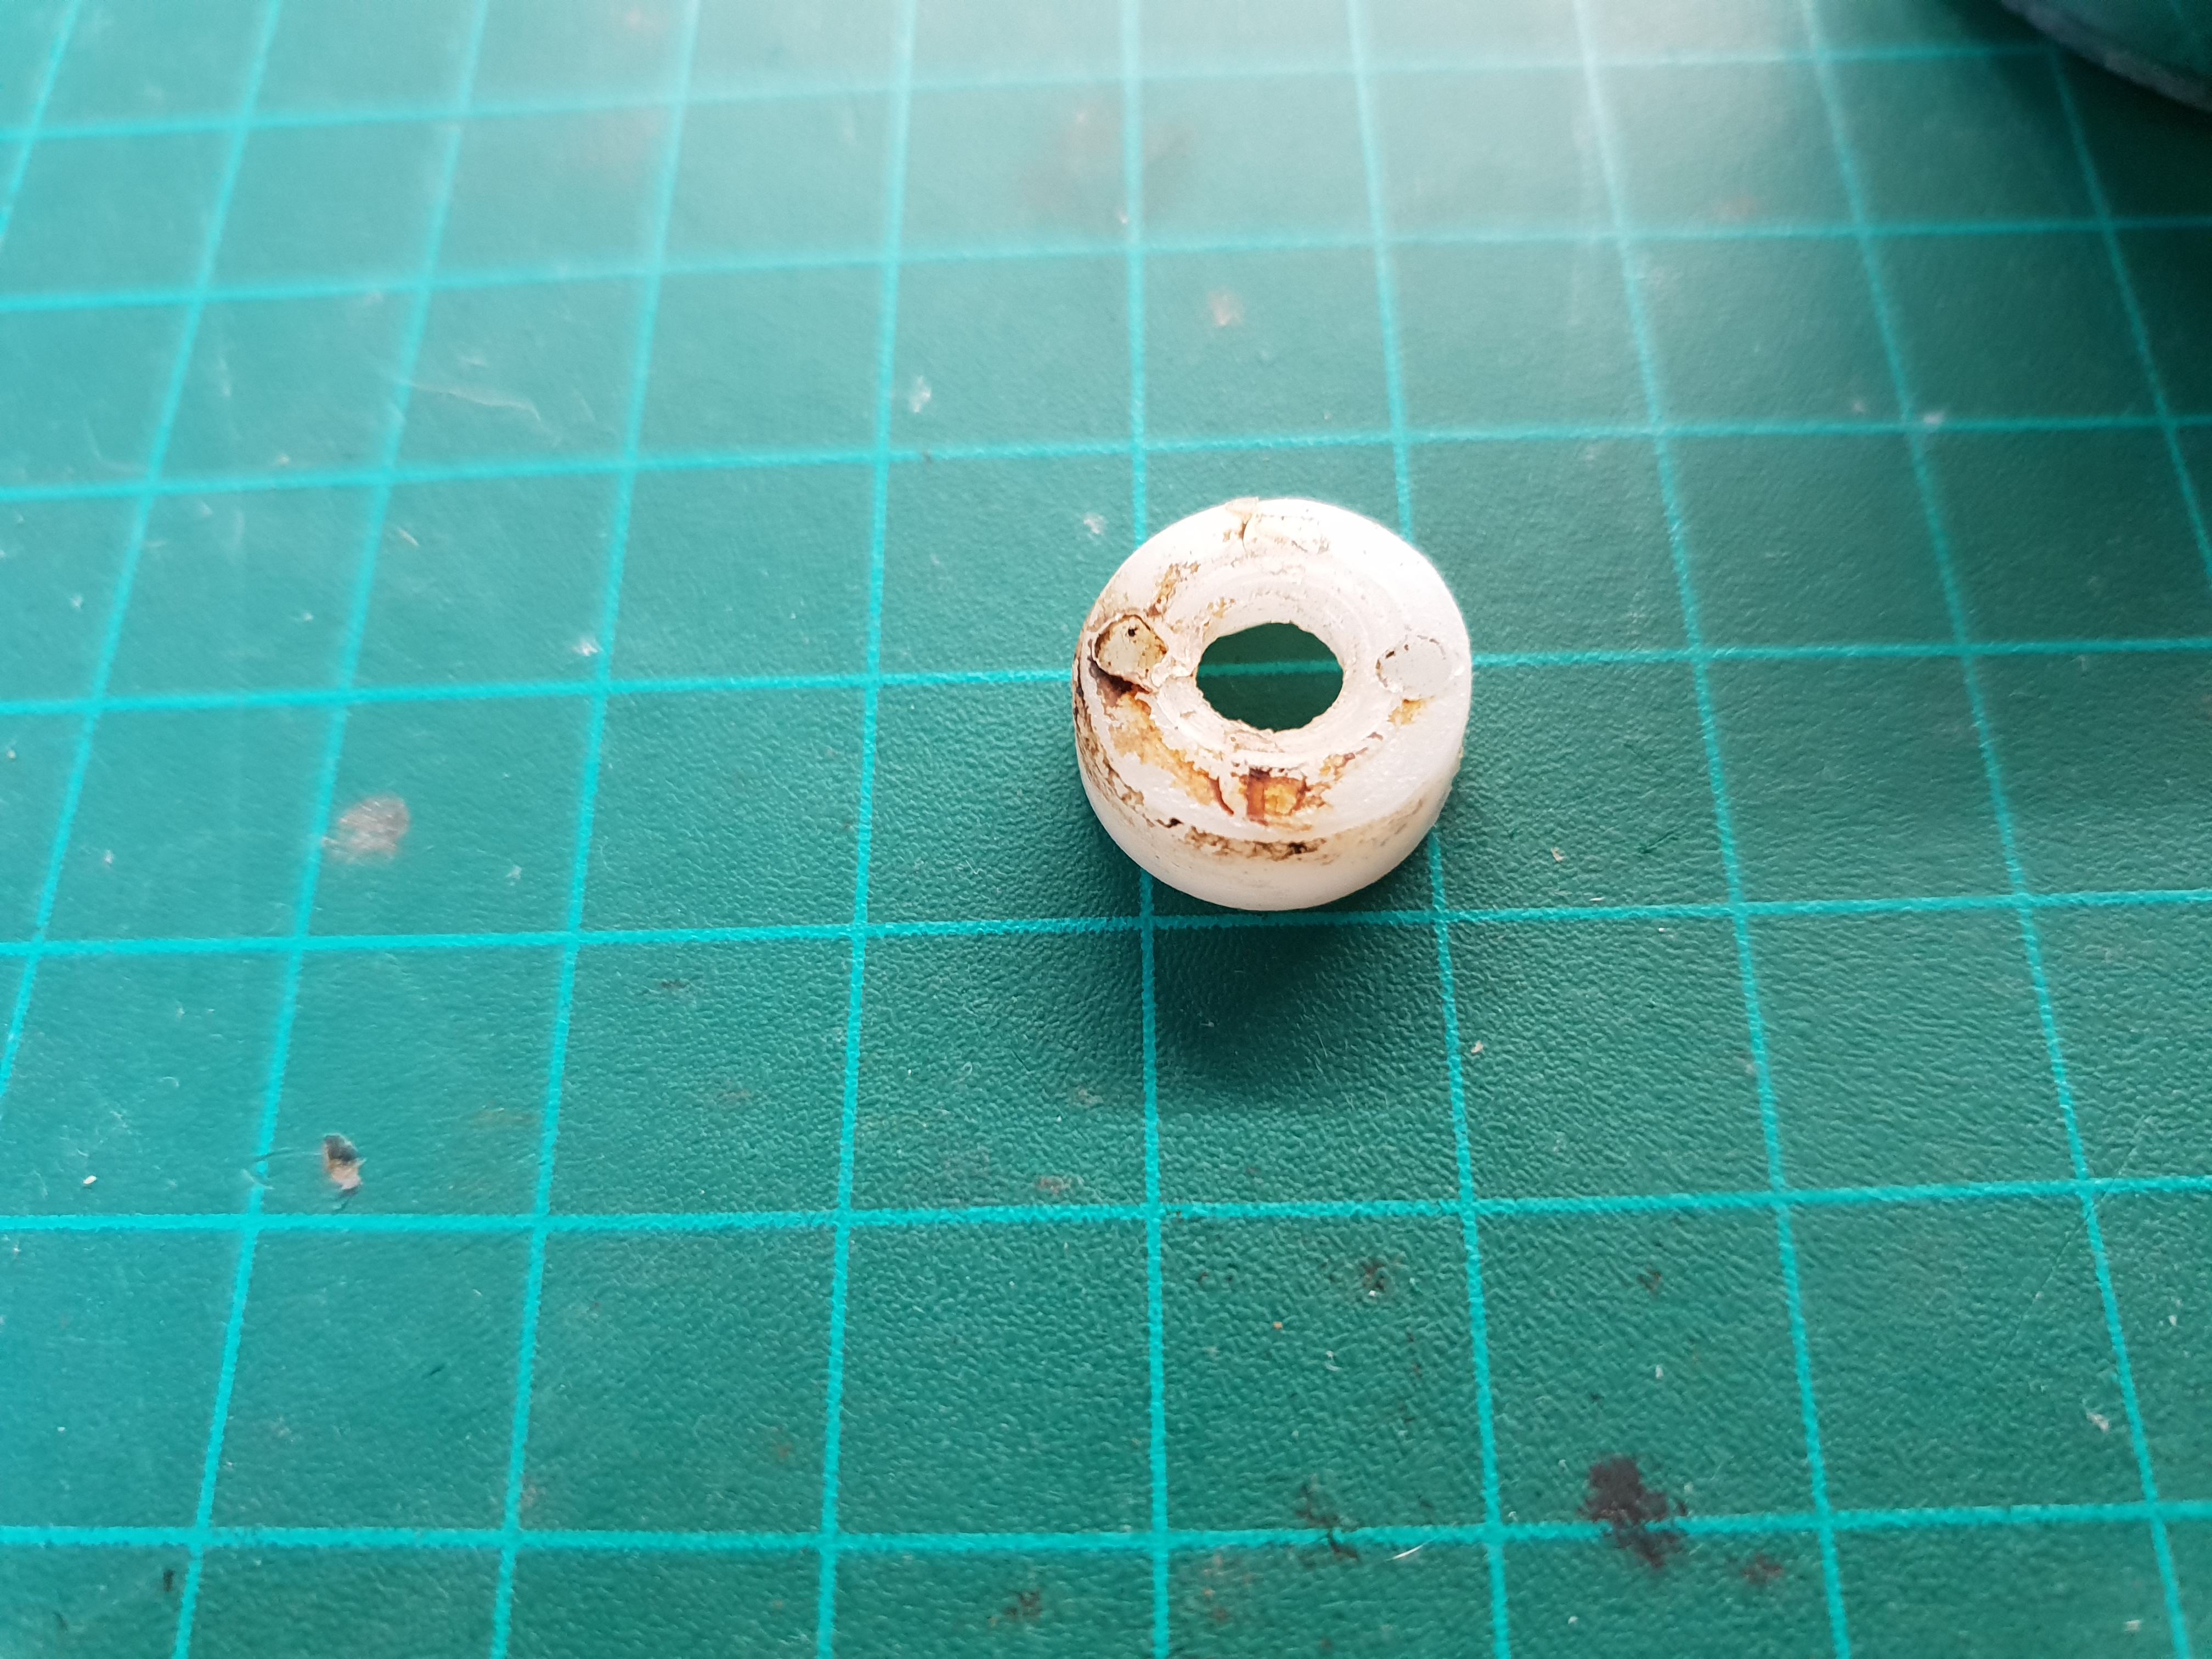

It seems that there are a couple of extra pieces that make this work, a plastic washer to prevent the two parts from wearing each other out when adjusting the angle and a plastic coupler that has a hex socket on one side with a hole through the middle.
This is good news, this means that there are no screws that are threaded into the plastic and no strange mechanisms that will be hard to print.
Measurements
There are a few key dimensions that make the part fit and work, the rest are arbitrary and just design.
What I’m interested in are the interfaces, the parts that fit into each other. There are a few here:
– The center hole’s shape (there’s a taper on one side and a straight hole with a different diameter on the other)
– The protruding ring around the outside that fits into a race on the other part.
– the depth of the inner surface where the washer sits
– the diameter of hole for the shower head shaft
– the outer diameter near the bottom of the part (optional just to make it look sleeker)
Modelling
After taking the measurements, modelling is pretty straight forward. I used Fusion360 for this.
As I mentioned, the overall shape doesn’t really matter as long as all the key measurements are present and the arms that hold the shower head are thick enough to not break immediately.
I started with a cone (could have been just a cylinder, but I figured a cone would look better) and made the appropriate holes in it according to the measurements. I made adjustments to account for shrinkage and the model is ready for printing.


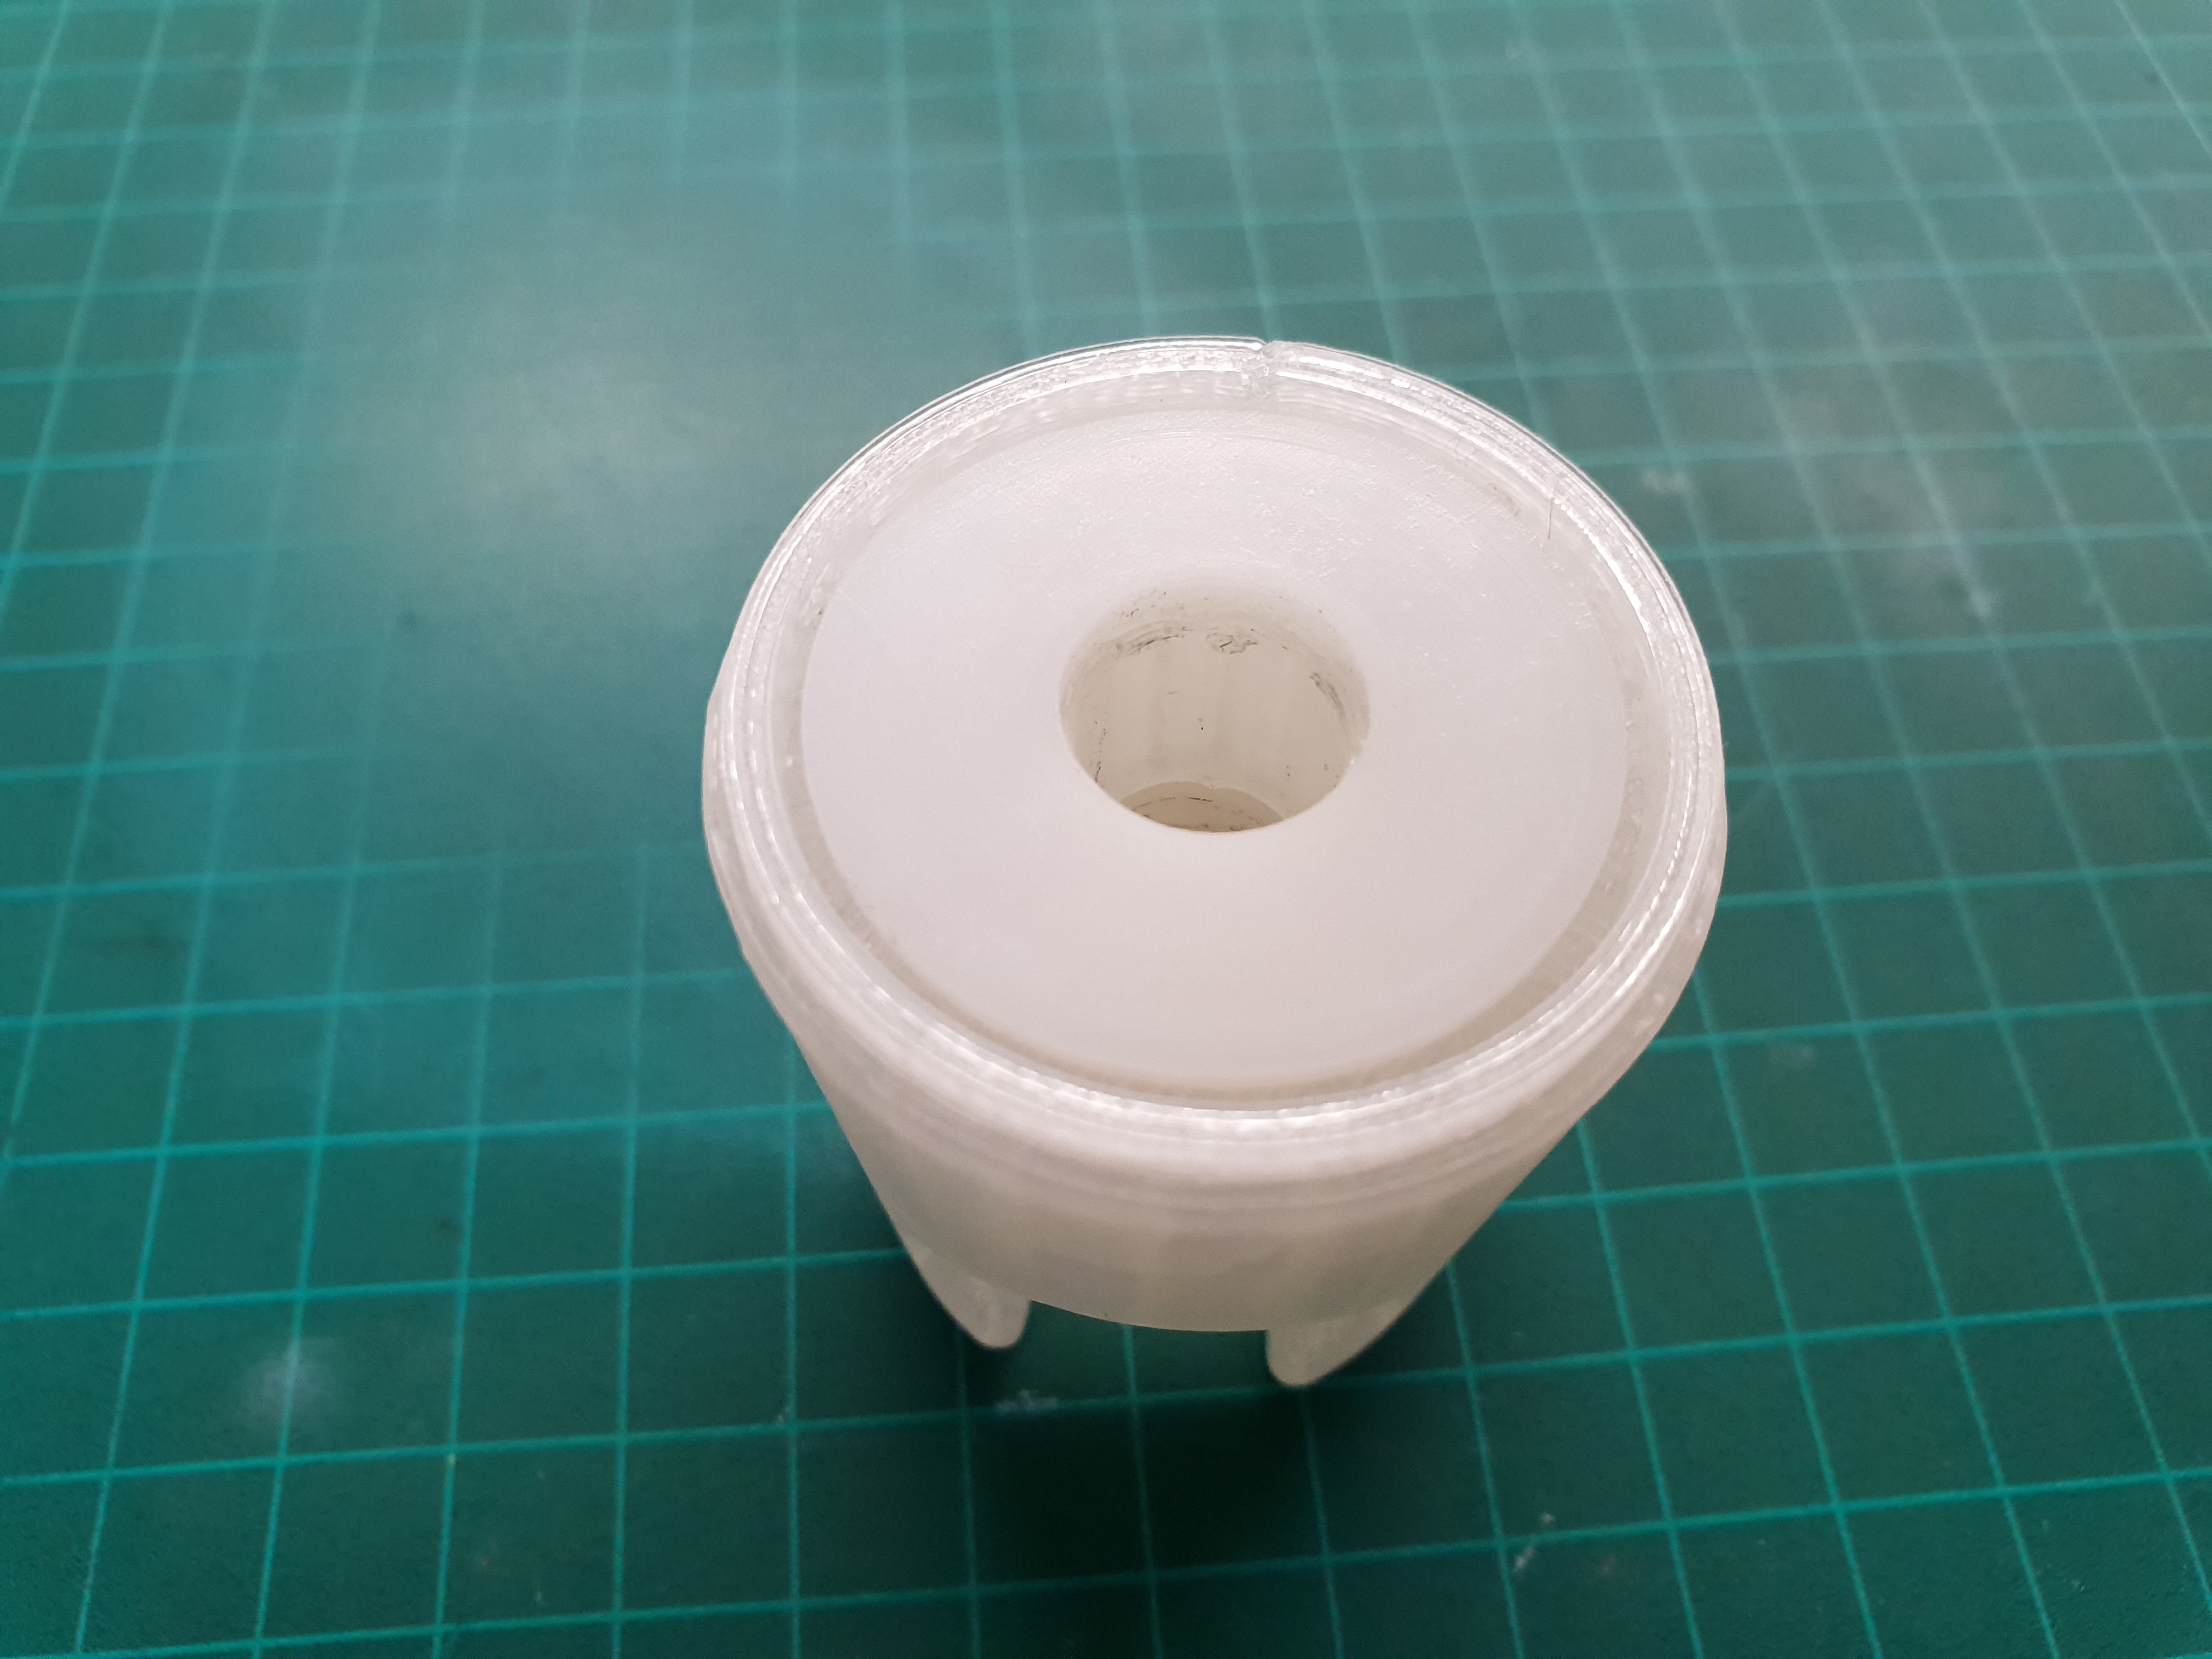
FIRST TRY!
This doesn’t usually go this smooth. Usually, there will be a few iterations, some holes will be off by a hair and sometimes there’ll be a need to change some slicer settings.
This time the holes were spot on! My guestimations for shrinkage and eyeballing the angle of the cone and size of the hole for the head were perfect. The coupler fits snugly and the bottom ring matches the race.


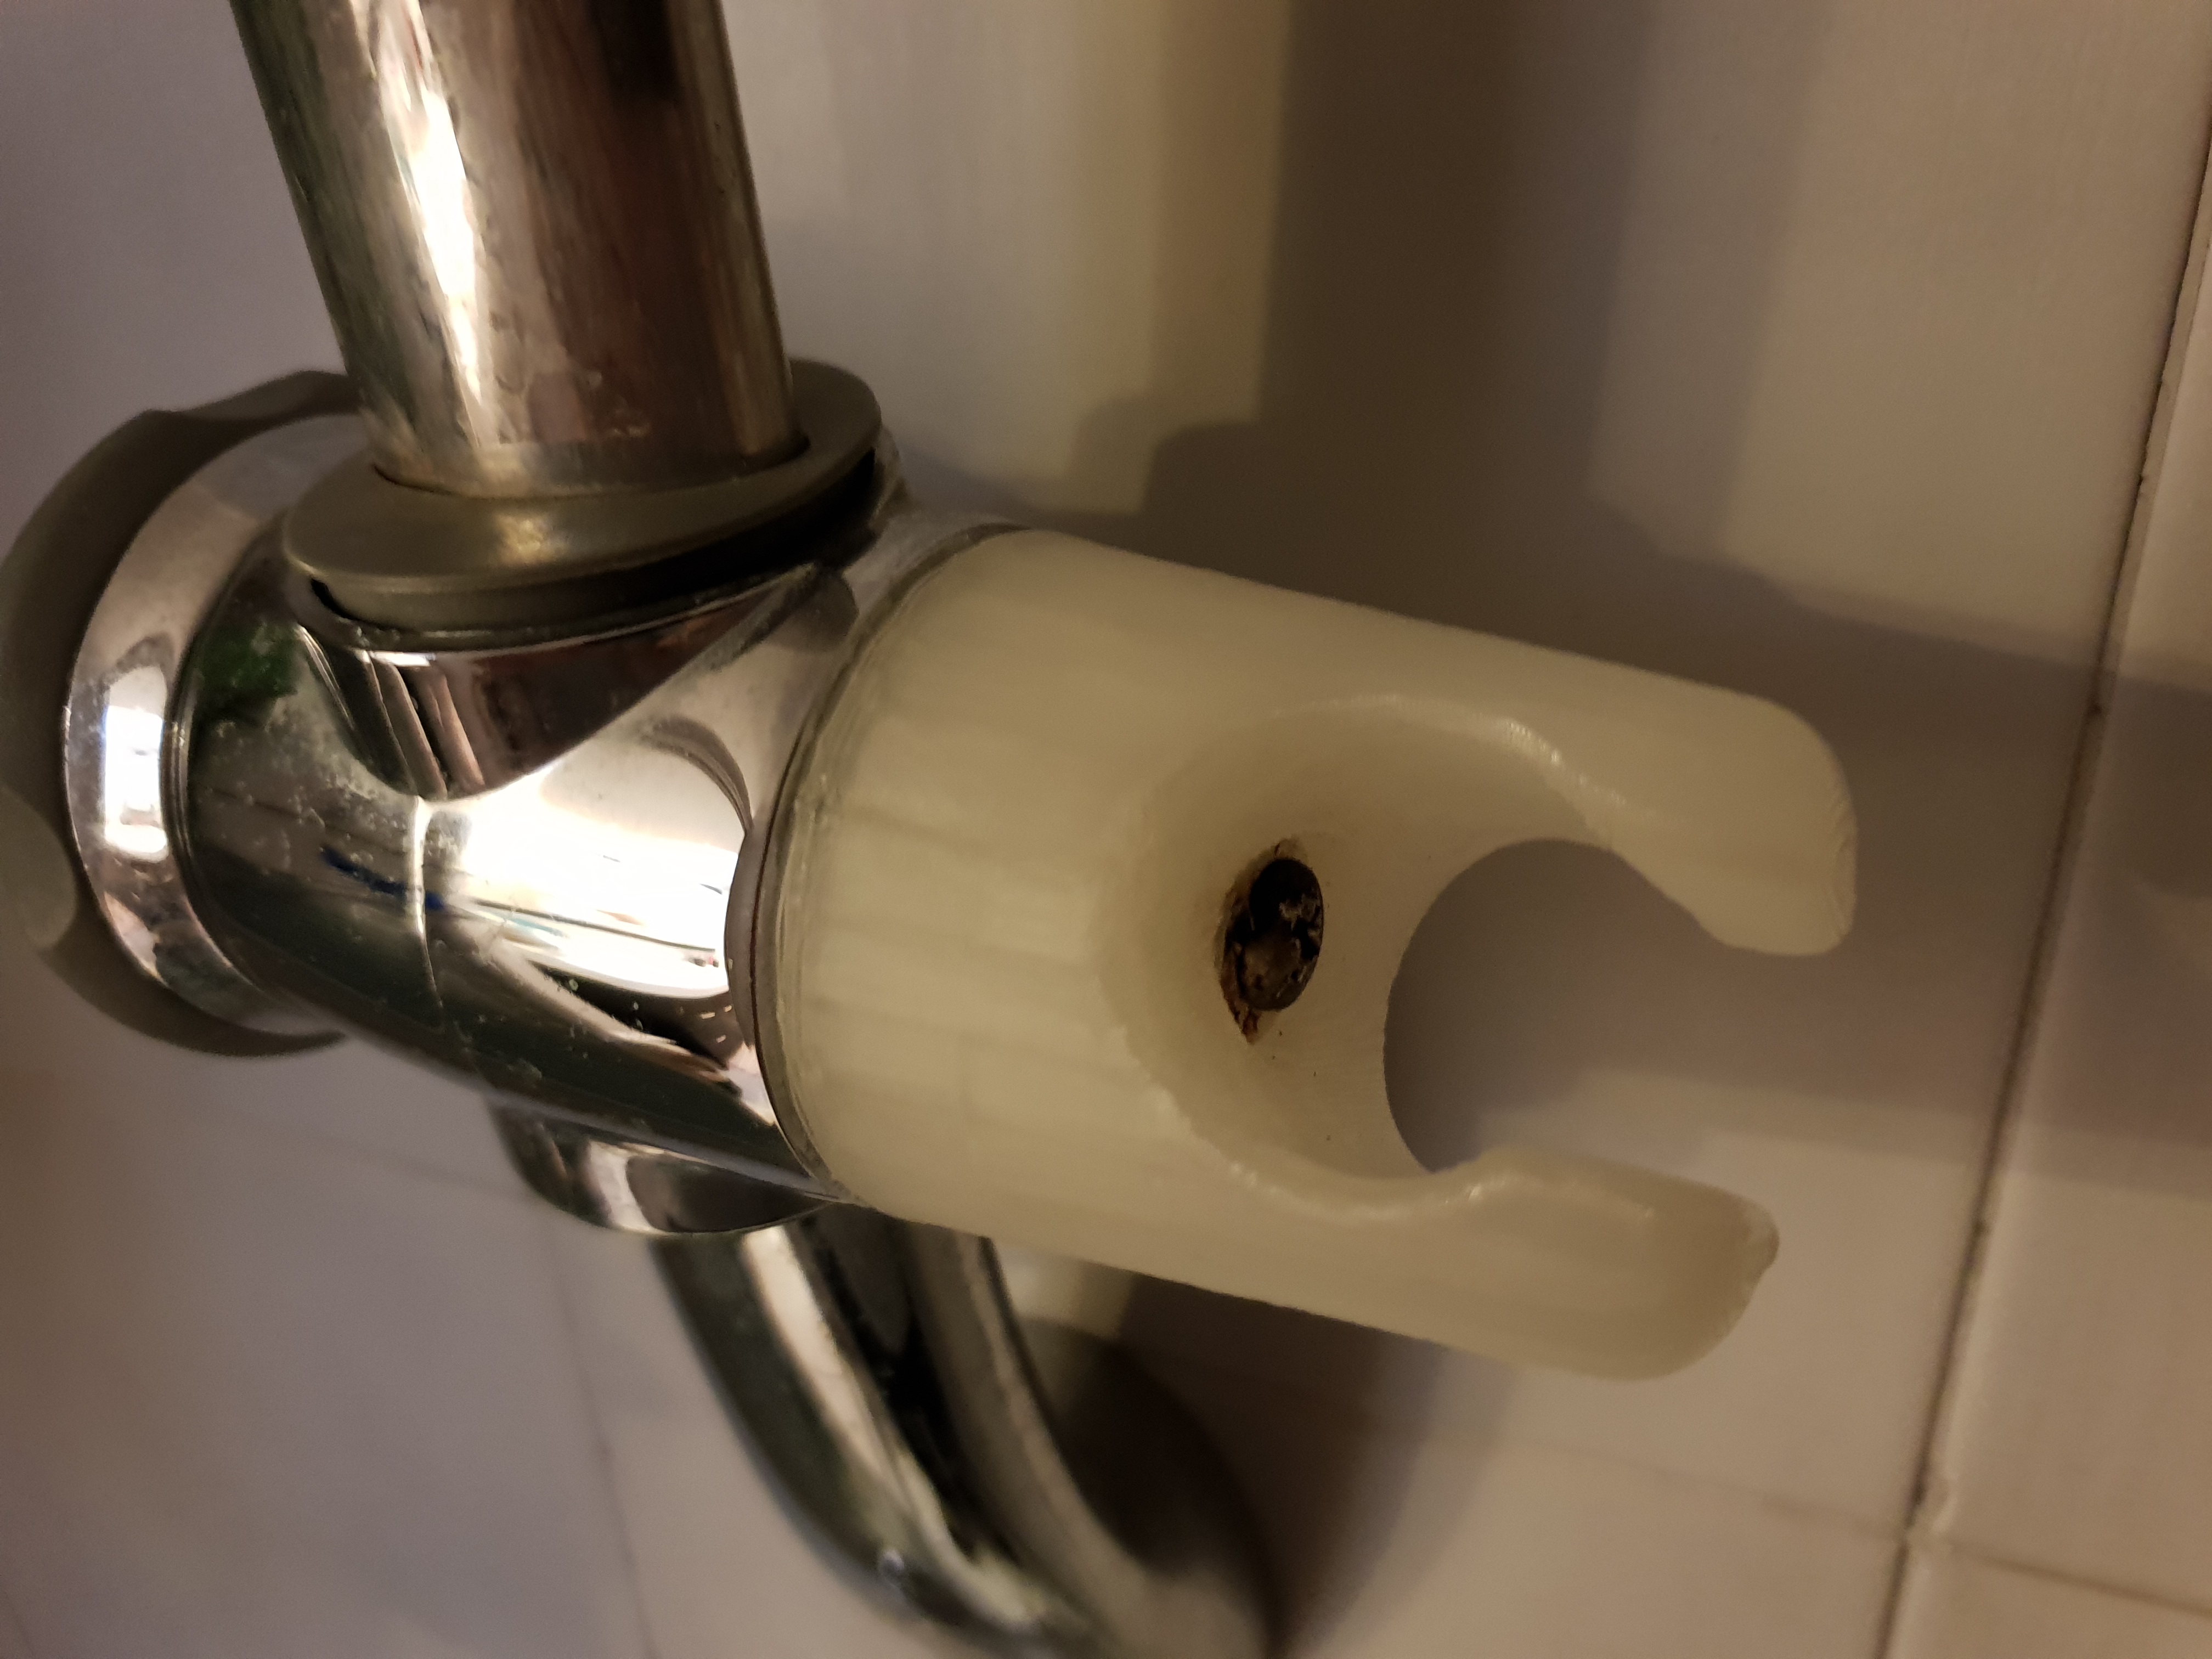
Installation
This part is pretty straight forward. Since the part was pretty simple and I didn’t need to invent some other way of attaching it, I can just replace the original and use the original screw, washer and coupler.


I’ll give this a few days to see that it holds up and then think about painting it with some primer and silver spray paint.
I didn’t bother uploading the file because there’s a very slim chance this will fit any other shower head holder, but if you’re reading this and have the exact same product, contact me and I’ll send you the .stl and the model.

I am impressed with this web site, rattling I am a big fan .
LikeLike
Really wonderful info can be found on web blog.
LikeLike
I need one, pls halp
LikeLike