
I have a few Raspberry Pis running services in my network. Some of them have to be physically connected to other things, like 3D printers, UPSs or sensors, so they have a specific place. Some just run virtual services that have no interaction with other things, like PiHole or HomeAssistant, so they just need to be connected to be network and their physical location is not important. They used to sit near my switch, besides a pile of rolled up ethernet cables that are too long.


Now that I’ve decided to consolidate all my network equipment and computers to a rack, I need some way to rackmount the Raspberry Pis.
Chassis Design – Options
There are a few different ways to do this:
1U box
A full enclosure with the the RPis mounted inside. This is a pretty good idea, it’s easy and doesn’t require a lot of custom fabrication apart from mounting the boards themselves to the bottom of the chassis.
One of the main things I don’t like about it is the limited accessibility to the boards. In the case I would need to connect/disconnect something to/from a board or if I wanted to see the status leds on a board for troubleshooting, I would need to take the whole thing out and possibly power all the boards down, which I don’t want to have to do, especially when some of them are running crucial production services.
Here’s a nicely executed example I found:
https://www.raspberrypi.org/forums/viewtopic.php?t=81949
1U module style frame
A frame with bays to fix Raspberry Pi panel modules or enclosures, similar to hot swap hard drives.
This is nice since you can get a single module in and out without affecting the rest.
I would consider this approach, but with the RPis positioned horizontally, I could only fit about 4-5 modules, not including the power supply. I could build two of them, but I would still not have any room for mounting any extra hardware on the RPis.
Here’s a nice 3d printable example from Thingiverse:
https://www.thingiverse.com/thing:4125055
2U blade style frame
Improving upon the ideas from the 1U module frame, if positioning the modules vertically, I can mount more modules and have variable width modules, that way I can have thicker modules for boards with extra hardware or cooling.
Here’s a really cool example I found which is fully 3d printable, has room for an HDD for each RPi and fans:
https://uplab.pro/2020/09/raspberry-pi-rack-server-mark-ii/
This is pretty impressive, but doesn’t really fit my needs. I don’t really need HDDs and I don’t really like the fact that it’s completely 3d printed, I would like the frame to be metal.
Here’s an example of a 2U vertical mount with an off the shelf frame. This is a great and simple solution and there are a few different compatible faceplates on Thingiverse.
https://www.thingiverse.com/thing:1793758
I think this it the way to go for me. It would give me the flexibility and modularity I wanted. I could use mounting plates from Thingiverse for regular RPis and make custom ones for the power supply and extra hardware.
Chassis Design – Making The Frame
I couldn’t find any quickly available 2U rack frames to buy, so I’ll make my own.
I used angled aluminium for the top and bottom bars for rigidity and so that I could drill and tap holes for mounting the hardware.
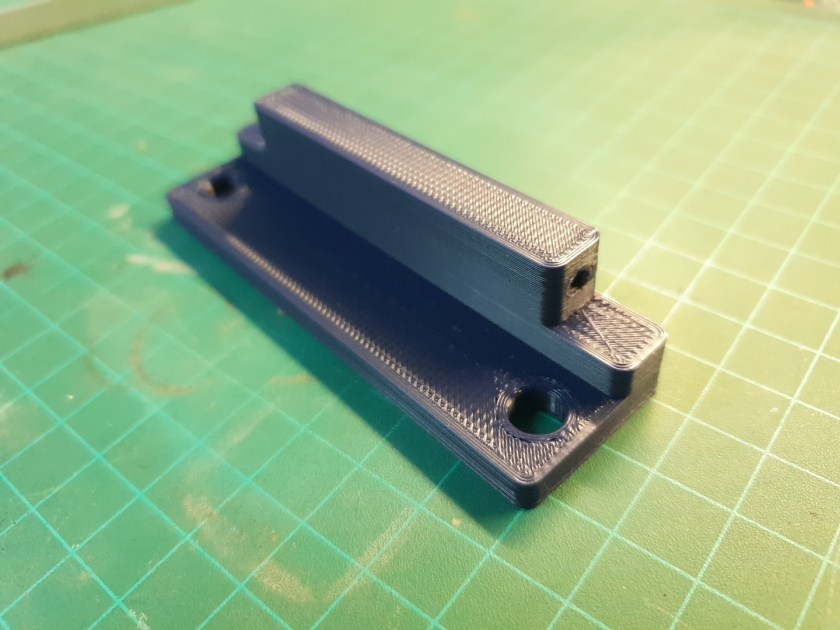
The rack ears were 3D printed.


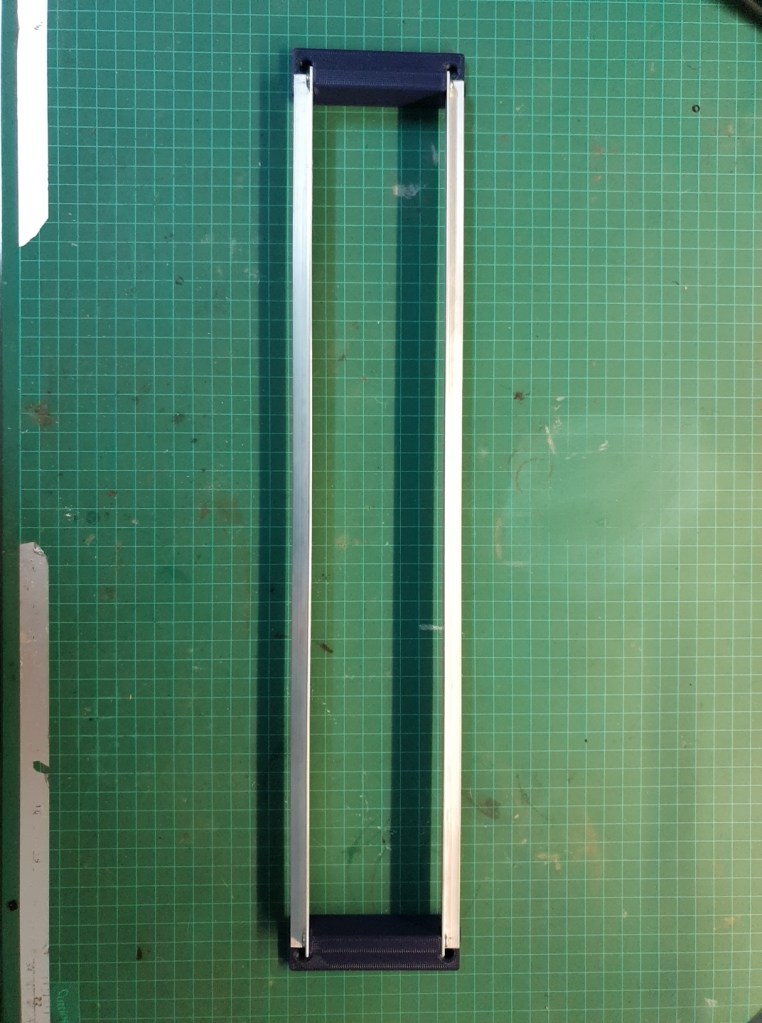
Test fit:


Modules
Raspberry Pis
Right now, the RPis I have to mount do not need any extra room, so I’ll use a ready-made plate from Thingiverse and drill holes according to the spacing they have. When I’ll need custom width modules, I’ll either make the modules fit the existing holes, or make new holes.


Here’s the plate I used, it fits the RPi2 and RPi3 :
https://www.thingiverse.com/thing:2759317
Here’s one for the RPi4 made to fit the design of the other one:
https://www.thingiverse.com/thing:3803867
Power Supply
The best way to power the modules would be Power over Ethernet. There are hats that add support for PoE on the built-in Ethernet port, but my RPis are too old and don’t support it. Maybe I’ll upgrade them someday and move to PoE, this would also free some space on the frame.
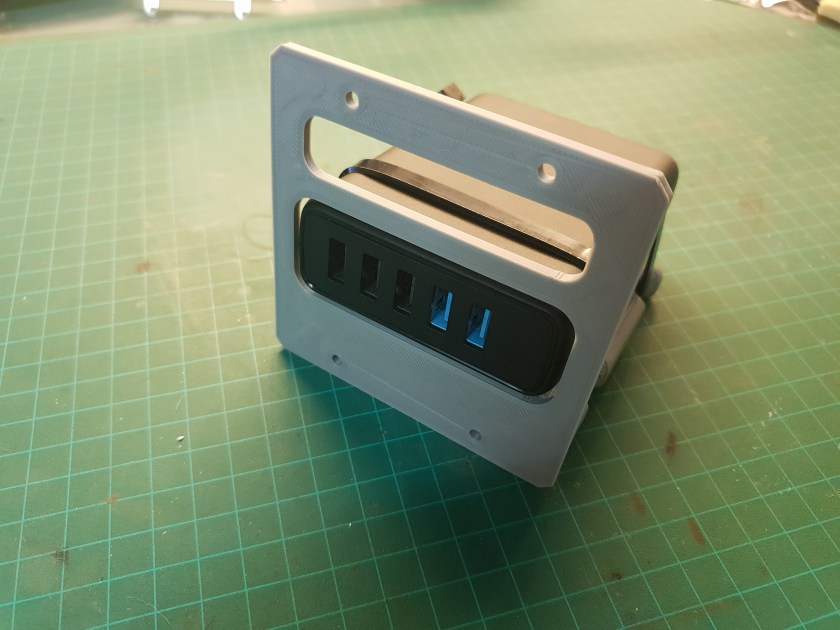
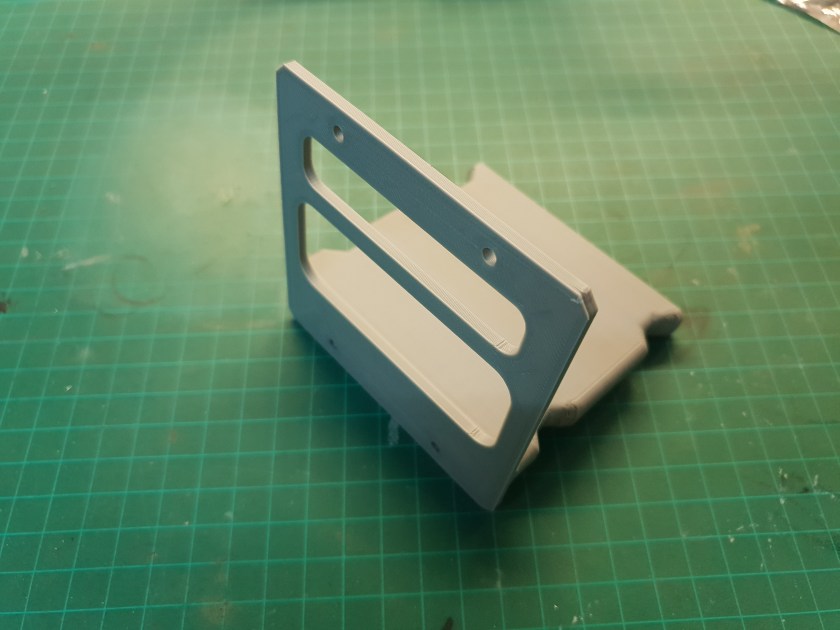
To power all the modules, I bought a 5 port USB power supply.
To mount it I made a mounting plate with a hole to feed the cables.


The only downside to powering the modules this way is that the micro USB port on the RPi is on the side. This means that I have the cable sticking up and taking space from the rack unit above the module. This is not a big deal for now since I have an empty slot with a panel for cable management, but the ideal situation would be to power the RPis from their GPIO pins and not from the USB port.

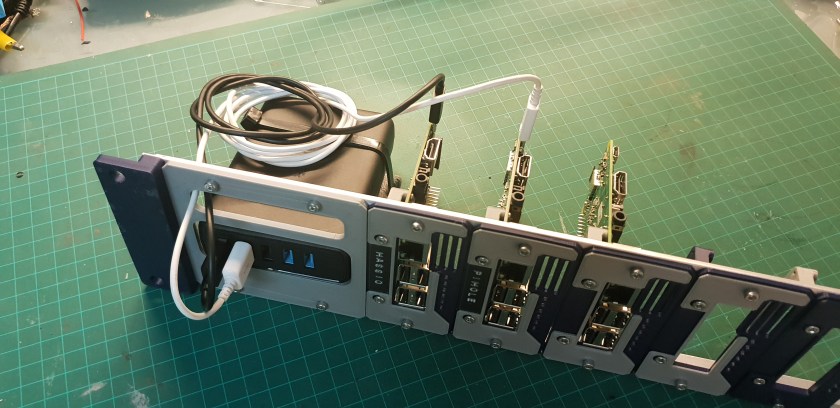
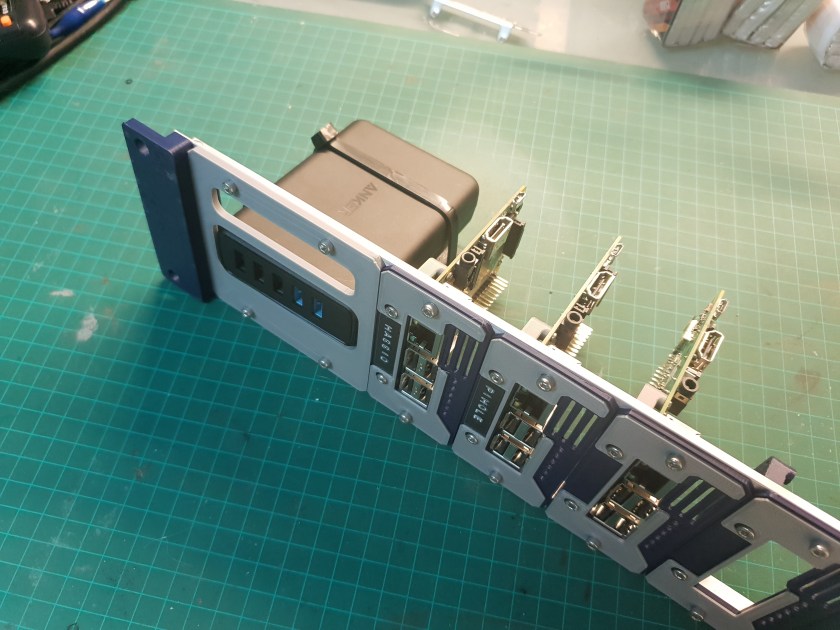
Final test fit:
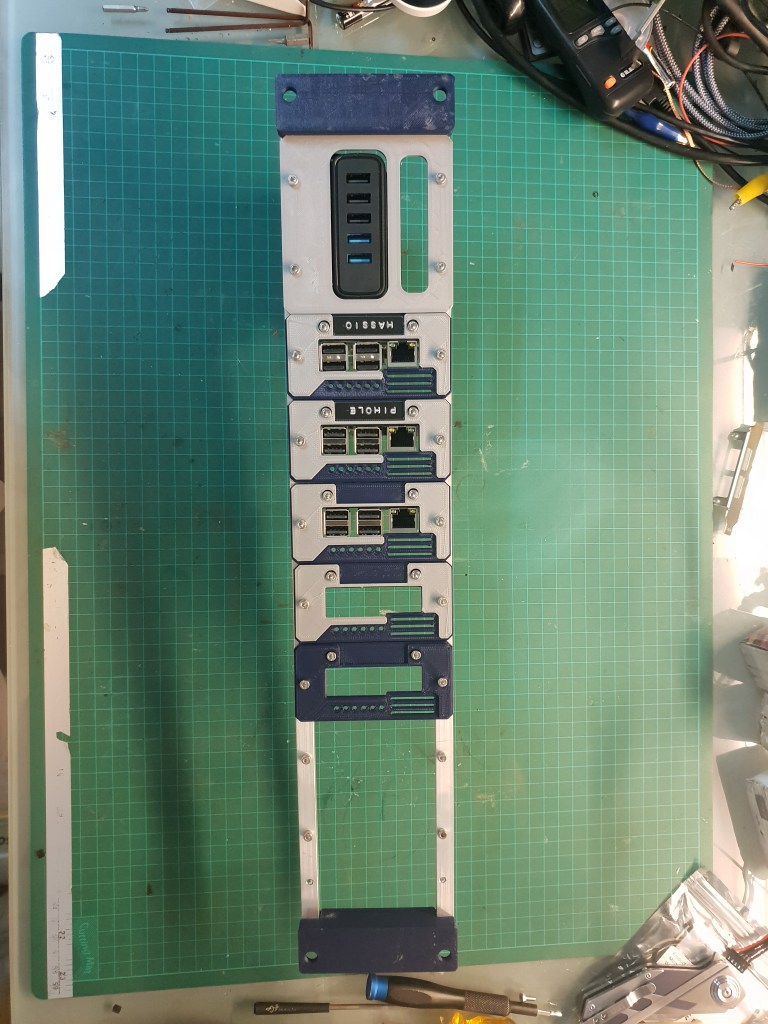
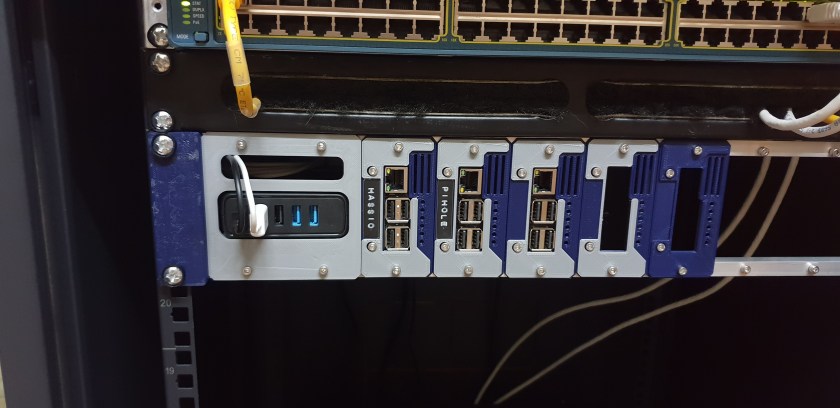
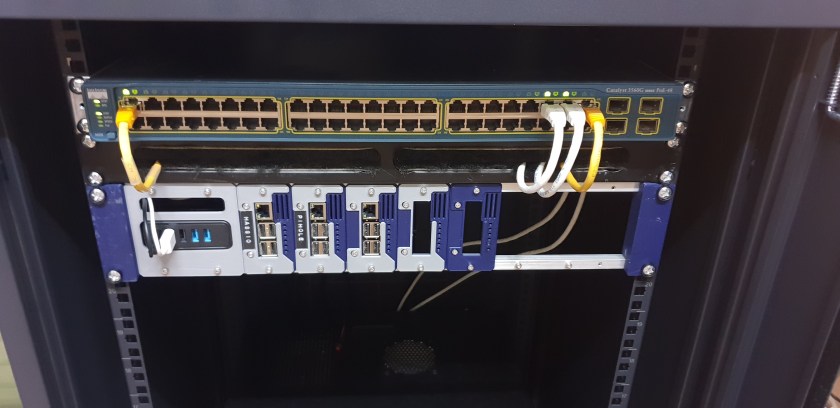

I think it looks pretty good. I have everything I need mounted with some extra expansion room.
Now I just need to make some nice short Ethernet cables.
Files
All the STL files for printing the rack mount and the power supply bracket can be found on Thingiverse:
