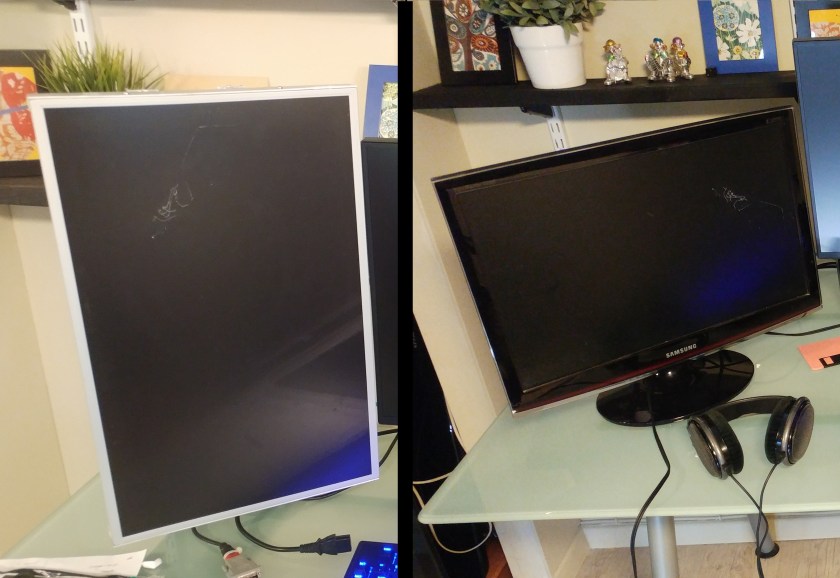
I had an old Samsung LCD screen that has a small leg with very little adjustment and no other mounting holes or hardware. The problem was that I wanted to use it as a vertical secondary display and for that, I needed to mount it much higher than what its leg allows.

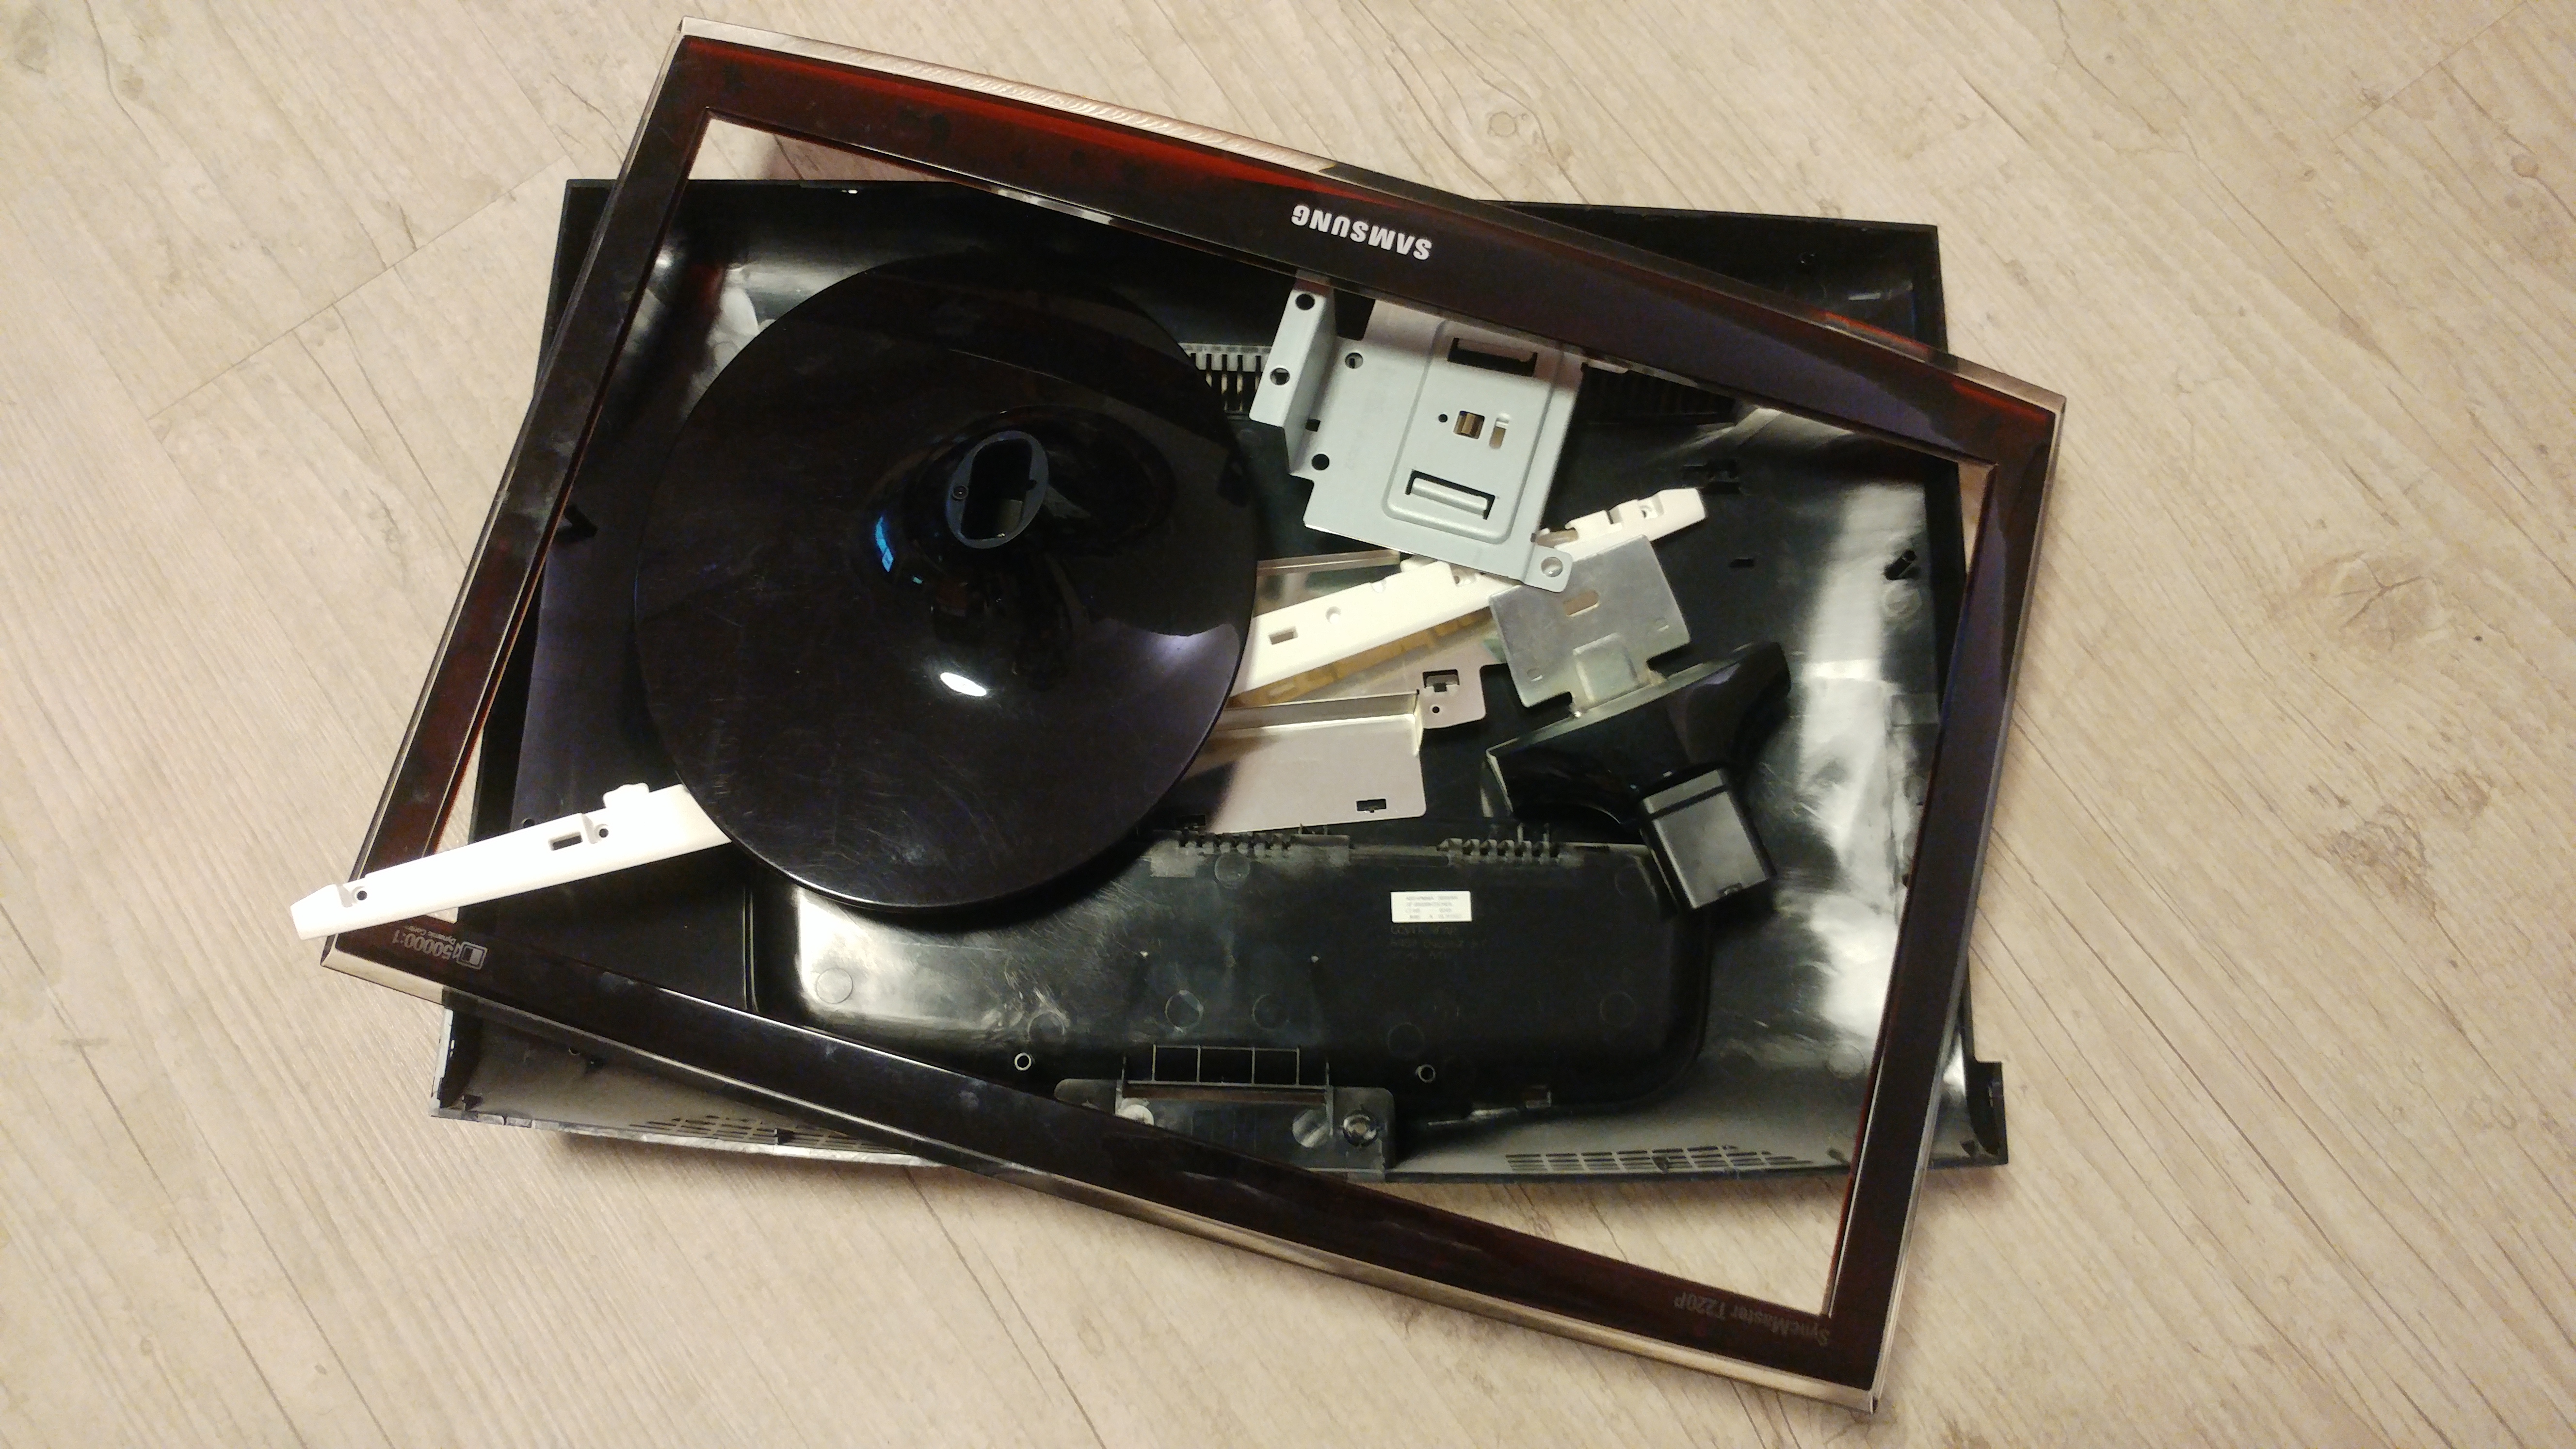
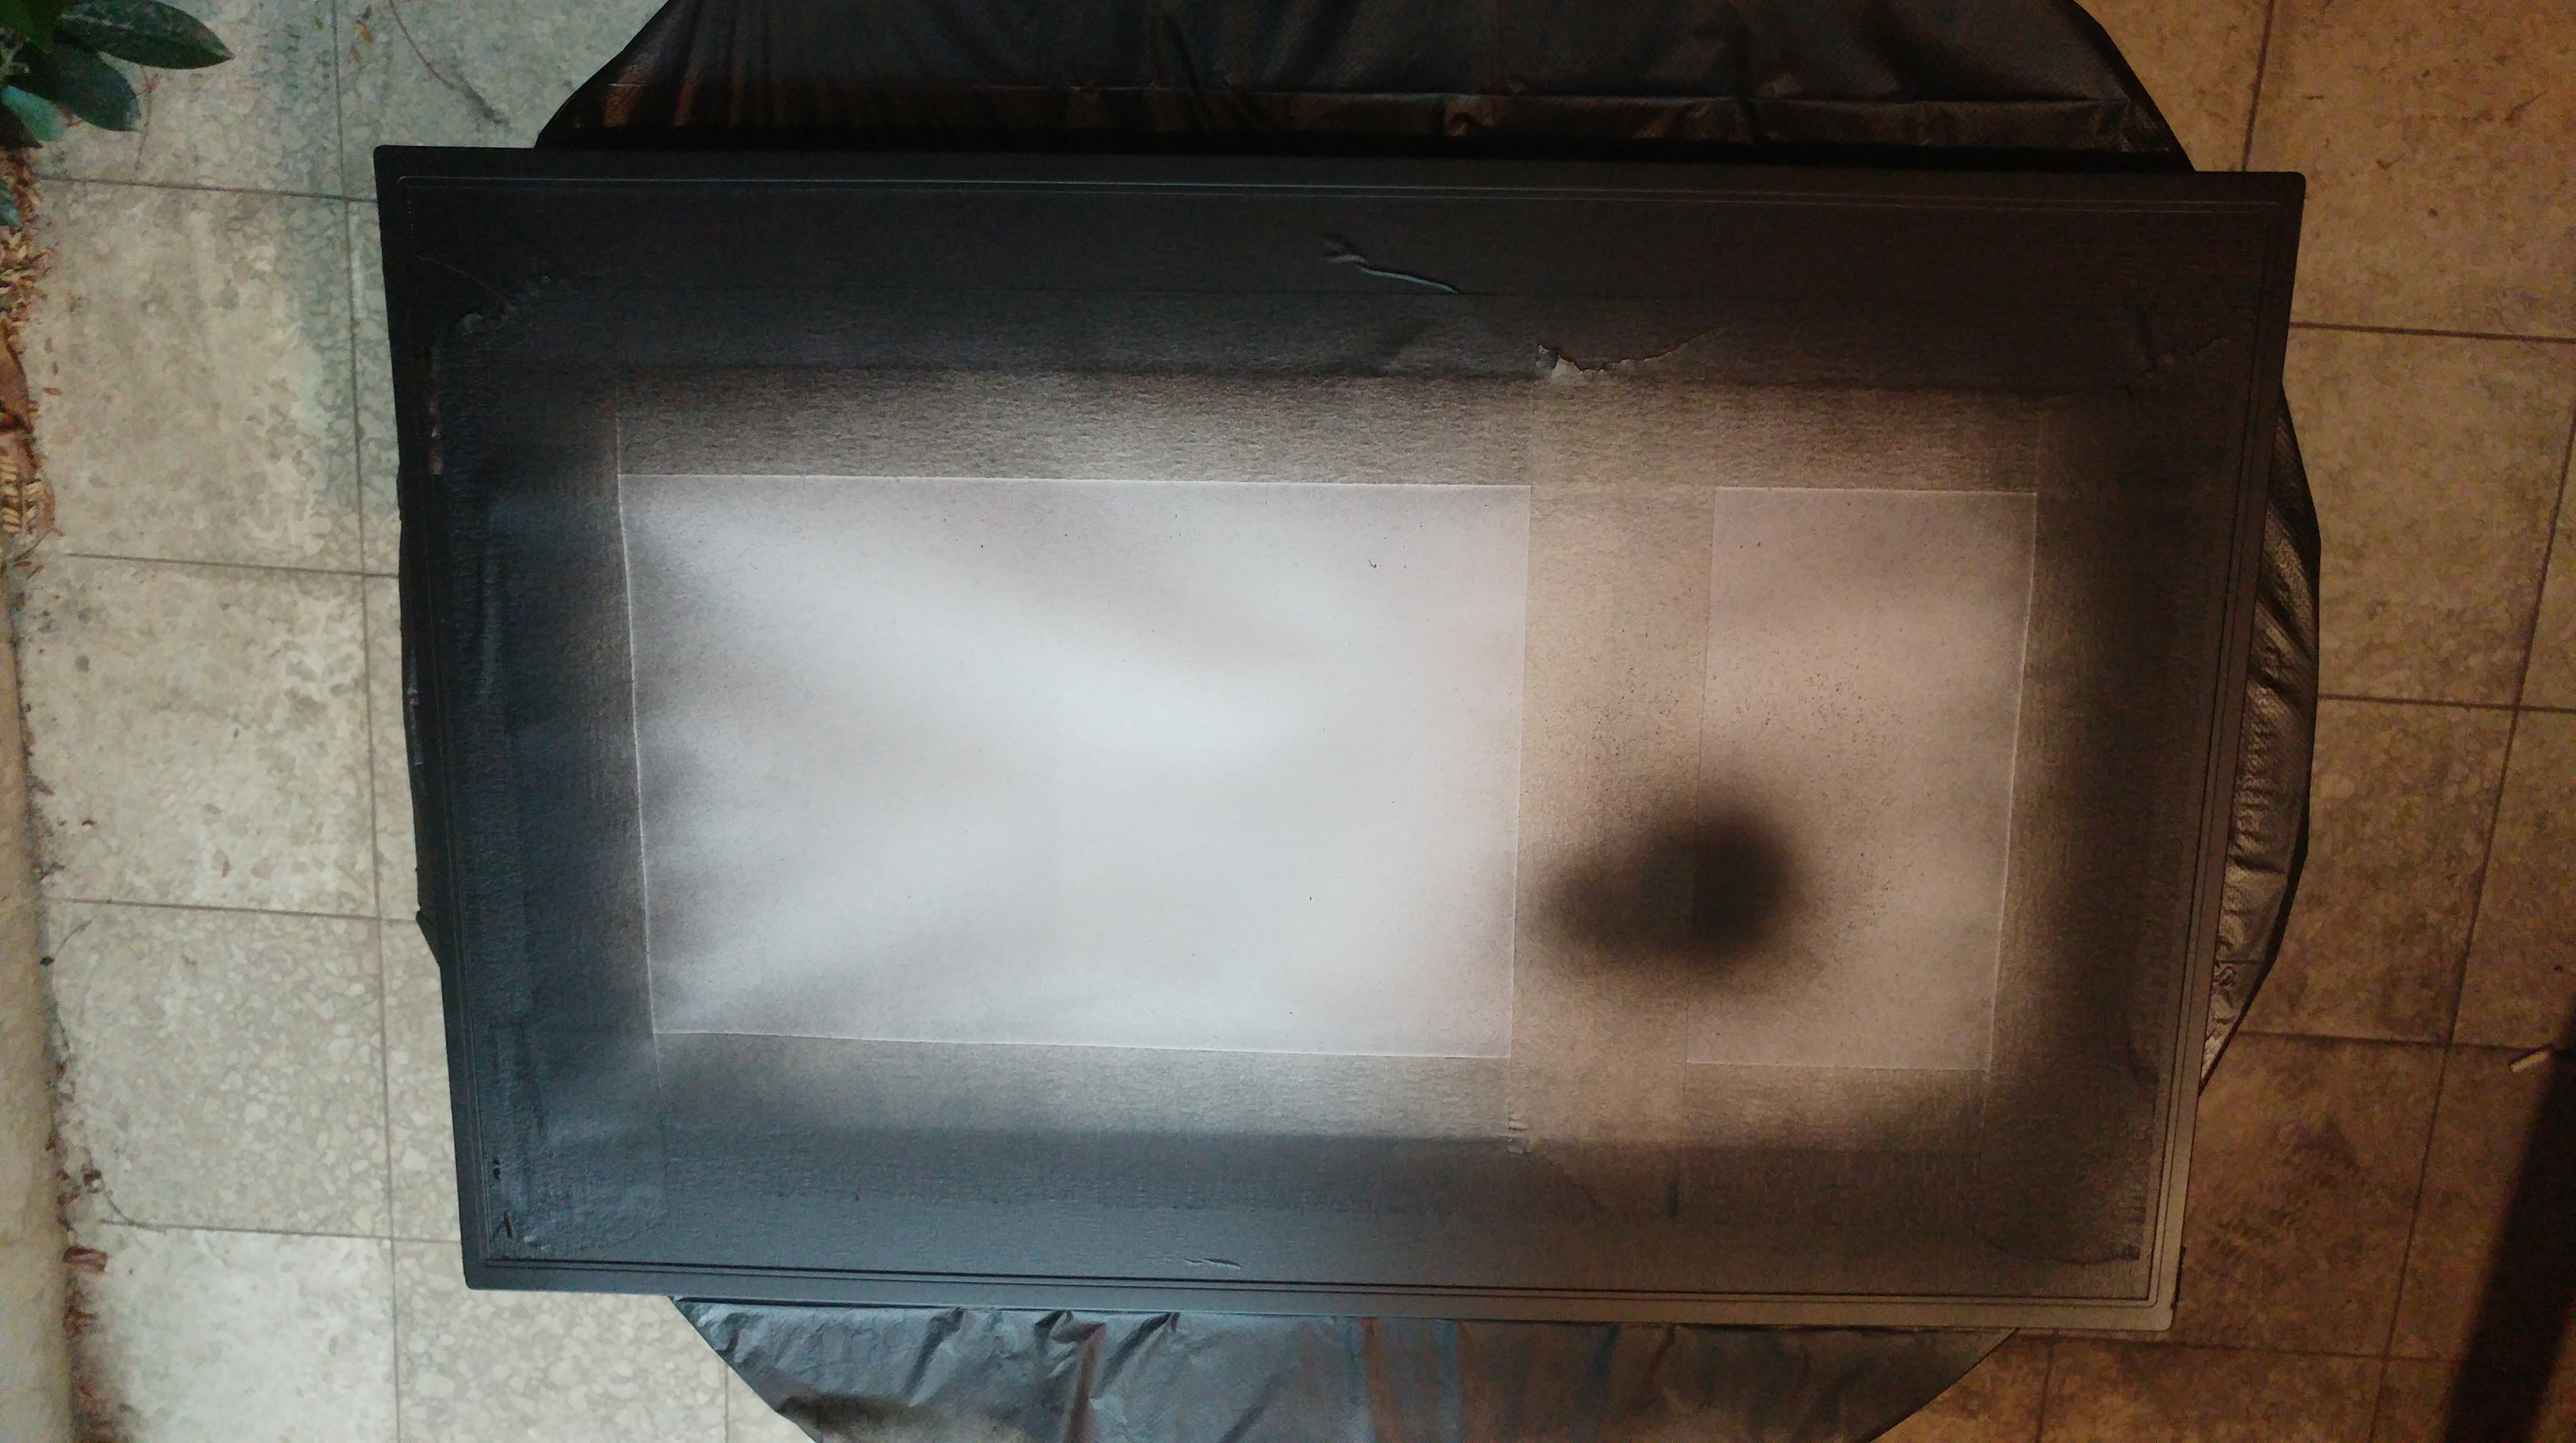
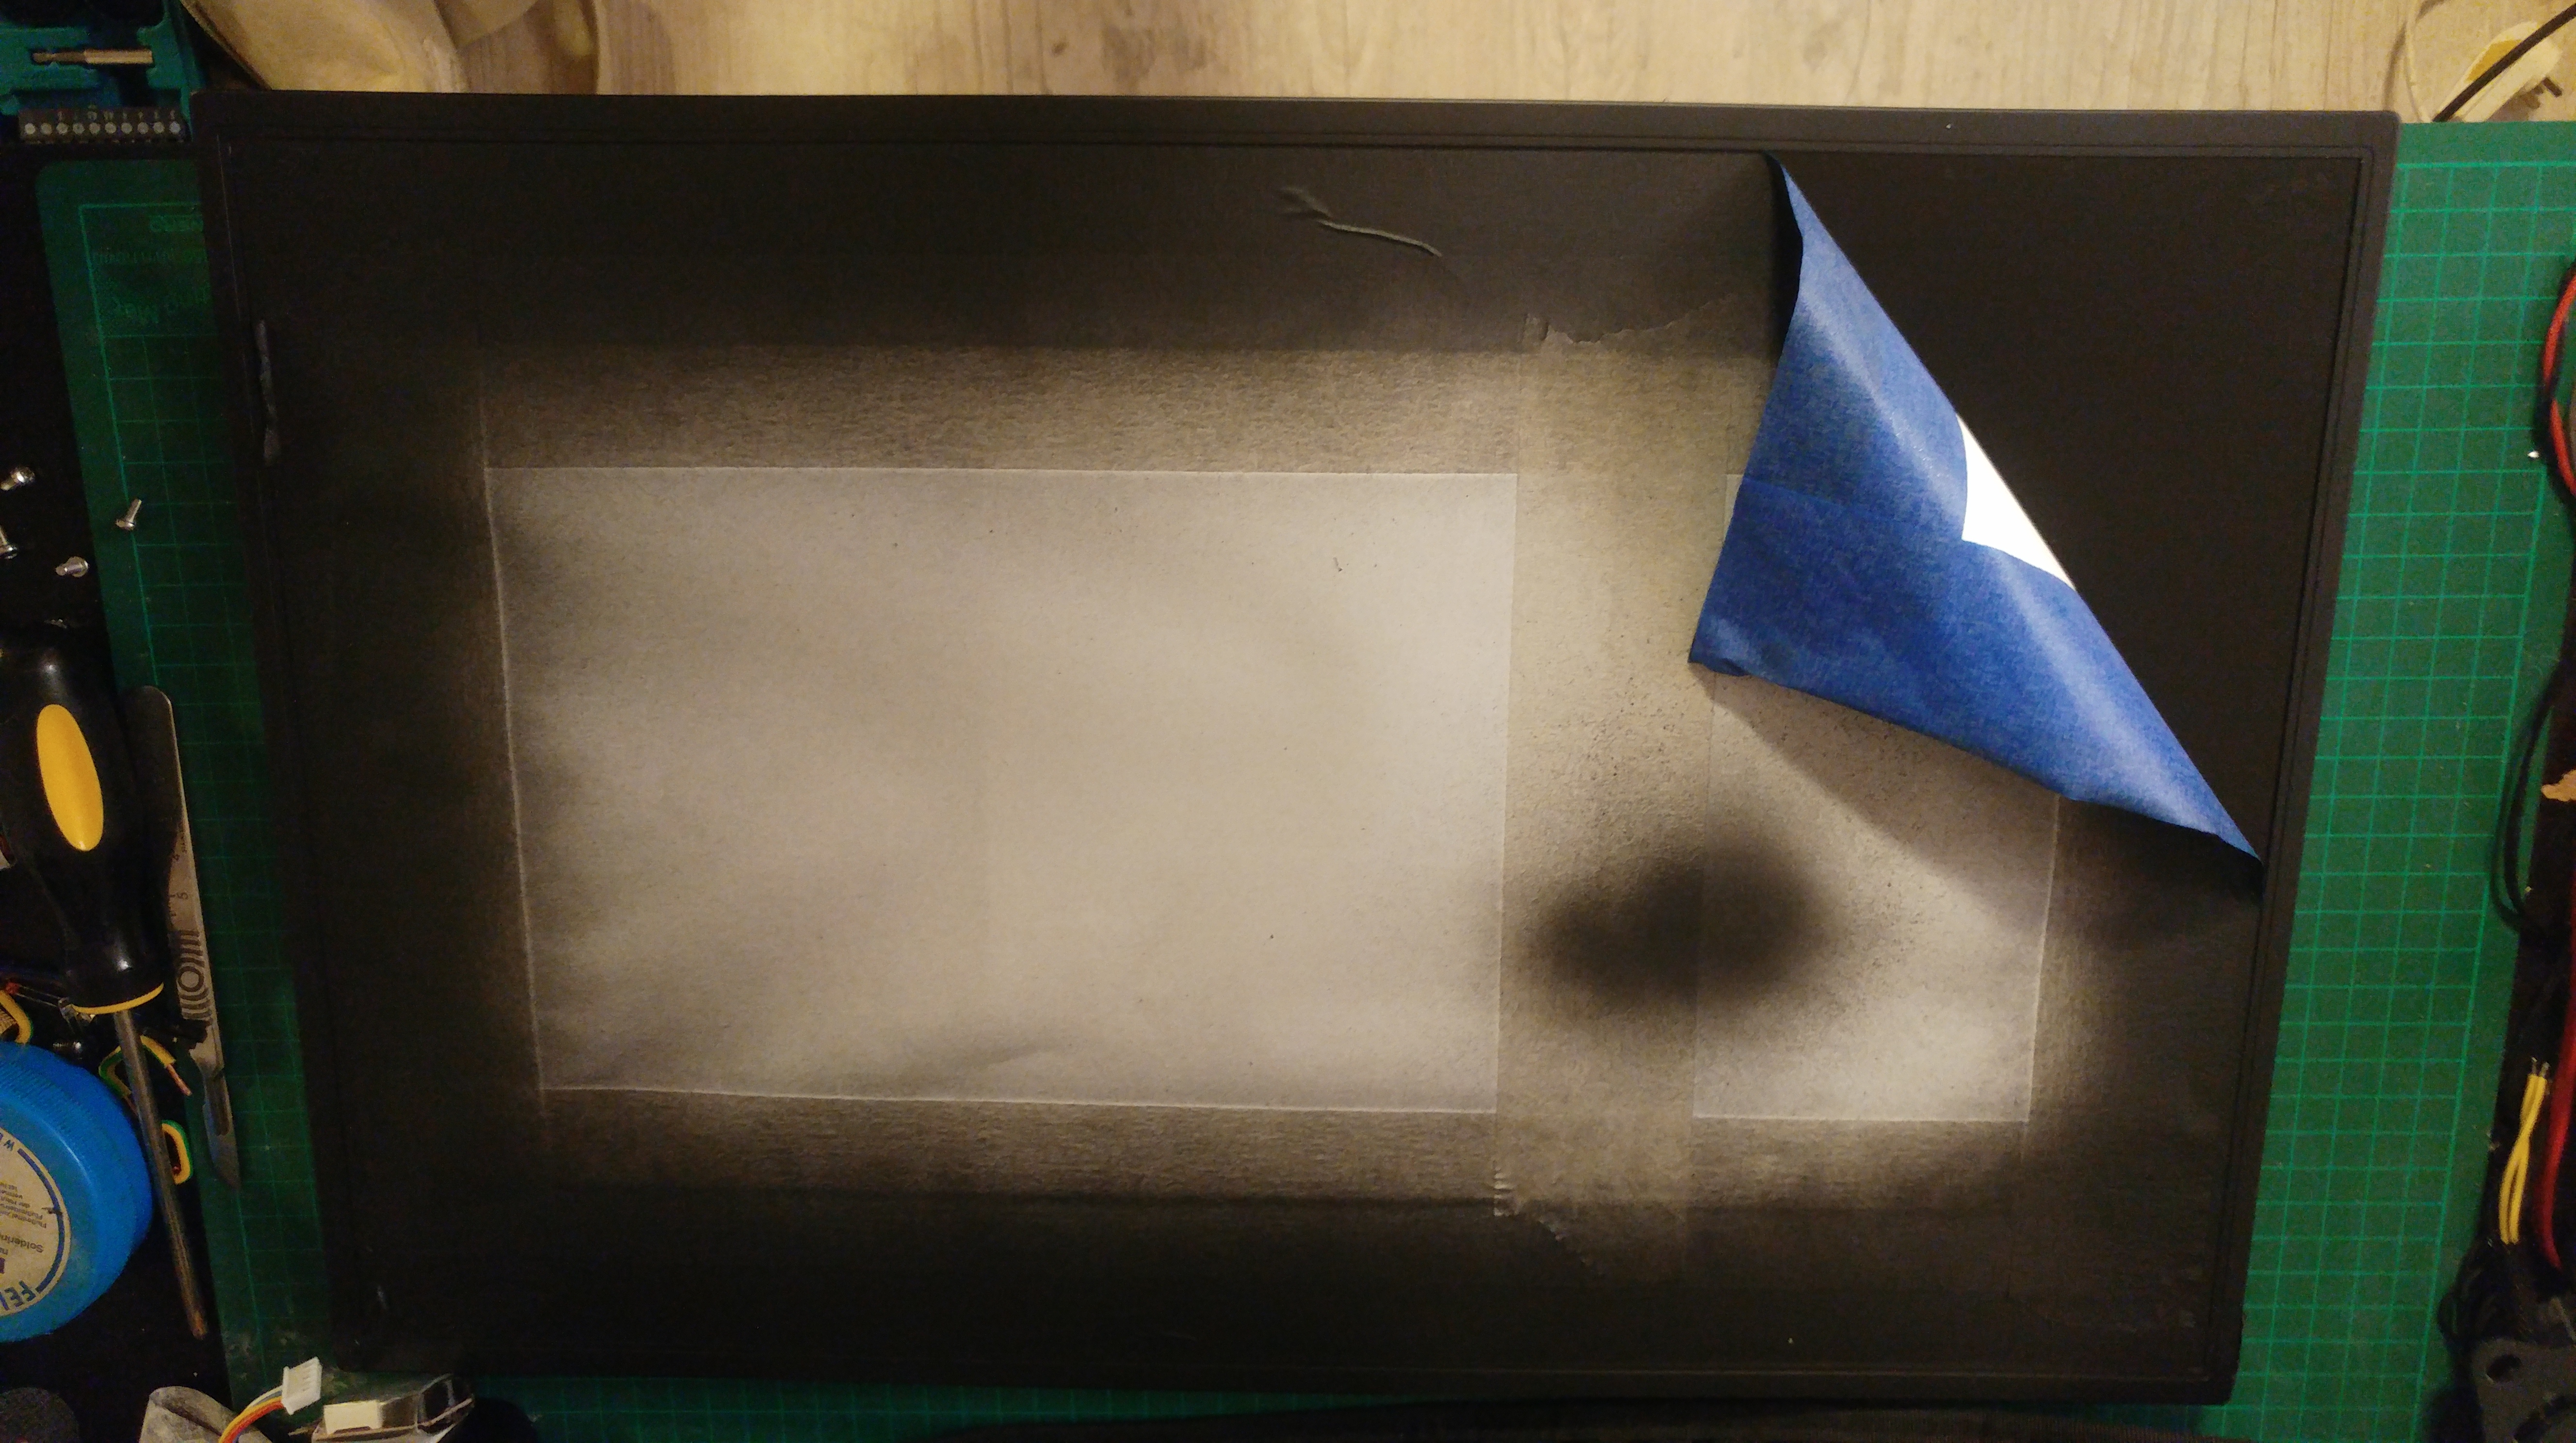
When I started to disassemble the screen’s case, I found that the actual screen is much smaller and that the huge bezel could be removed.
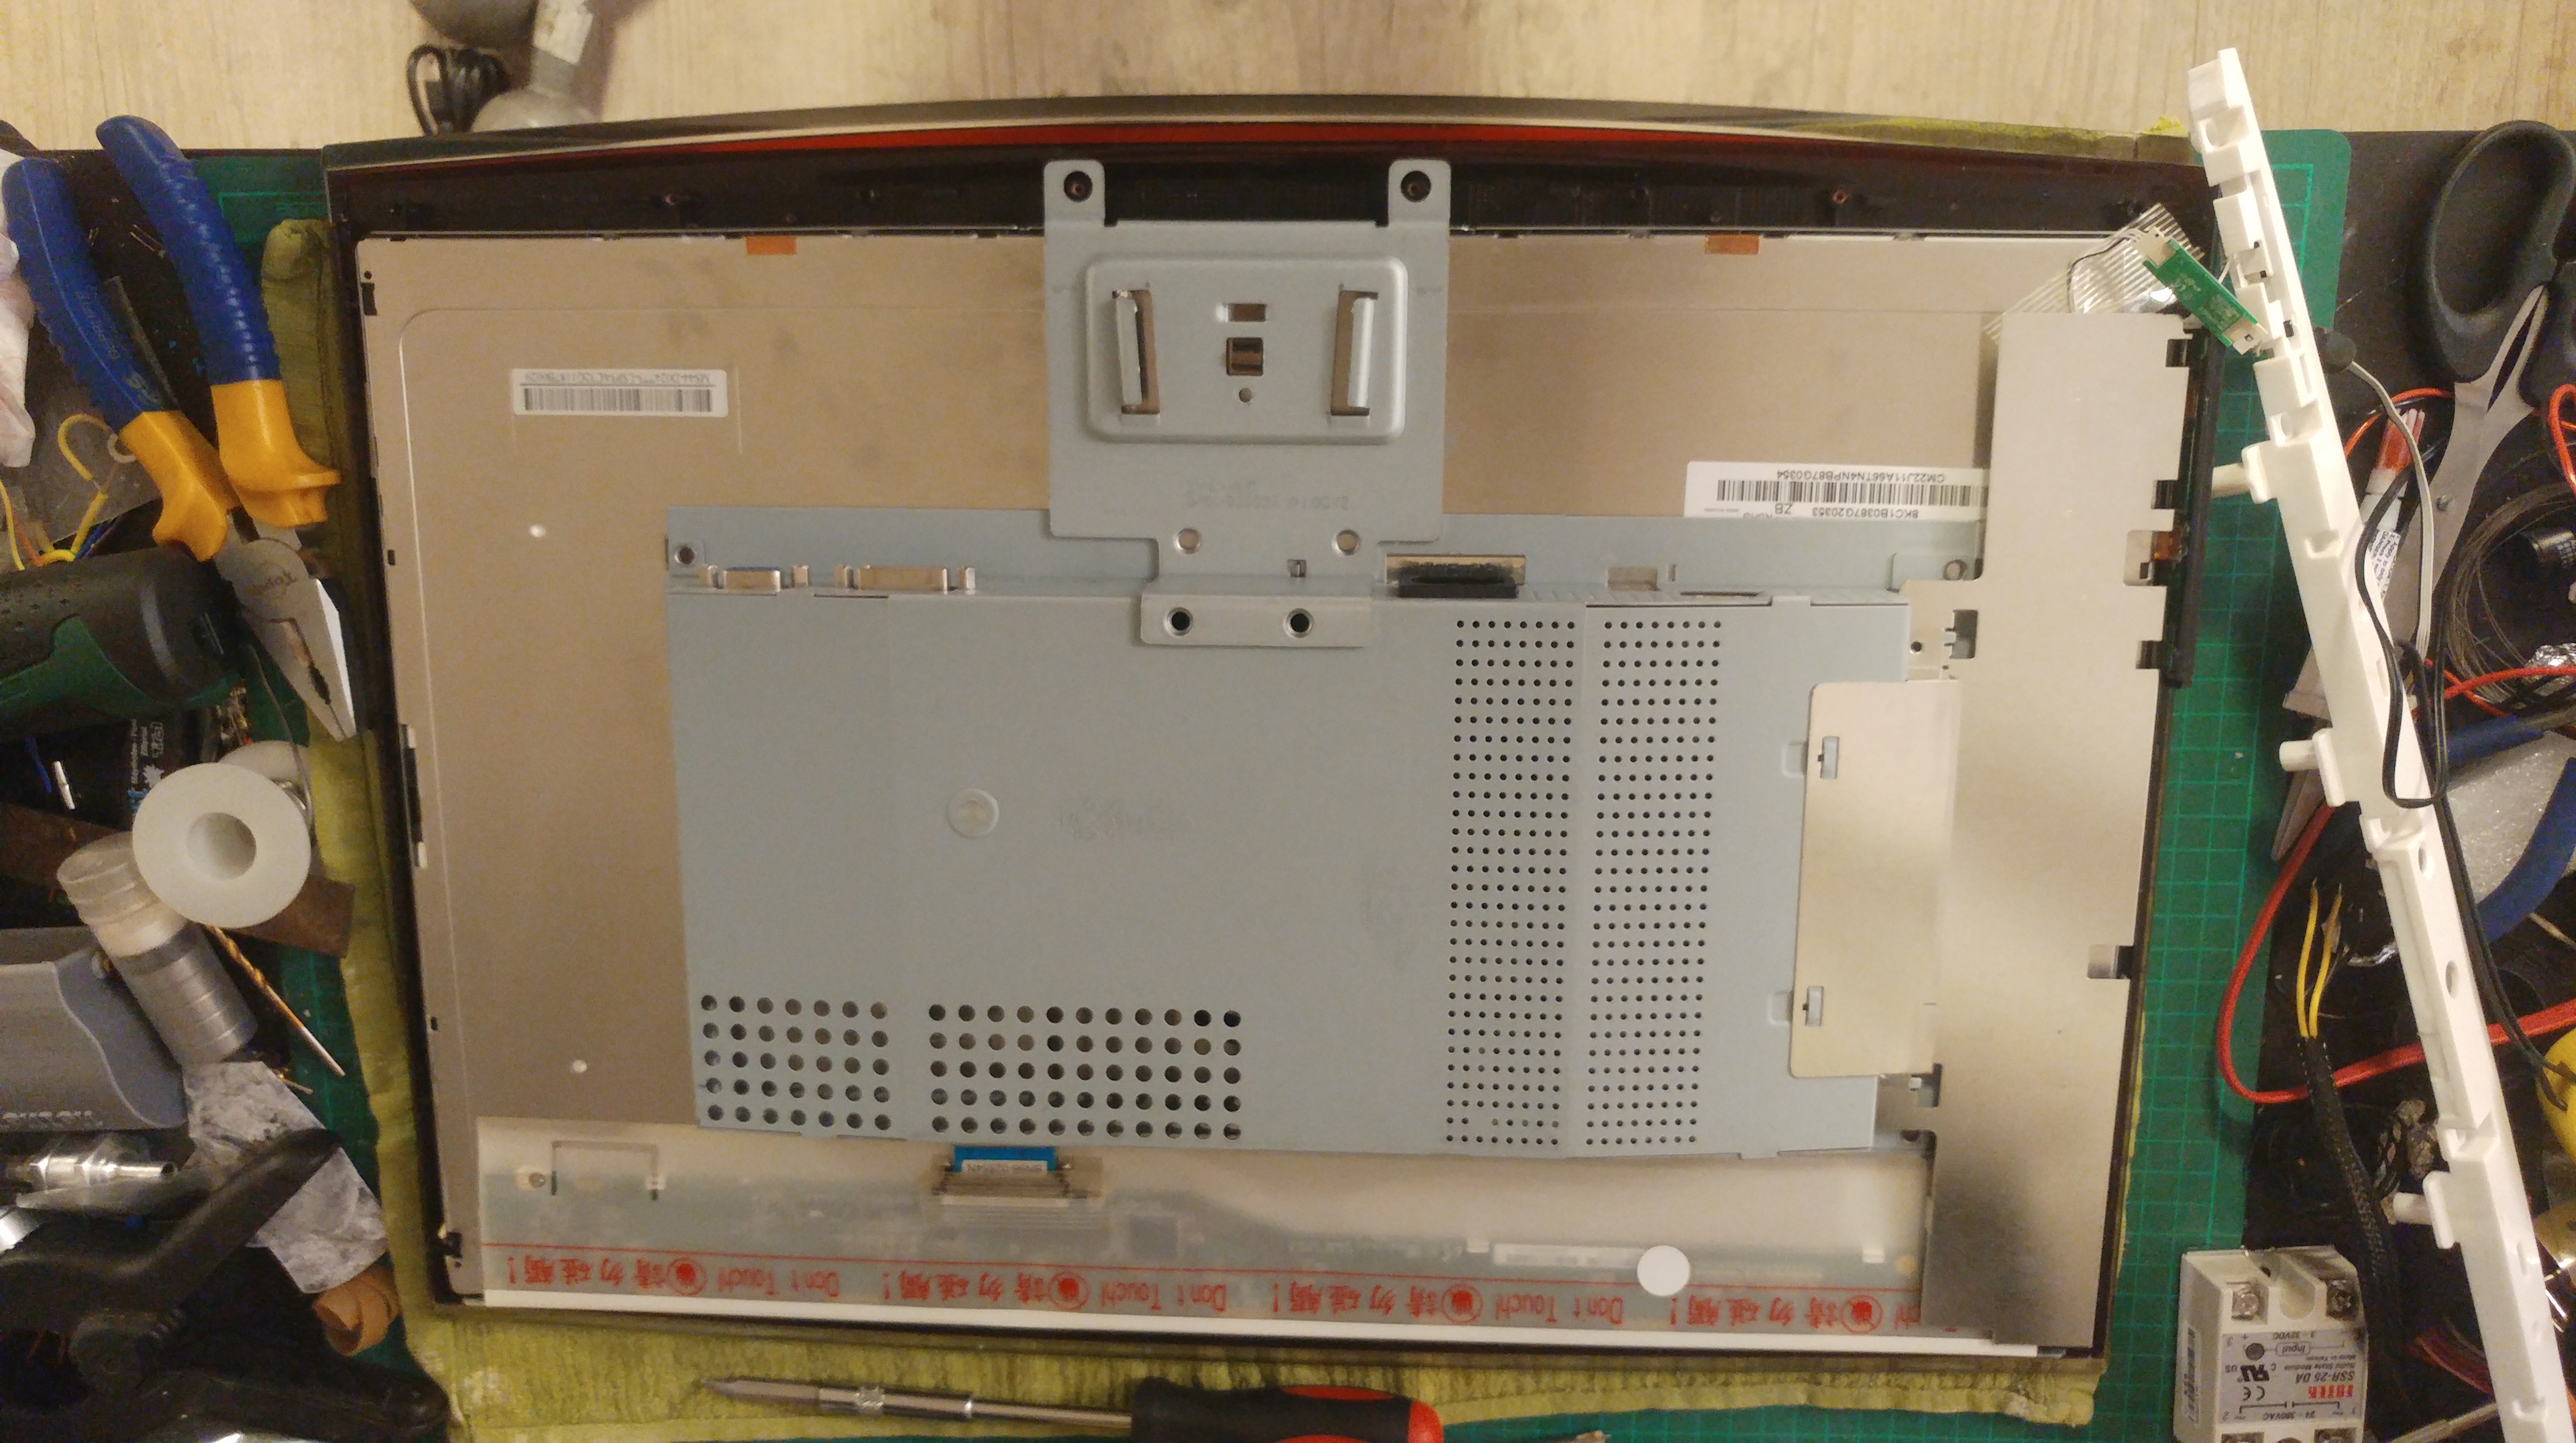
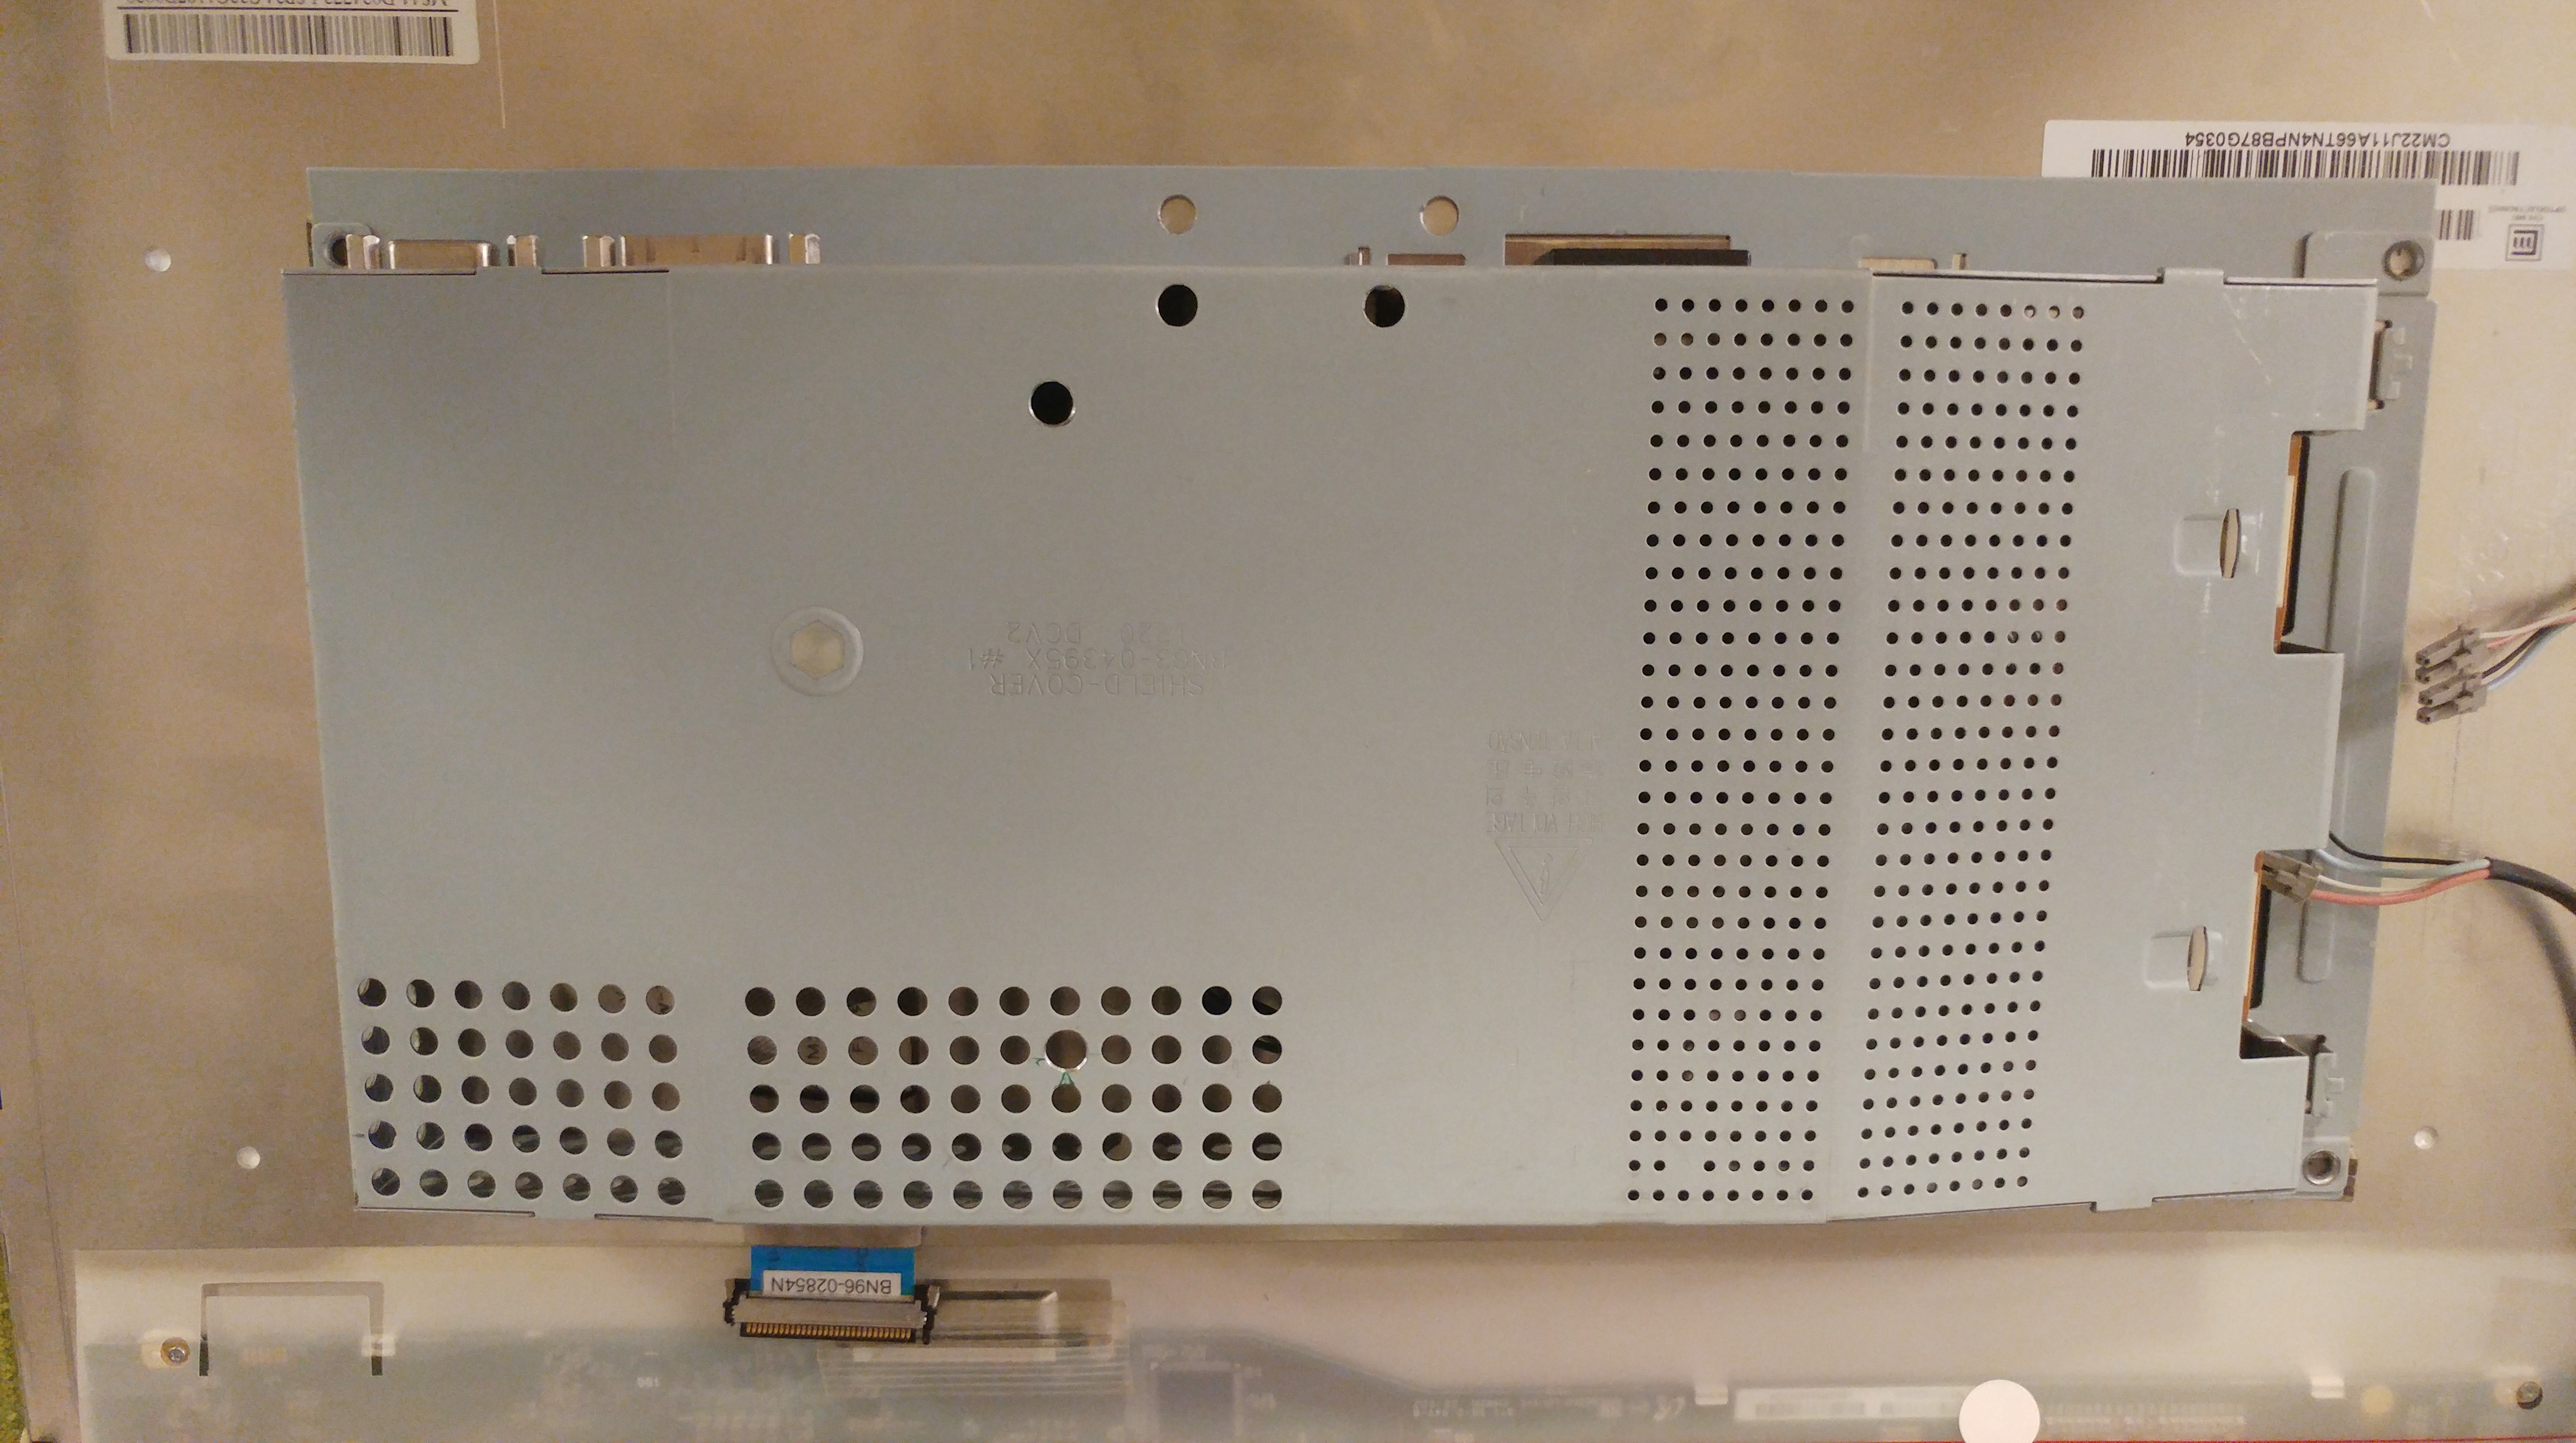
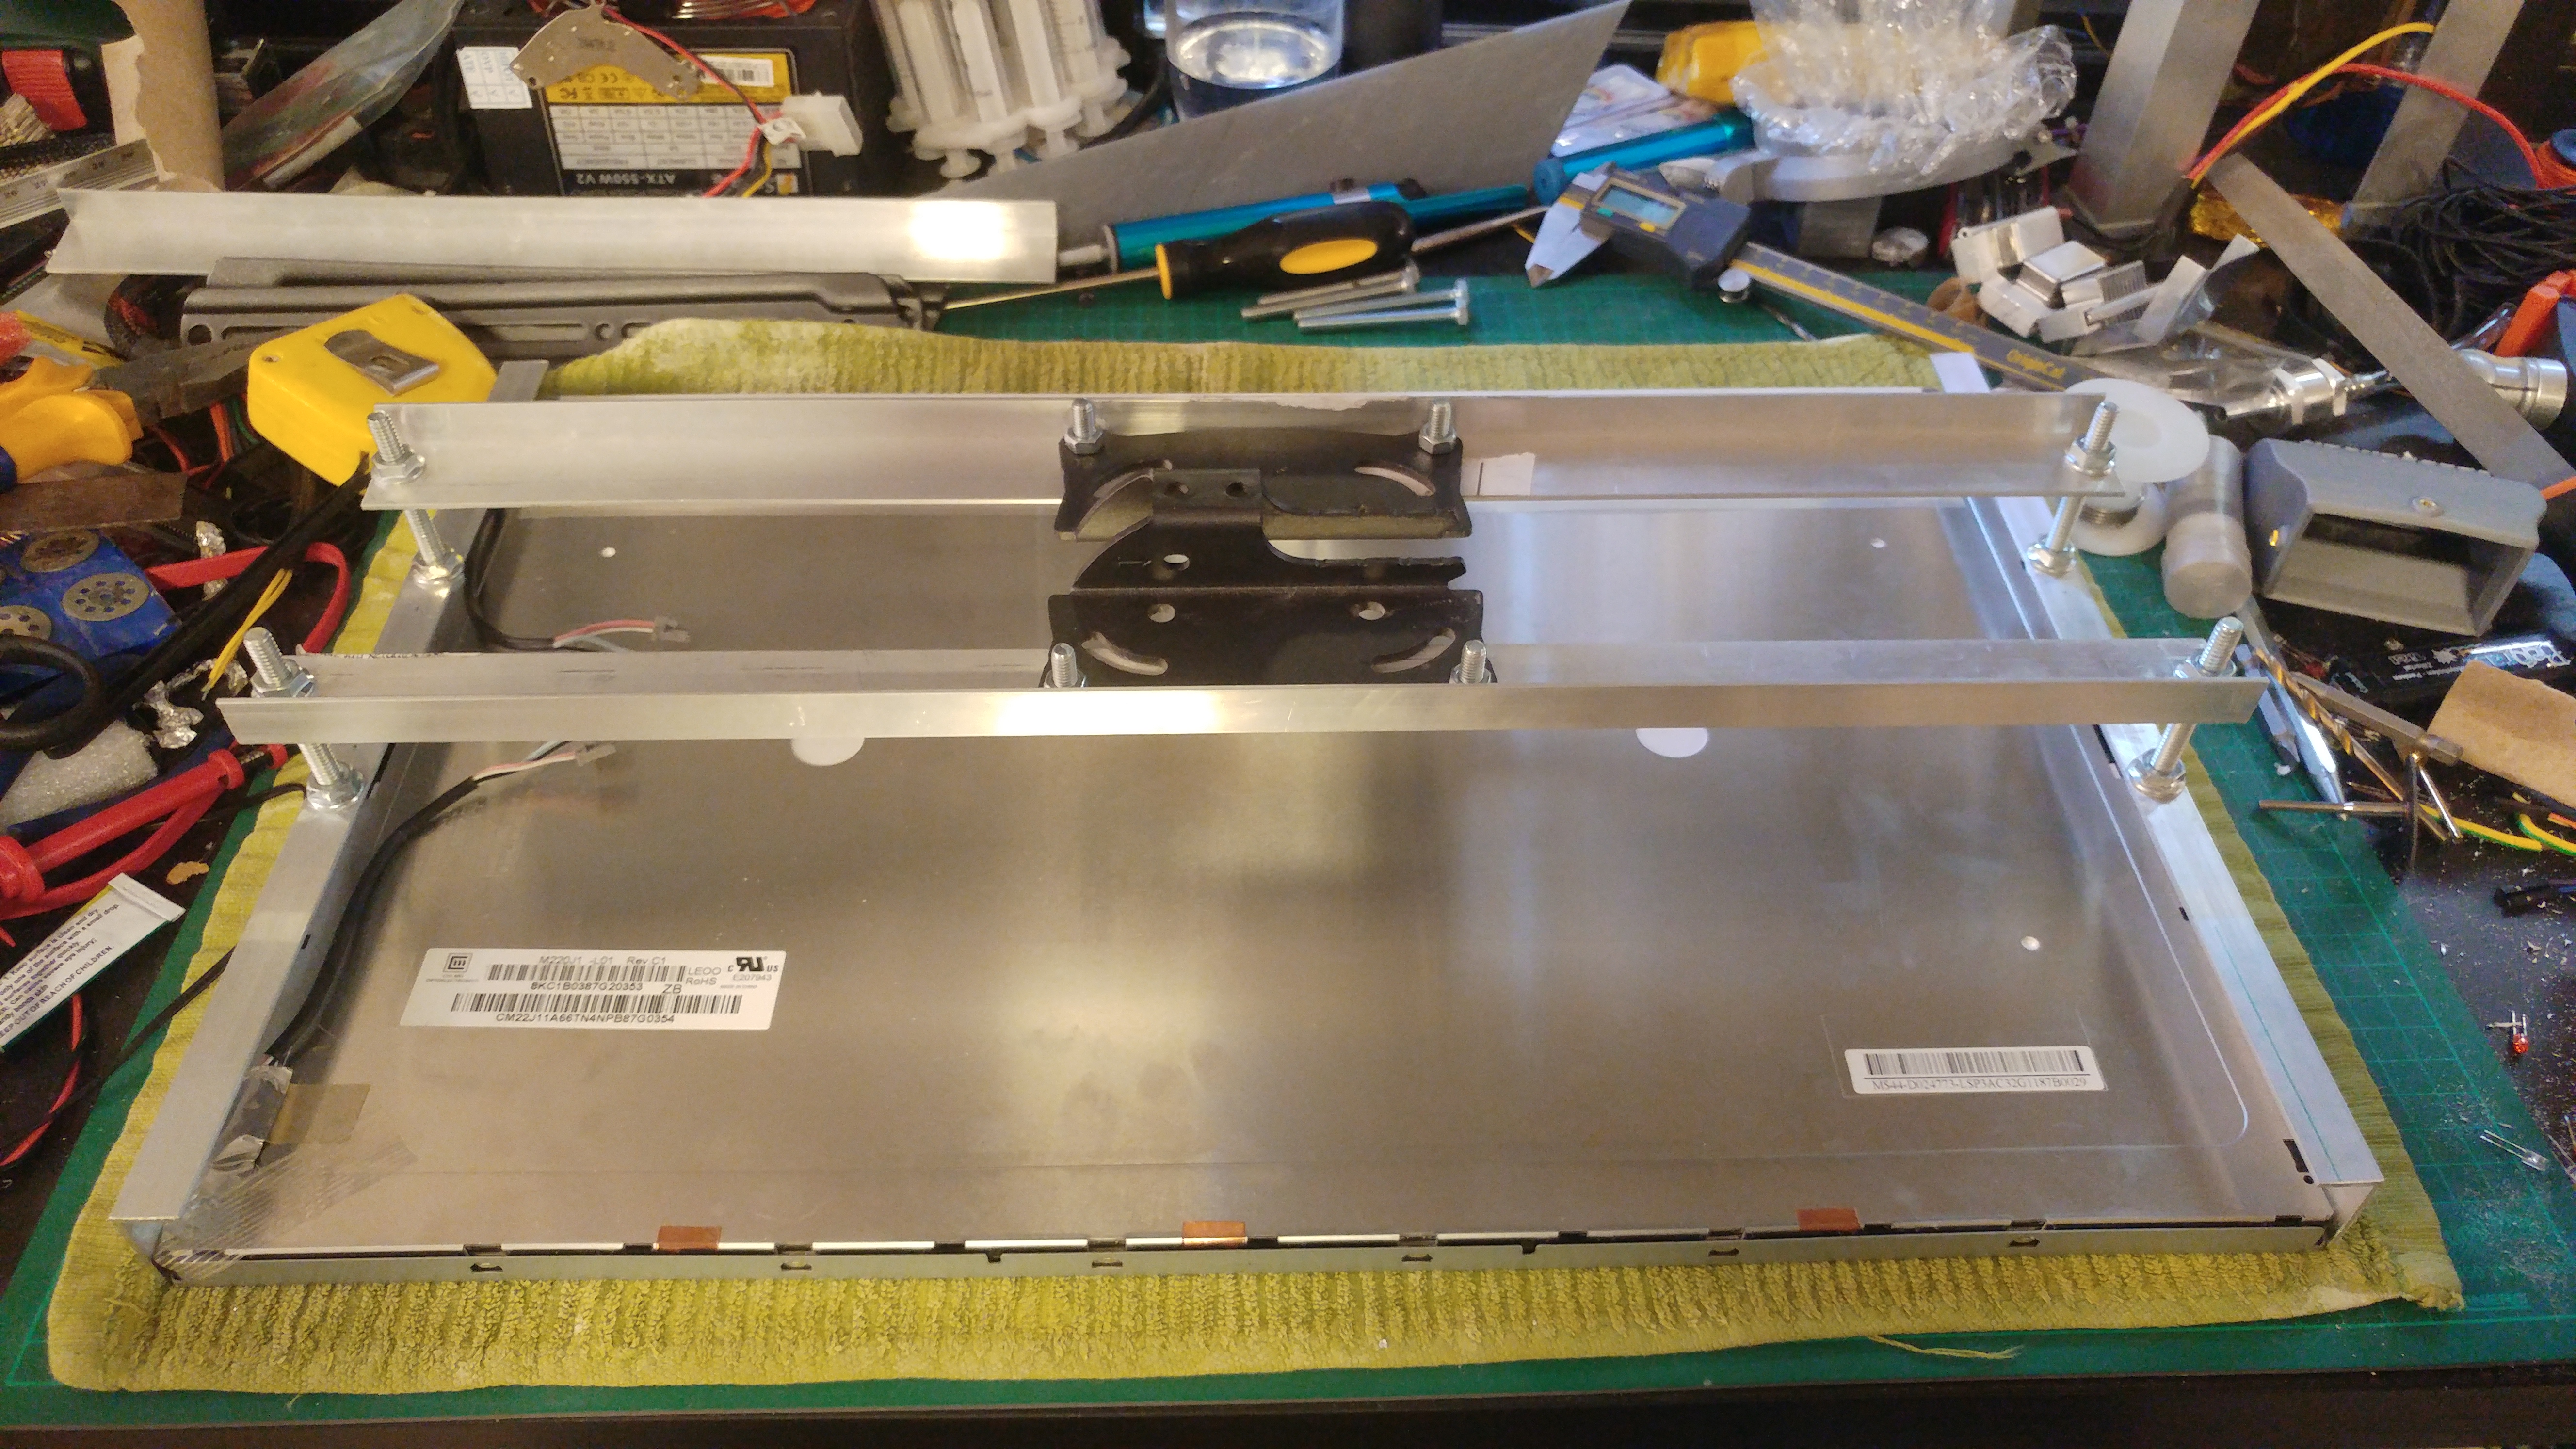
Another thing I found was that there is no rigid plate that I could drill holes into to make a VESA mount. I guess I need to make a mount that will attach to the LCD and have VESA holes.
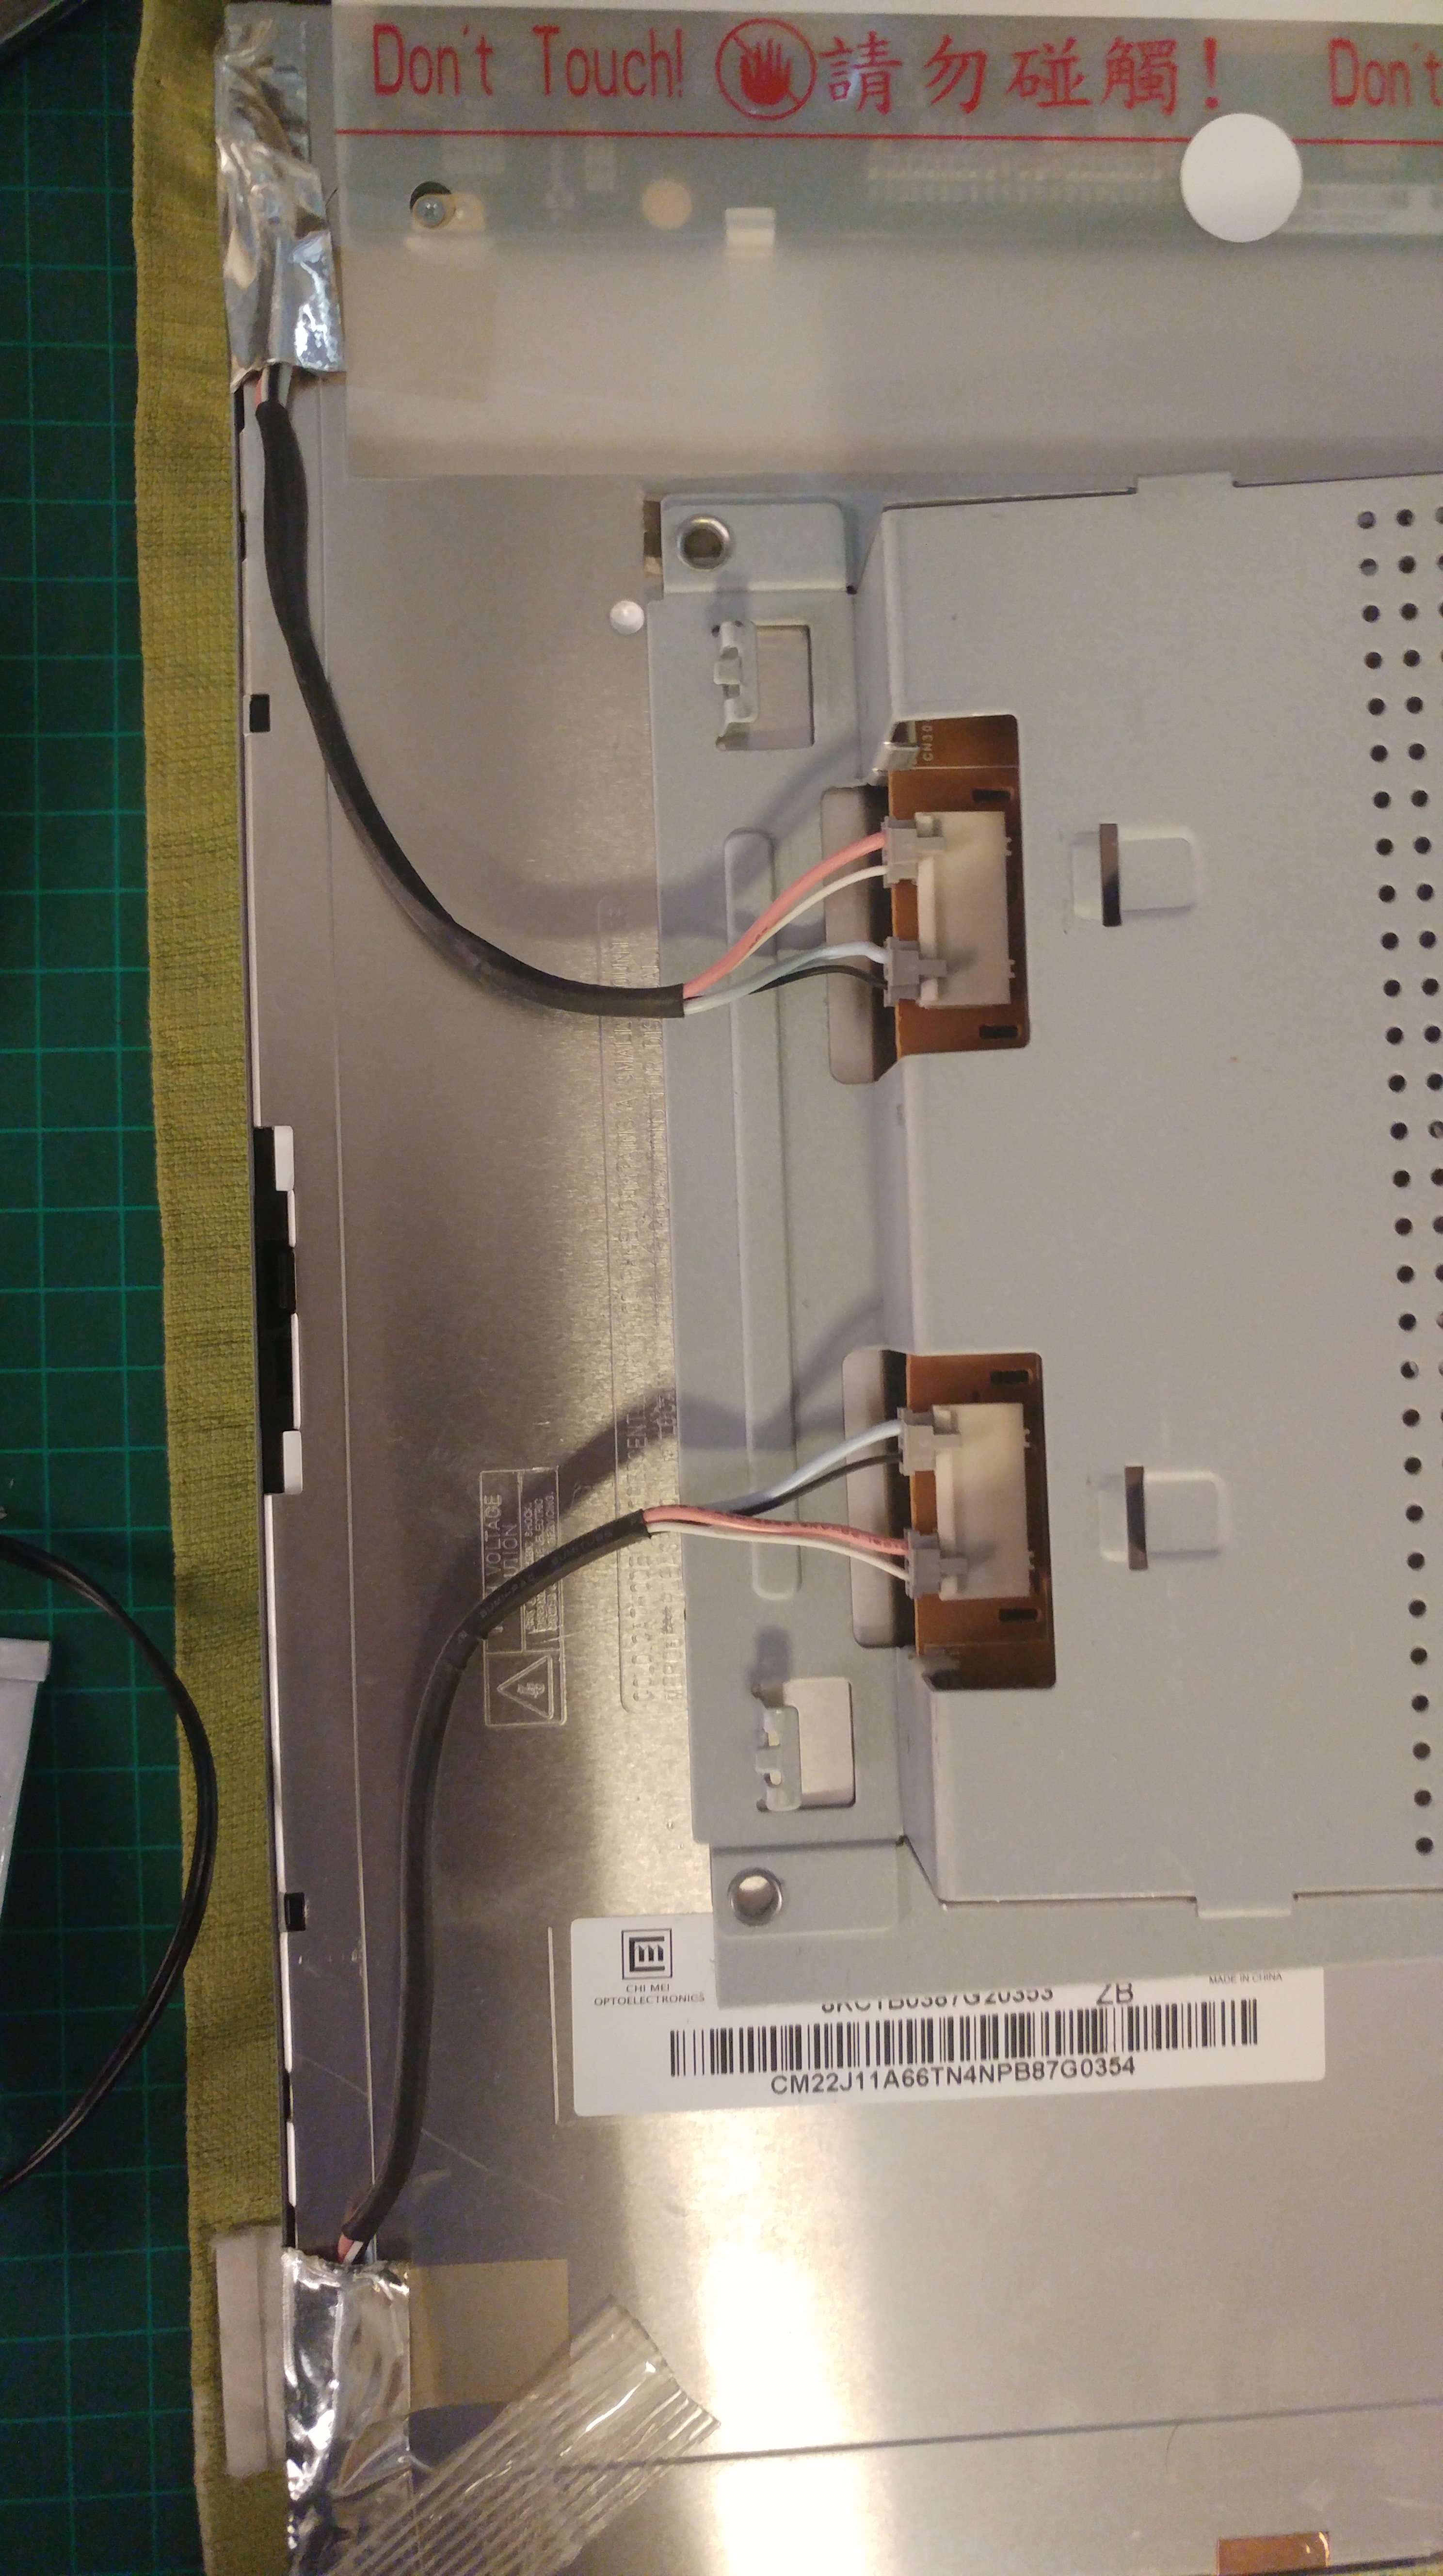
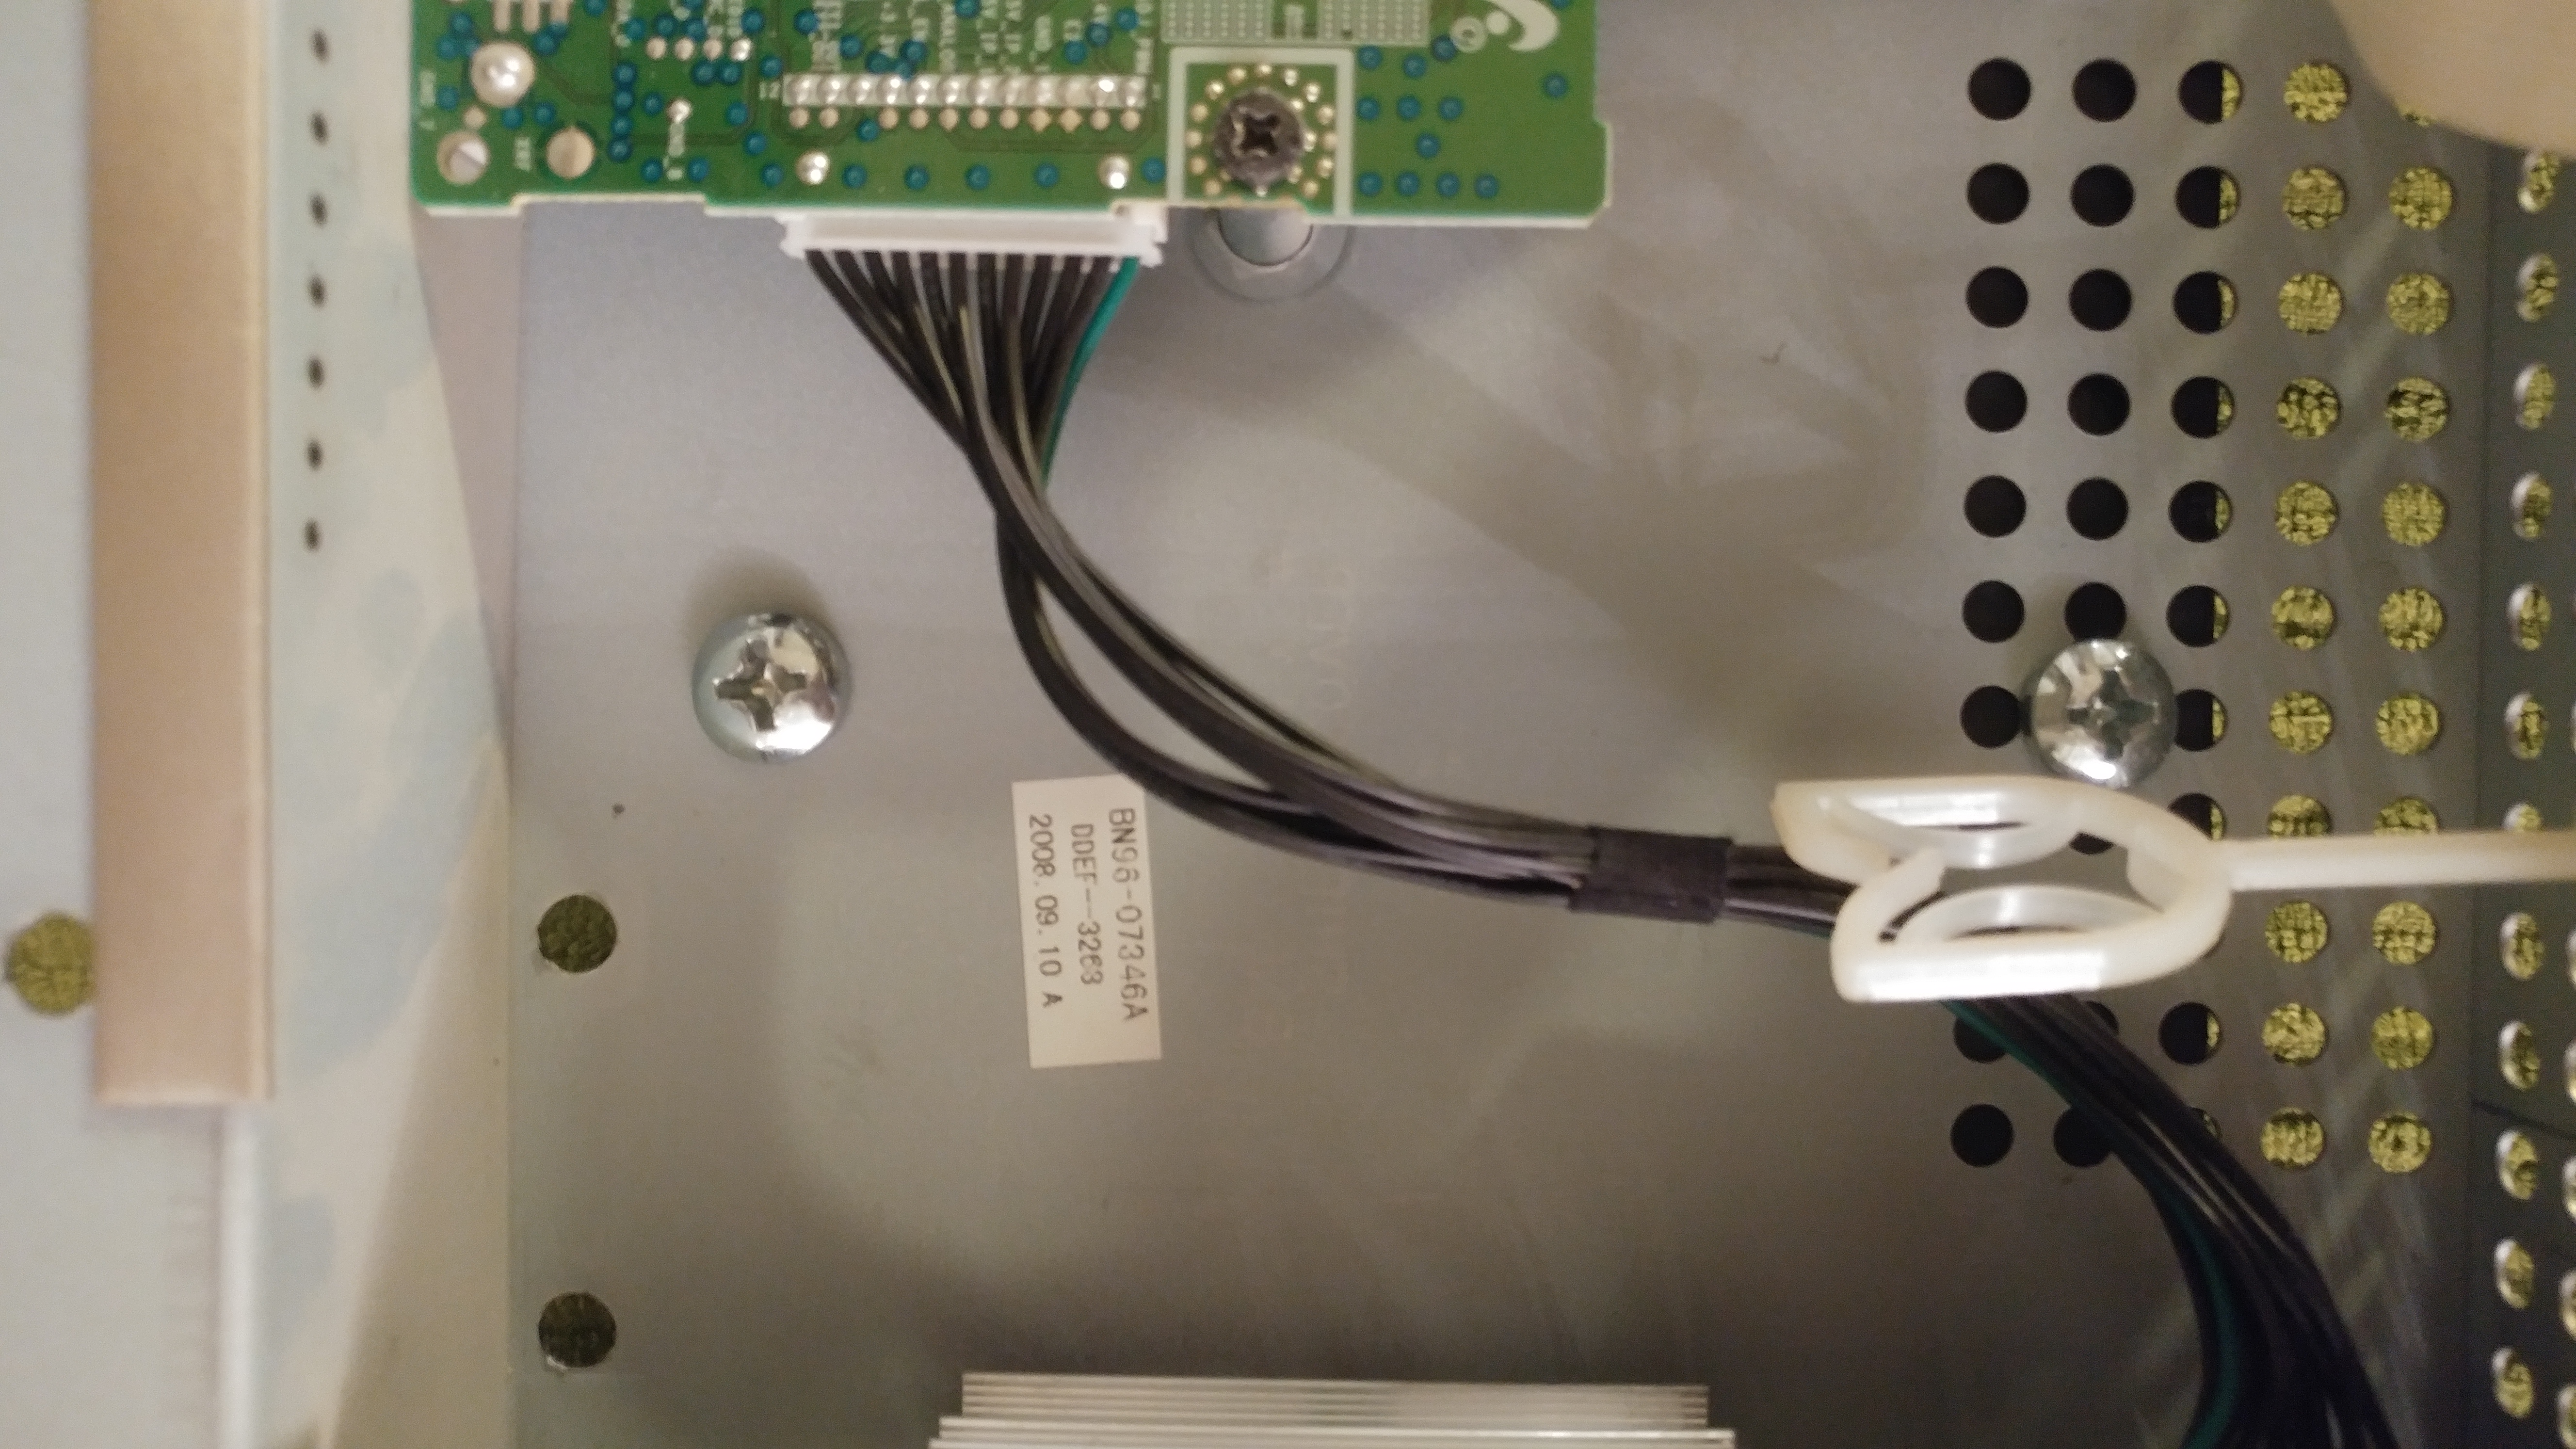
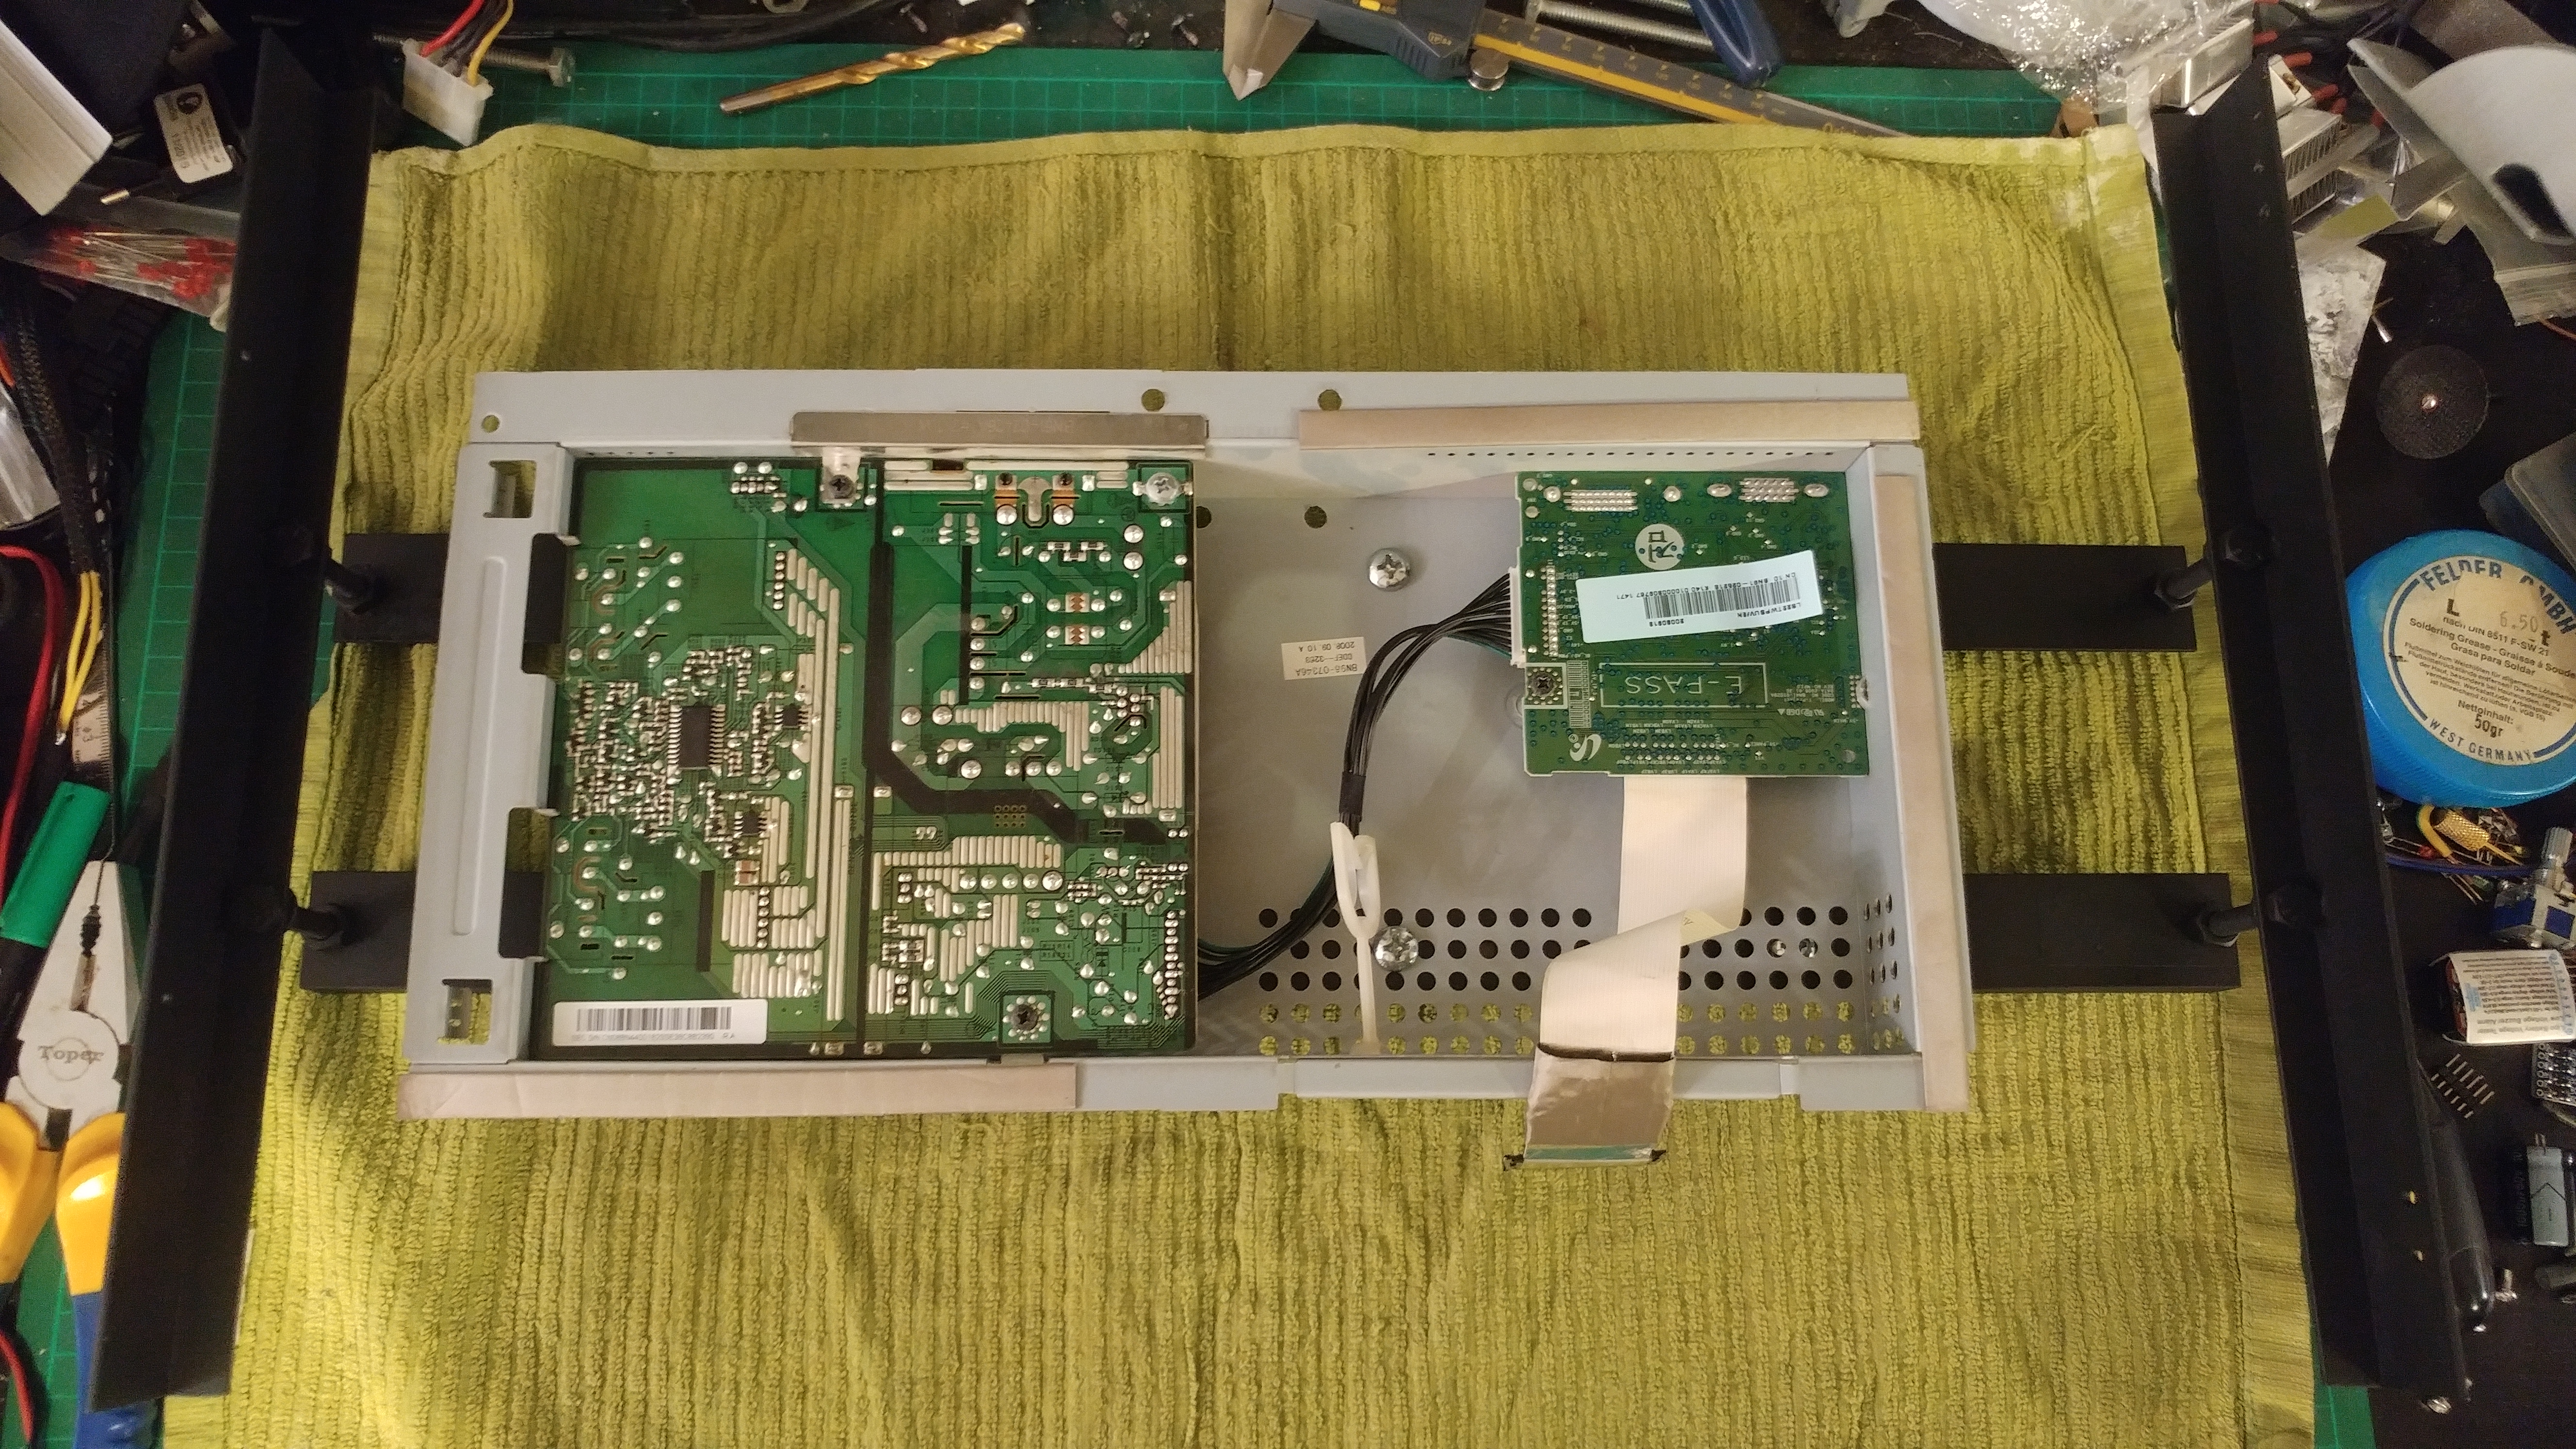
After discarding all the non-important parts I was left with the screen itself and its driver circuit with power supply in a metal cage.


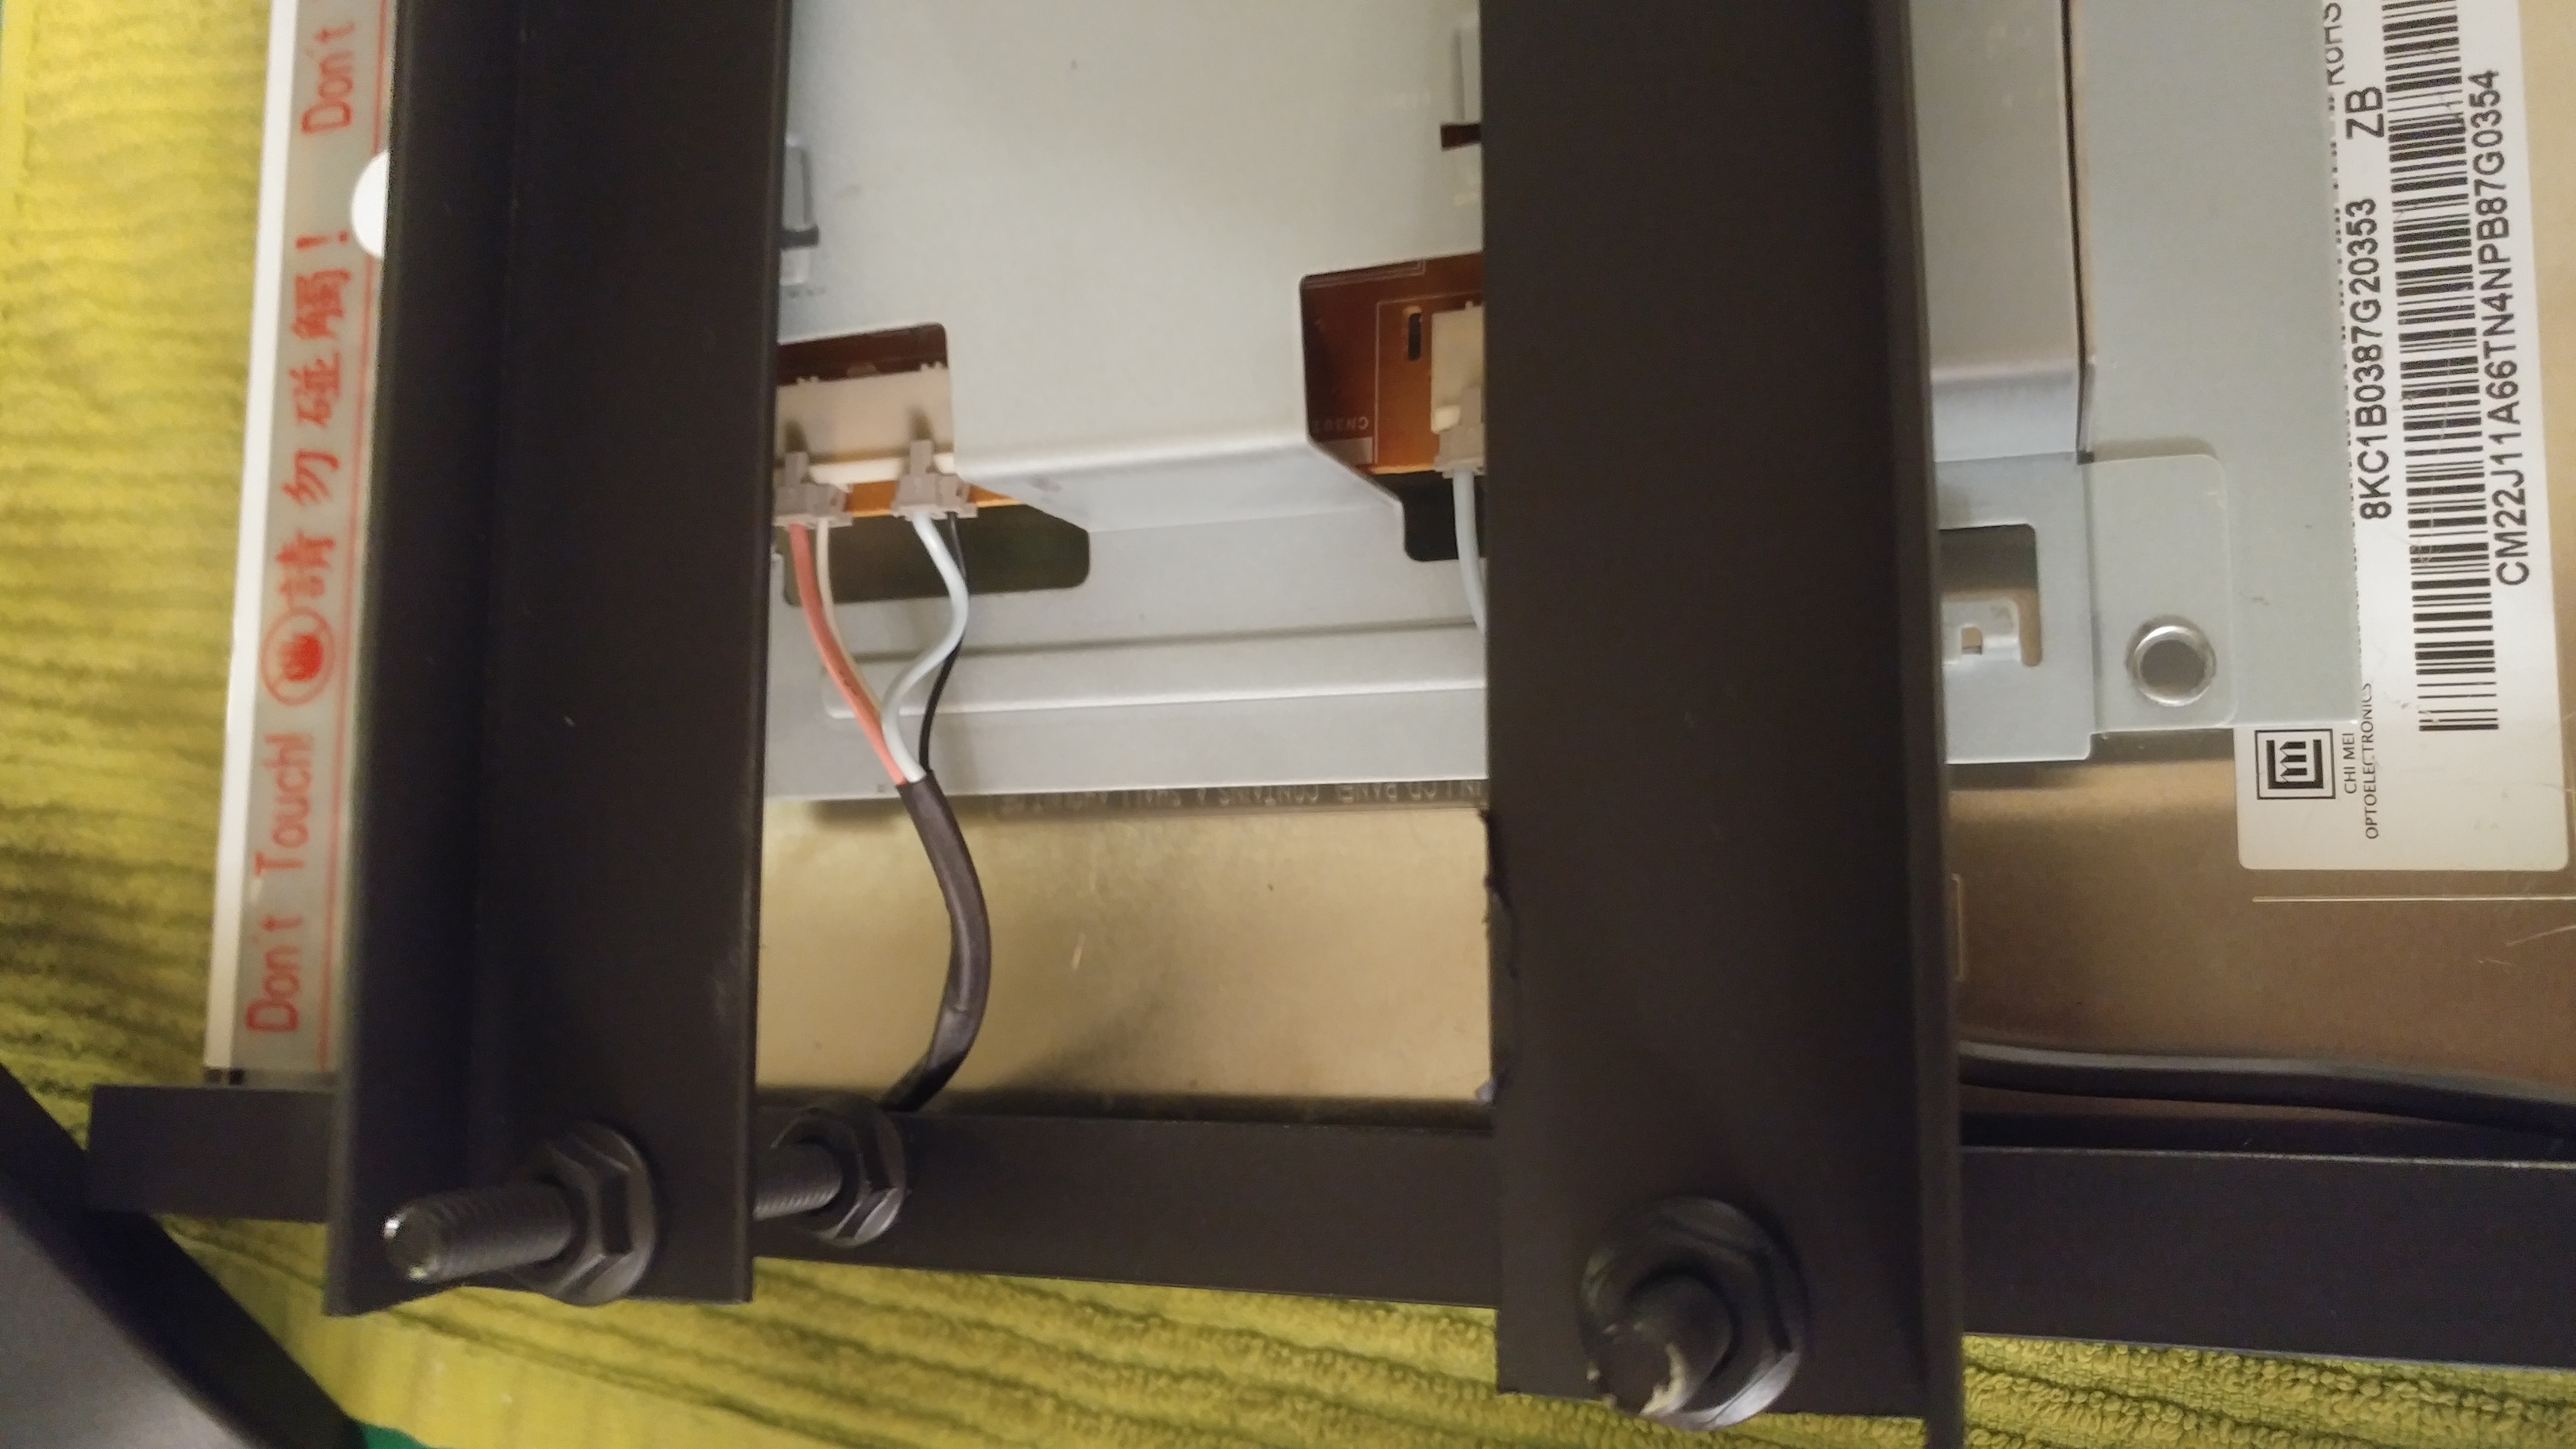
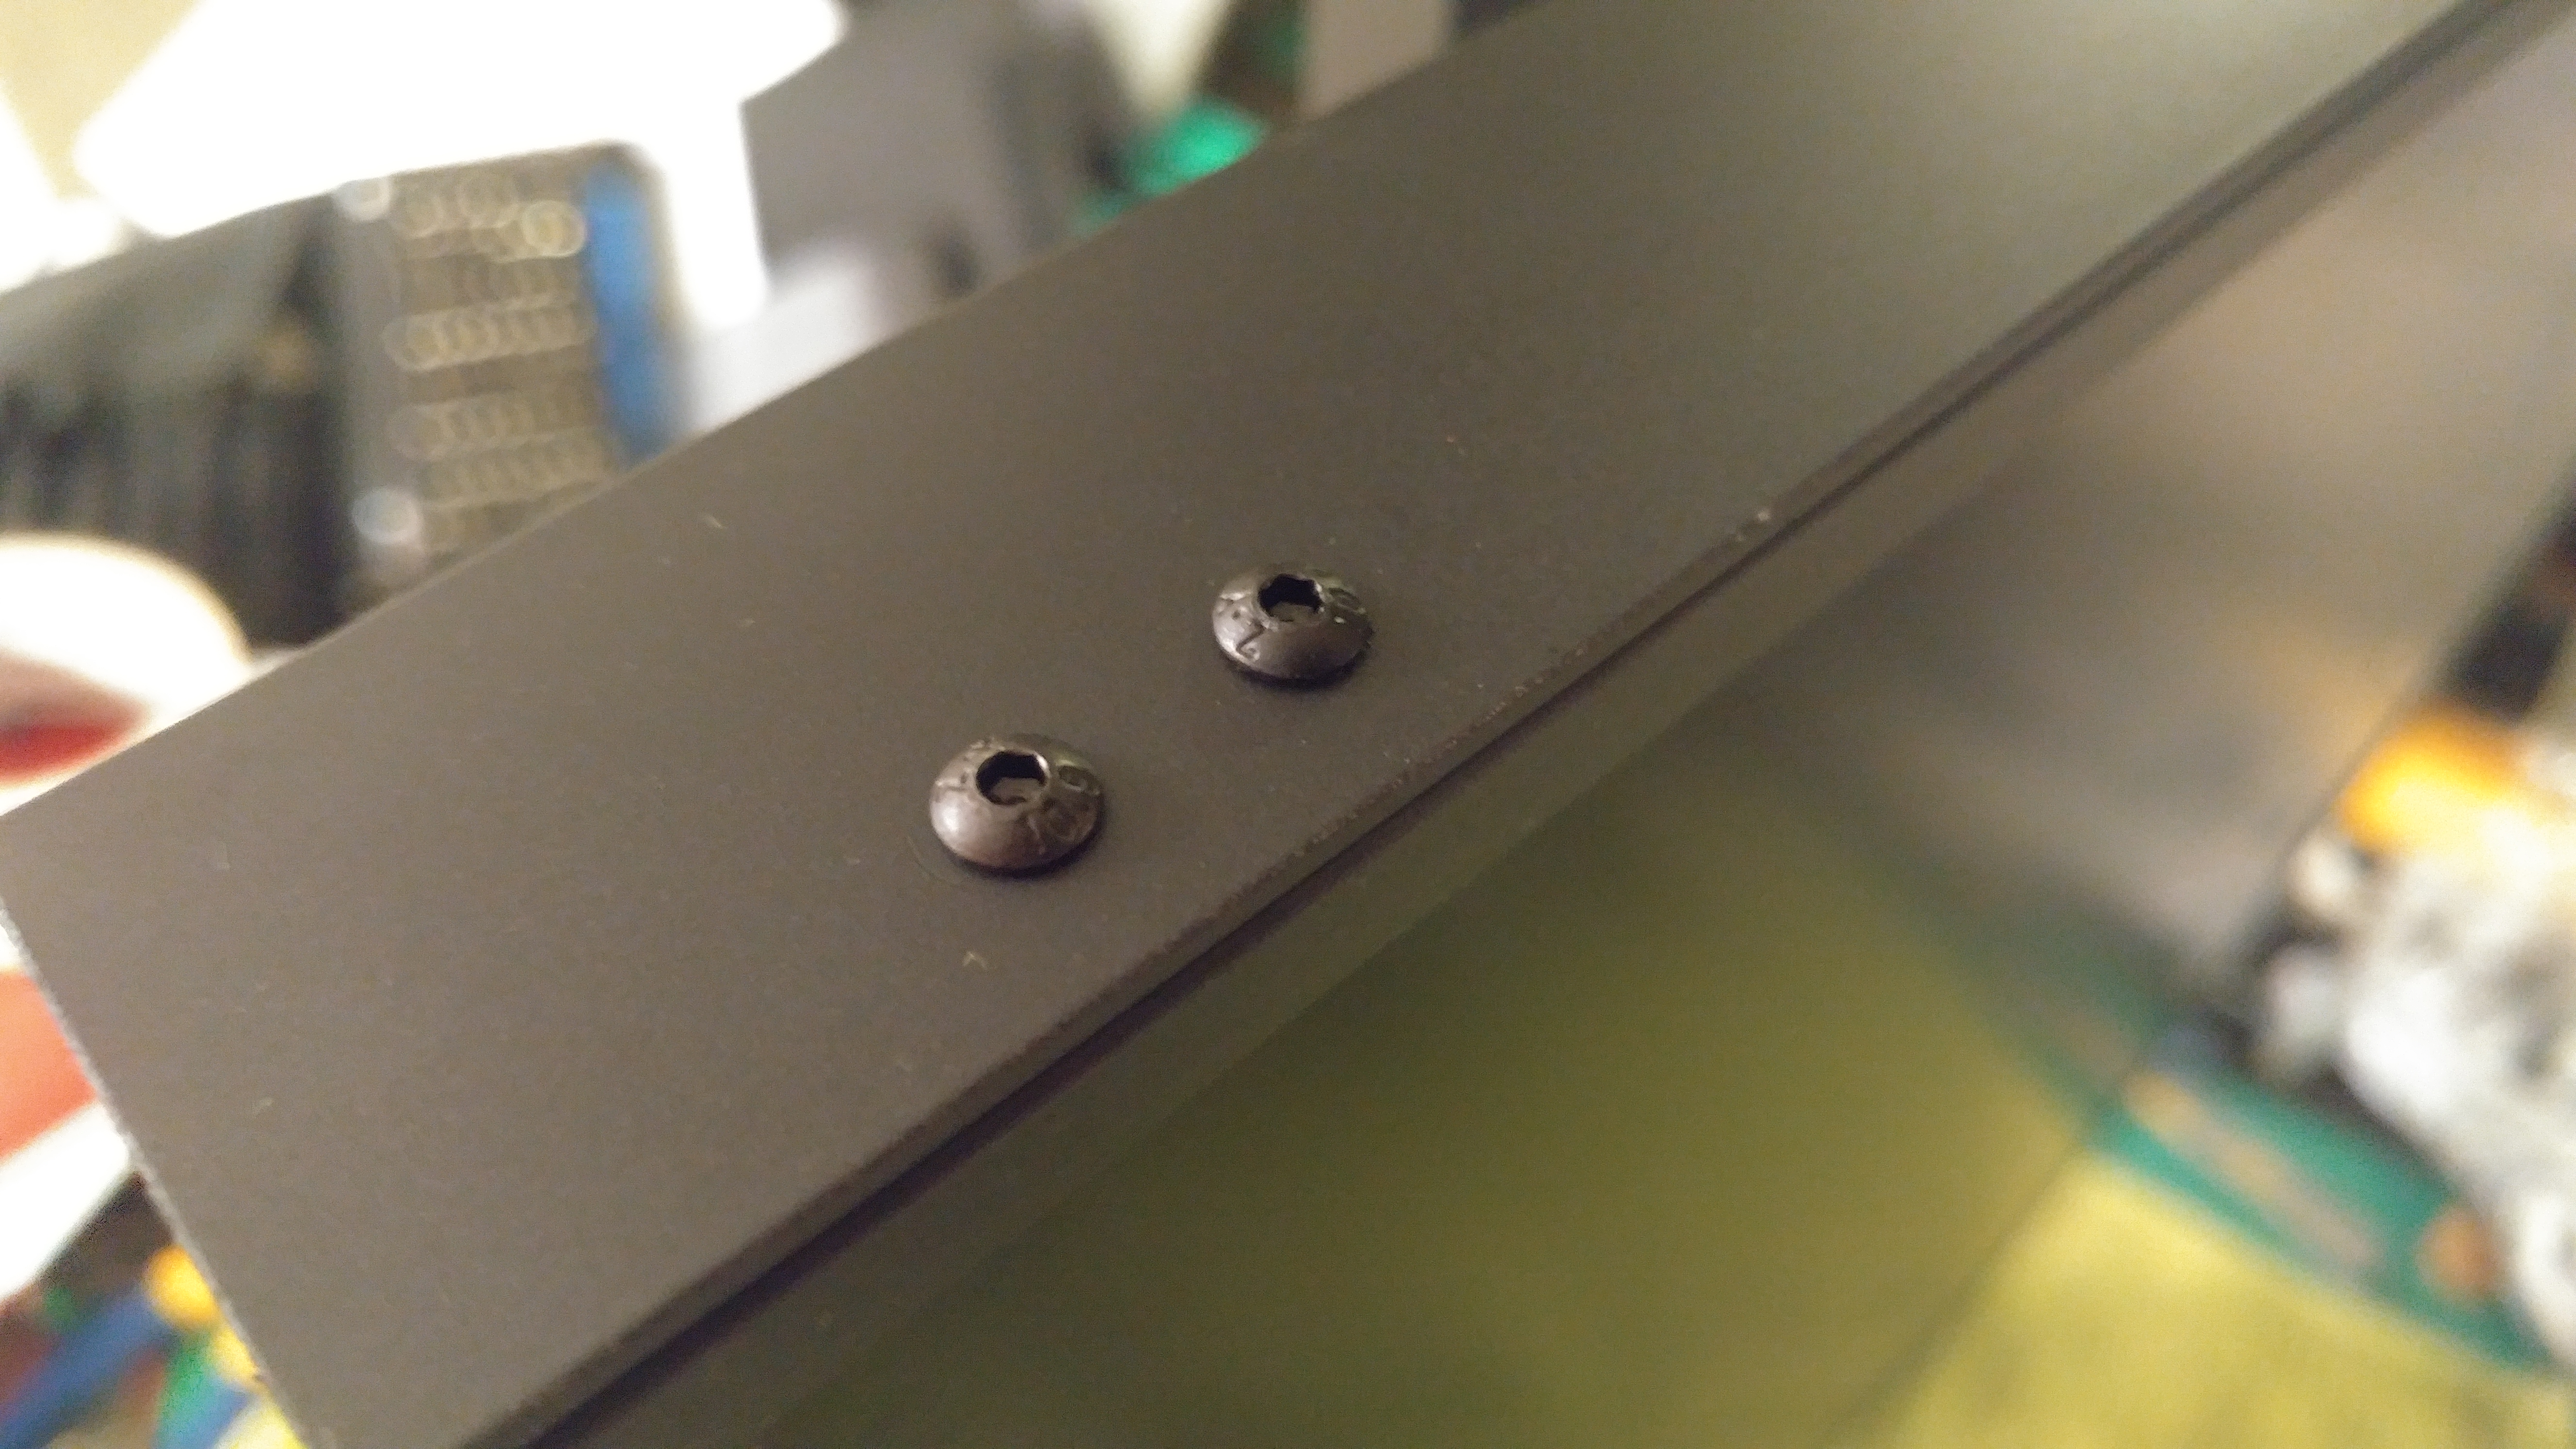
Conveniently, there are M3 threaded holes on the sides of the screen. These holes were not used in the old frame, but they seem to be in a pretty rigid piece of metal and nothing is behind the holes so a screw won’t damage anything on the inside.

The cage with the circuit boards has to stay where it is because it has short cables coming out of both sides, connecting to the screen. I was hoping to be able to move it out of the way, but that would require some modification I was not willing to make.
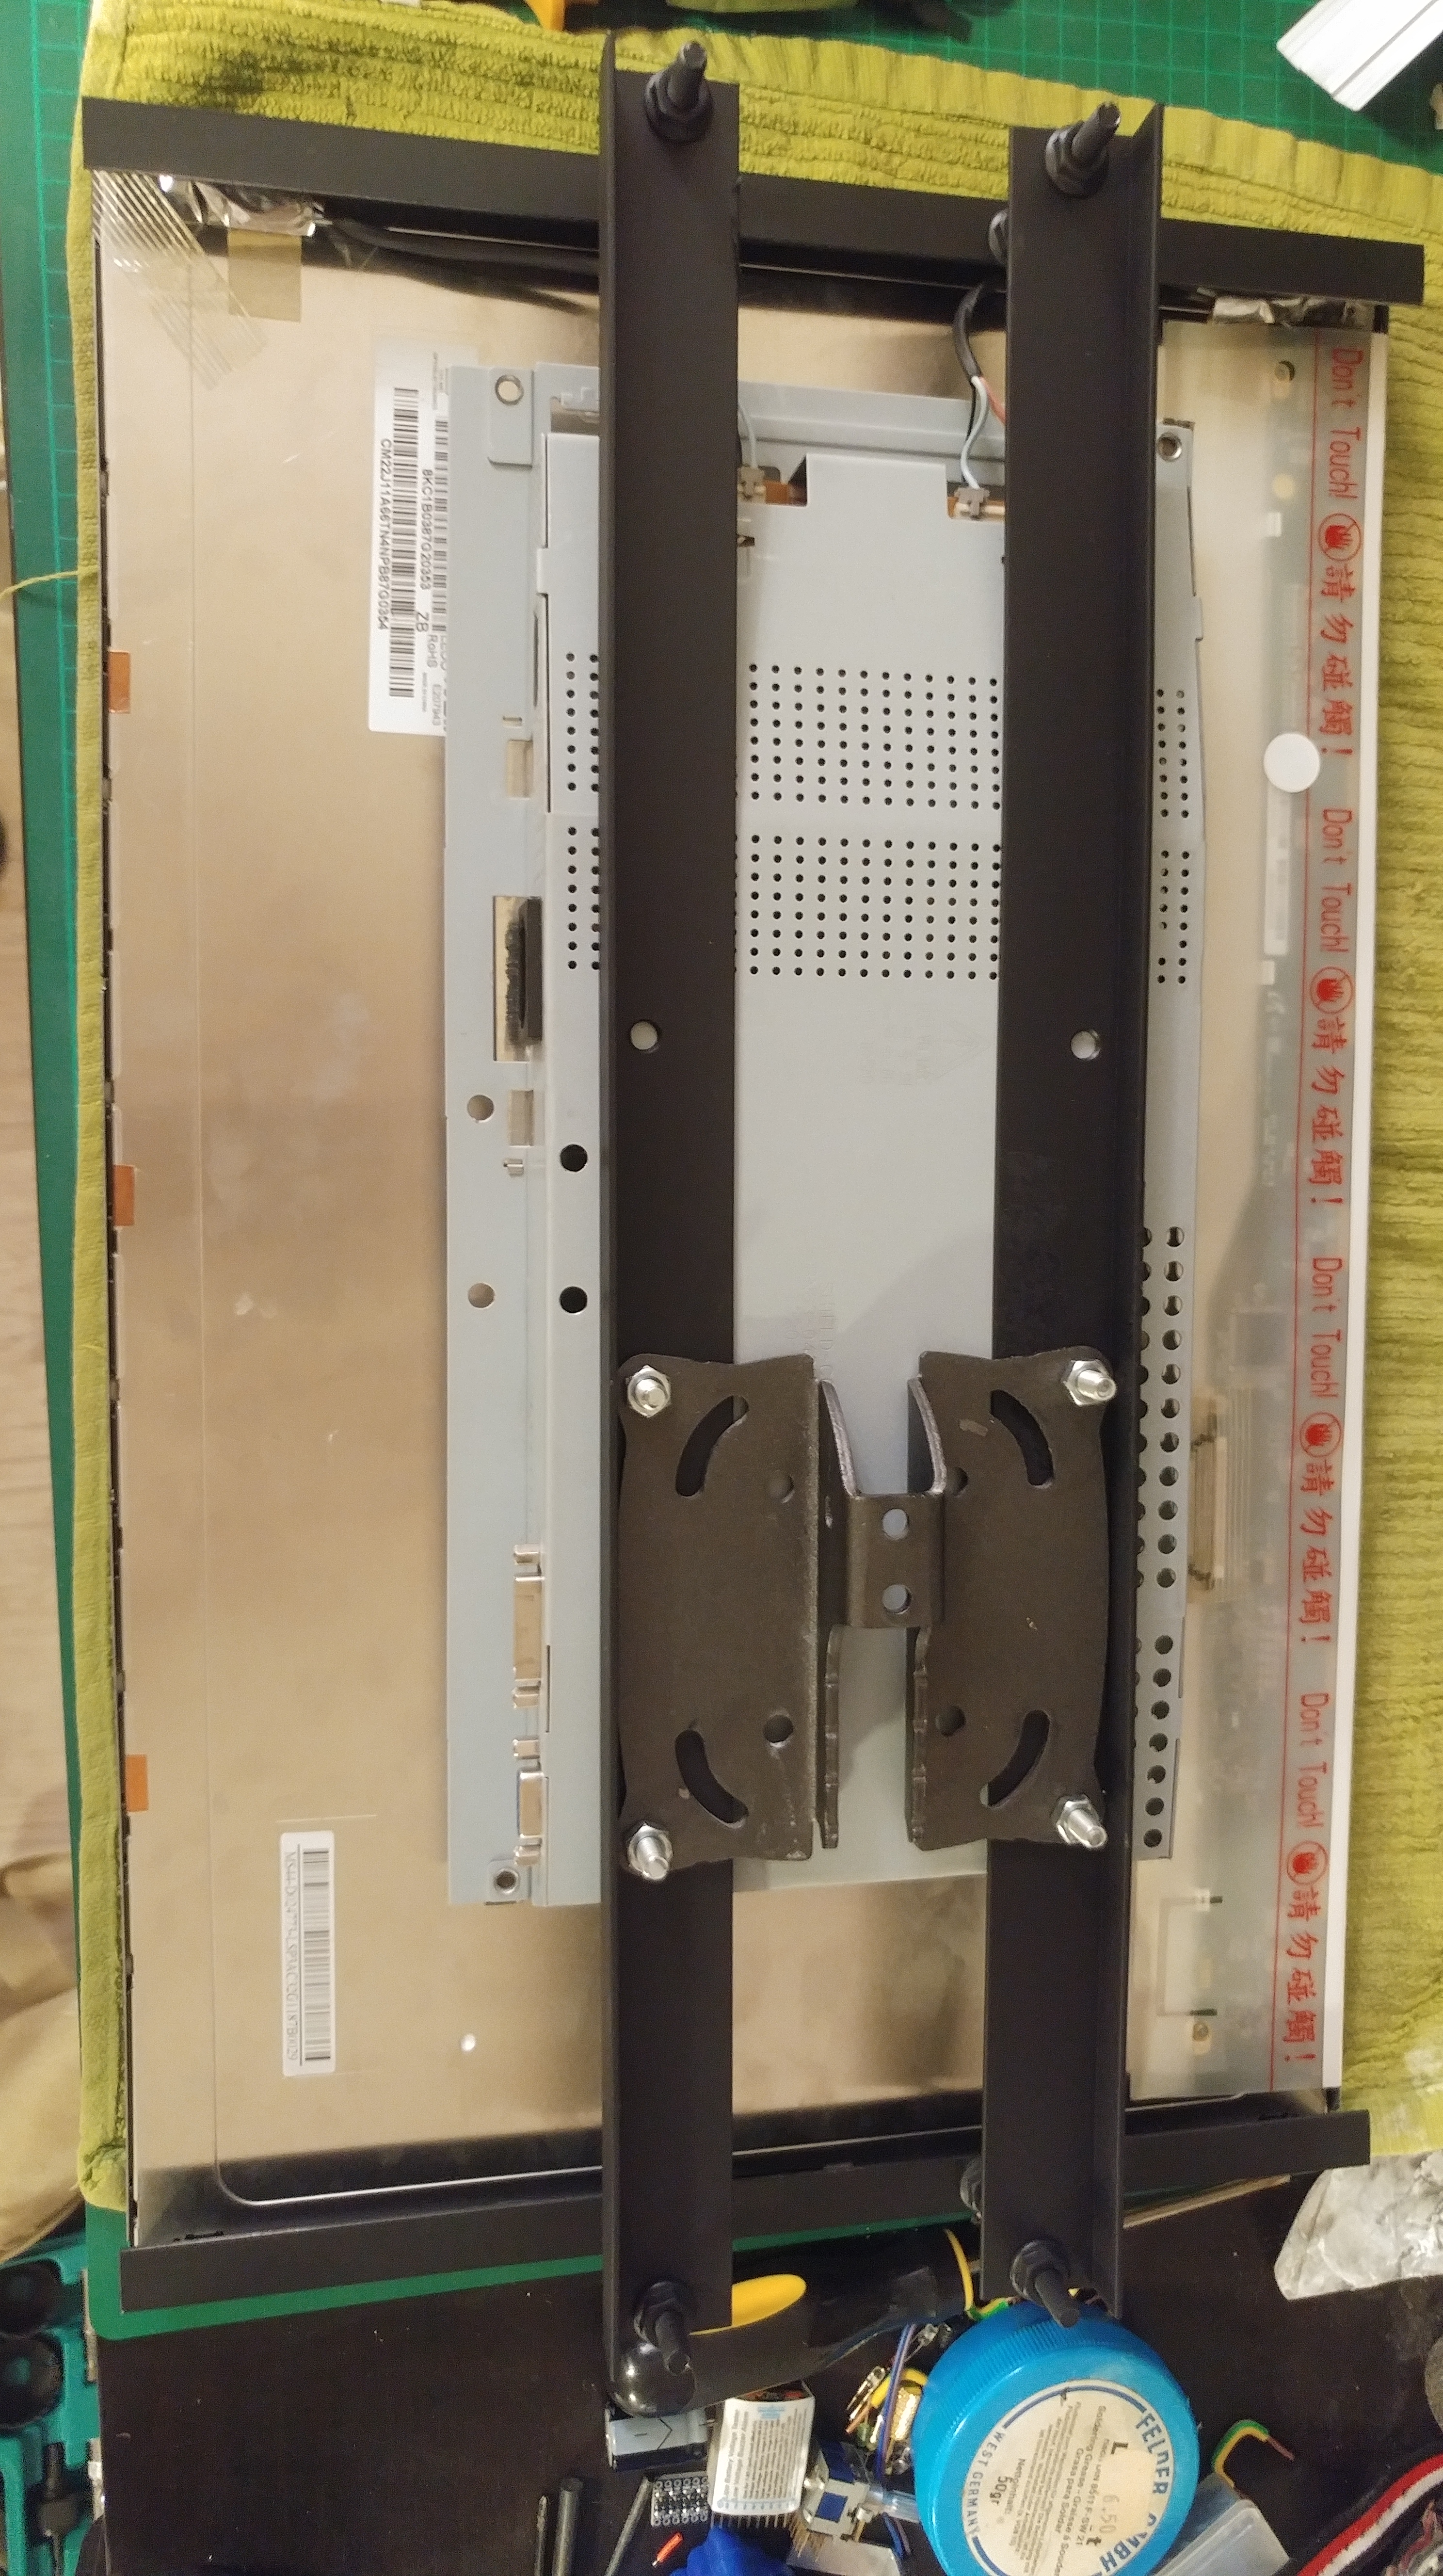
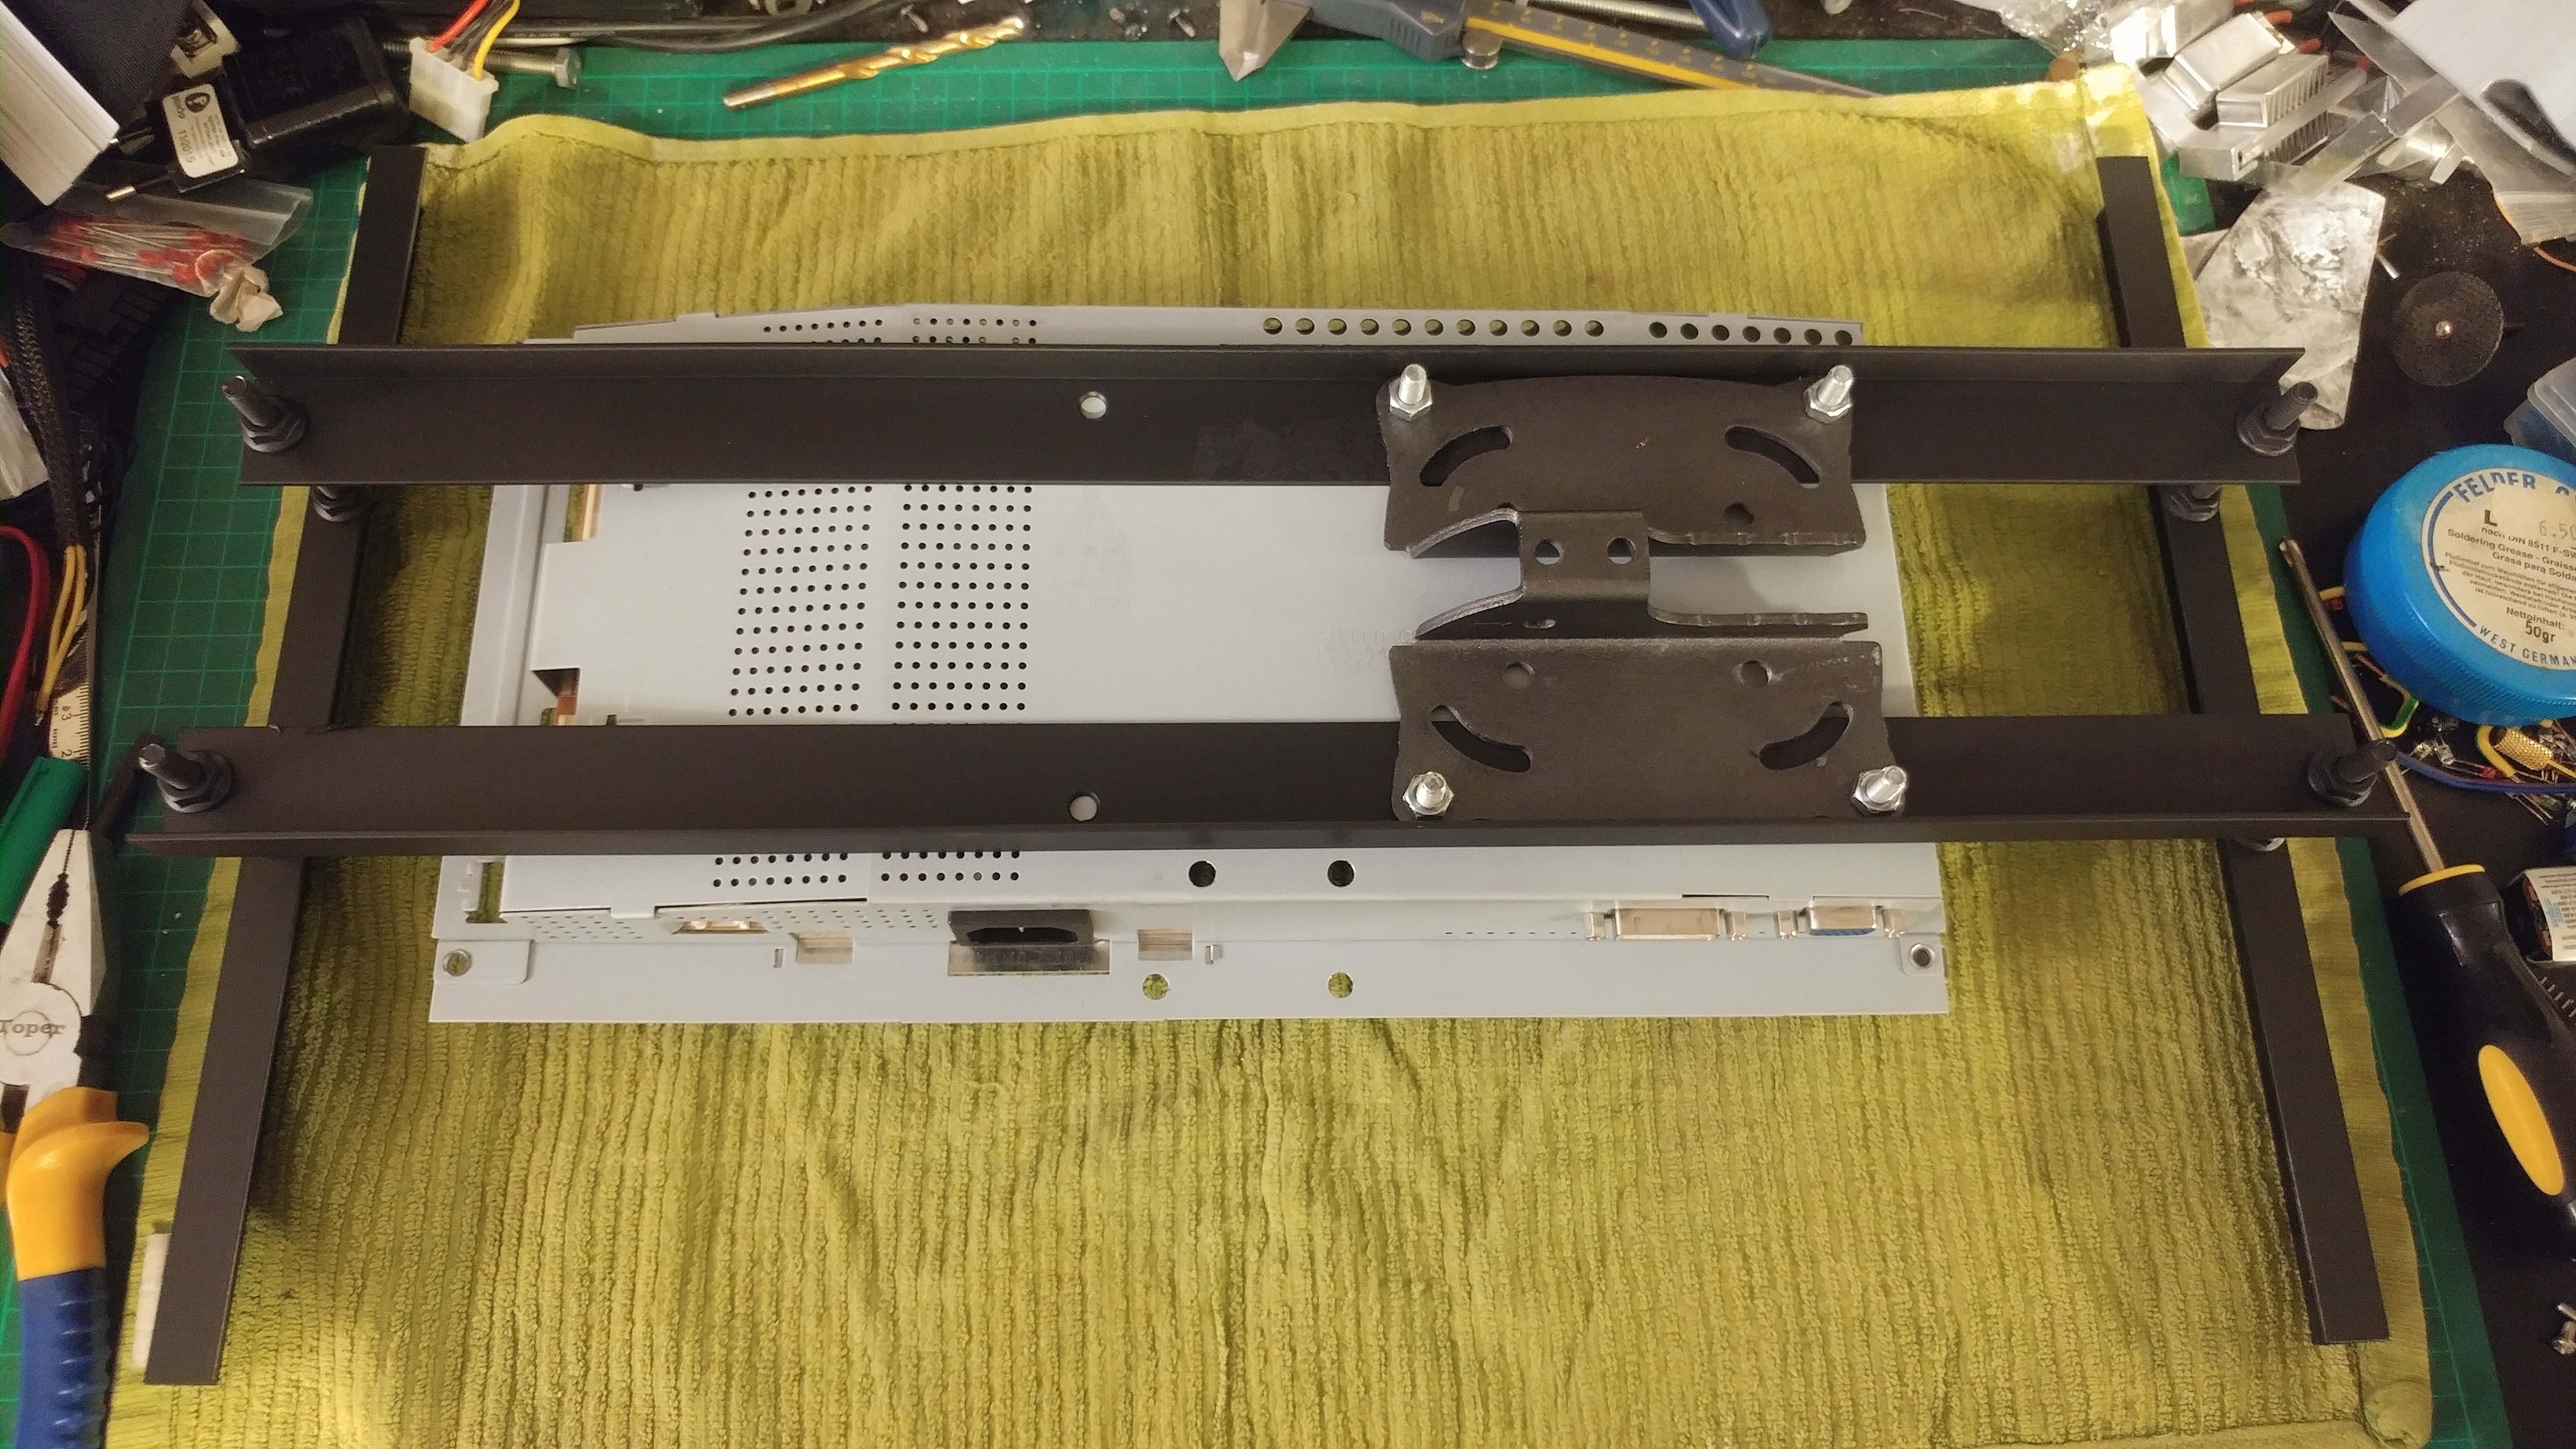
So the VESA mount and the cage would have to be on top of each other.
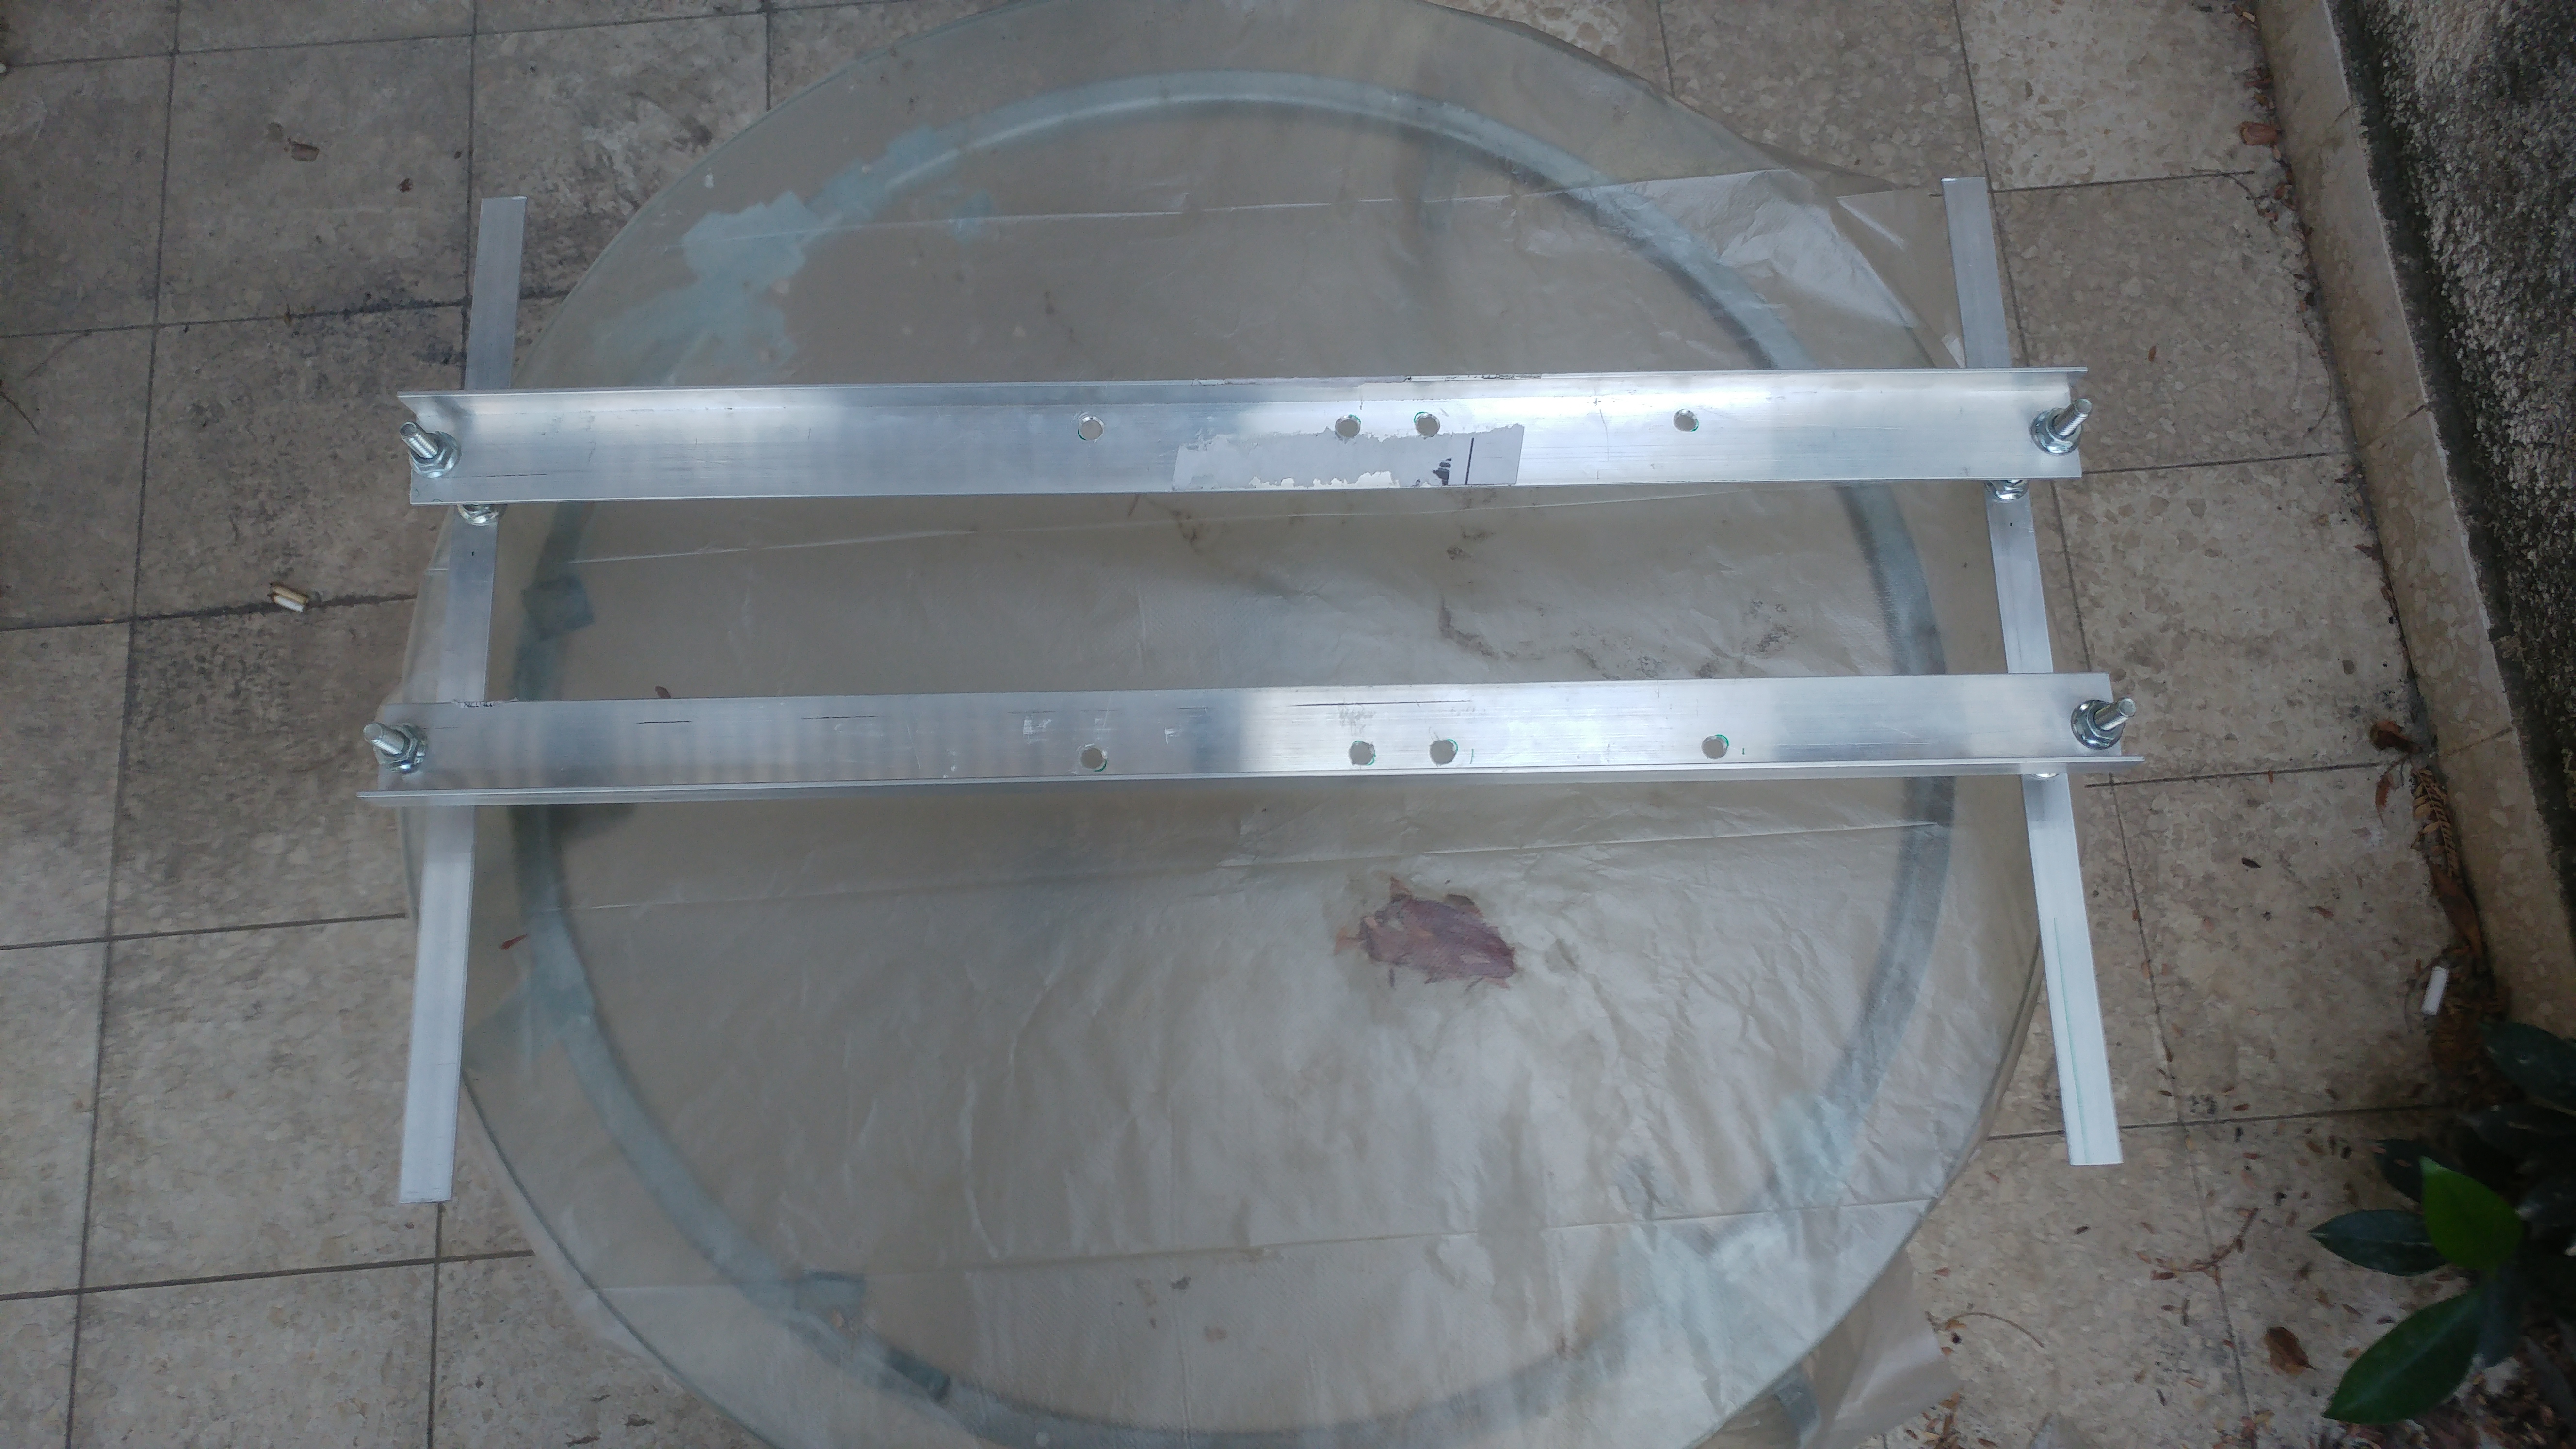
I cut angled aluminium to the length of all sides of the screen, two pieces fit the sides of the screen (to be the top and bottom ultimately) and two that connect them to the VESA mount and the cage.
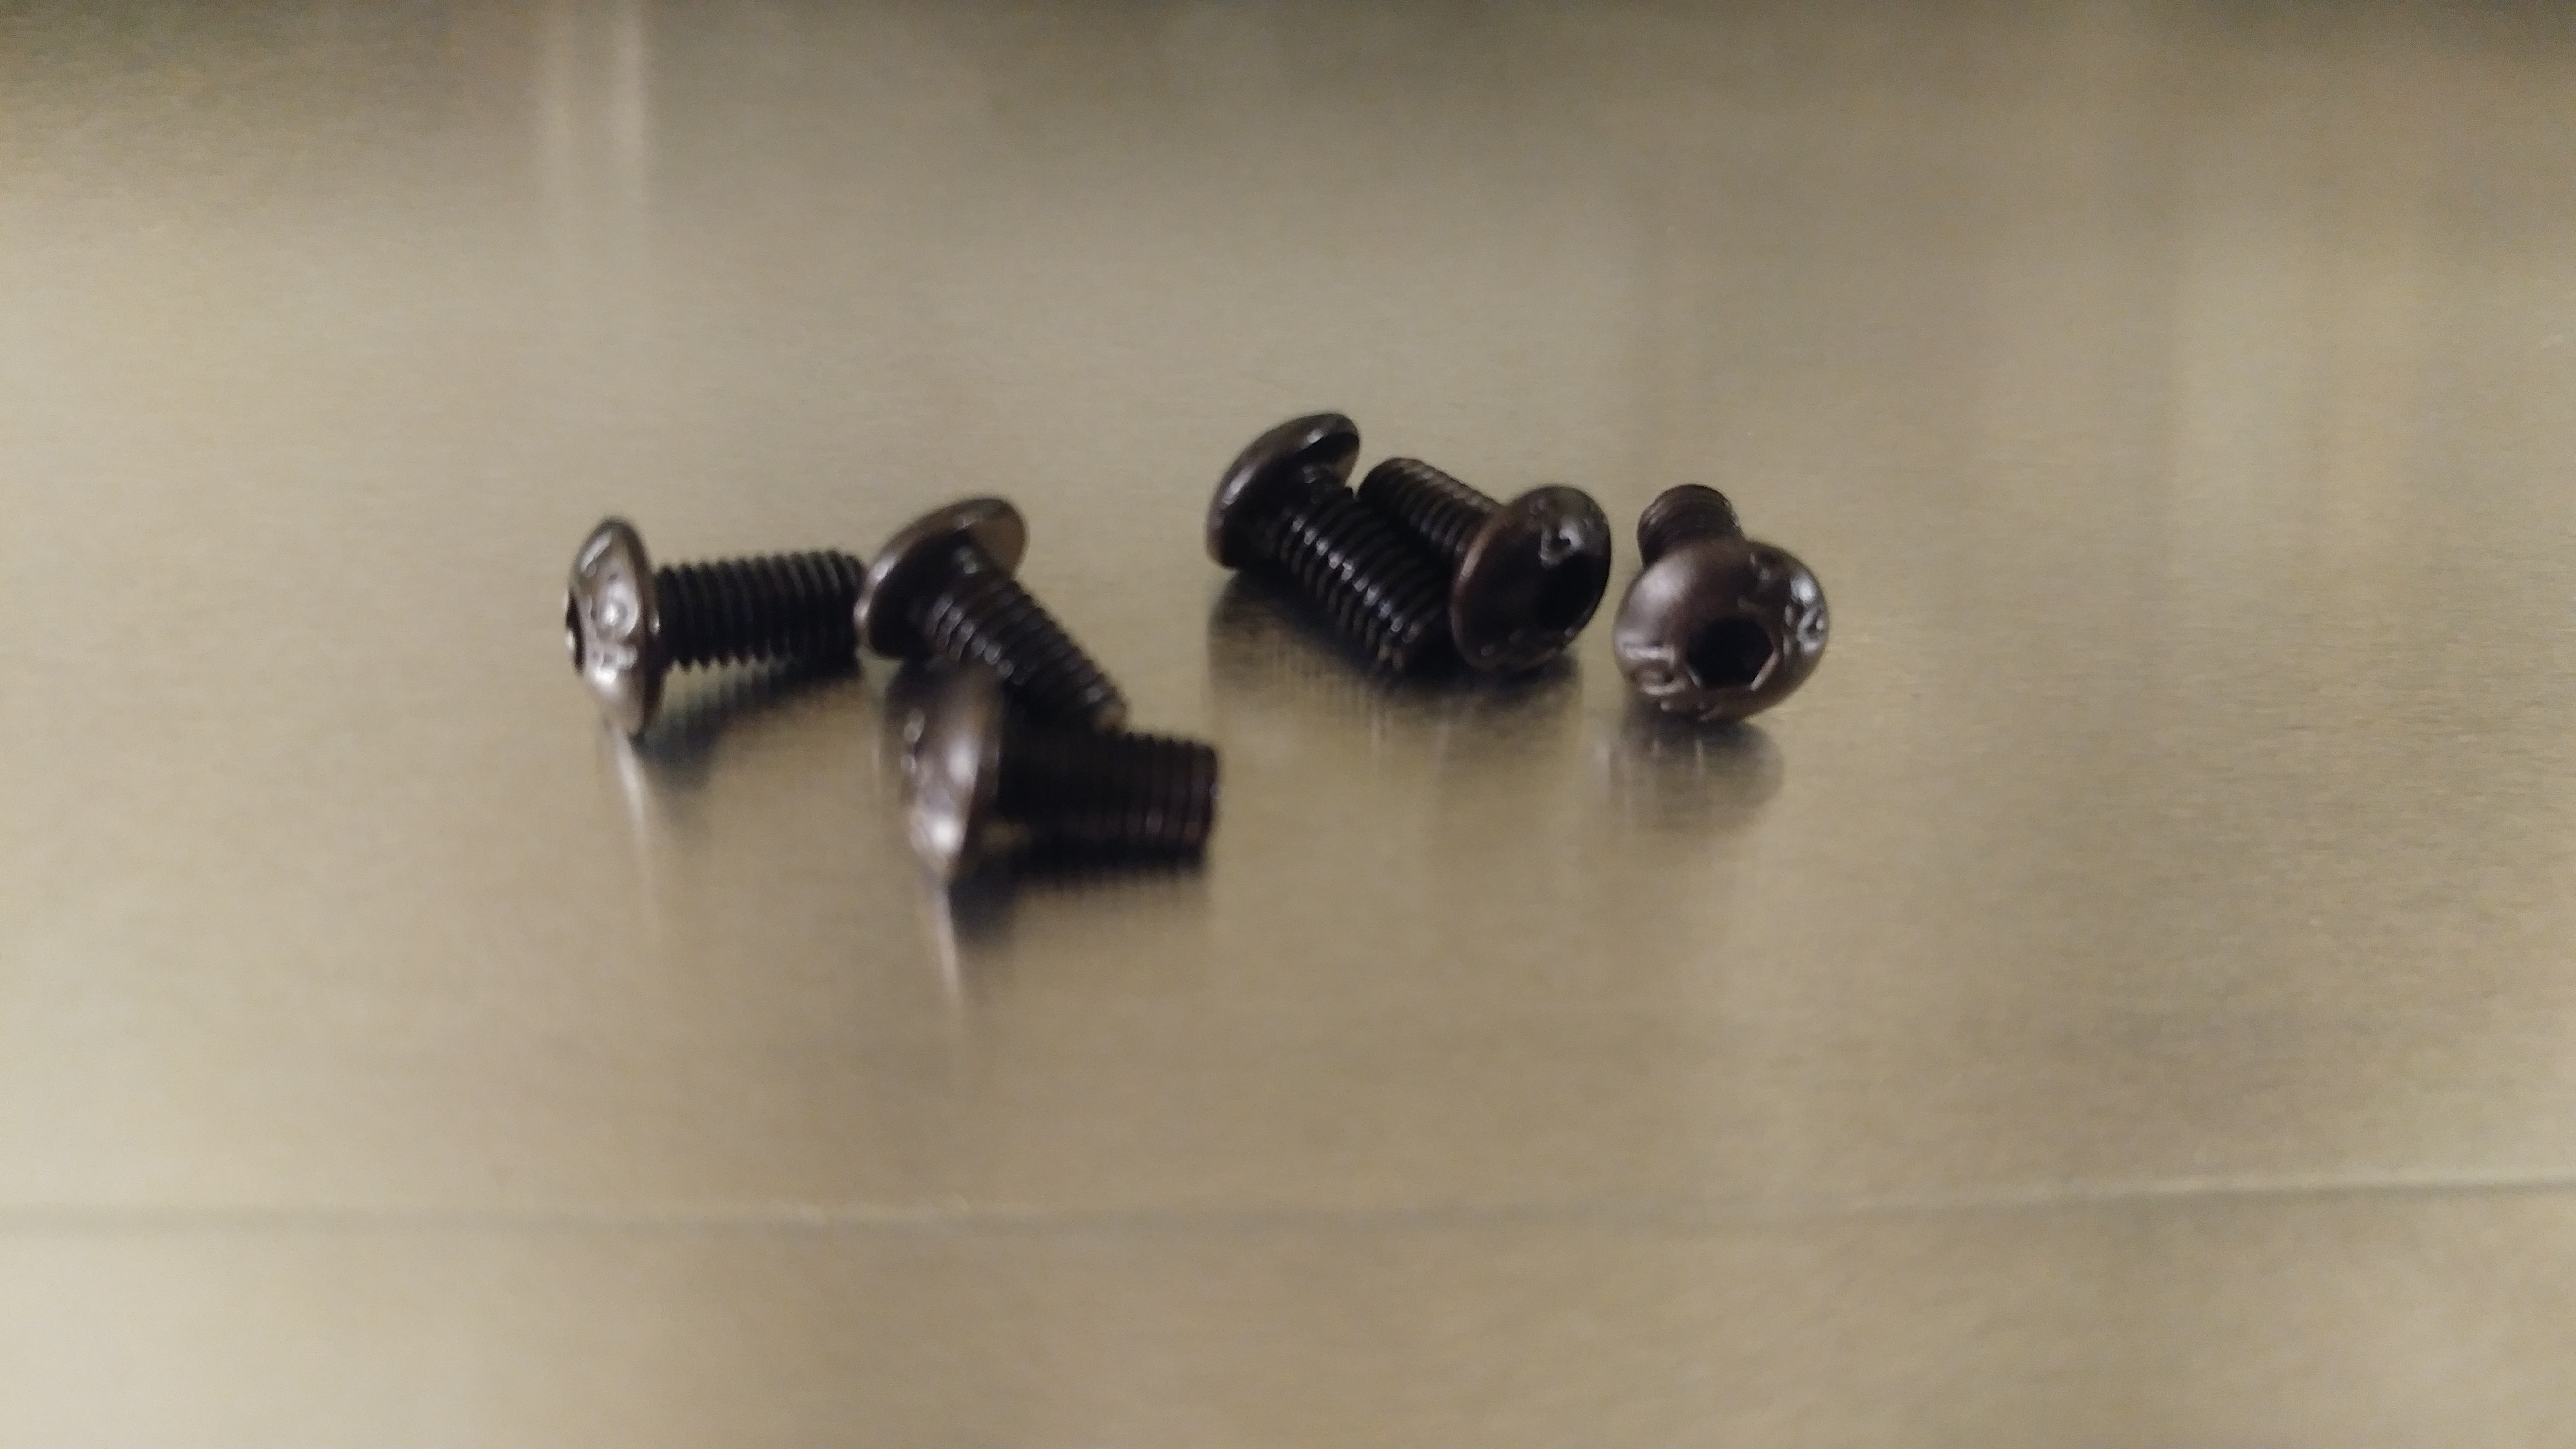
I tested the fit with the mount I was going to use, painted everything black and found black M3 screws to mount the screen.
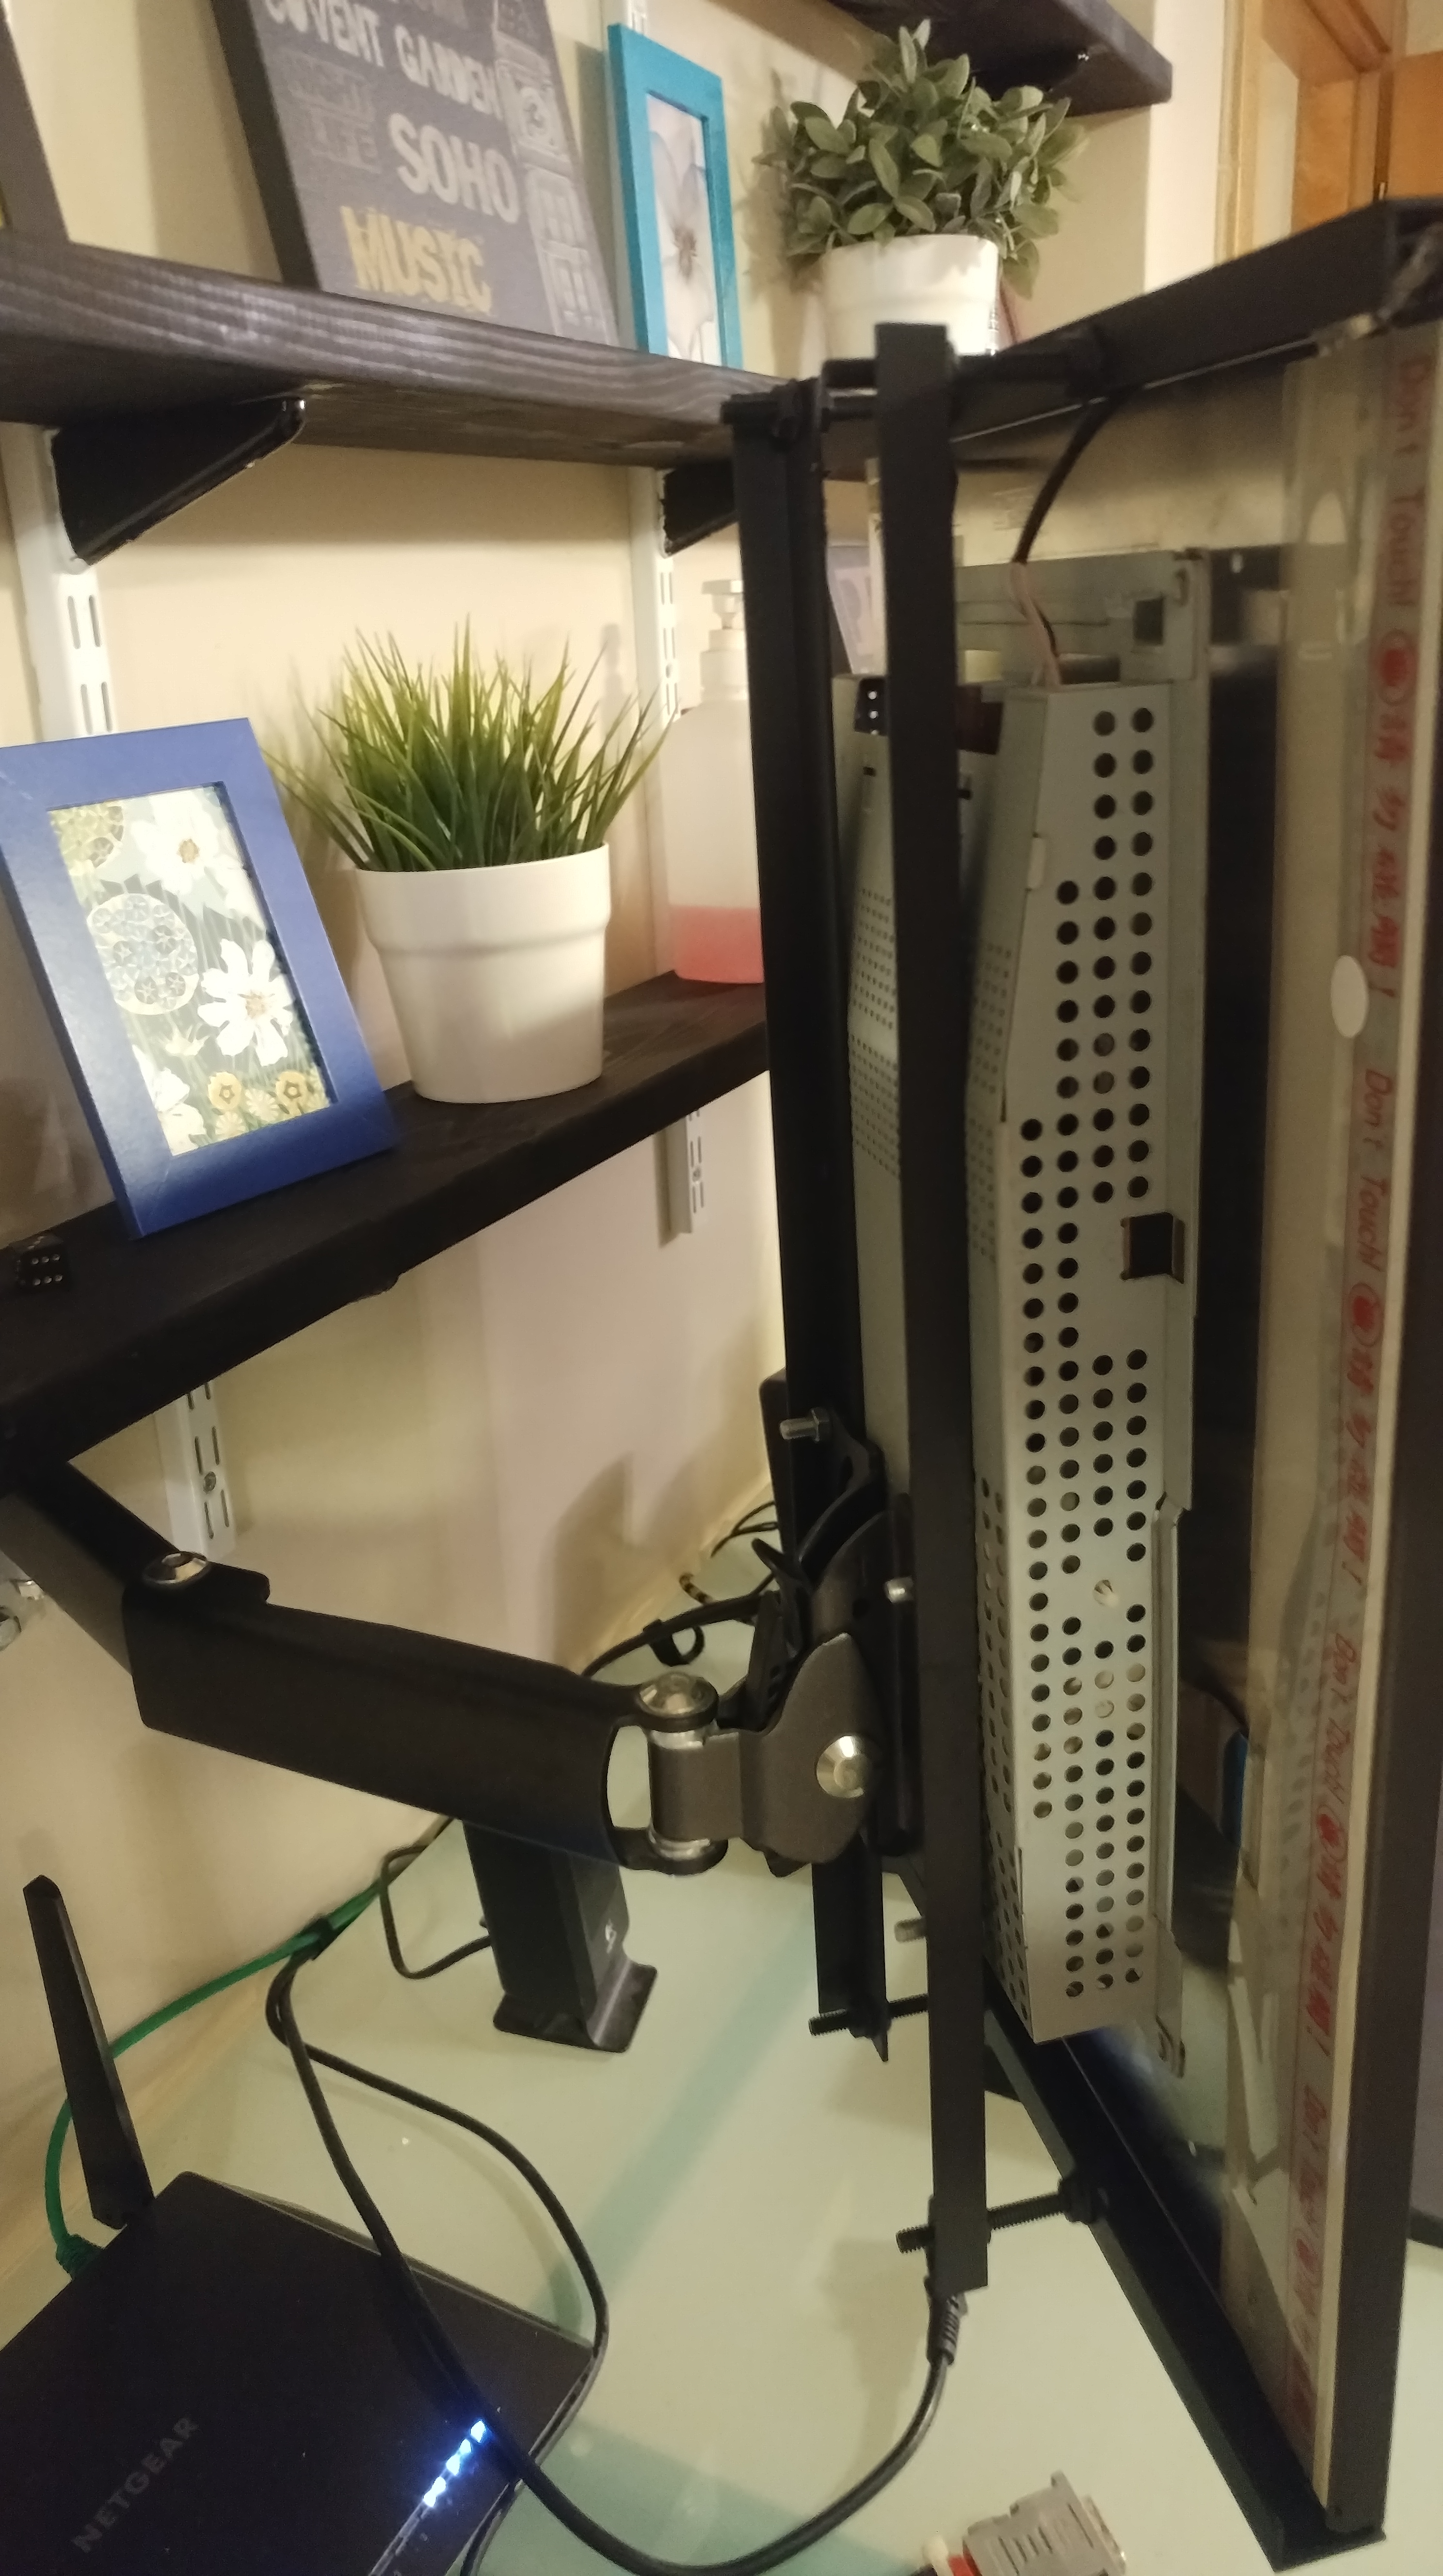


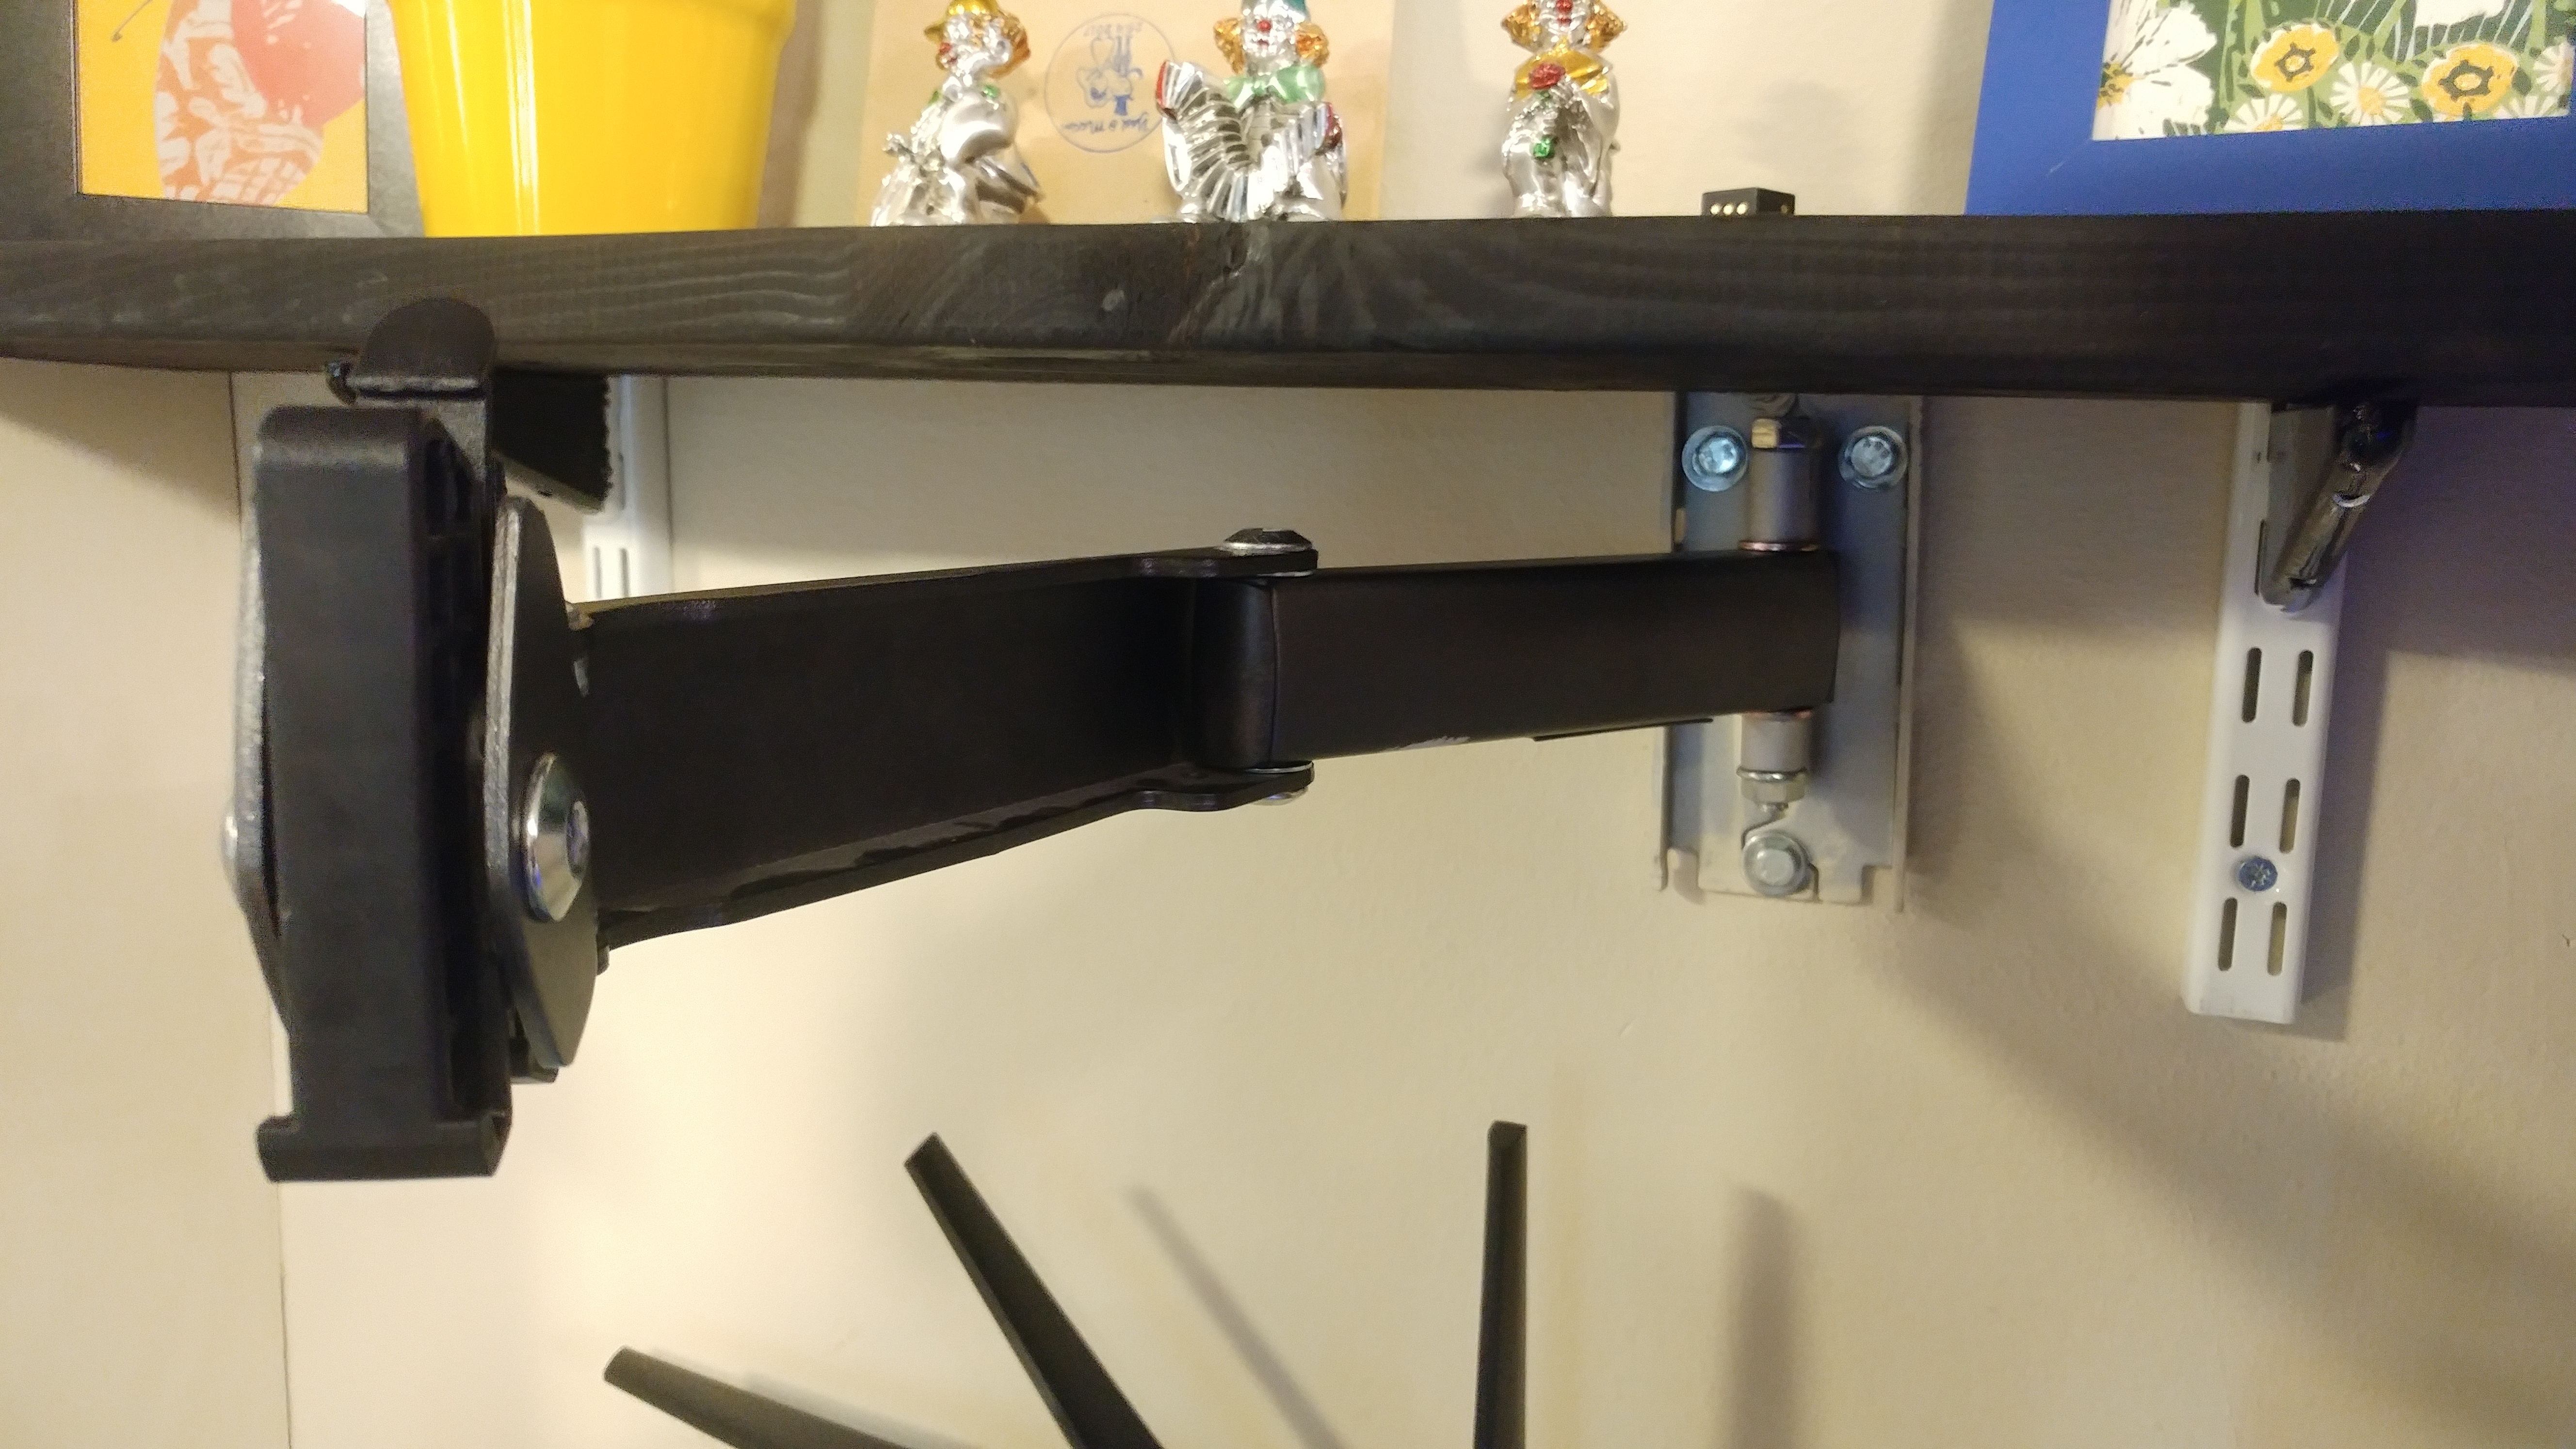


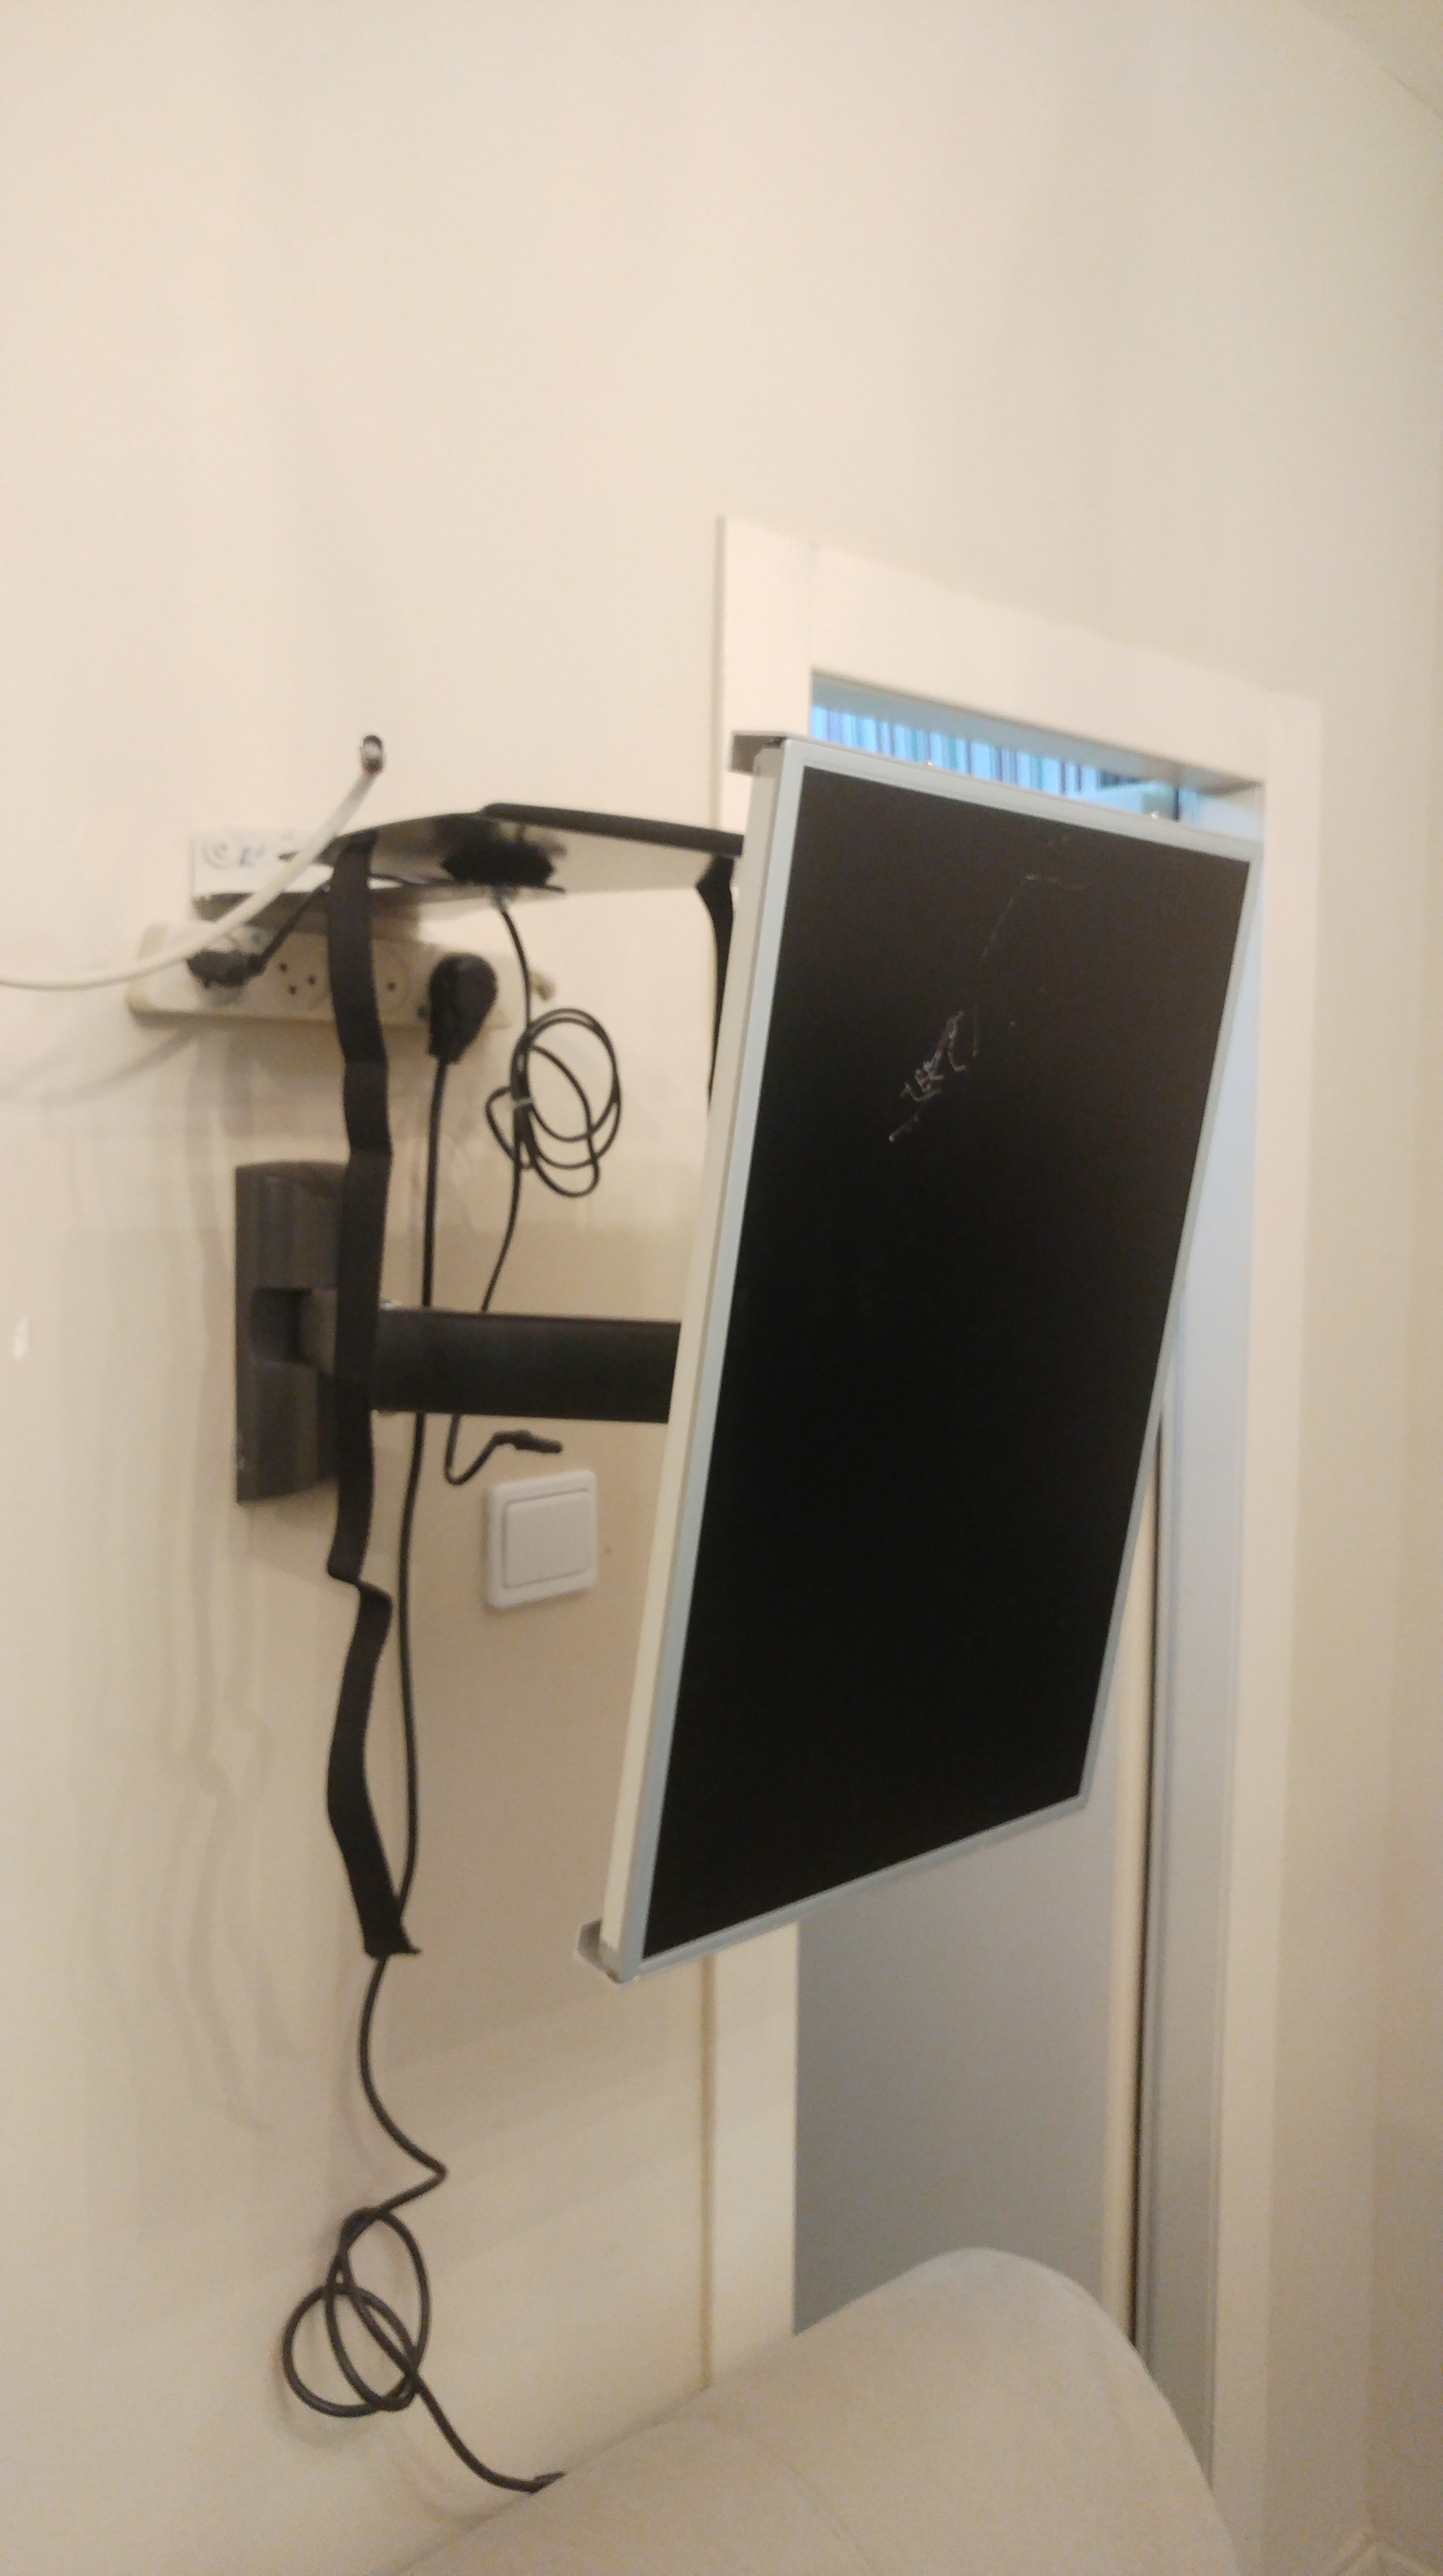
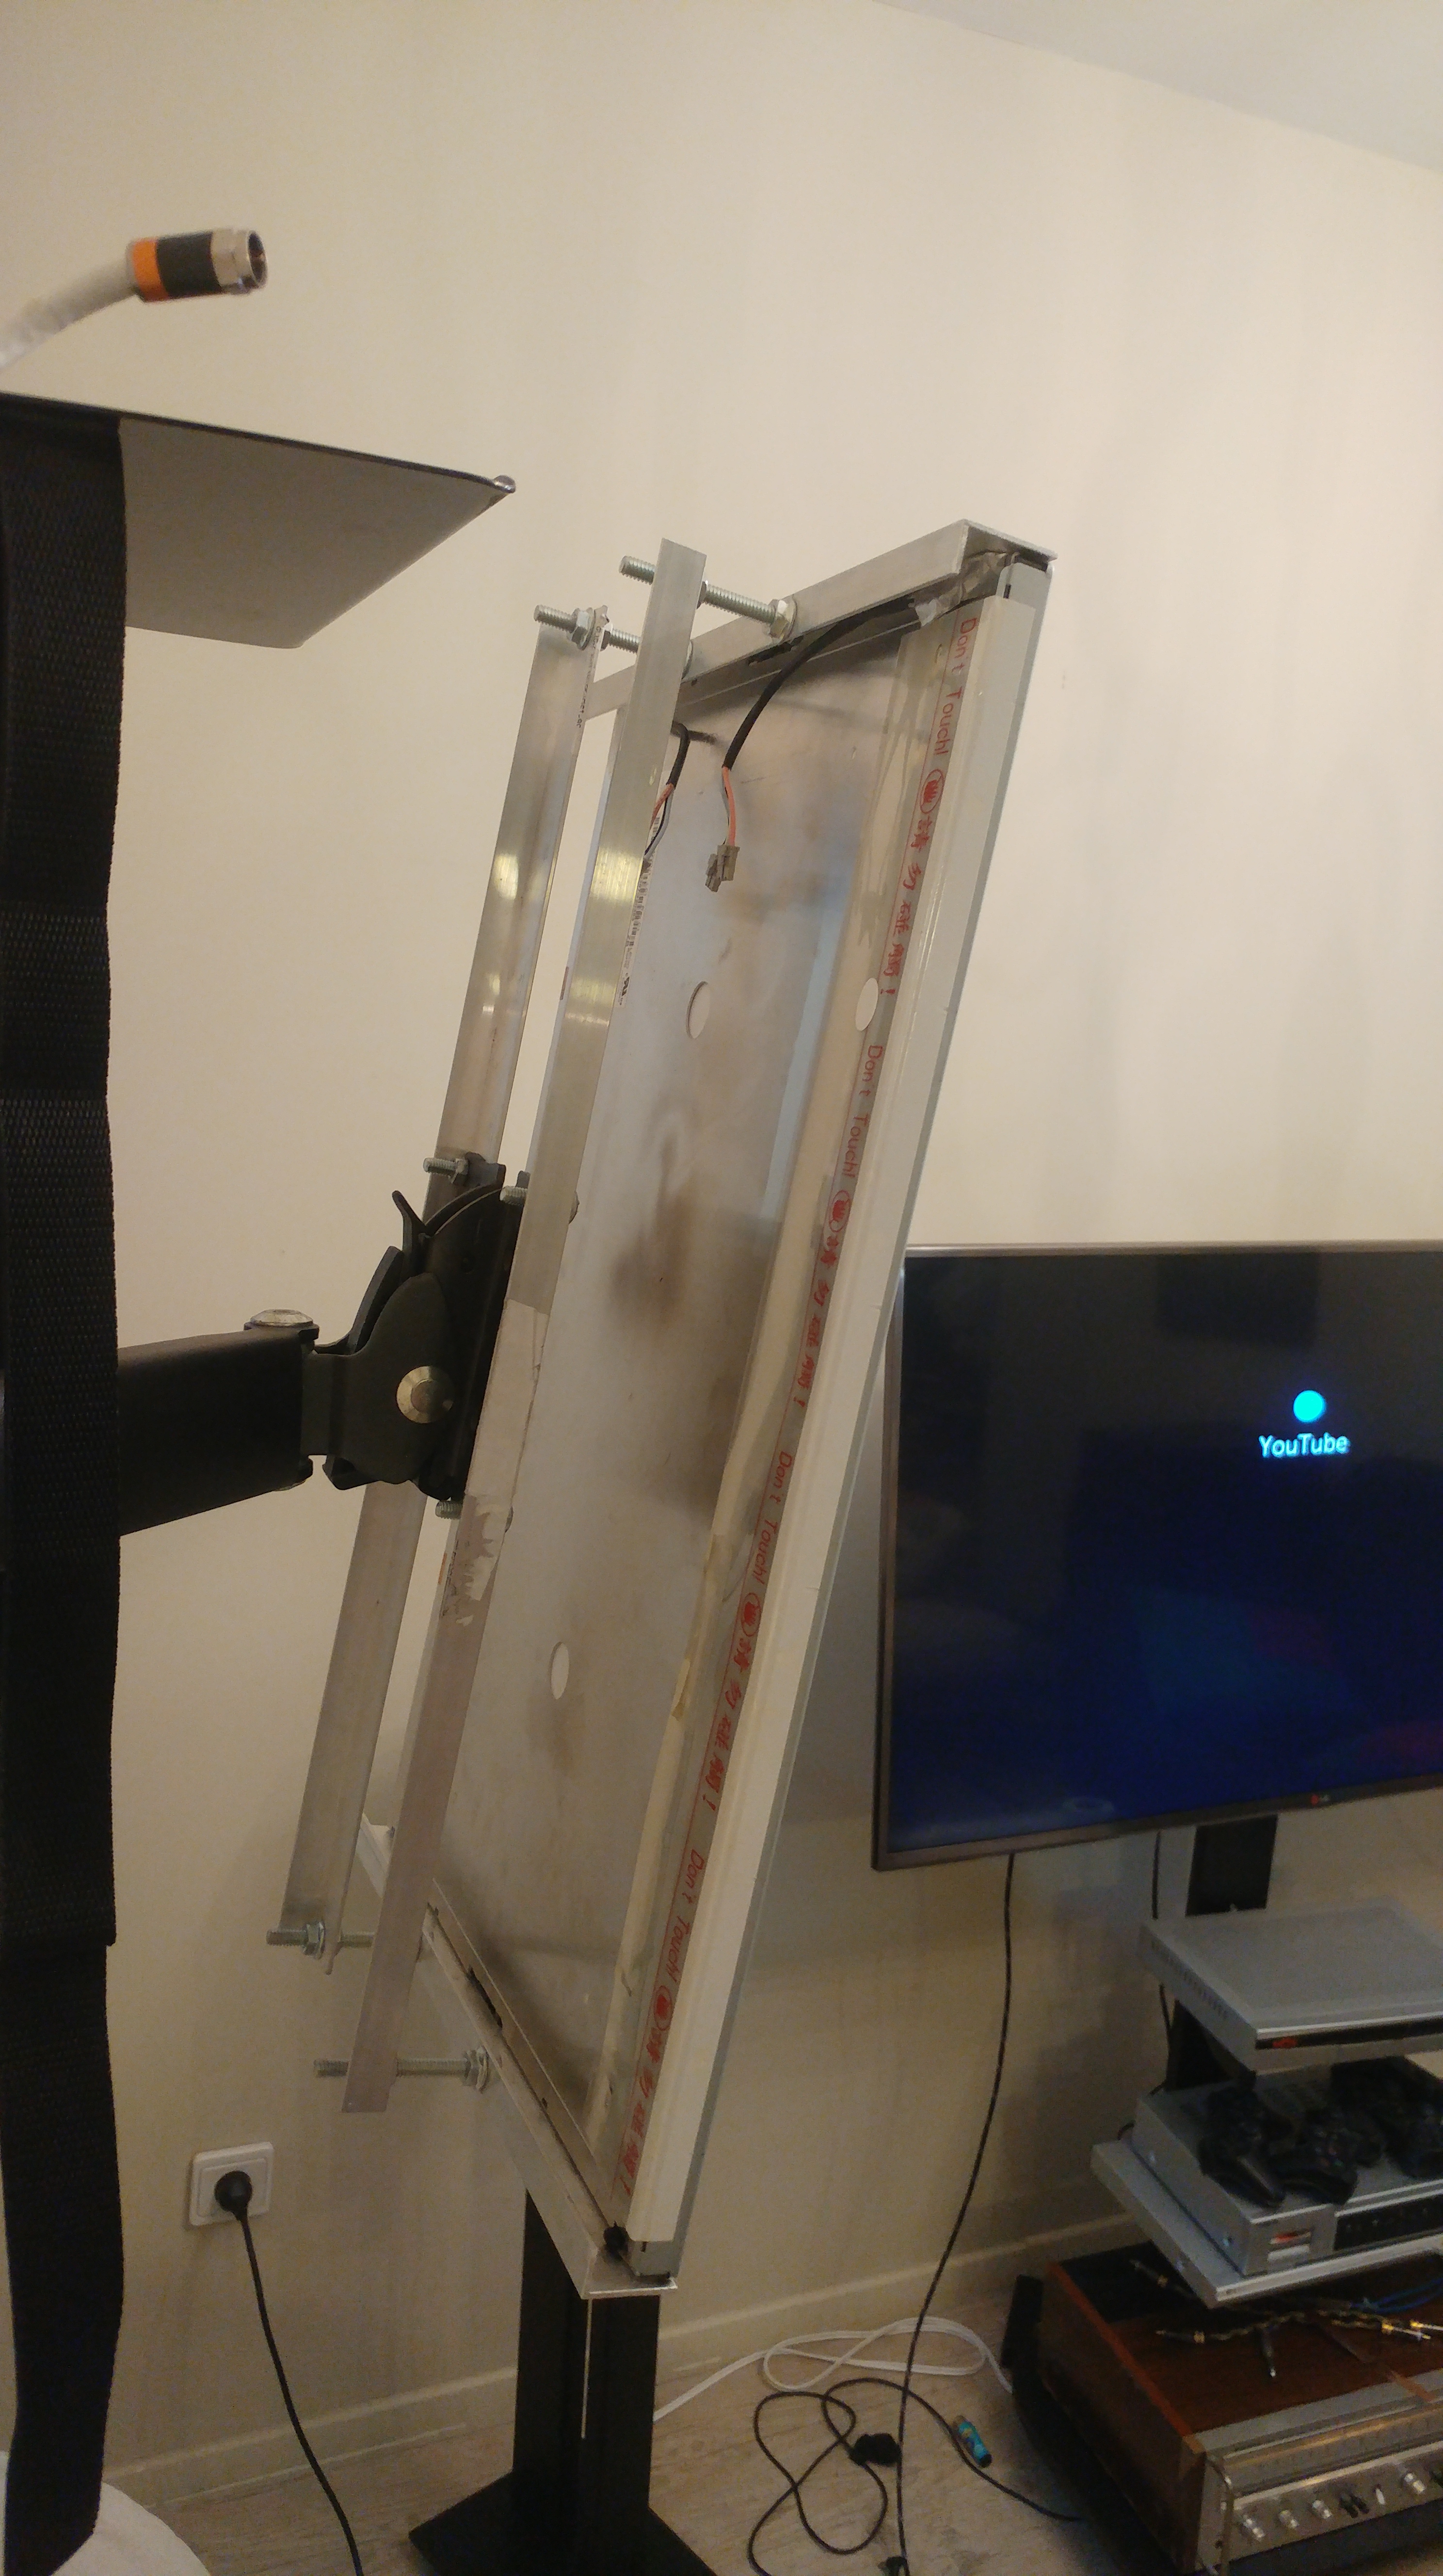

I recently moved my computer to another room and mounted both screens on a dual arm desk mount. The new mount is a little wider, so it sits on top of the aluminium bracket, but it’s more than sturdy enough.


I didn’t bother making a case for the settings buttons and the touch power button because I almost never use them. I just let it go into standby mode.
After a year and a half of using the screen this way, I can say it was a success. Getting rid of all the plastic and painting the bezel black transformed the screen and made it look a lot better.
Changing the mount was not that hard, and its placement worked well in a few configurations.
