Open Applications On Your PC With Alexa and HA

I’ve been making more and more parts of my house remote-controllable over the past few months as part of my home automation process.Controlling things that have remote controllers is pretty simple with an IR/RF bridge. Controlling the power of other things that don’t have remotes is also simple with smart plugs/switches.My problem began when I wanted to control my PC, which can’t be controlled by simply giving it power and it doesn’t have a remote controller that can open applications.
What I Actually Want To Do
I want to be able to set macros that will control multiple devices to create a scene or state. For example, If I press a button or command Alexa to set the room to cinema mode, the lights will dim or turn off, the TV will turn on and be set to the right input as well as the audio receiver and the crucial part - Netflix will open on my PC.
Another cool thing I could do is start games or applications that take a lot of time to load and save time by loading them before I get to the computer.
I won’t cover the macros and scenes here, just controlling the computer.
Interface
There are a few methods for controlling the computer.There are already IR and RF receivers that can be connected to the computer and send keystrokes like a keyboard. This requires buying or making the hardware and installing software that will communicate with the hardware and execute the commands.
This will work, but I had a better idea - The computer already has an interface shared with the home automation system - The network. I already have the means to communicate without any additional hardware, I just need to define the protocol.
There are also many ways to make it work via the network. I could, for example, setup a server and use REST API or define my own simple protocol for this, but I would like it to use protocols that the system already supports and uses.
I chose MQTT, it’s a simple machine-to-machine subscription-based messaging protocol. It’s designed for sensors and mobile devices in bandwidth limited situations, but it will work perfectly for us.It’s the protocol I already use to communicate with network-connected smart-plugs and Arduino devices so I already have a MQTT broker in my network.All I need is a client to run on the computer.
The Script
I wanted a simple, portable solution. I went with python as I could quickly add and edit functionalities without recompiling and installing anything. I found a nice MQTT client library called Paho-mqtt that was very easy to work with.
All it does it subscribe to the relevant topic (in my case, the topic identifies the computer so I could control multiple computers and have different commands for each) and react to different messages.
The script has to run in order for this to work, and there’s no way to make the PC run the script without the script already running, so it needs to run automatically at startup.
Here are two scripts for two computers. A media PC and a gaming PC.
import paho.mqtt.client as paho
import sys
import webbrowser
import subprocess

TOPIC = 'cinema_pc'

CHROME_PATH = 'C:/Program Files (x86)/Google/Chrome/Application/Chrome.exe %s'
NETFLIX_URL = 'http://www.netflix.com'
YOUTUBE_URL = 'http://www.youtube.com'
HARARIPROJECTS_URL = 'http://www.harariprojects.com'
KODI_PATH = "C:\\Program Files (x86)\\Kodi\\Kodi.exe"

MQTT_SERVER_IP = "<SERVER IP HERE>"
MQTT_SERVER_PORT = 1883

def on_subscribe(client, userdata, mid, granted_qos):
	print("Subscribed: "+str(mid)+" "+str(granted_qos))

def on_message(client, userdata, msg):
	message = msg.payload.decode("ASCII")
	print("RECEIVED "+msg.topic+" "+str(msg.qos)+" payload:"+str(message))
	if(message == "Netflix"):
		#start Netflix
		print("starting Netflix")
		webbrowser.get(CHROME_PATH).open(NETFLIX_URL, 2)
	elif(message == "YouTube"):
		#start YouTube
		print("starting YouTube")
		webbrowser.get(CHROME_PATH).open(YOUTUBE_URL, 2)
	elif(message == "HarariProjects"):
		#start HarariProjects
		print("starting HarariProjects")
		webbrowser.get(CHROME_PATH).open(HARARIPROJECTS_URL, 2)
	elif(message == "KODI"):
		#start KODI
		print("starting KODI")
		subprocess.Popen(KODI_PATH)

		#add sleep, shutdown

def on_connect(client, userdata, flags, rc):
	print("CONNACK received with code %d." % (rc))
	client.subscribe(TOPIC, qos=1)

client = paho.Client()
client.on_subscribe = on_subscribe
client.on_message = on_message
client.on_connect = on_connect
client.connect(MQTT_SERVER_IP, MQTT_SERVER_PORT)

client.loop_forever()
import paho.mqtt.client as paho
import sys
import webbrowser
import subprocess

TOPIC = 'gaming_pc'

GTA_PATH = "H:\\Program Files\\Rockstar Games\\Grand Theft Auto V\\PlayGTAV.exe"

MQTT_SERVER_IP = "<SERVER IP HERE>"
MQTT_SERVER_PORT = 1883

def on_subscribe(client, userdata, mid, granted_qos):
	print("Subscribed: "+str(mid)+" "+str(granted_qos))

def on_message(client, userdata, msg):
	message = msg.payload.decode("ASCII")
	print("RECEIVED "+msg.topic+" "+str(msg.qos)+" payload:"+str(message))
	if(message == "GTA"):
		#start GTA
		print("starting GTA")
		subprocess.Popen(GTA_PATH)

		#add sleep, shutdown

def on_connect(client, userdata, flags, rc):
	print("CONNACK received with code %d." % (rc))
	client.subscribe(TOPIC, qos=1)

client = paho.Client()
client.on_subscribe = on_subscribe
client.on_message = on_message
client.on_connect = on_connect
client.connect(MQTT_SERVER_IP, MQTT_SERVER_PORT)

client.loop_forever()
Home Assistant
Home Assistant (HA) is the heart of the operation. It’s a program that runs on a Raspberry Pi, in my case, and manages the automations and devices. It also conveniently includes a MQTT broker.
Scripts
I used scripts in HA to send the MQTT messages, this gives me more flexibility and saves some code.I can call the script instead of directly sending the message from where the operation triggered, that way, if I have multiple triggers for the same operation and I want to change what it does, I only need to change the script once instead of changing all the triggers.
Here are the scripts I have supported now:
'start_netflix':
  alias: start_netflix
  sequence:
  - data:
      payload: Netflix
      topic: cinema_pc
    service: mqtt.publish
'start_kodi':
  alias: start_kodi
  sequence:
  - data:
      payload: KODI
      topic: cinema_pc
    service: mqtt.publish
'start_harari':
  alias: start_harari
  sequence:
  - data:
      payload: HarariProjects
      topic: cinema_pc
    service: mqtt.publish
'start_youtube':
  alias: start_youtube
  sequence:
  - data:
      payload: YouTube
      topic: cinema_pc
    service: mqtt.publish
'start_gta':
  alias: start_gta
  sequence:
  - data:
      payload: GTA
      topic: gaming_pc
    service: mqtt.publish
These need to be put in the scripts.yaml file in HA.
Integration With Alexa
Alexa doesn’t know what HA is. There’s a way to integrate the two using Home Assistant Cloud, but It’s not free and I really don’t want my system to need internet to work. Alexa is the only thing that goes outside the network and the system doesn’t rely on it.
The free way to make this work is to emulate switches and lights that Alexa can scan and discover on the network. This is done by adding the emulated_hue component to configuration.yaml in HA.
The most basic way to control multiple things is to emulate multiple switches and turn them on when you want to trigger them. This works and if you have a small amount of things you want to control with Alexa, it’s not hard to maintain, but if you plan to control a lot of things, it gets tedious quick.
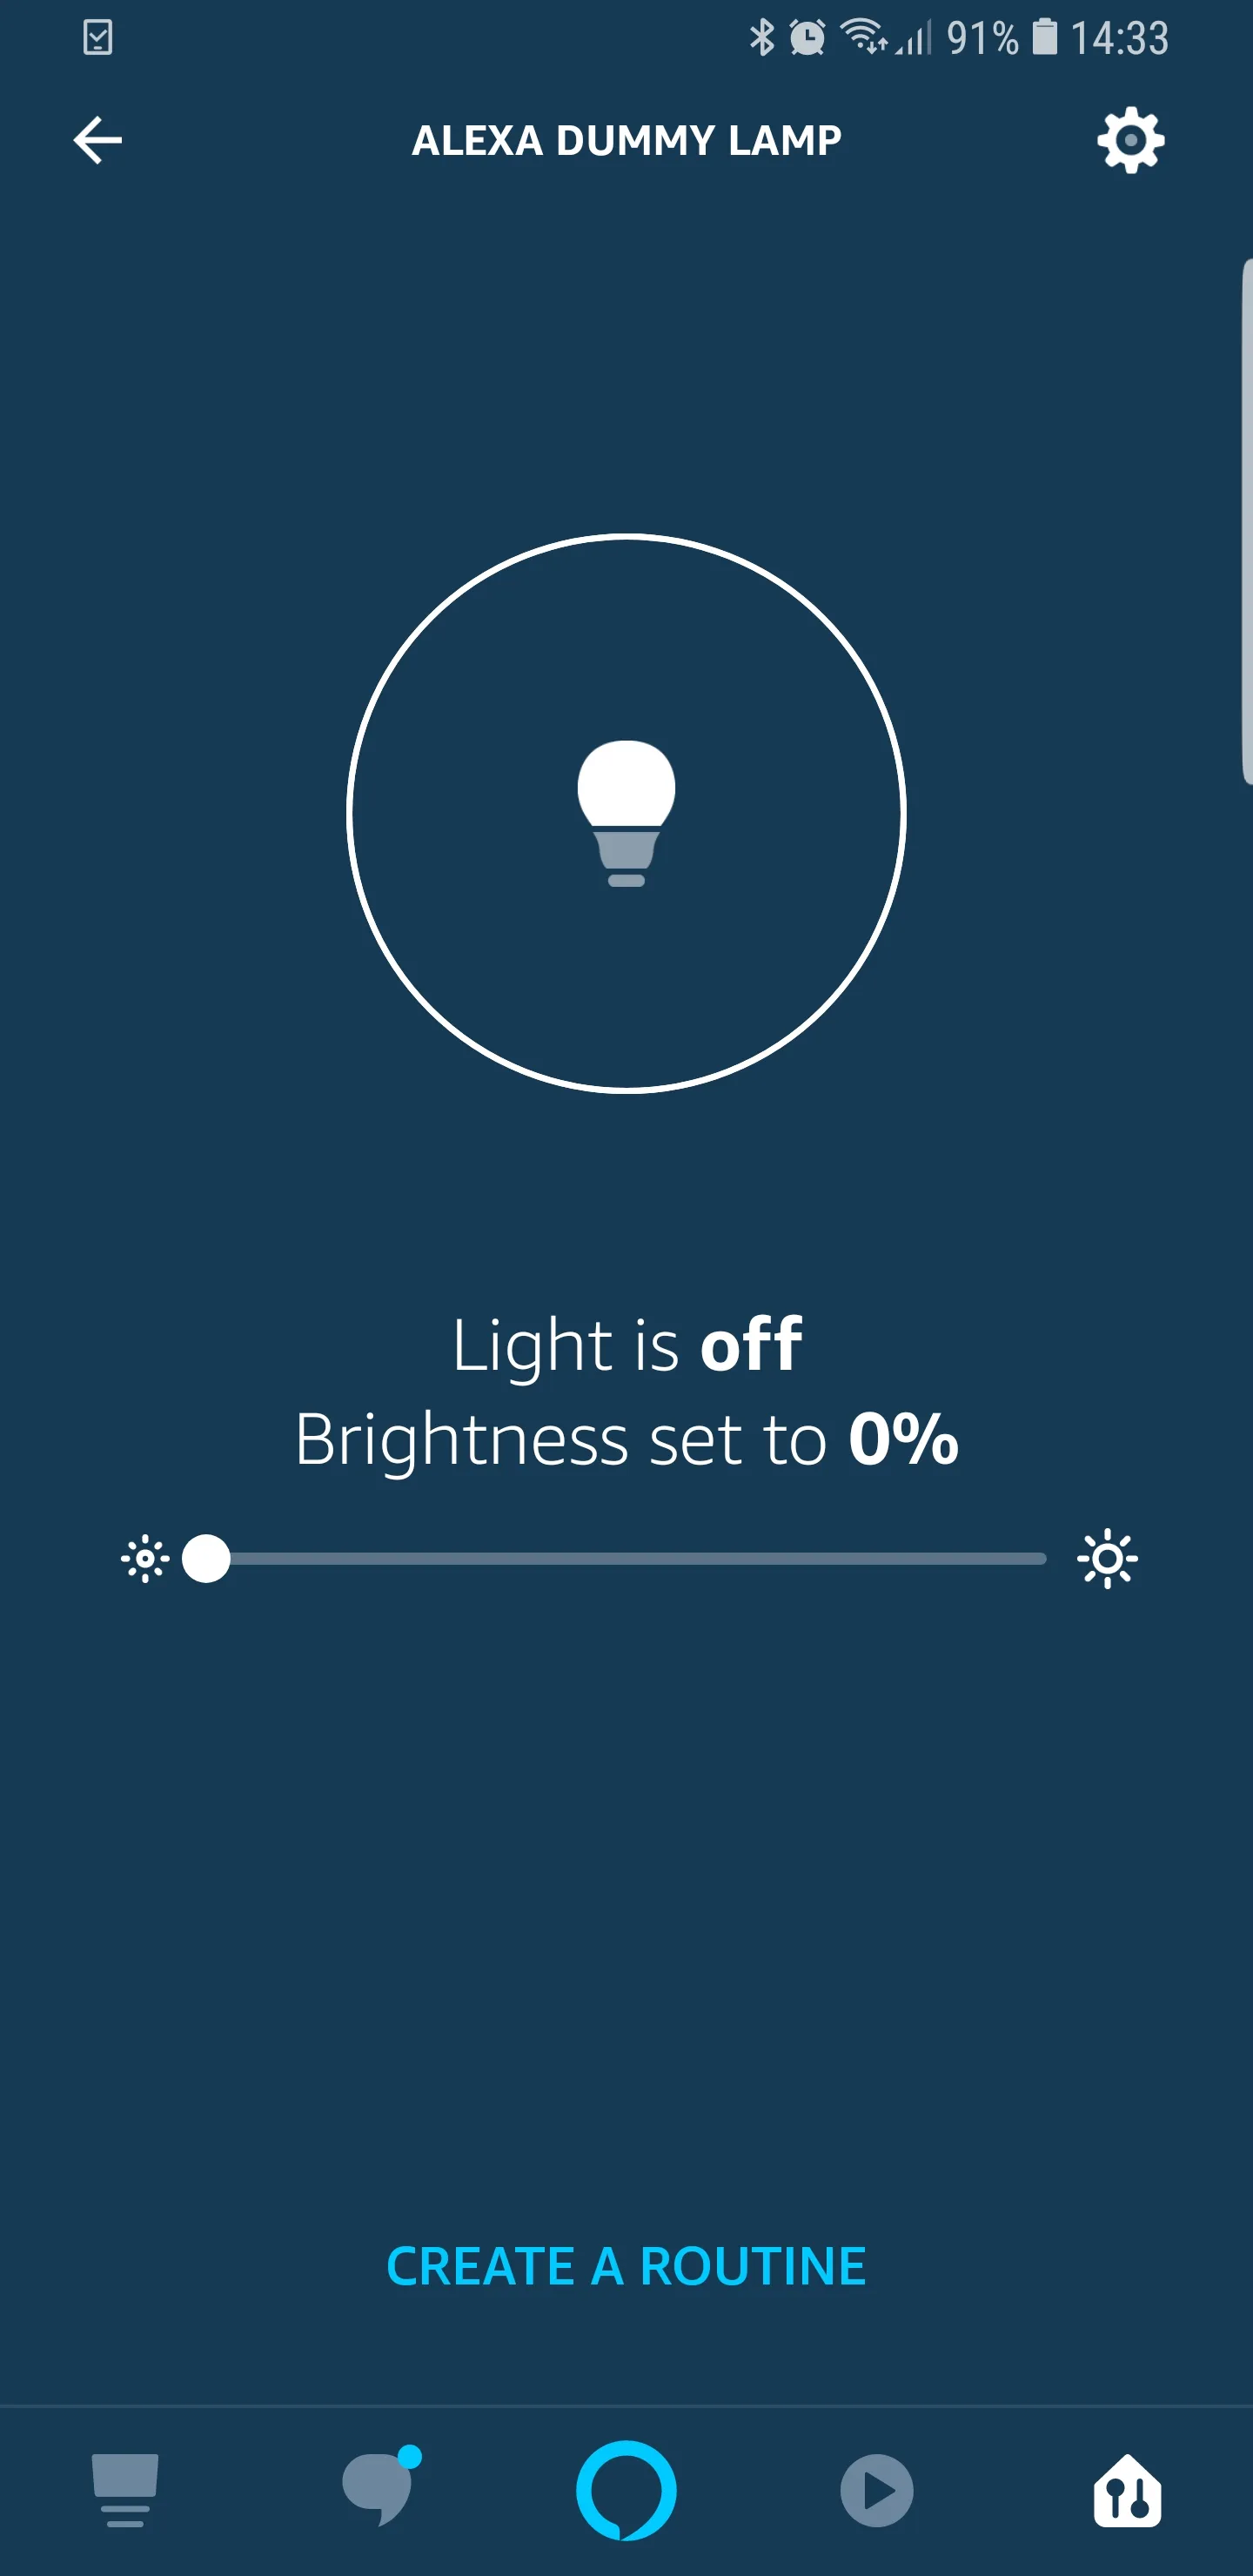
The more elegant and easier way to do this is to have a single emulated light that has variable brightness.Instead of switching the light on and off, Alexa sets it’s brightness. This way, you have 100 different values for the same entity (the brightness is set in percentage) and you don’t need to rediscover it every time you change something.
Here’s the configuration for my emulated light:
emulated_hue:

light:
  - platform: template
    lights:
      alexa_dummy_lamp:
        friendly_name: "alexa dummy lamp"
        turn_on:
          service: logbook.log
          data_template:
            name: "alexa dummy lamp ON: "
            message: "turned on"
        turn_off:
          service: logbook.log
          data:
            name: "alexa dummy lamp OFF: "
            message: "turned off"
        set_level:
          service: input_number.set_value
          data_template:
            entity_id: input_number.alexa_dummy_brightness
            value: "{{ ((brightness*100)/255) | round(0) }}"
        level_template: '{{ sensor.alexa_light_brightness.attributes.lux|int }}'

input_number:
  alexa_dummy_brightness:
    initial: 0
    min: 0
    max: 100
    step: 1
All the dummy lamp does is set a variable in HA. This variable will be the trigger for the automation.
Automations
Automations let you execute an operation when certain conditions are met.In my case, the condition is the variable set by the dummy lamp going form 0 to anything else.
Then, according to the value set to the variable, different scripts are called and the variable returns to 0 in order to be ready for the next trigger.
Here’s the automation to put in automations.yaml
- id: 'alexa_dummy_automation'
  alias: alexa_dummy_automation
  trigger:
    platform: state
    entity_id: input_number.alexa_dummy_brightness
    from: '0.0'
  action:
    - service: logbook.log
      data_template:
        name: "alexa_dummy_automation: "
        massage: "{{input_number.alexa_dummy_brightness}}"
    - service_template: >
          {% if is_state('input_number.alexa_dummy_brightness', '1.0') %}
            script.start_netflix
          {% elif is_state('input_number.alexa_dummy_brightness', '2.0') %}
            script.start_KODI
          {% elif is_state('input_number.alexa_dummy_brightness', '3.0') %}
            script.start_harari
          {% elif is_state('input_number.alexa_dummy_brightness', '4.0') %}
            script.start_youtube
          {% elif is_state('input_number.alexa_dummy_brightness', '5.0') %}
            script.start_gta
          {% else %}
            undefined
          {% endif %}
    - service: input_number.set_value
      data:
        entity_id: input_number.alexa_dummy_brightness
        value: '0.0'
Alexa
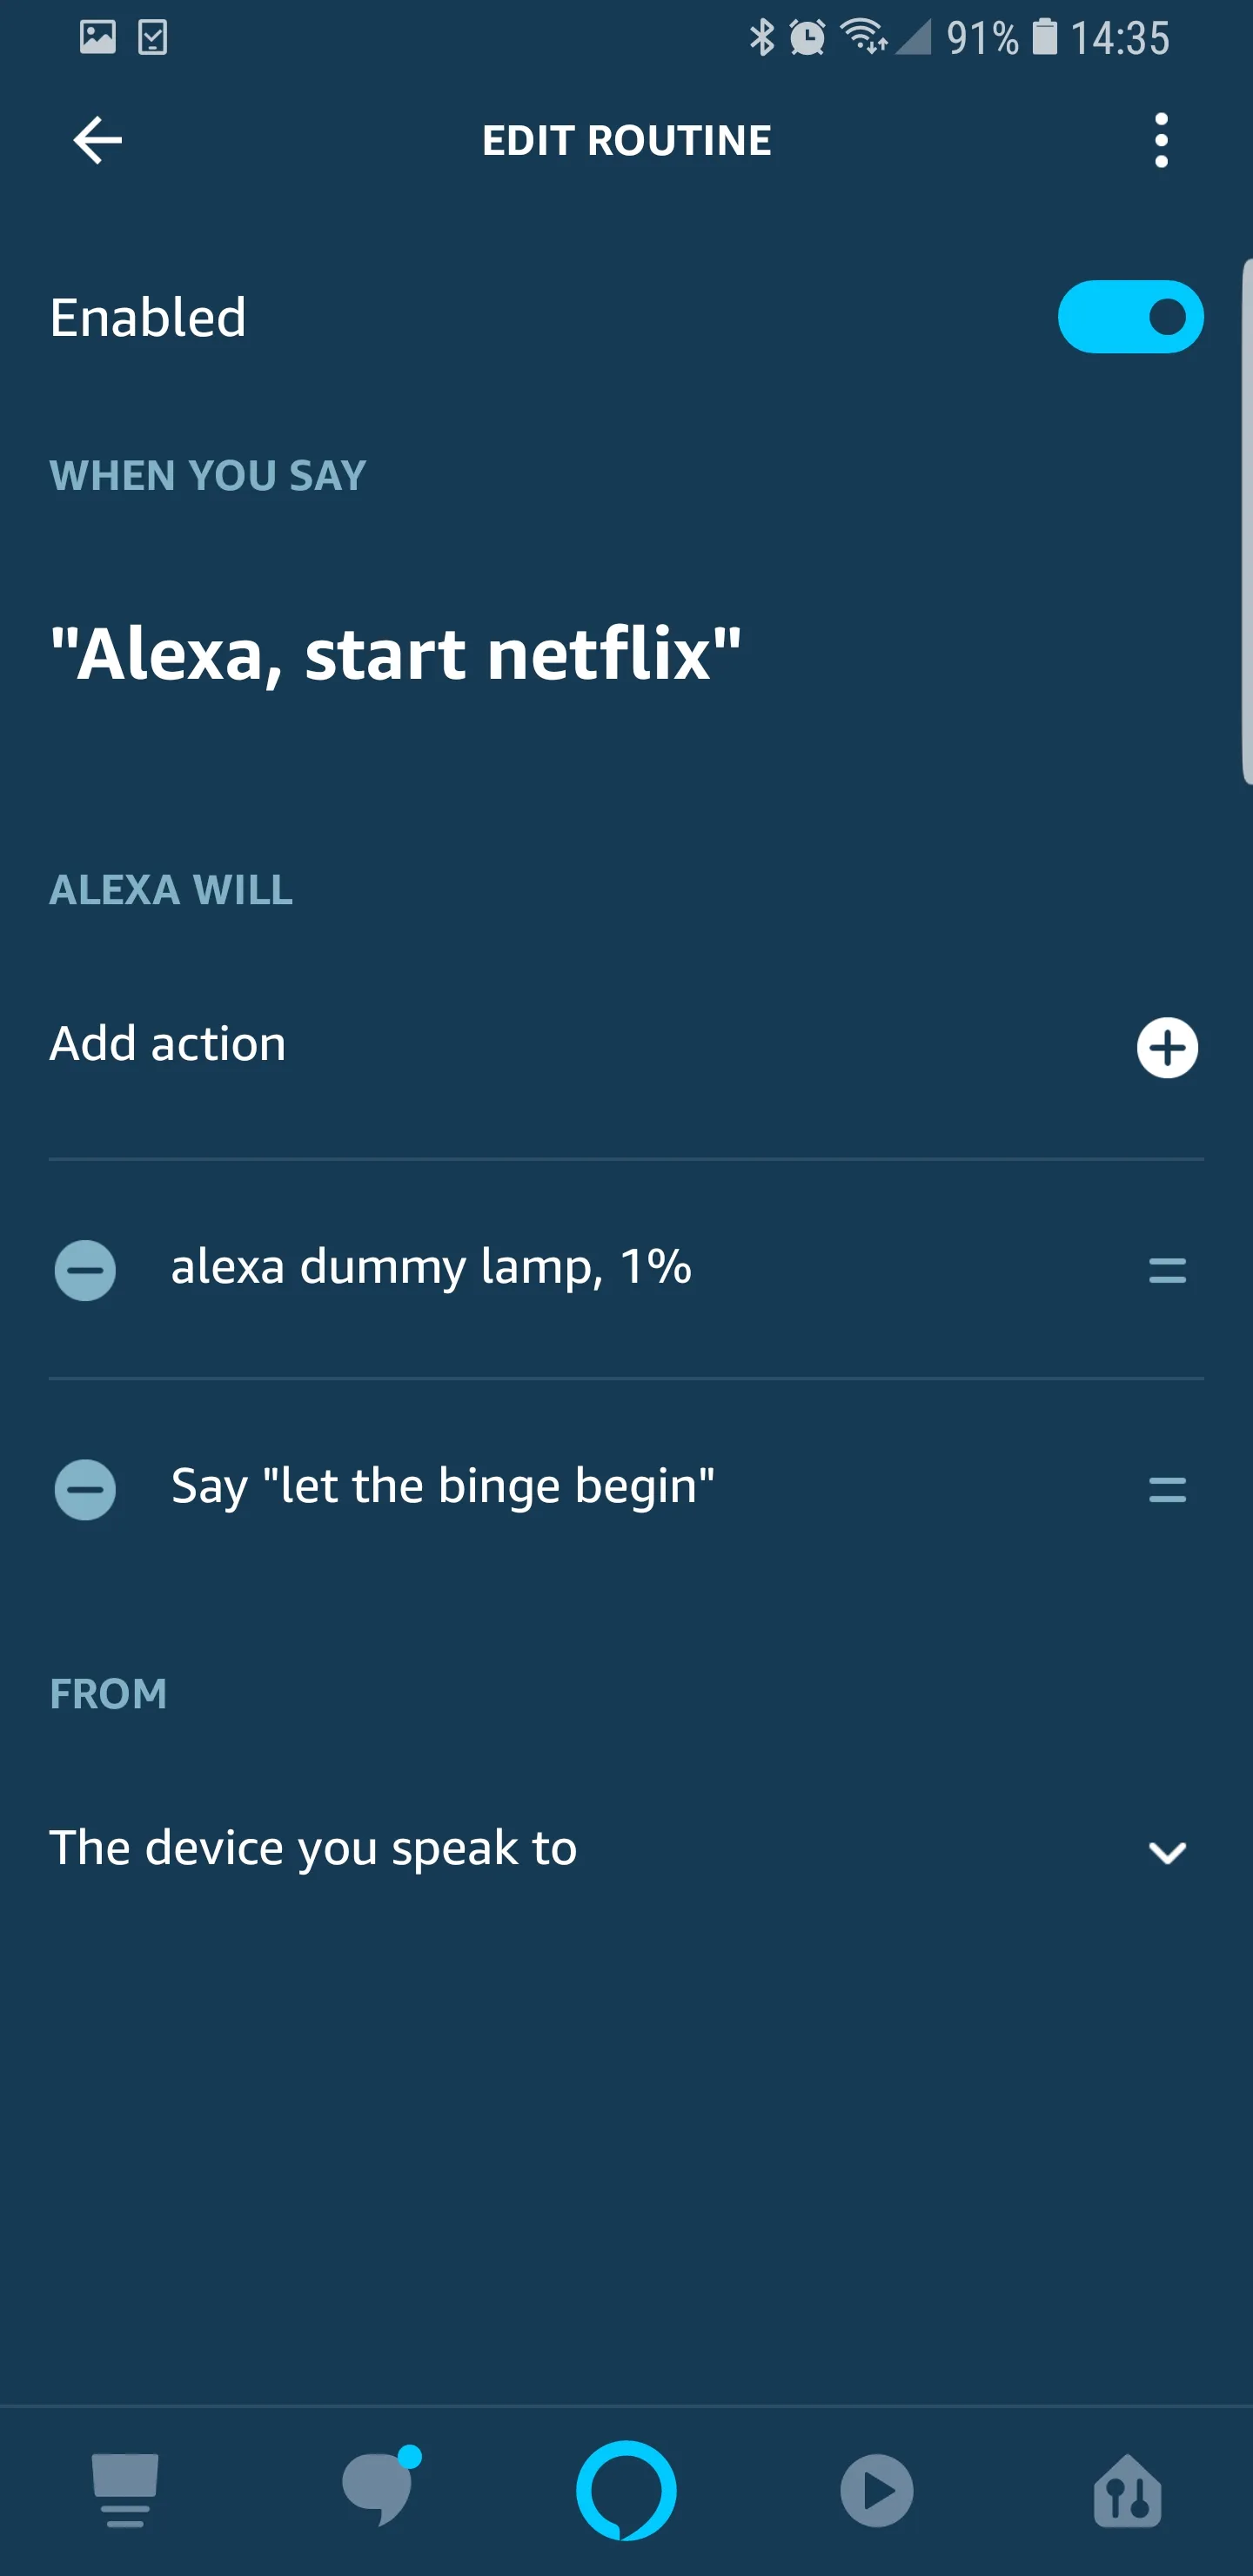
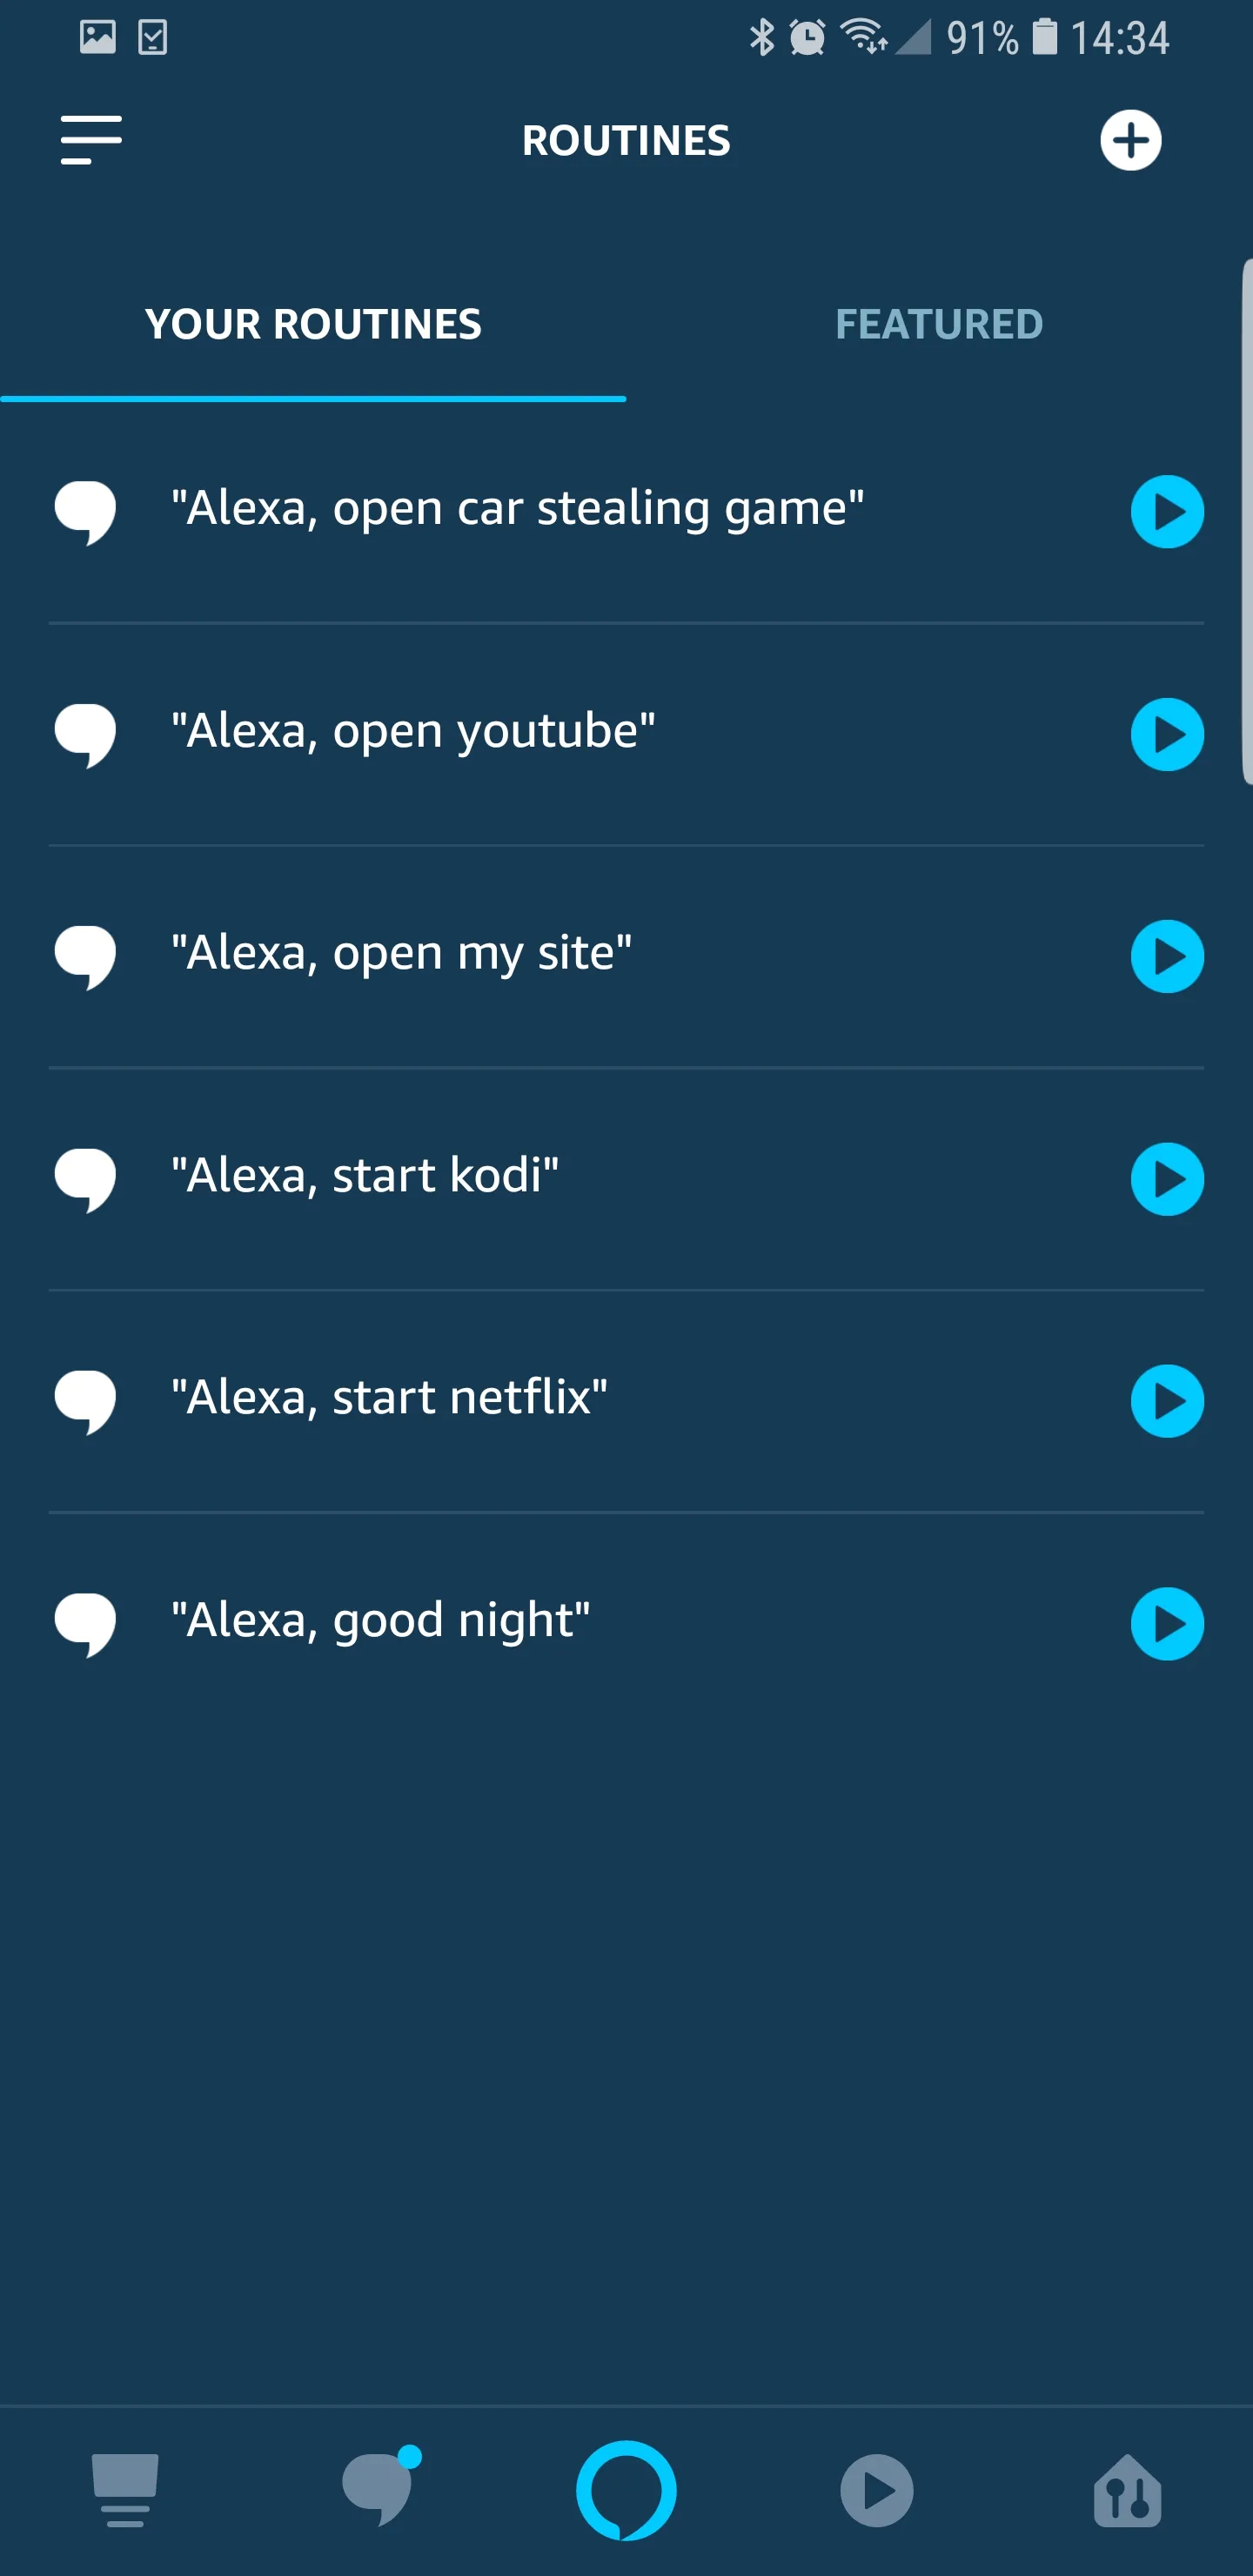
The configuration in the Alexa app is pretty simple. The dummy lamp can be discovered by the app, all we need is to define routines to set the brightness of the light when you command Alexa.
Here’s an example of my configuration: